For 1990-2009 cars only
Removal Procedure
- It is only necessary to lower the headliner. Only do those steps in the headliner replacement procedure that will lower the headliner enough to gain access to the part. Refer to Headlining Trim Panel Replacement.
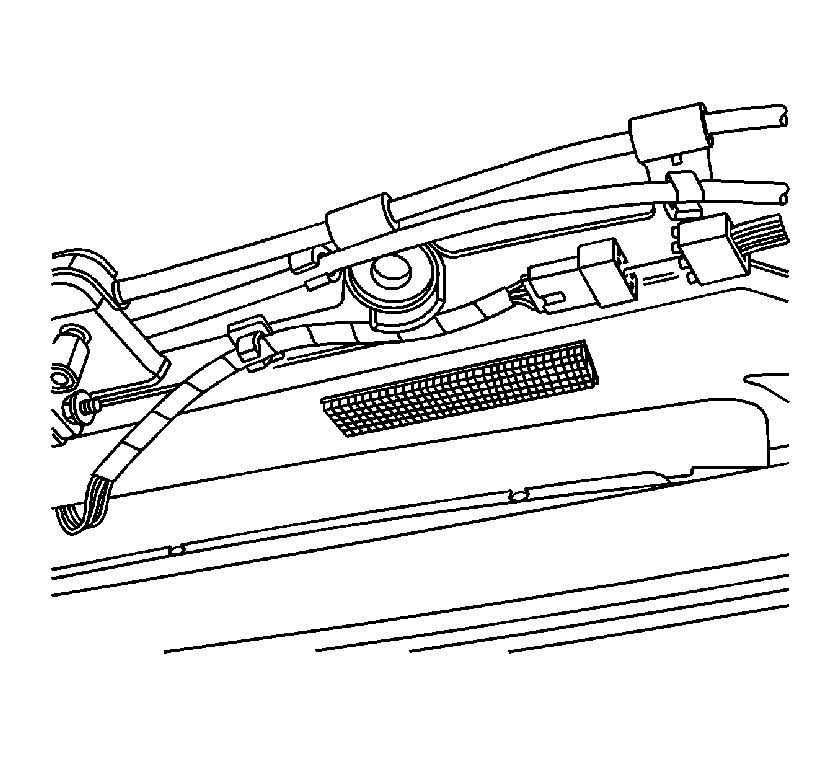
- Disconnect the motor/actuator harness from the sunroof module.
- Disconnect the electrical connector from the sunroof motor/actuator.
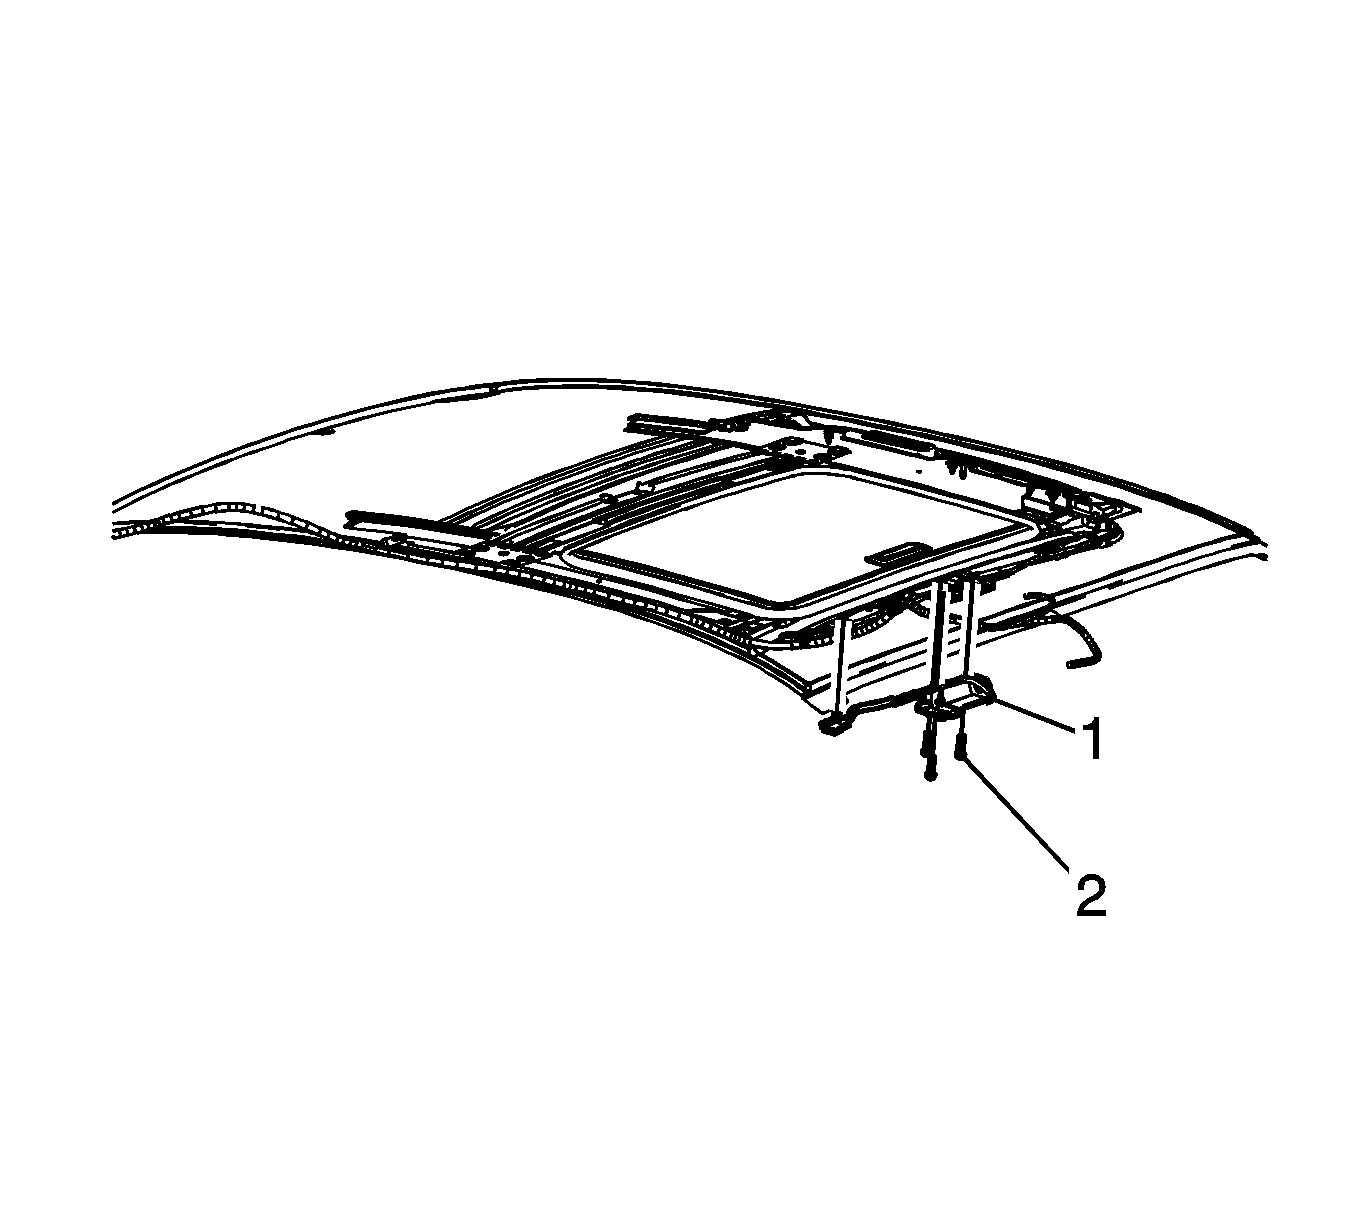
- Remove the sunroof motor/actuator bolts (2) from the sunroof module.
- Remove the sunroof actuator (1) from the sunroof module.

Note: If the sunroof window is partially closed, remove the actuator first before moving the sunroof window forward.

Installation Procedure
- Synchronize the sunroof motor/actuator (1). Refer to Sunroof Motor Synchronization.
- Install the sunroof motor/actuator (1) to the sunroof module.
- Install the sunroof motor/actuator bolts (2) and tighten to 5 N·m (44 lb in).
- Connect the electrical connector to the sunroof motor/actuator.
- Secure the electrical harness to the sunroof module.
- Verify the sunroof operation.
- Install the headliner. Refer to Headlining Trim Panel Replacement.
- Refer to Control Module References.

Caution: Refer to Fastener Caution in the Preface section.

