For 1990-2009 cars only
Removal Procedure
- Remove the oil fill cap.
- Raise and support the vehicle. Refer to Lifting and Jacking the Vehicle in General Information.
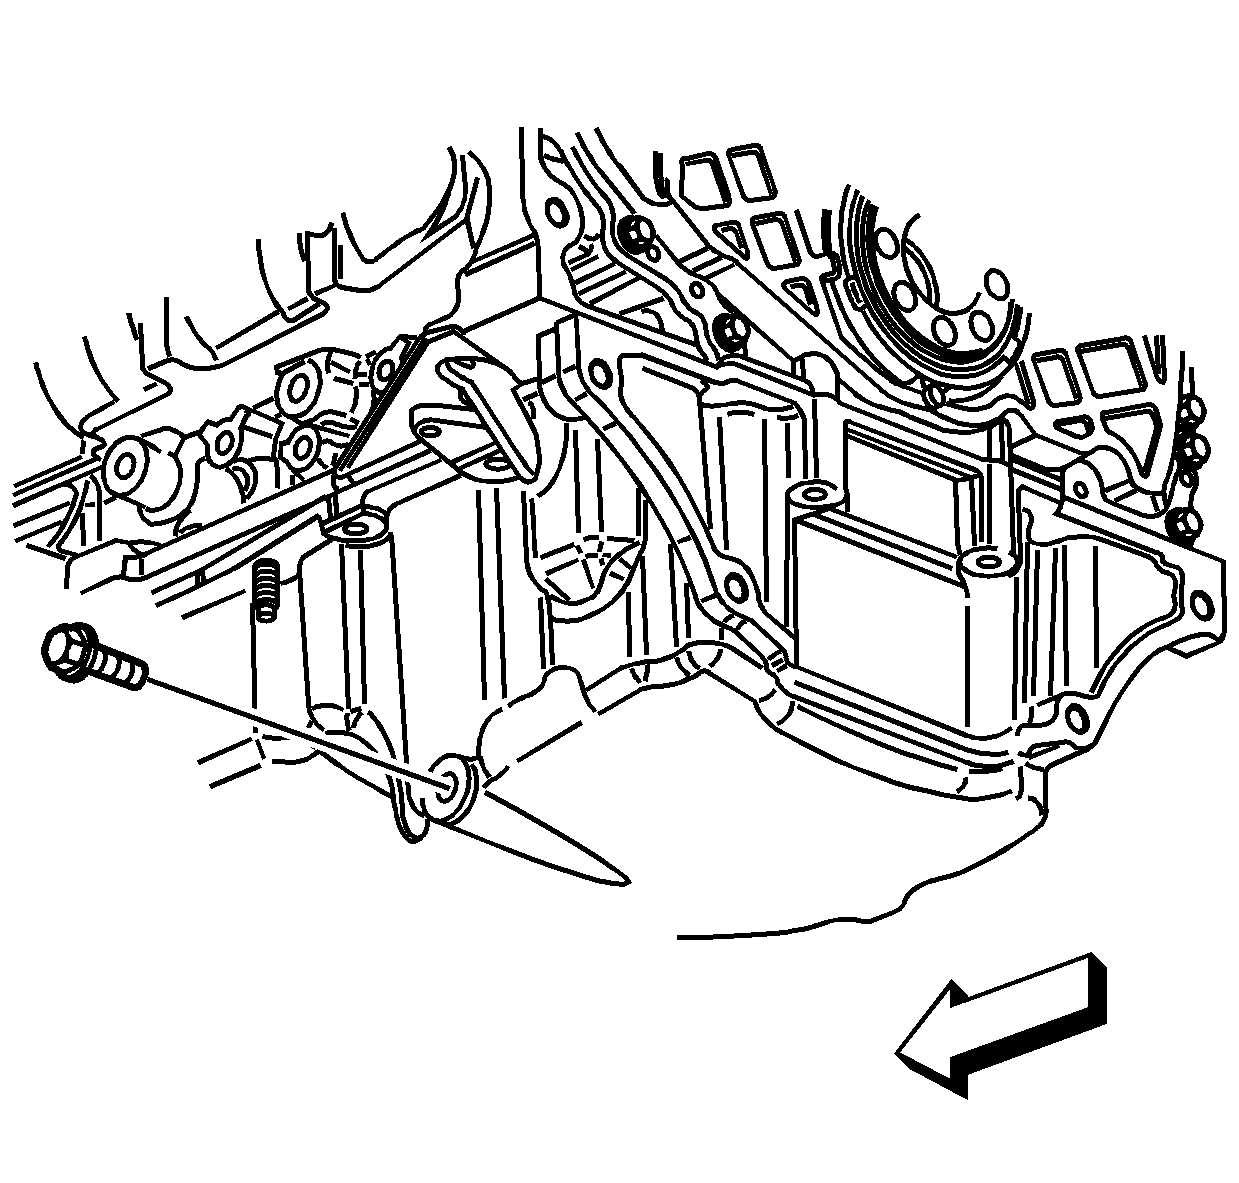
- Clean away all dirt and debris from the engine oil pan drain plug area.
- Position an appropriate container under the engine oil pan.
- Remove the oil pan drain plug.
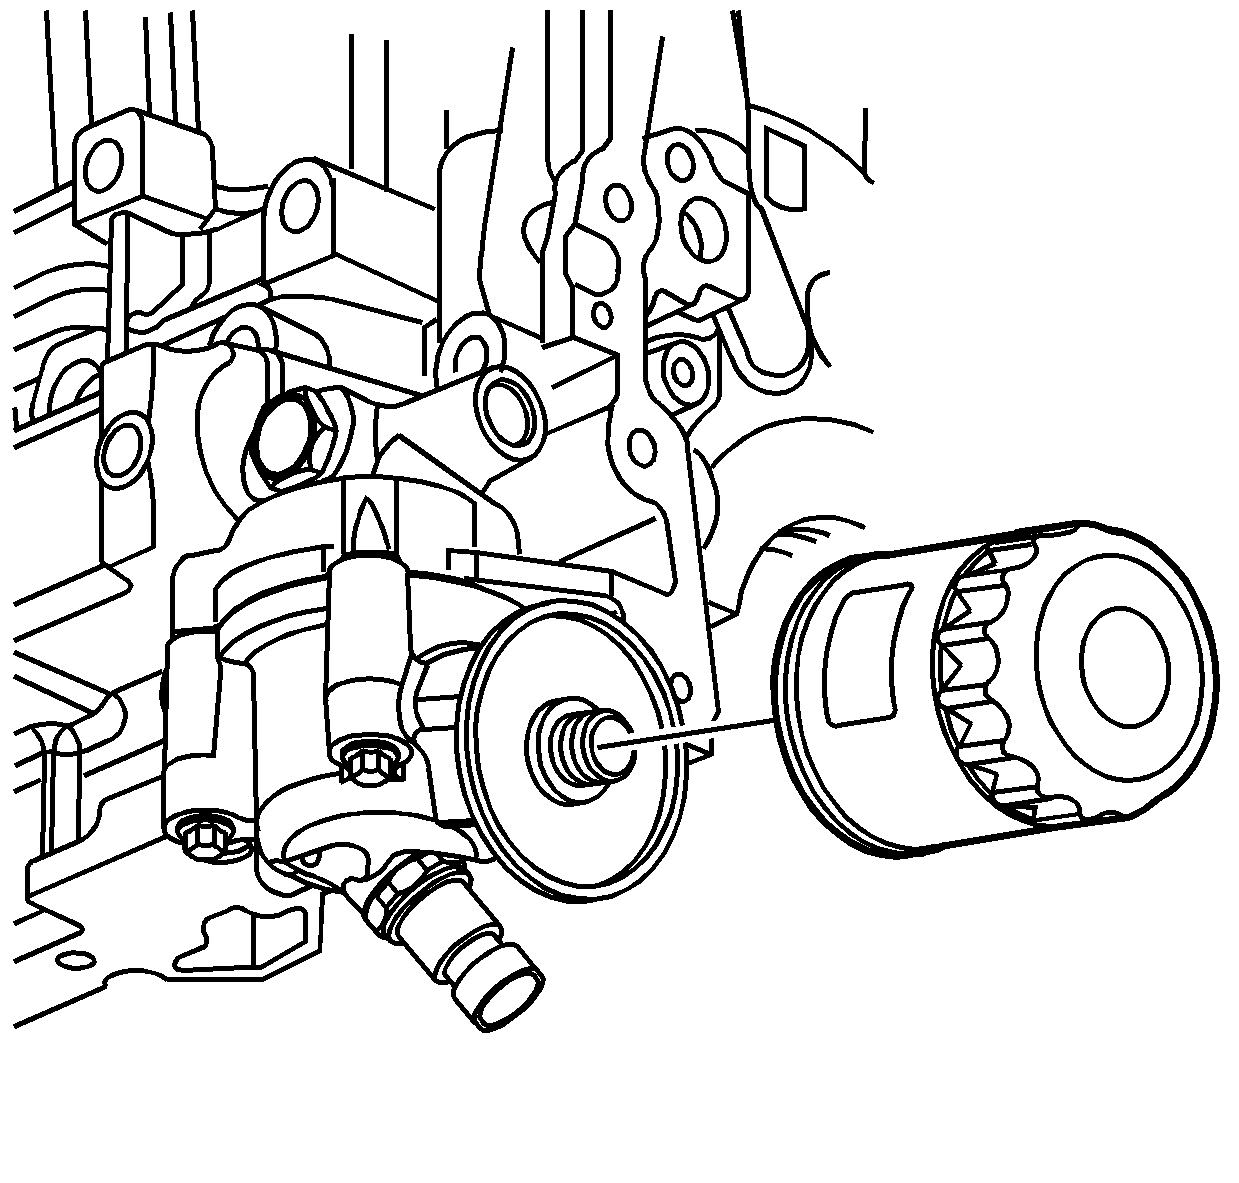
- Position the container under the engine oil filter drain deflector.
- Remove the oil filter using a suitable wrench.

Allow the engine oil to drain into the container.

Important: Ensure the old oil filter seal is not left on the oil filter adapter.
Allow the engine oil to drain to the oil filter drain deflector and into the container.
Installation Procedure
- Lubricate the oil filter seal with clean engine oil.
- Install the new oil filter.
- Tighten the oil filter to 10 N·m (89 lb in).
- Rotate the oil filter an additional 150 degrees.
- Wipe the excess oil from the oil filter drain deflector.
- Install the oil pan drain plug.
- Lower the vehicle.
- Fill the crankcase with the proper type and amount of engine oil. Refer to Fluid and Lubricant Recommendations and Approximate Fluid Capacities in Maintenance and Lubrication.
- Install the oil fill cap.
- Start the engine and inspect the oil pressure gage for appropriate pressure build up.
- Shut the engine off.
- Inspect the oil filter and oil pan drain plug areas for leaks.
- Remove the oil level indicator and inspect for proper oil level.

Notice: Refer to Component Fastener Tightening Notice in the Preface section.
Tighten

Tighten
Tighten the oil pan drain plug to 26 N·m (19 lb ft).
Adjust if necessary.
