For 1990-2009 cars only
Removal Procedure
- Remove the tire and wheel assembly. Refer to Tire and Wheel Removal and Installation .
- Drain the front differential assembly.
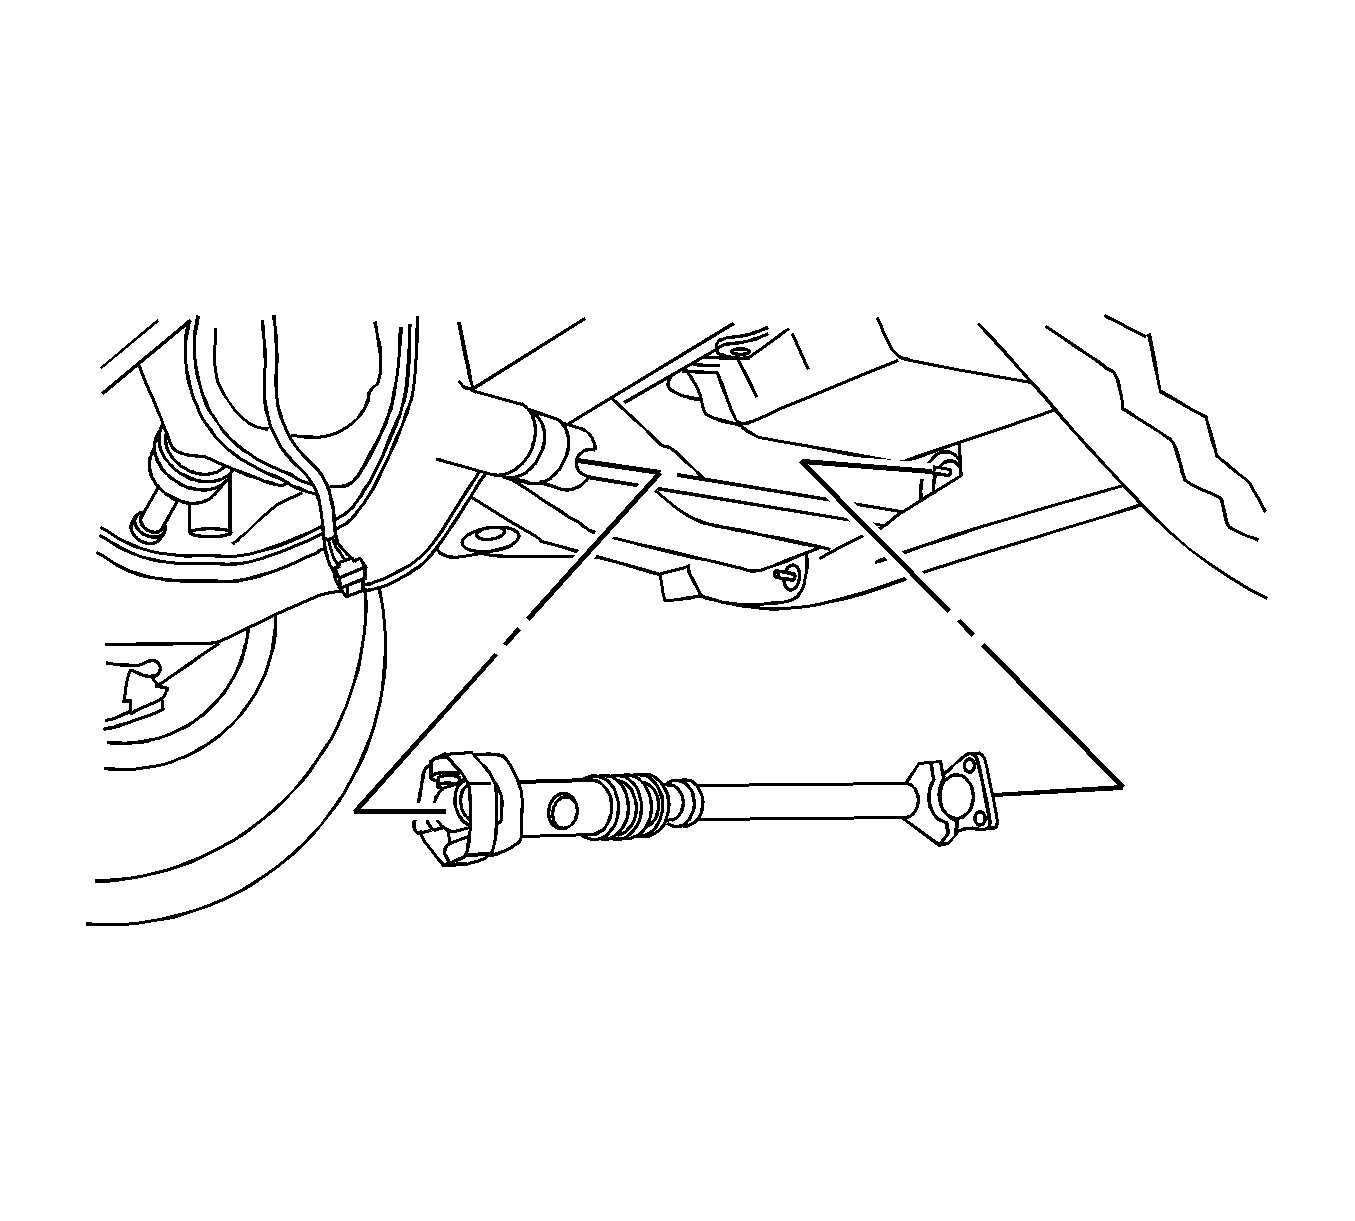
- Remove the front propeller shaft. Refer to Front Propeller Shaft Replacement .
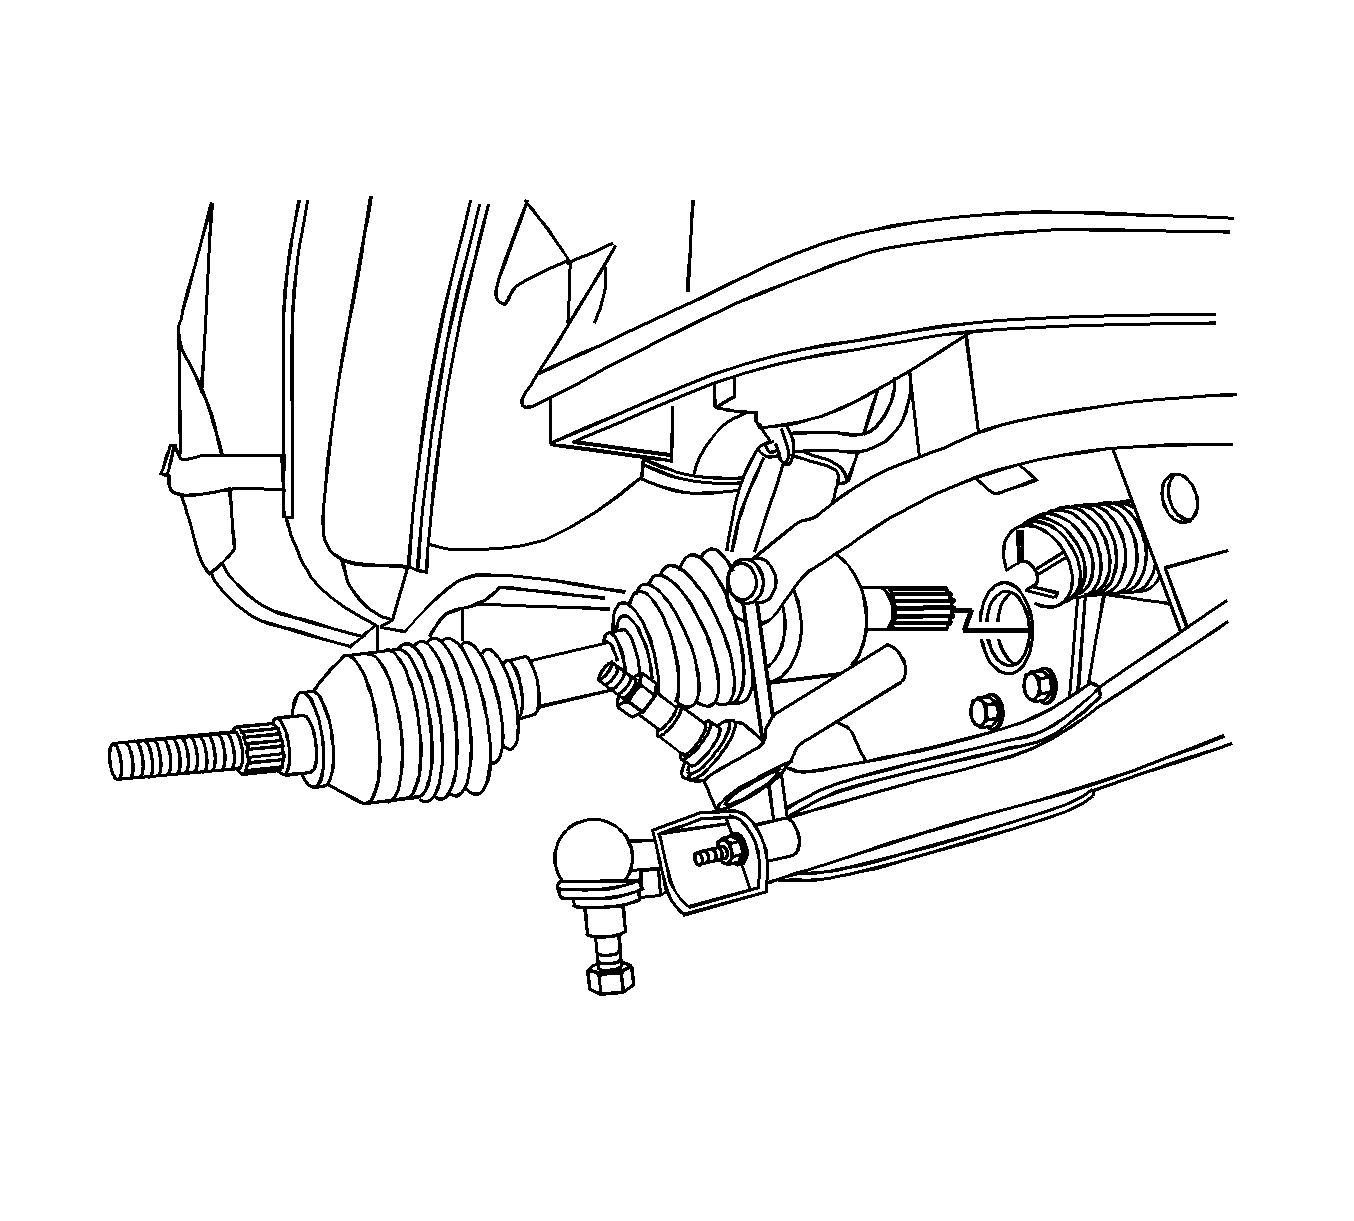
- Remove the front wheel drive shafts. Refer to Wheel Drive Shaft Replacement .
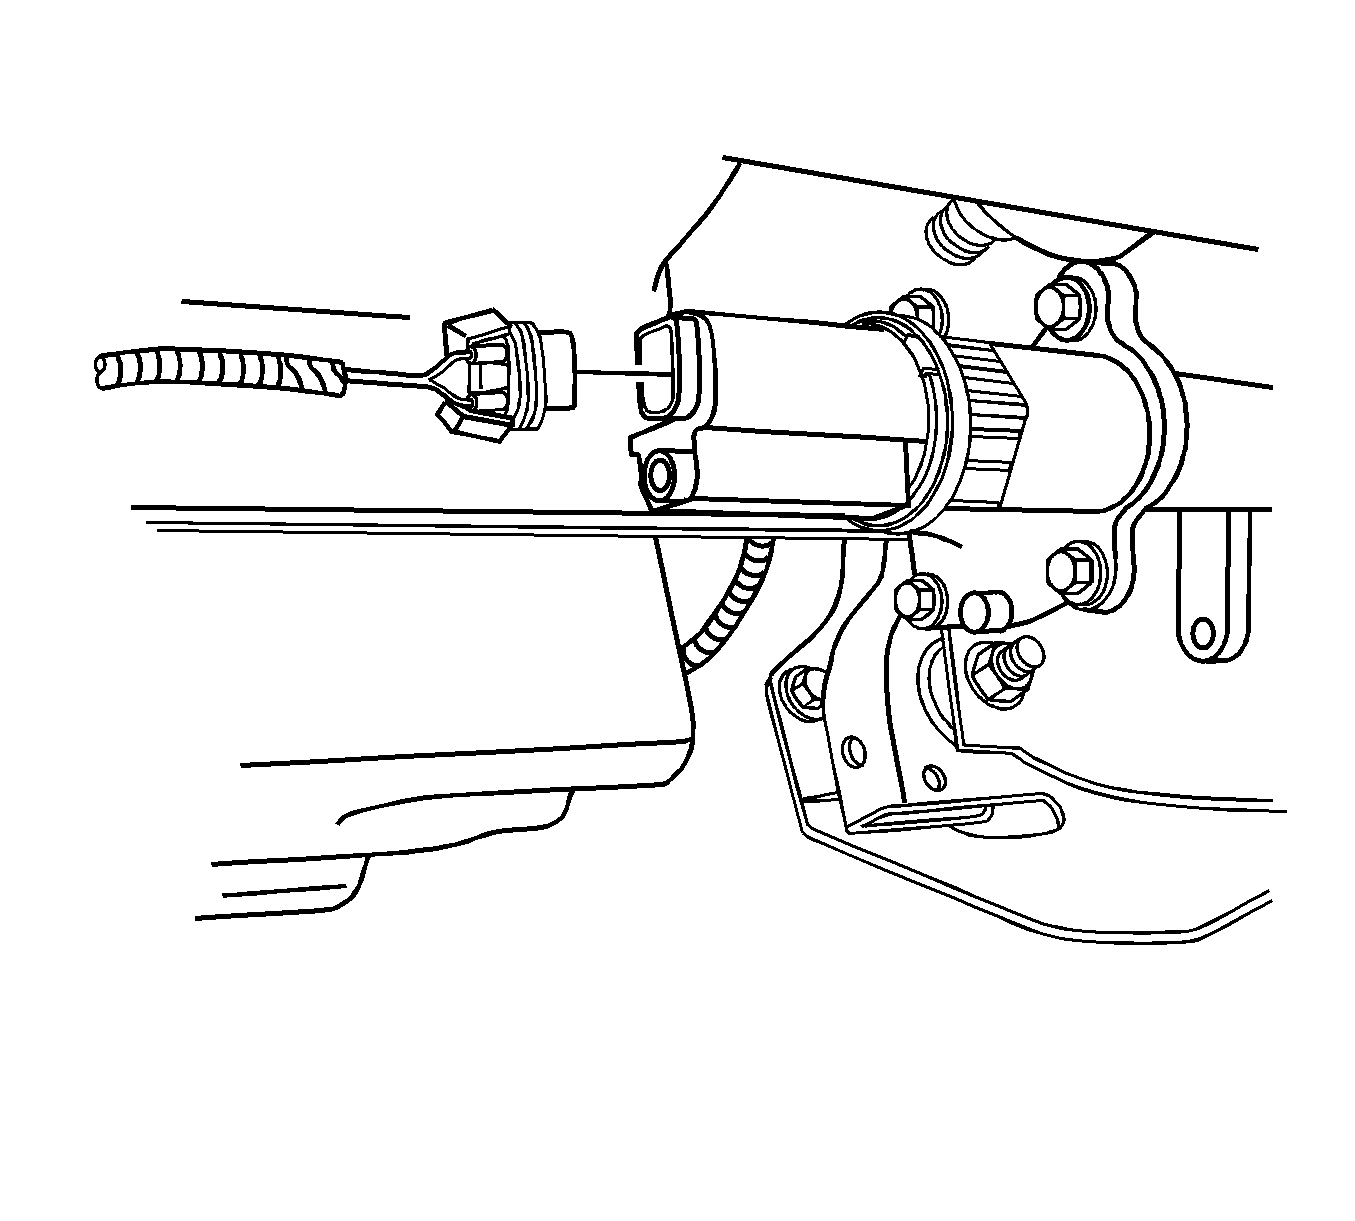
- Remove the electrical connector for the electric motor actuator.
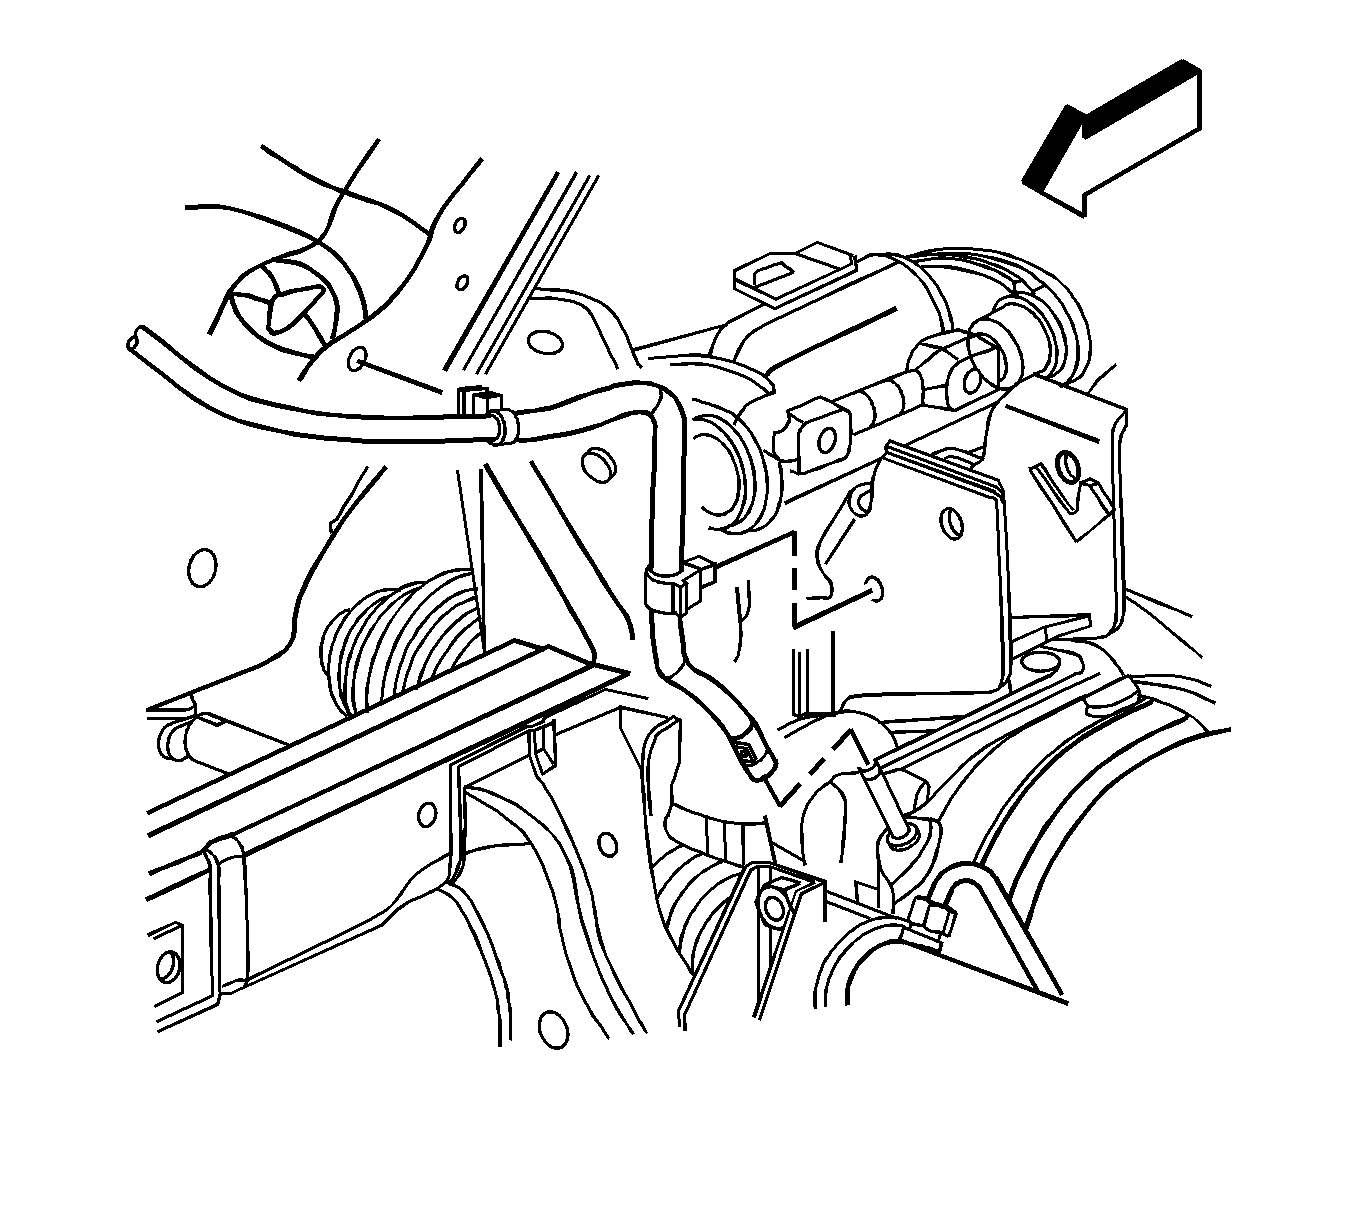
- Remove the vent hose.
- Using a transmission jack stand or equivalent, support the front differential assembly.
- Remove the mounting bracket from the vehicle. Refer to Differential Carrier Assembly Bushing and Bracket Replacement .
- Remove the front differential assembly from the vehicle.
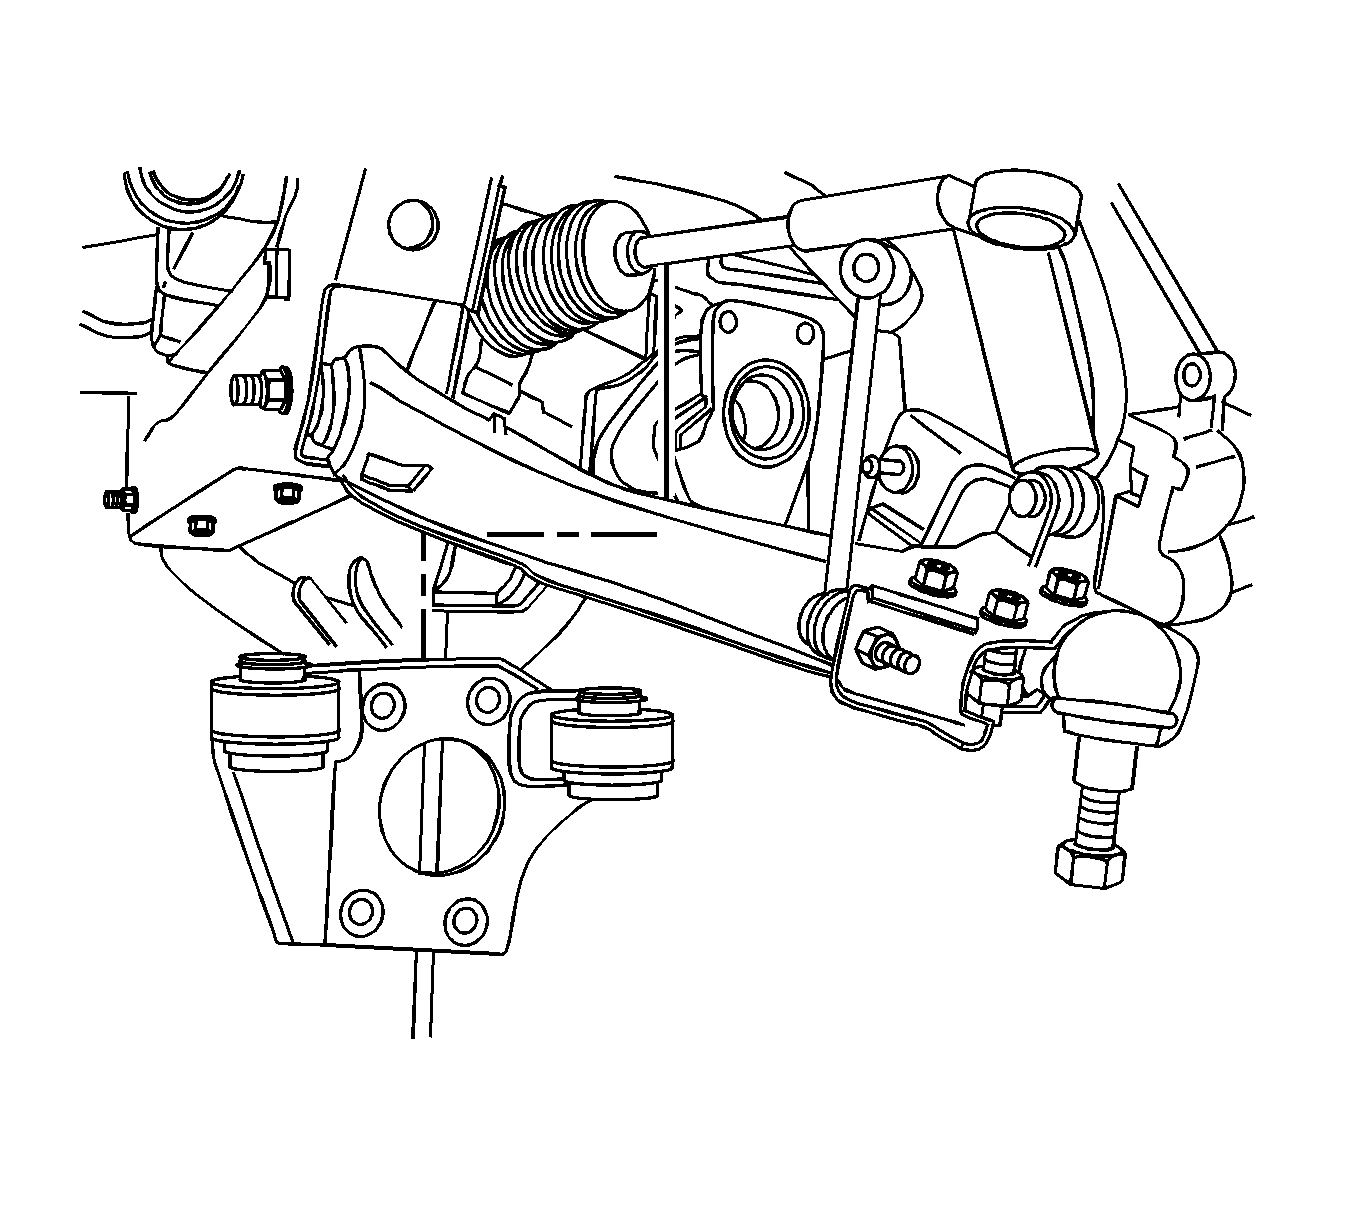
Installation Procedure
- Lift the front differential into position.
- Install the mounting bracket to the differential housing. Refer to Differential Carrier Assembly Bushing and Bracket Replacement .
- Install the vent hose.
- Install the electric motor actuator .
- Install the electrical connector.
- Install the front wheel drive shafts. Refer to Wheel Drive Shaft Replacement .
- Install the front propeller shaft. Refer to Front Propeller Shaft Replacement .
- Fill the front differential assembly with fluid. Refer to Front Axle Lubricant Replacement .
- Install the front tires and wheels. Refer to Tire and Wheel Removal and Installation .


Notice: Refer to Component Fastener Tightening Notice in the Preface section.
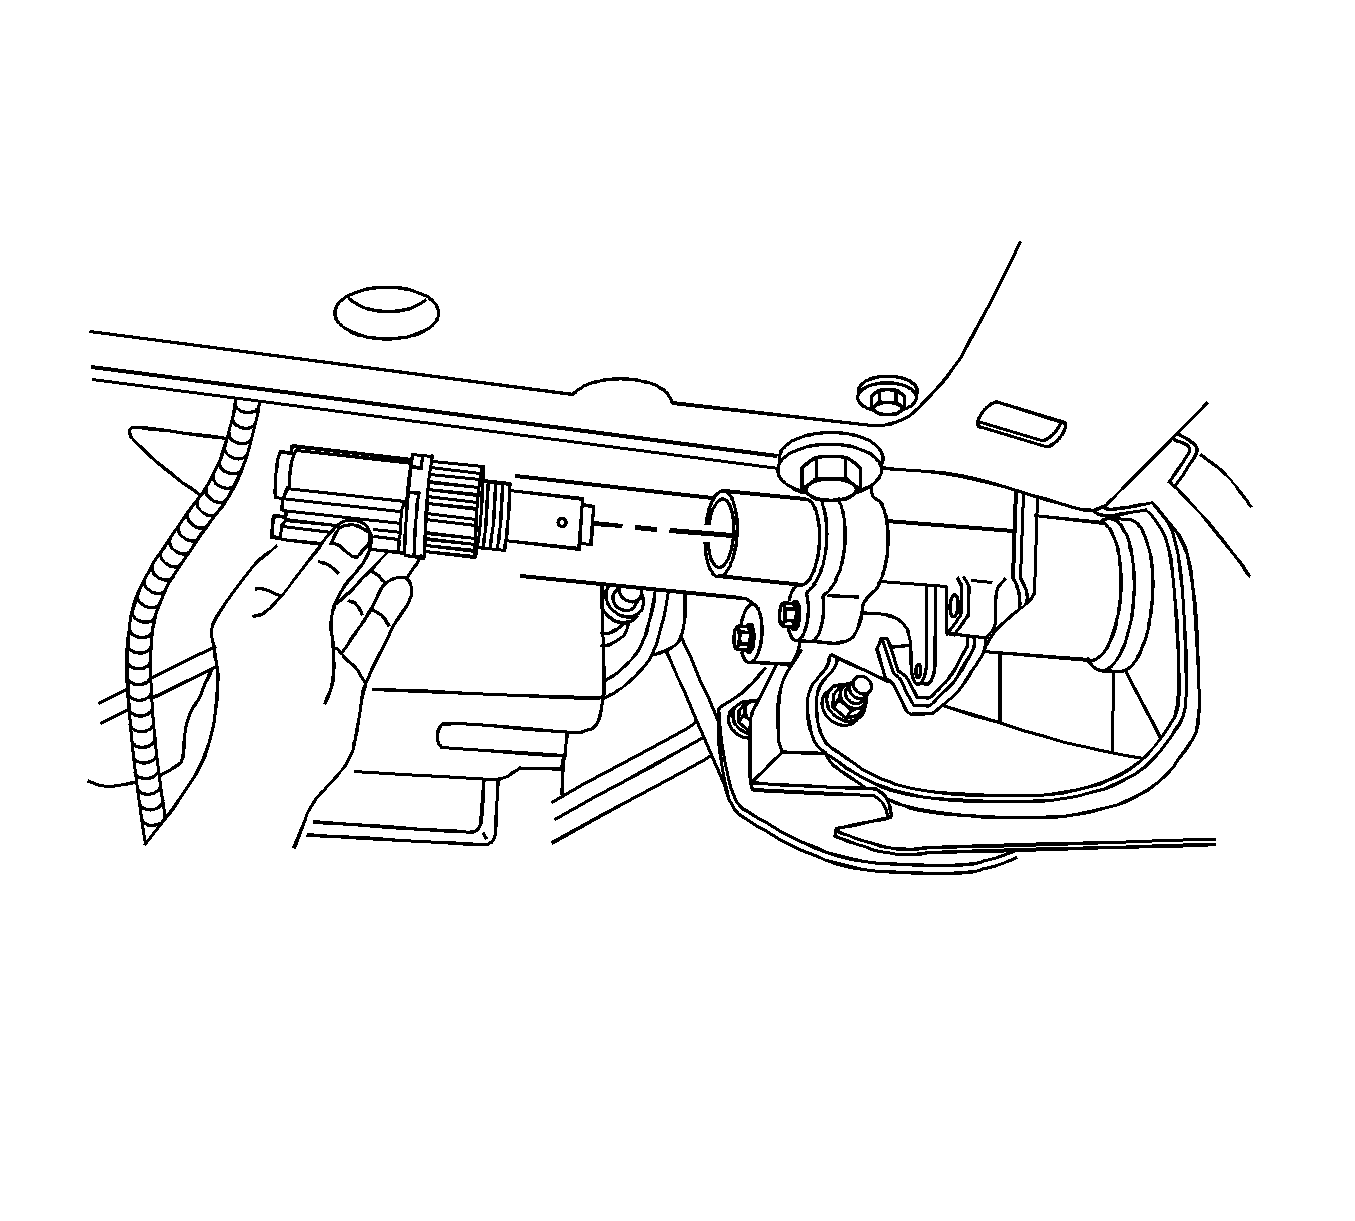
Tighten
Tighten the electric motor actuator to 22 N·m (16 lb ft).


