For 1990-2009 cars only
Endgate Upper Molding Replacement Canyon
Removal Procedure
- Apply making tape to protect the painted surfaces.
- Remove the bolts retaining the endgate upper molding to the endgate.
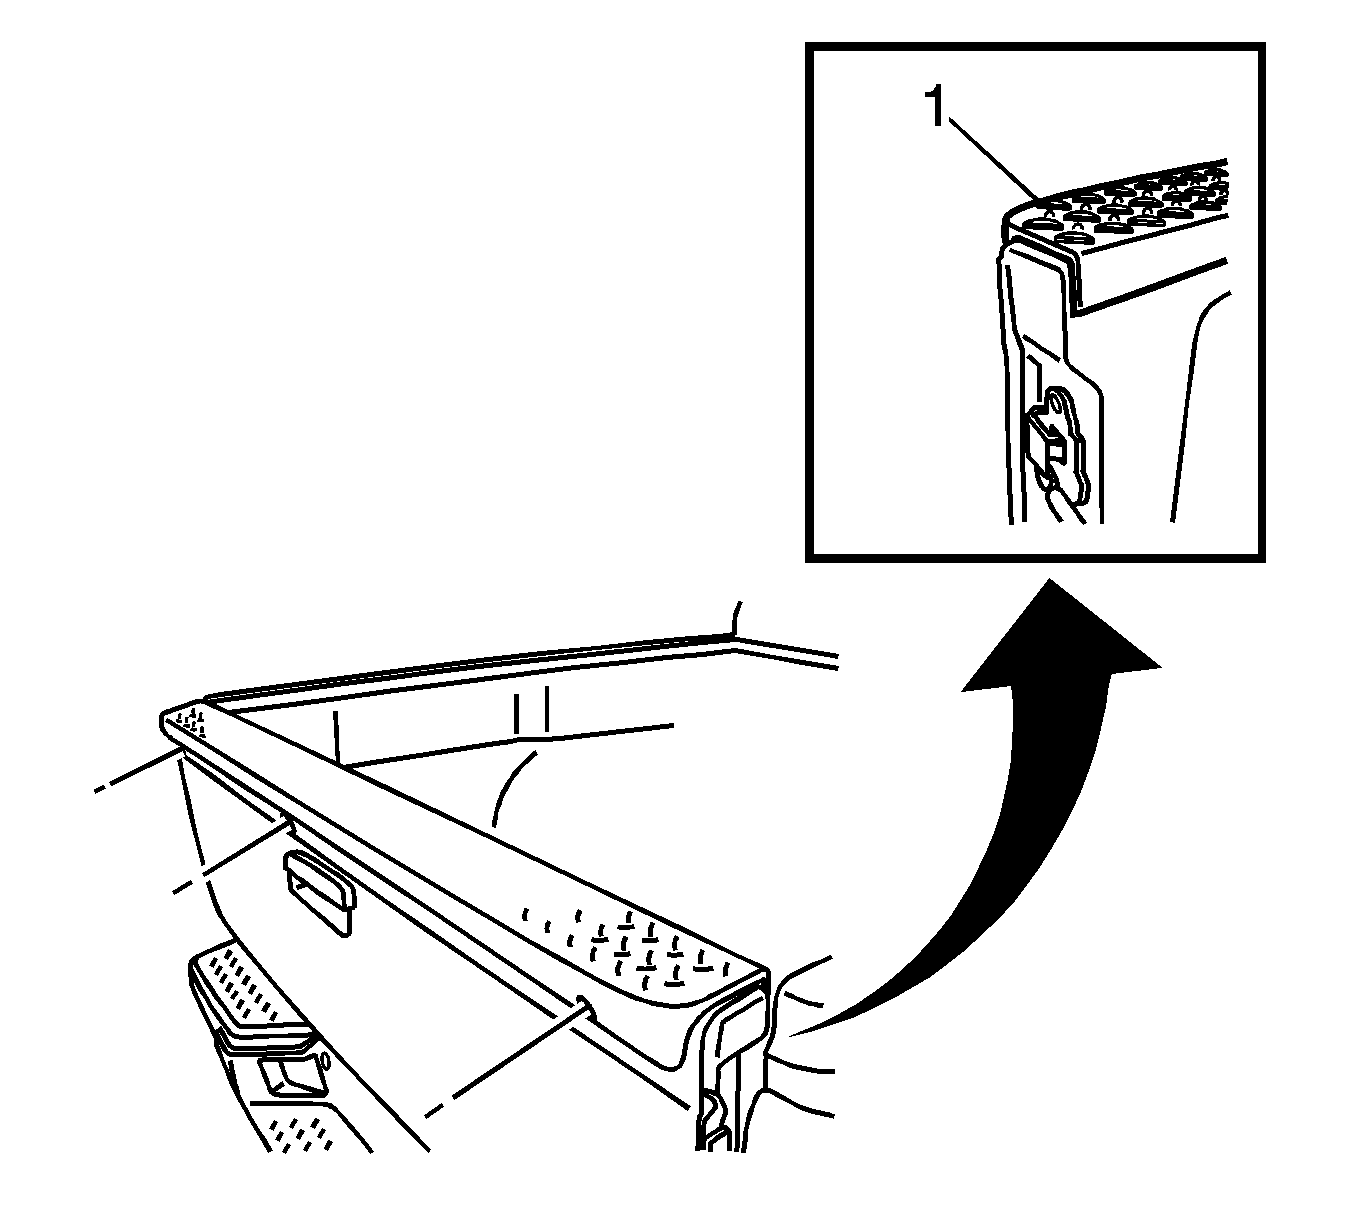
- Heat the back of the molding (1), using a heat gun 152 mm (6 in) from the surface. Apply the heat using a circular motion for about 30 seconds.
- Use a flat-bladed tool to aid in the removal of the endgate upper molding from the endgate.
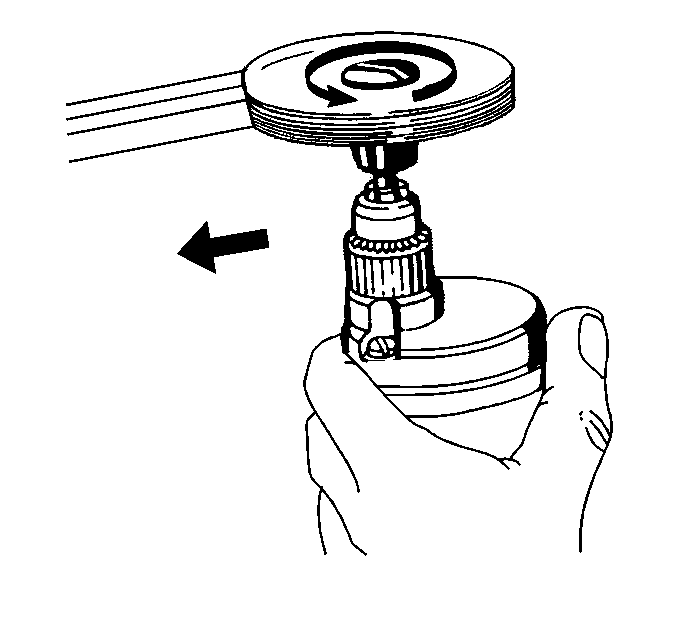
- Remove all adhesive from the surface and the back of the molding using a 3M Scotch Brite molding adhesive remover disk, 3M P/N 07501 or equivalent.
- Clean the surface using varnish makers and painters (VMP) naphtha.
Notice: Use a plastic, flat-bladed tool to prevent paint damage when removing an emblem/name plate.

Work the tool back and forth down the molding until it releases from the body.

Installation Procedure
- Warm the endgate surface with a heat gun 152 mm (6 in) from the surface to a minimum of 21°C (70°F).
- Install the endgate upper molding to the endgate.
- Install the bolts retaining the molding to the endgate.
- Remove the backing from the adhesive strip on the molding.
- Remove the masking tape.
- Press the endgate upper molding (1) to the surface of the endgate.

Notice: Refer to Fastener Notice in the Preface section.
Tighten
Tighten the endgate upper molding bolts to 2 N·m (17 lb in).
