For 1990-2009 cars only
Body Side Rear Lower Trim Panel Replacement Regular Cab
Removal Procedure
- Remove the rear door sill plates. Refer to Rear Side Door Sill Plate Replacement .
- Remove the front seat. Refer to Front Seat Replacement - Bucket .
- Remove the body rear trim panel. Refer to Body Rear Trim Panel Replacement .
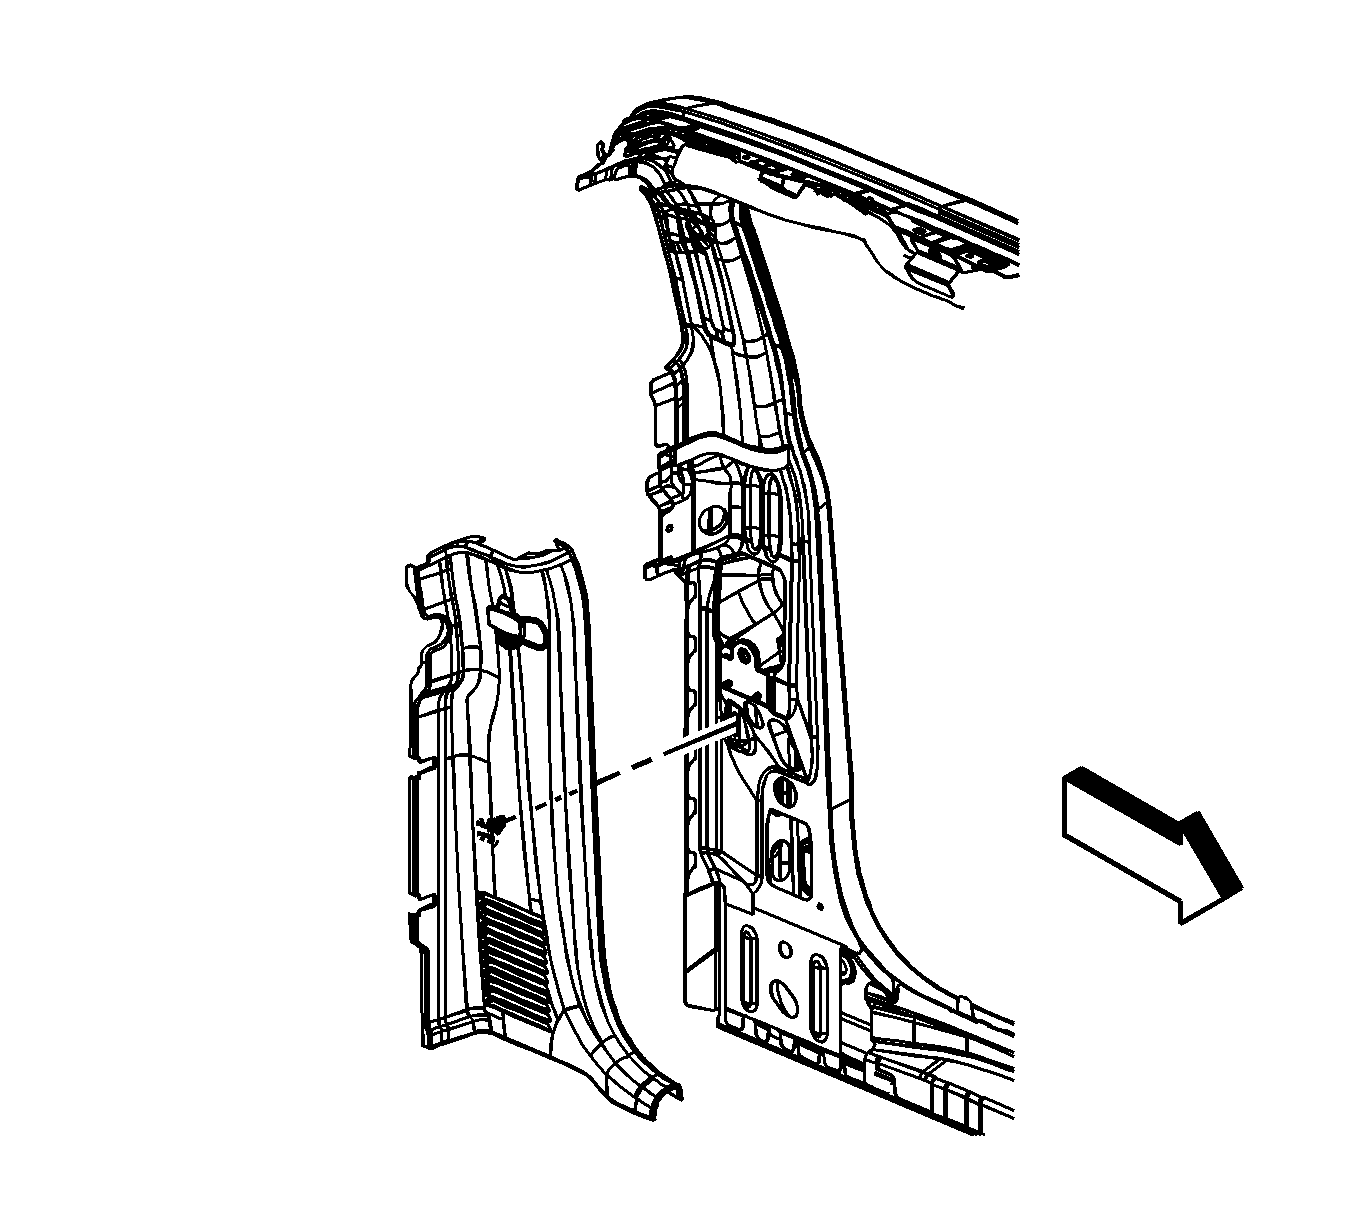
- Grasp the lower body rear corner trim panel and gently pull the panel away from the body to release the fasteners.
- Remove any fasteners that may have pulled away from the panel and reinstall them to the back of the panel.
- Slide the panel forward so the panel unhooks from around the door frame.
- Remove the lower body rear corner trim panel from the vehicle.

Installation Procedure
- Position the lower body rear corner trim panel so that the front edge hooks around the door frame.
- Ensure that the panel fasteners are aligned with the holes in the body.
- Install the panel by pushing firmly against the body to seat the panel fasteners.
- Install the body rear trim panel. Refer to Body Rear Trim Panel Replacement .
- Remove the front seat. Refer to Front Seat Replacement - Bucket .
- Install the rear door sill plates. Refer to Rear Side Door Sill Plate Replacement .

Body Side Rear Lower Trim Panel Replacement Extended Cab
Removal Procedure
- Remove the rear door sill plates. Refer to Rear Side Door Sill Plate Replacement .
- Remove the rear seat back. Refer to Rear Seat Back Replacement .
- Remove the rear folding seat. Refer to Folding Seat Replacement .
- Remove the body rear trim panel. Refer to Body Rear Trim Panel Replacement .
- Grasp the lower body rear corner trim panel and gently pull the panel away from the body to release the fasteners.
- Remove any fasteners that may have pulled away from the panel and reinstall them to the back of the panel.
- Slide the panel forward so the panel unhooks from around the door frame.
- Remove the lower body rear corner trim panel from the vehicle.

Installation Procedure
- Position the lower body rear corner trim panel so that the front edge hooks around the door frame.
- Ensure that the panel fasteners are aligned with the holes in the body.
- Install the panel by pushing firmly against the body to seat the panel fasteners.
- Install the body rear trim panel. Refer to Body Rear Trim Panel Replacement .
- Install the rear folding seat. Refer to Folding Seat Replacement .
- Install the rear seat back. Refer to Rear Seat Back Replacement .
- Install the rear door sill plates. Refer to Rear Side Door Sill Plate Replacement .

Body Side Rear Lower Trim Panel Replacement Crew Cab
Removal Procedure
- Remove the rear door sill plates. Refer to Rear Side Door Sill Plate Replacement .
- Remove the rear seat. Refer to Rear Bench Seat Replacement .
- Remove the body rear trim panel. Refer to Body Rear Trim Panel Replacement .
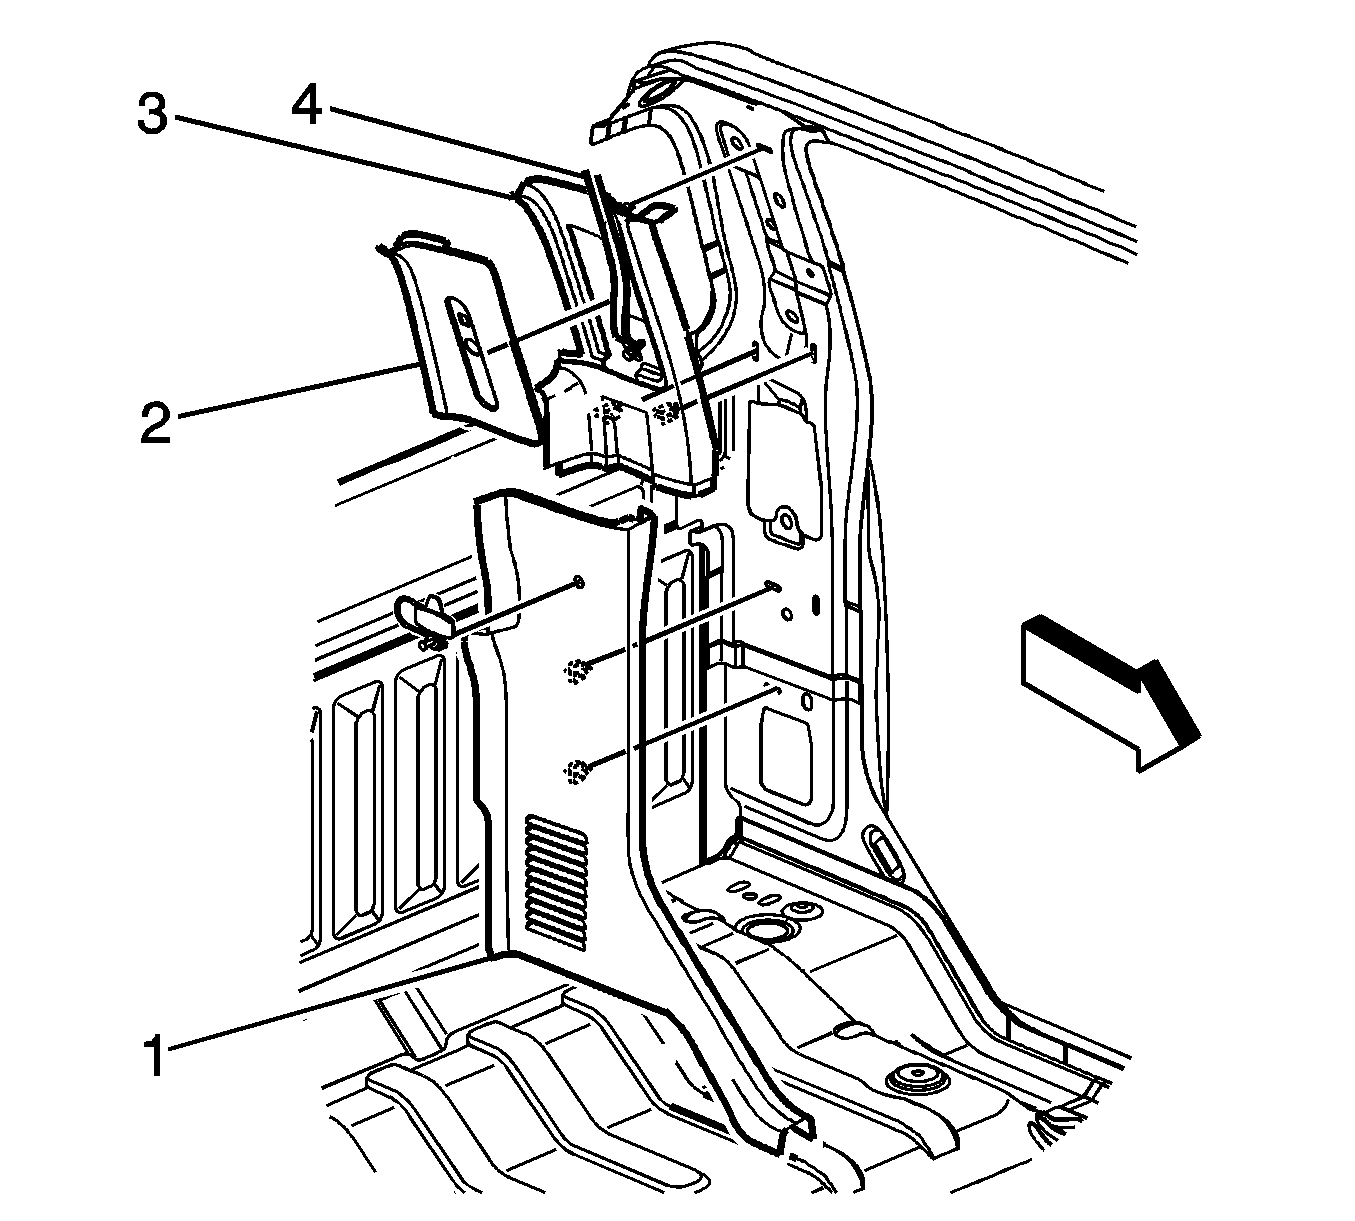
- Grasp the lower body rear corner trim panel and gently pull the panel (1) away from the body to release the fasteners.
- Remove any fasteners that may have pulled away from the panel and reinstall them to the back of the panel.
- Slide the panel forward so the panel unhooks from around the rear door frame.
- Remove the lower body rear corner trim panel from the vehicle.

Installation Procedure
- Position the lower body rear corner trim panel (1) so that the front edge hooks around the rear door frame.
- Ensure that the panel fasteners are aligned with the holes in the body.
- Install the panel by pushing firmly against the body to seat the panel fasteners.
- Install the body rear trim panel. Refer to Body Rear Trim Panel Replacement .
- Install the rear seat. Refer to Rear Bench Seat Replacement .
- Install the rear door sill plates. Refer to Rear Side Door Sill Plate Replacement .

