For 1990-2009 cars only
Lower Control Arm Replacement for Chevrolet Colorado Pickup - 4WD 2009
Lower Control Arm Replacement 2WD, Z85, ZQ8
Special Tools
J 43631 Ball Joint Remover

Removal Procedure
- Raise and support the vehicle. Refer to Lifting and Jacking the Vehicle.
- Remove the tire and wheel assembly. Refer to Tire and Wheel Removal and Installation.
- Remove the stabilizer shaft links from the lower control arm. Refer to Stabilizer Shaft Link Replacement.
- Remove the shock absorber nut and through bolt. Refer to Shock Absorber Replacement.
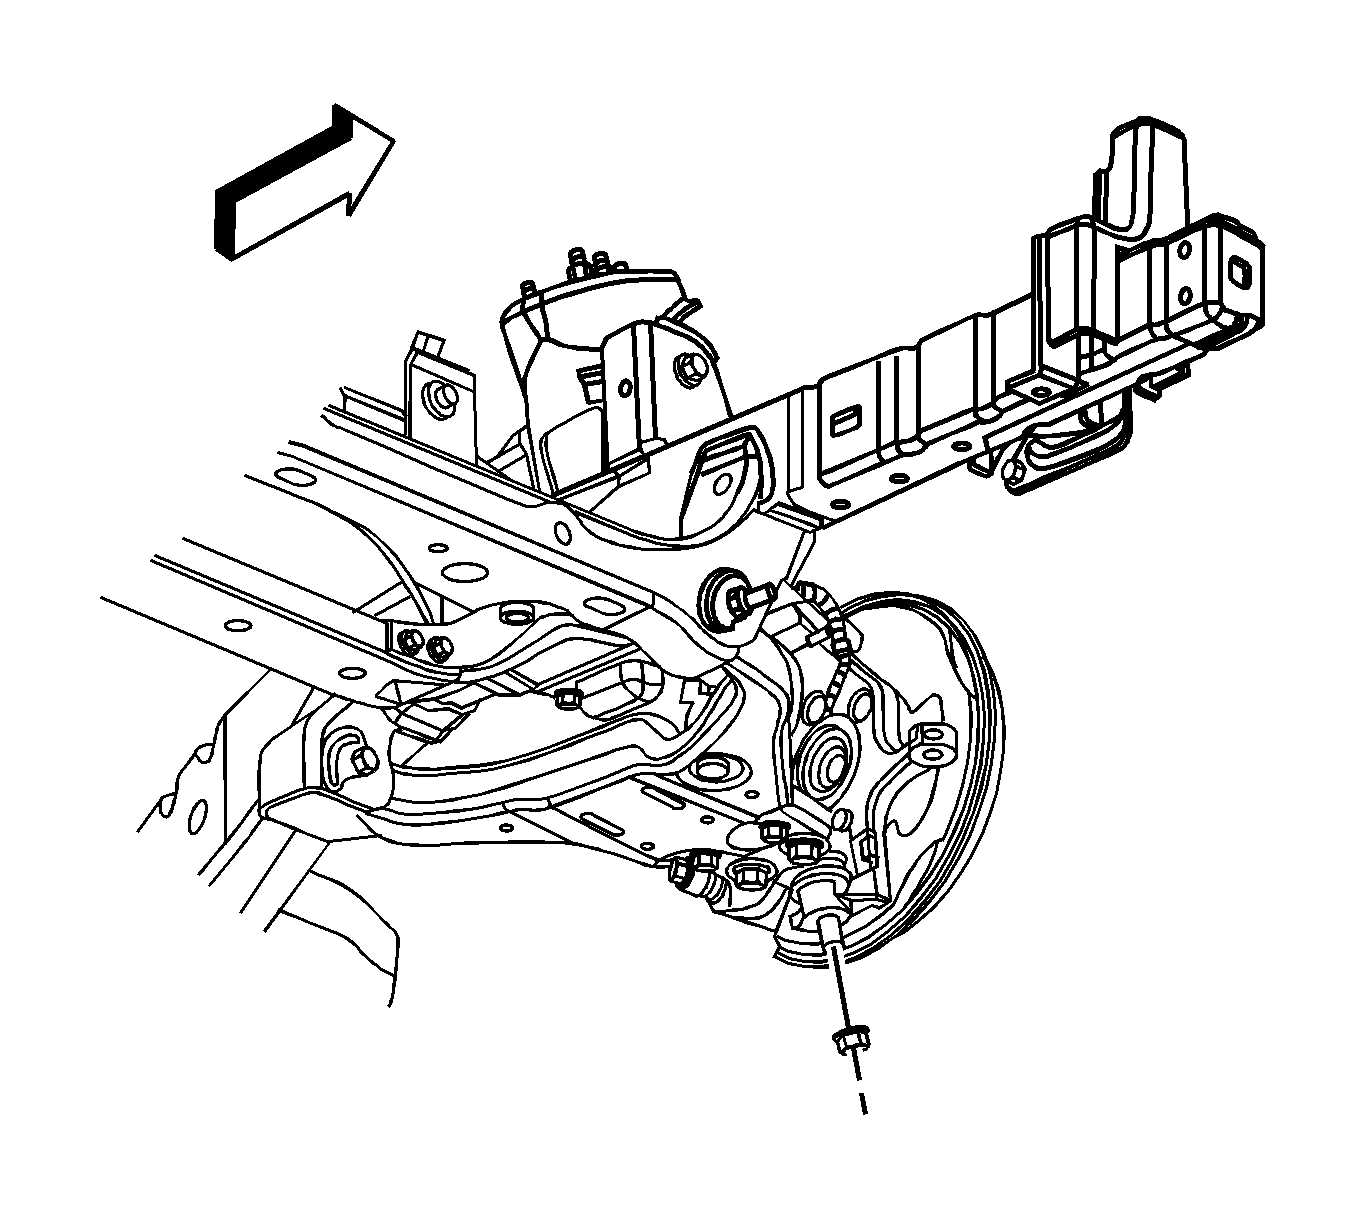
- Remove the lower ball joint stud nut.
- Disconnect the lower ball joint stud from the steering knuckle using J 43631 .
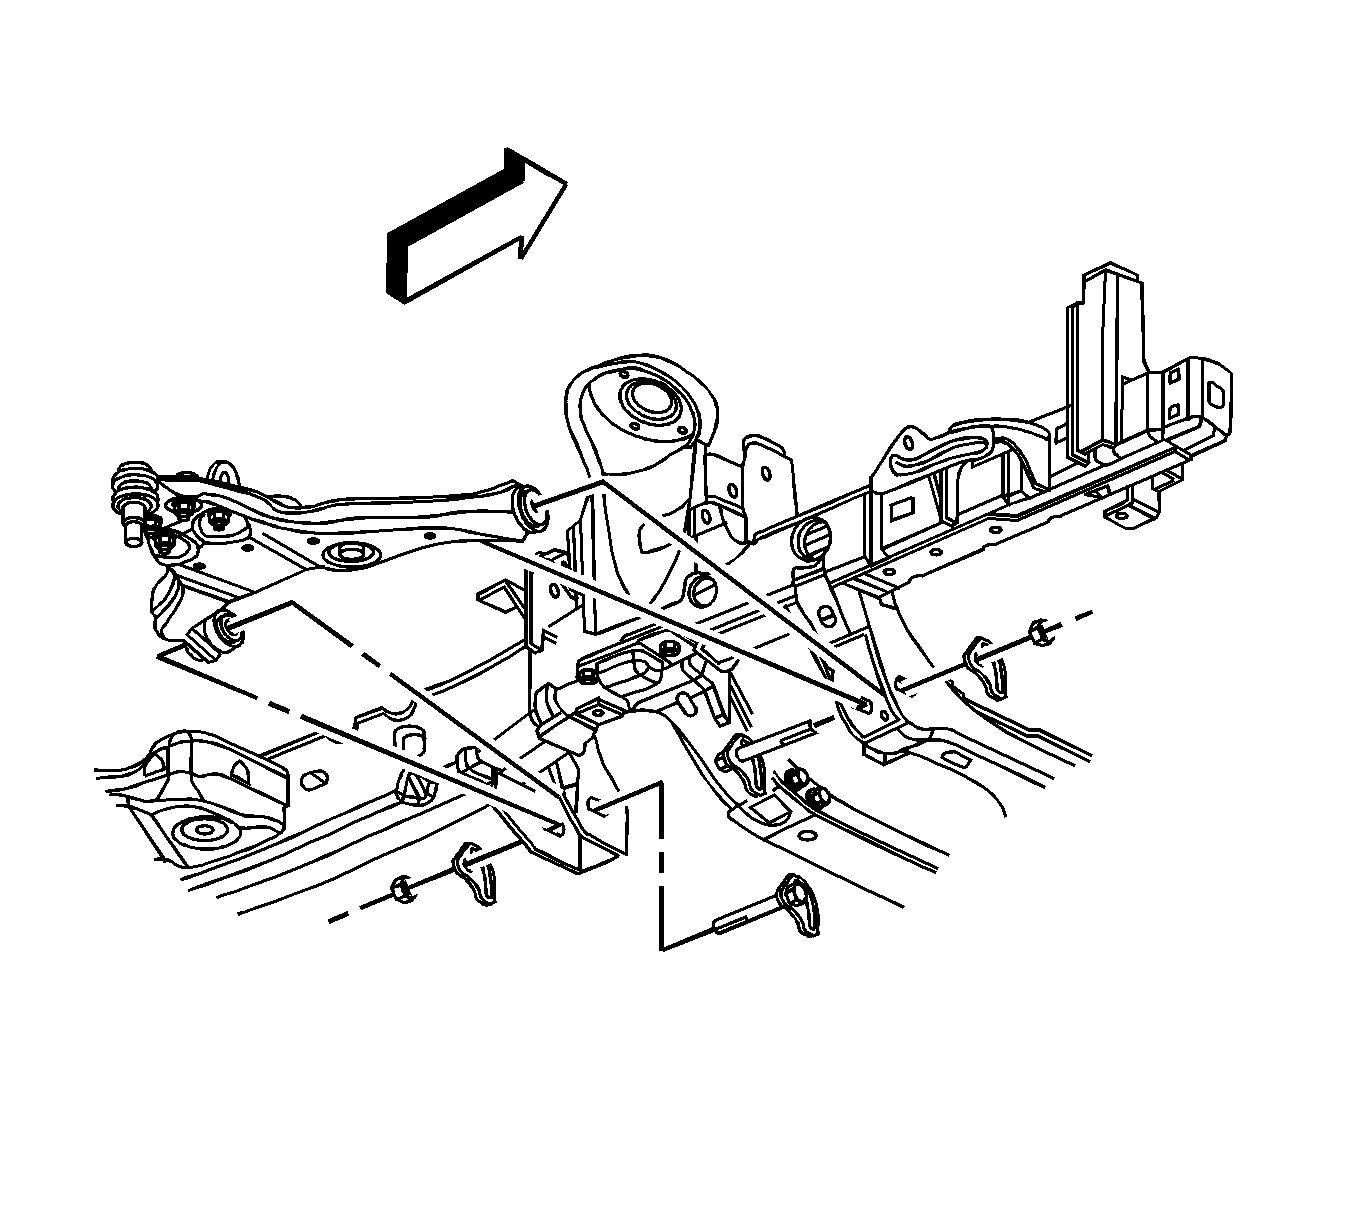
- Remove the lower control arm nuts and the alignment cams.
- Remove the lower control arm bolts.
- Remove the lower control arm.
Installation Procedure
- Install the lower control arm.
- Install the lower control arm bolts.
- Install the nuts and washers.
- Connect lower ball joint stud to the steering knuckle.
- Install the nut to the ball joint stud and tighten to 138 N·m (102 lb ft).
- Install the shock absorber through bolt and nut. Refer to Shock Absorber Replacement.
- Install the stabilizer shaft links to the lower control arm. Refer to Stabilizer Shaft Link Replacement.
- Install the tire and wheel assembly. Refer to Tire and Wheel Removal and Installation.
- Lower the vehicle.
- Verify the wheel alignment. Refer to Wheel Alignment Specifications.
Caution: Refer to Fastener Caution in the Preface section.
Note: The fasteners must be tightened in sequence. Tighten the rear nut first then the front nut.
| 3.1. | Tighten the rear nut to 155 N·m (114 lb ft). |
| 3.2. | Tighten the front nut to 155 N·m (114 lb ft). |
