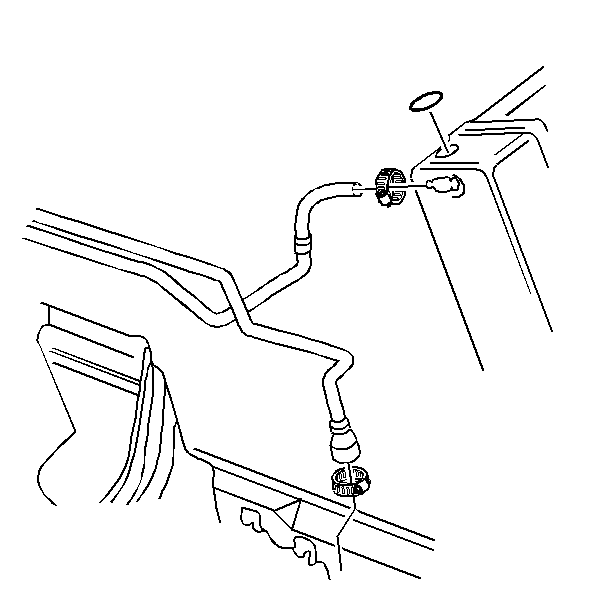
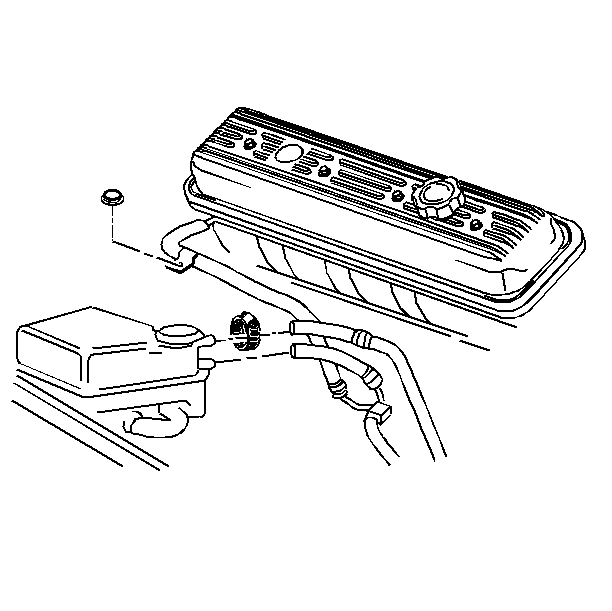
Removal Procedure
Tools Required
J 38185 Spring Hose
Clamp Pliers
Notice: When adding coolant, use DEX-COOL® coolant. If silicated coolant
is added to the system, premature engine, heater core or radiator corrosion
may result. In addition, the engine coolant will require change sooner-at
50 000 km (30,000 mi) or 24 months.
- Drain the coolant from the surge tank. Refer to
Cooling System Draining and Filling
.

- Remove the rubber air bleed access plug from the top of the upper radiator
support.
- Remove the following clamps:
| 3.1. | The bleed hose at the plenum |
| 3.2. | The recovery reservoir hose at the radiator surge tank |
| 3.3. | The recovery reservoir hose at the recovery reservoir |
| 3.4. | The bleed hose at the radiator surge tank |
| 3.5. | The radiator bleed hose at the radiator |

- Remove the nut that retains the plenum bleed hose bracket at the evaporator
case.
- Remove the screws that retain the hose and pipe assembly to the
center wheelhouse panel.
- Remove the coolant hose from the vehicle.
Installation Procedure
- Install the hoses and clamps.
- Install the hose and pipe assembly and screws to the center wheelhouse
panel.
Tighten
Tighten the hose and pipe screws to 2 N·m (18 lb in).
Notice: Use the correct fastener in the correct location. Replacement fasteners
must be the correct part number for that application. Fasteners requiring
replacement or fasteners requiring the use of thread locking compound or sealant
are identified in the service procedure. Do not use paints, lubricants, or
corrosion inhibitors on fasteners or fastener joint surfaces unless specified.
These coatings affect fastener torque and joint clamping force and may damage
the fastener. Use the correct tightening sequence and specifications when
installing fasteners in order to avoid damage to parts and systems.

- Install the nut that retains the plenum bleed hose bracket at the evaporator
case.

- Install the rubber access plug on the upper radiator support.
- Refill the cooling system. Refer to
Cooling System Draining and Filling
.


