For 1990-2009 cars only
Front Spring Hanger Assembly for Chevrolet Corvette 1996
Removal Procedure
- Raise the vehicle. Refer to Section 0A.
- Remove the bolts securing the three-way converter (TWC) flanges to the front exhaust flanges.
- Support the exhaust system.
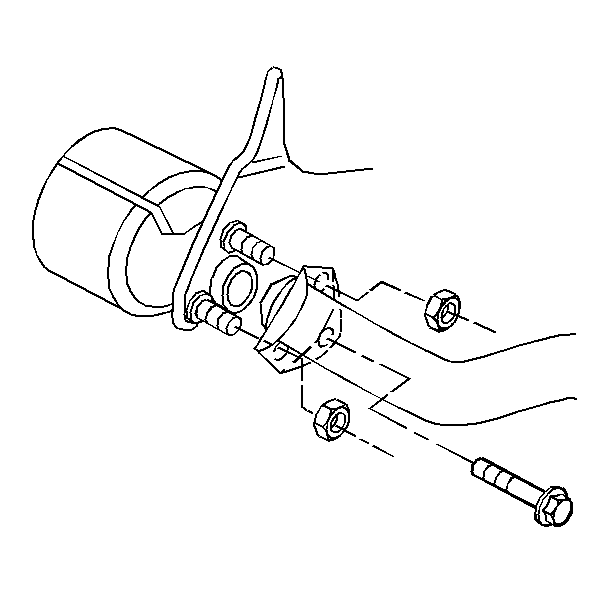
- Remove the bolts securing the exhaust resonator to the front spring hanger.
- Lower the exhaust system for clearance.
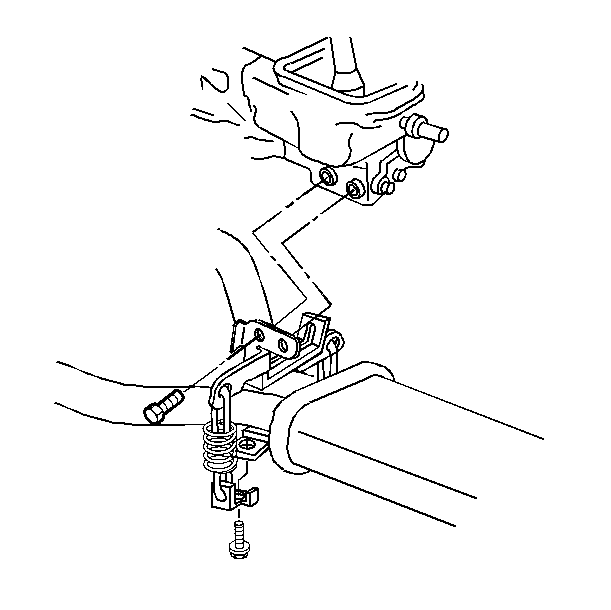
- Remove the bolts securing the hanger bracket to the transmission.
- Remove the front spring hanger.
Installation Procedure
- Position the hanger bracket to the transmission.
- Install the bolts. Finger tighten only.
- Raise the exhaust system. Install the bolts that secure the exhaust resonator to the front spring hanger. Finger tighten only.
- Install the bolts that secure the three-way converter (TWC) flanges to the flanges of the front exhaust pipe. Finger tighten only.
- Align the exhaust system. Check for proper clearances between other components.
- Tighten the fasteners on the system.
- Remove the exhaust system support.
- Lower the vehicle.
Important: In order to avoid rattles and vibrations, tighten the fasteners from the front to the rear.
Tighten
| • | Tighten the TWC to the flange bolts of the front exhaust pipe to 20 N·m(15 lb ft). |
| • | Tighten the hanger bracket to the transmission bolts to 17 N·m (13 lb ft). |
| • | Tighten the exhaust resonator assembly to the front spring hanger assembly bolts to 25 N·m (18 lb ft). |
Notice: Use the correct fastener in the correct location. Replacement fasteners must be the correct part number for that application. Fasteners requiring replacement or fasteners requiring the use of thread locking compound or sealant are identified in the service procedure. Do not use paints, lubricants, or corrosion inhibitors on fasteners or fastener joint surfaces unless specified. These coatings affect fastener torque and joint clamping force and may damage the fastener. Use the correct tightening sequence and specifications when installing fasteners in order to avoid damage to parts and systems.
