Tools Required
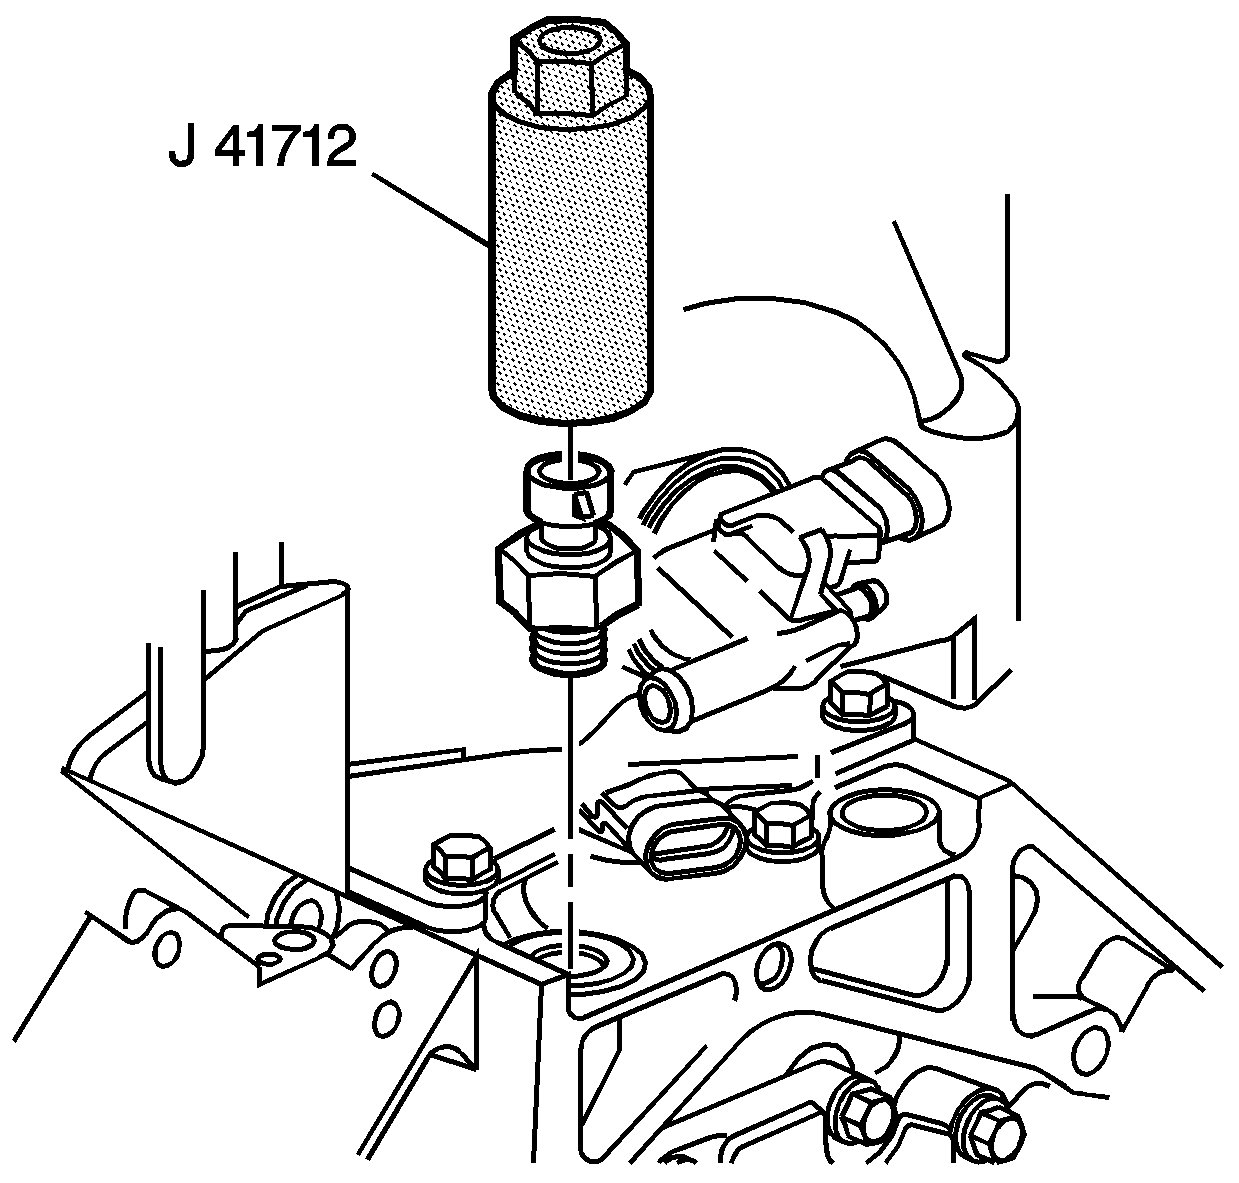
J 41712 Oil Pressure Sensor Socket
Important:
• Engine block plug (oil gallery, and coolant, and coolant heater)
sealing washers may be reused if not bent, scored or otherwise damaged. • Apply the proper amount and type of sealant to the sealing washer
as recommended in the service procedure.
- Apply a 3.175 mm (0.125 in) bead of sealant GM P/N 12346004 or equivalent to the engine block coolant heater sealing washer (if applicable).
- Install the engine block coolant heater to the engine block (if applicable).
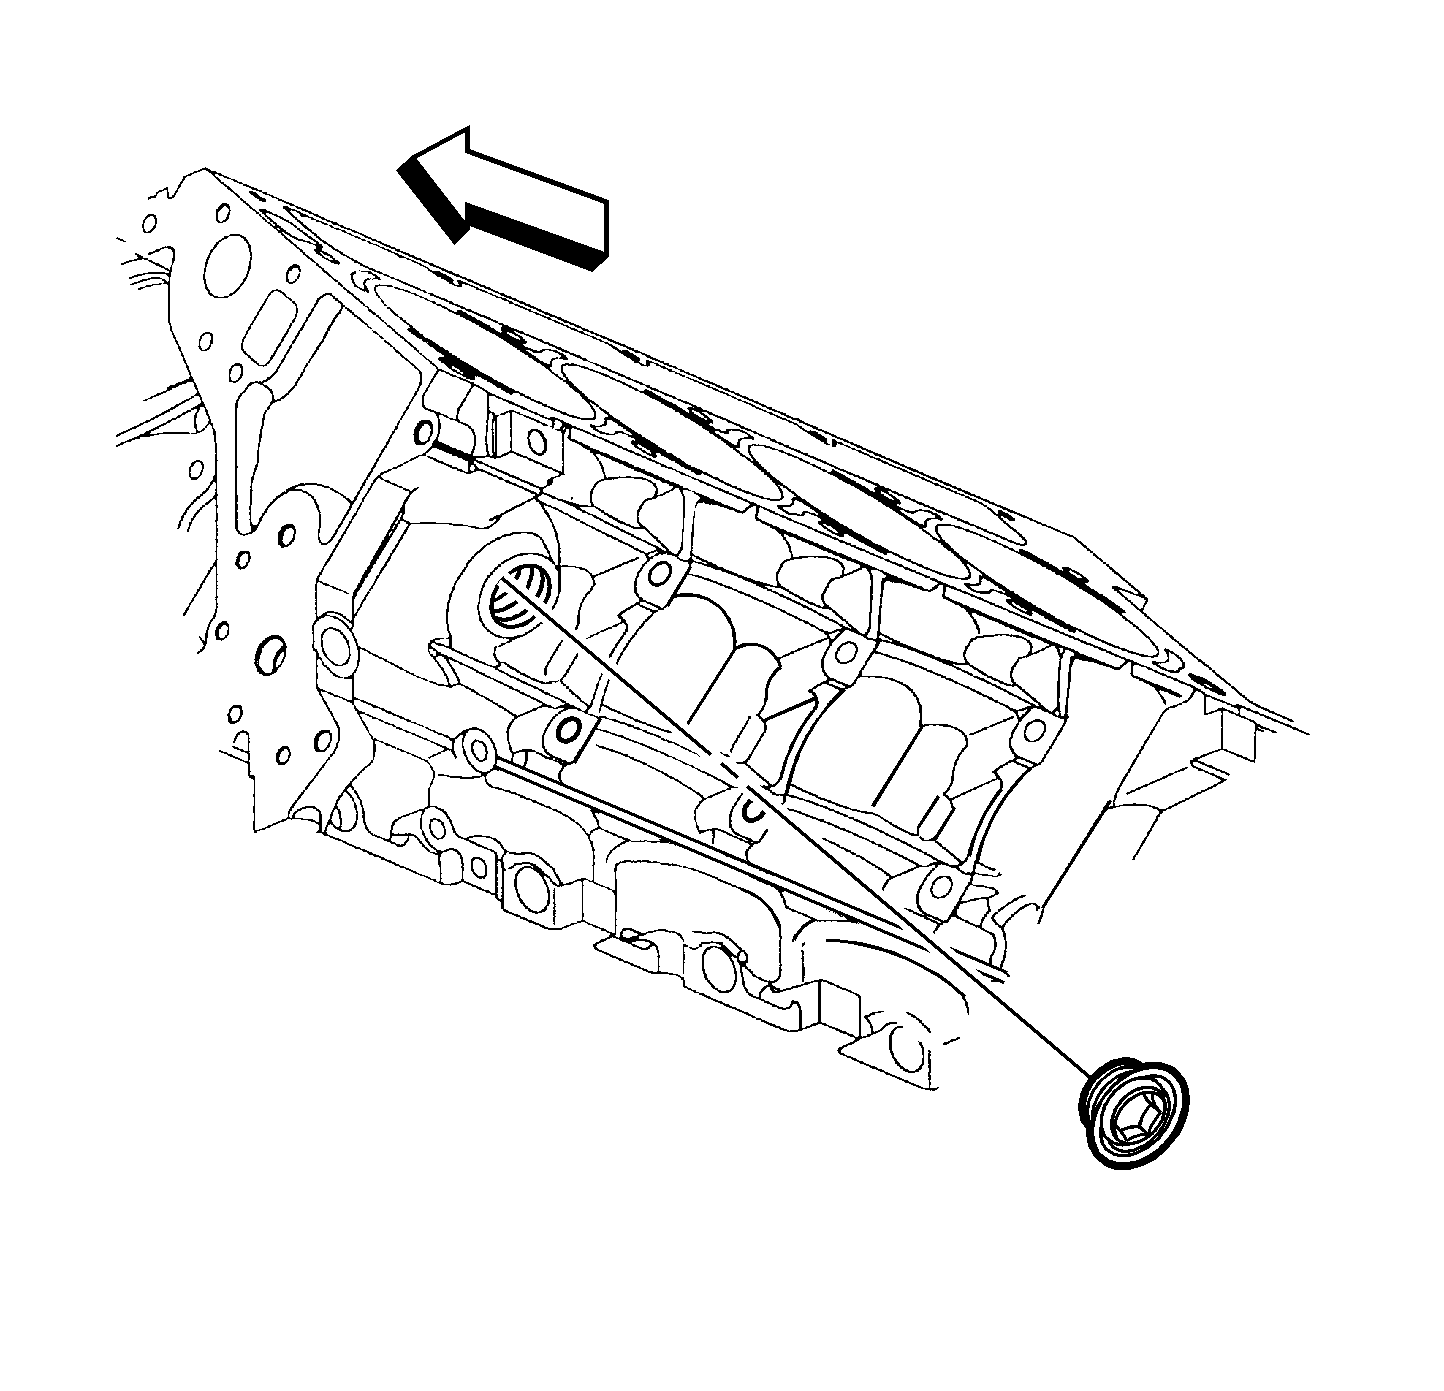
- Apply a 3.175 mm (0.125 in) bead of sealant GM P/N 12346004 or equivalent to the engine block left front coolant drain plug sealing washer (if applicable).
- Install the engine block left front coolant drain plug (if applicable).
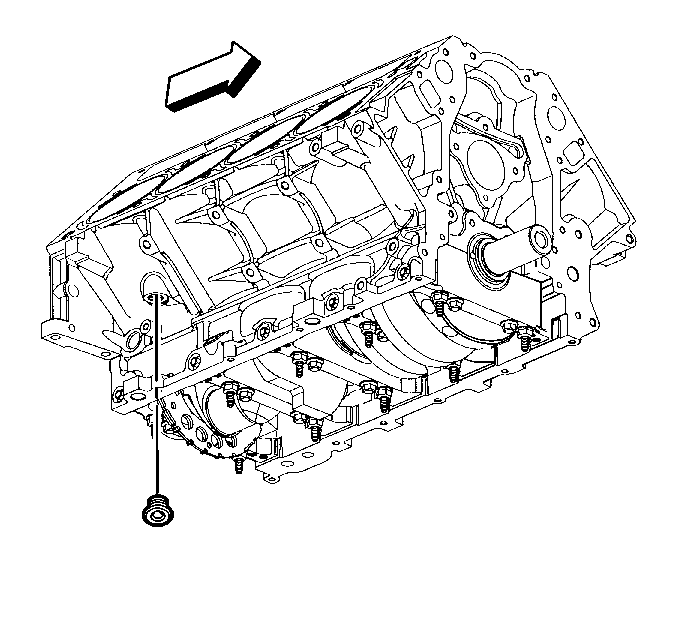
- Apply a 3.175 mm (0.125 in) bead of sealant GM P/N 12346004 or equivalent to the engine block right rear coolant drain plug sealing washer.
- Install the engine block right rear coolant drain plug.
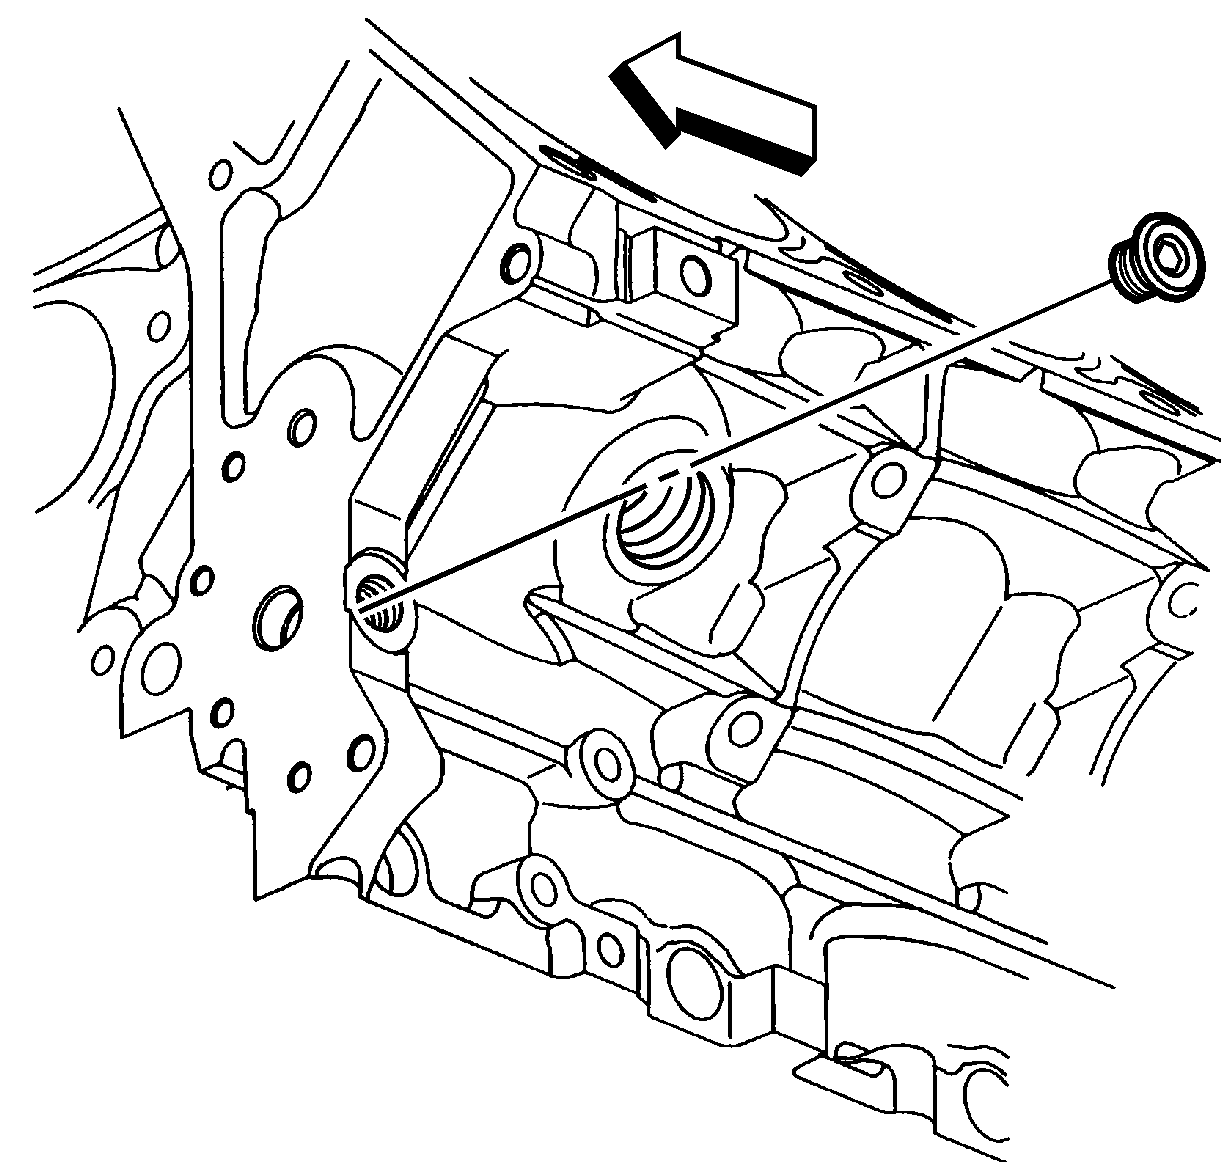
- Apply a 3.175 mm (0.125 in) bead of sealant GM P/N 12346004 or equivalent to the engine block left front oil gallery plug sealing washer.
- Install the engine block left front oil gallery plug.
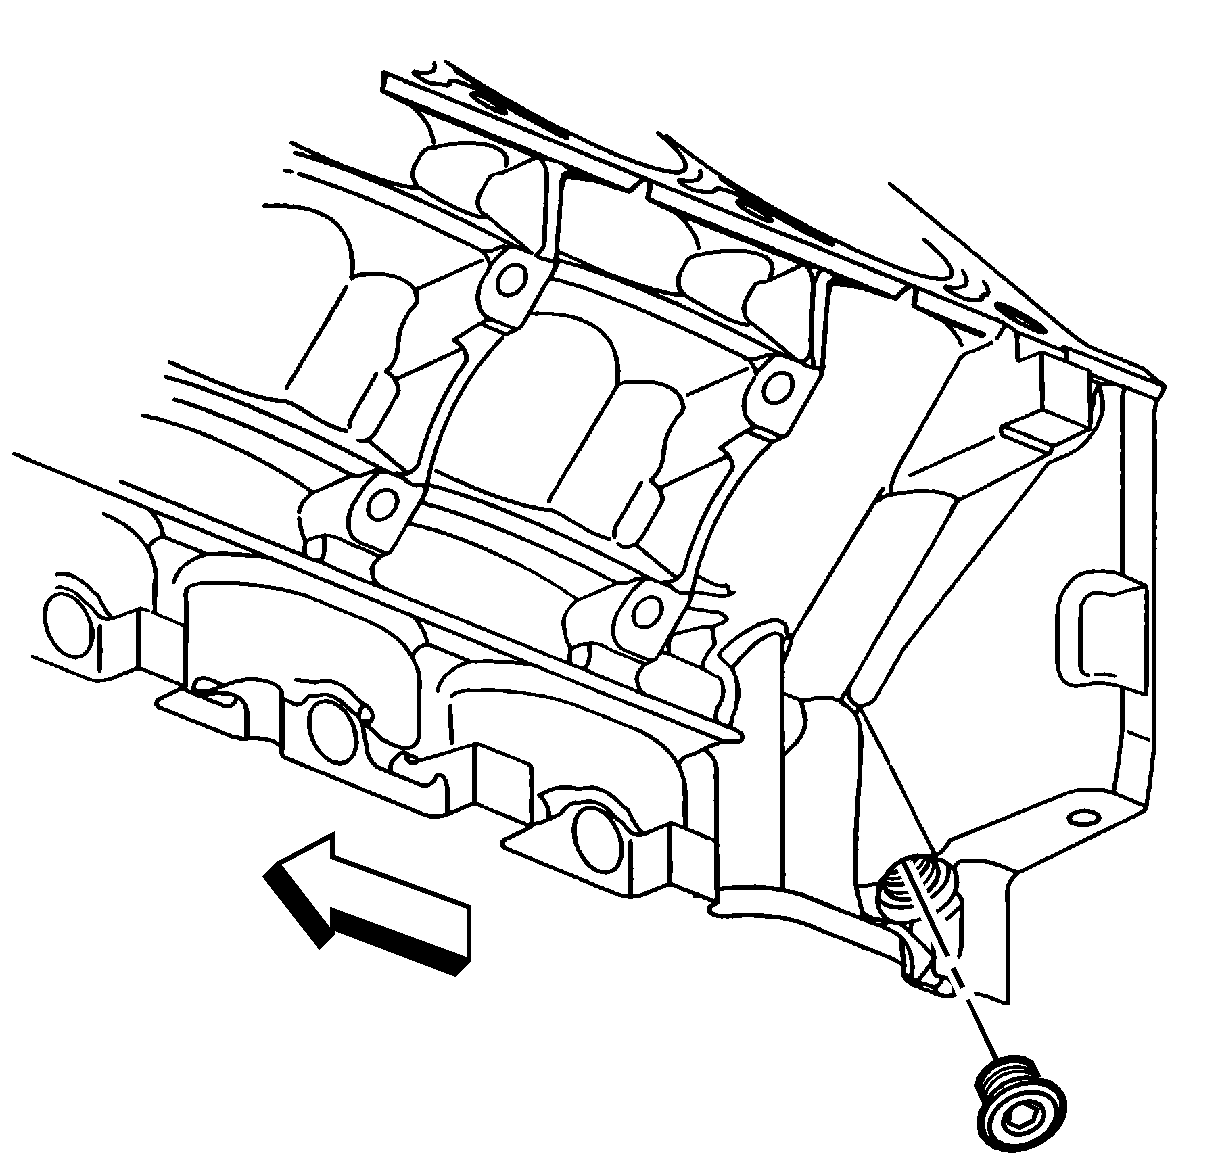
- Apply a 3.175 mm (0.125 in) bead of sealant GM P/N 12346004 or equivalent to the engine block left rear oil gallery plug sealing washer.
- Install the engine block left rear oil gallery plug.
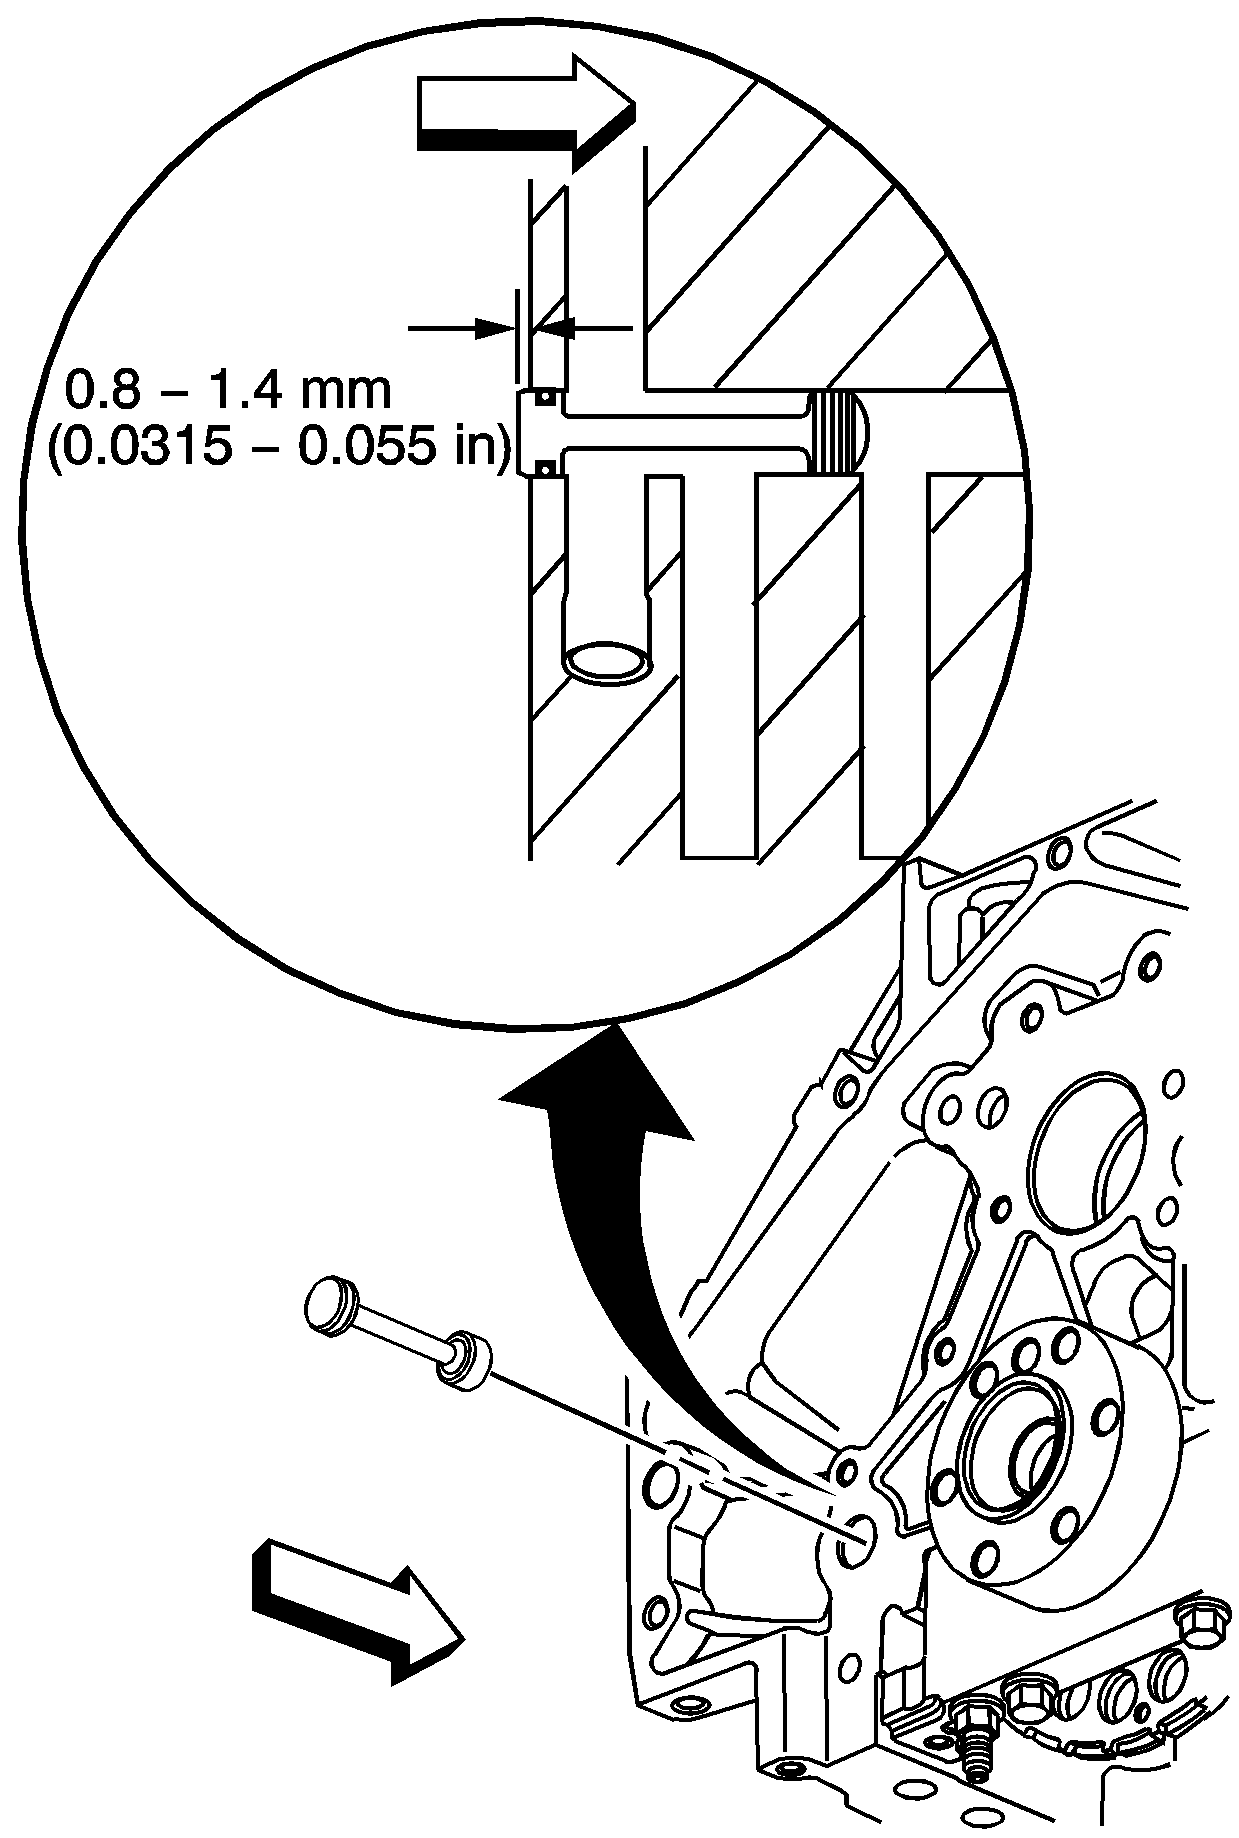
- Inspect the engine block rear oil gallery plug and O-ring seal. If the O-ring seal on the plug is not cut or damaged, the rear oil gallery plug may be reused.
- Lubricate the O-ring seal with clean engine oil.
- Install the block rear oil gallery plug into the oil gallery bore. A properly installed block plug will protrude 0.8-1.4 mm (0.0315-0.055 in) beyond the rear face of the block.
- Apply sealant GM P/N 12345382 or equivalent to the sides of the NEW front oil gallery plug.
- Install a NEW engine block front oil gallery plug (if required). Install the front oil gallery plug into the oil gallery bore 2.2-2.8 mm (0.0086-0.011 in) below flush.
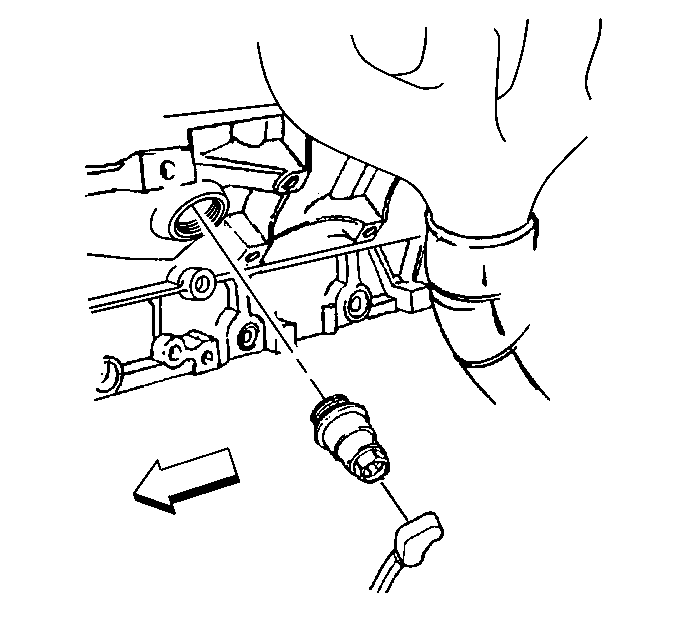
- Apply sealant GM P/N 12346004 or equivalent to the threads of the oil pressure sensor.
- Use the J 41712 or equivalent in order to install the oil pressure sensor (if required).
Tighten
Tighten the block coolant heater to 40 N·m (30 lb ft).
Notice: Use the correct fastener in the correct location. Replacement fasteners must be the correct part number for that application. Fasteners requiring replacement or fasteners requiring the use of thread locking compound or sealant are identified in the service procedure. Do not use paints, lubricants, or corrosion inhibitors on fasteners or fastener joint surfaces unless specified. These coatings affect fastener torque and joint clamping force and may damage the fastener. Use the correct tightening sequence and specifications when installing fasteners in order to avoid damage to parts and systems.
Tighten
Tighten the block left front coolant drain plug to 60 N·m
(44 lb ft).
Tighten
Tighten the block right rear coolant drain plug to 60 N·m
(44 lb ft).
Tighten
Tighten the block left front oil gallery plug to 60 N·m
(44 lb ft).
Tighten
Tighten the block left rear oil gallery plug to 60 N·m
(44 lb ft).
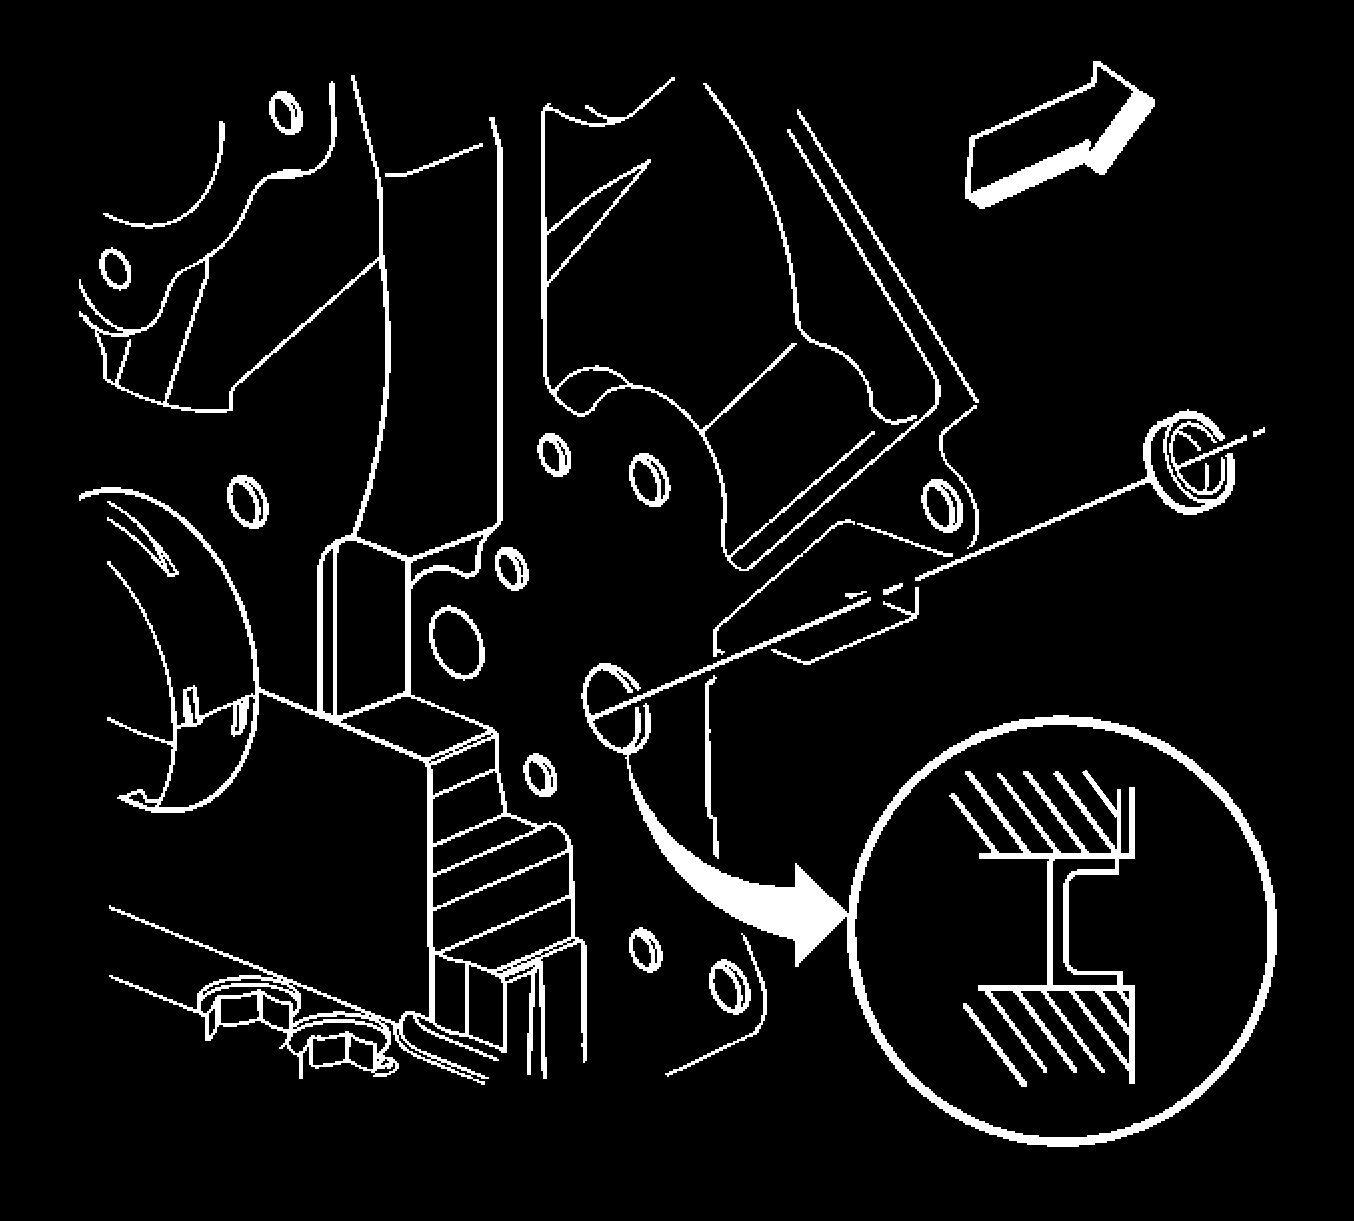
Important: The engine block front oil gallery plug should not be removed unless service is required.
Do not install the plug more than the recommended depth.
Tighten
Tighten the oil pressure sensor to 20 N·m (15 lb ft).
