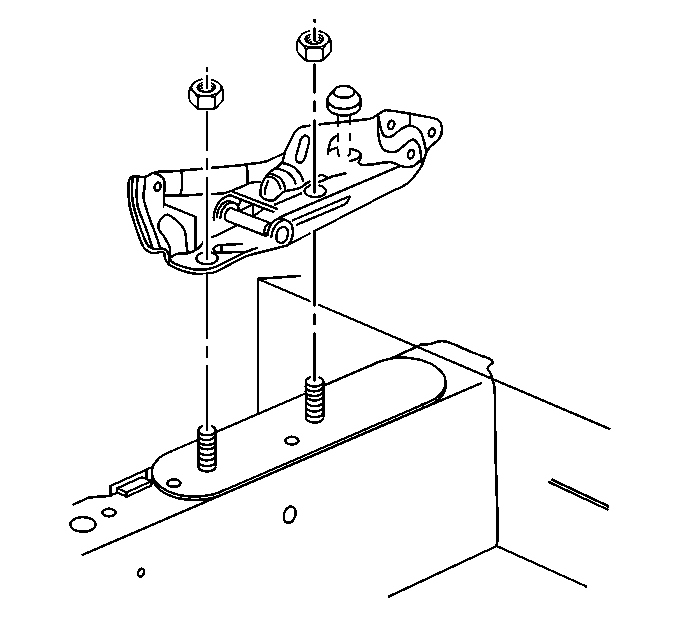
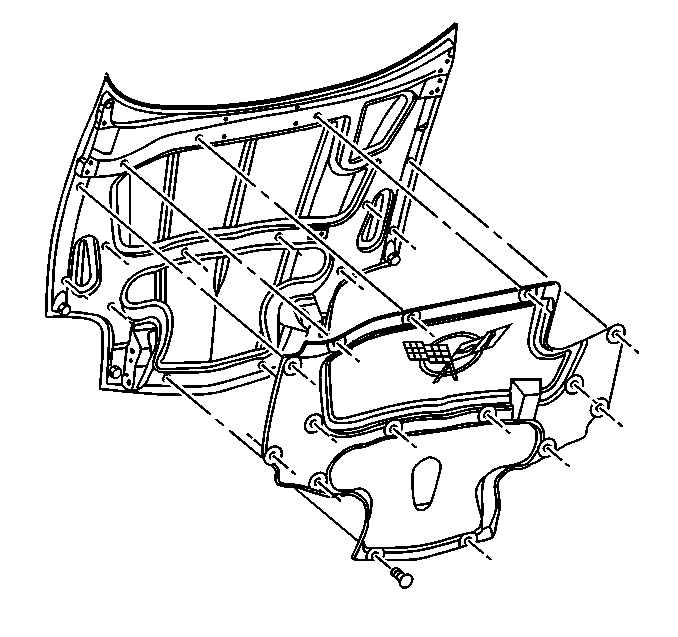
Caution: When a hood hold open device is being removed or installed, provide alternate support to avoid the possibility of damage to the vehicle or personal injury.
Notice: When removing body panels, apply tape to corners of panel and adjacent surfaces to help prevent paint damage.
Removal Procedure
- Scribe the location of the hinges to the frame rails.
- Disconnect the under hood light electrical wire connector located at the front of the right frame rail.
- With the aid of a helper, support the hood assembly.
- Remove the struts from the upper ball studs.
- Remove the nuts attaching the hinge to the frame rail.
- Remove the hood.
- Transfer parts as necessary.


Installation Procedure
- With the aid of a helper position the hood with hinges to the scribe marks on the frame rails.
- Install the nuts attaching the hinge to the frame rail.
- Install the struts.
- Connect the underhood light electrical connection.
- Adjust the hood fit as necessary.

Tighten
Tighten the hinge to frame rail nuts to 25 N·m (18 lb ft).
Notice: Use the correct fastener in the correct location. Replacement fasteners must be the correct part number for that application. Fasteners requiring replacement or fasteners requiring the use of thread locking compound or sealant are identified in the service procedure. Do not use paints, lubricants, or corrosion inhibitors on fasteners or fastener joint surfaces unless specified. These coatings affect fastener torque and joint clamping force and may damage the fastener. Use the correct tightening sequence and specifications when installing fasteners in order to avoid damage to parts and systems.
