For 1990-2009 cars only
When the fiberglass laminate is not pierced through or the damage extensive, the damaged area can be repaired using the following procedure:
- Clean and inspect the damaged area. Refer to General Plastic Repair
- Finish the cleanup using a tack rag and air.
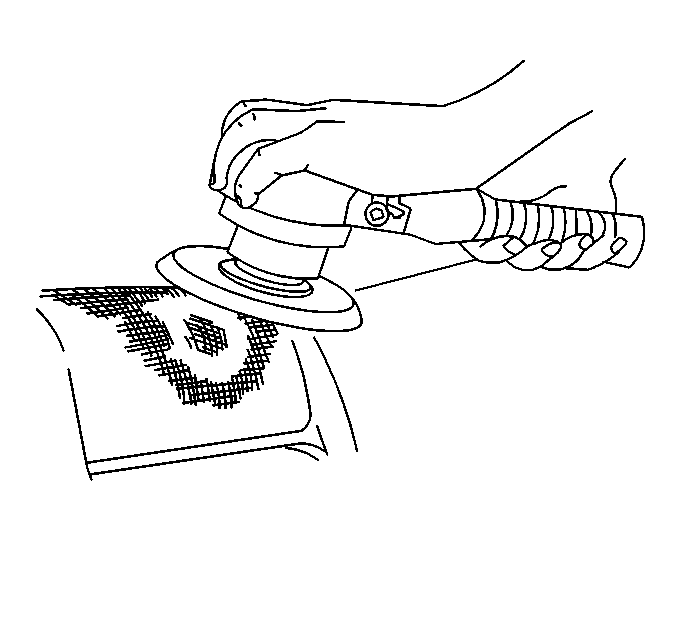
- Sand the damaged area down to the fiberglass laminate.
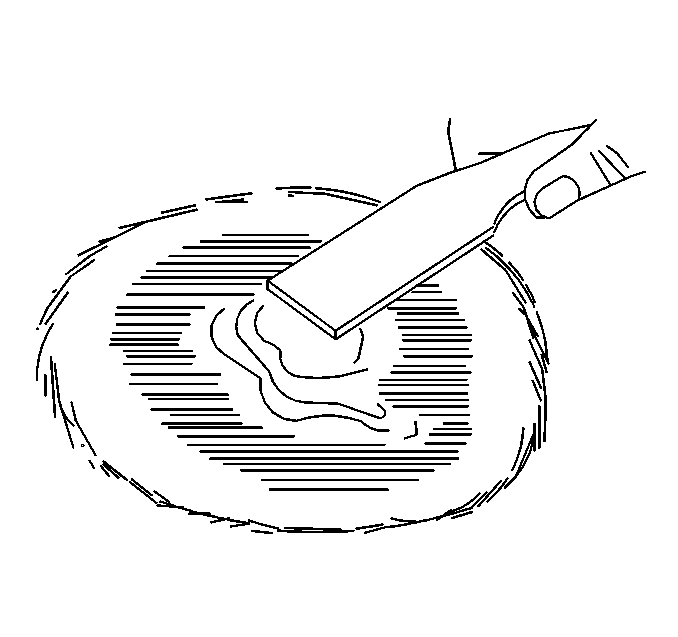
- Grind or file the edges of the damaged area in order to form a dish.
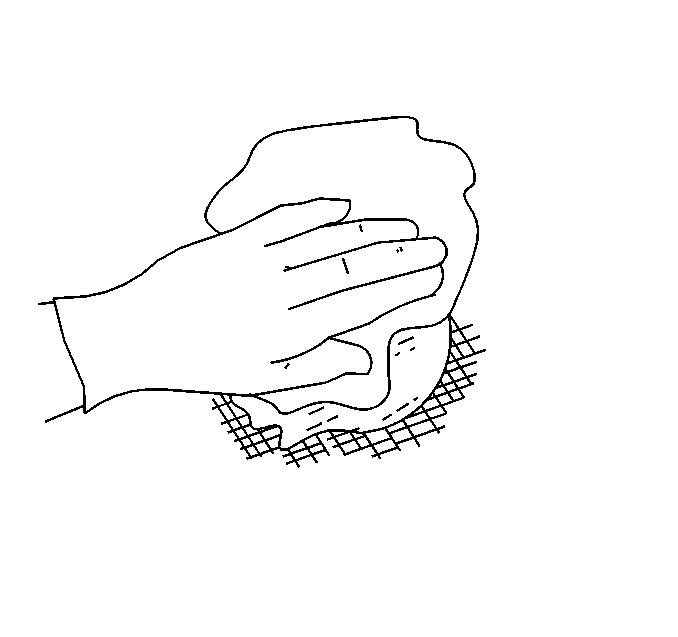
- Scuff sand the area surrounding the damaged area in order to provide a good bonding surface.
- Clean the repair area again using a wax and grease remover.
- Finish the cleanup using a tack rag and air.
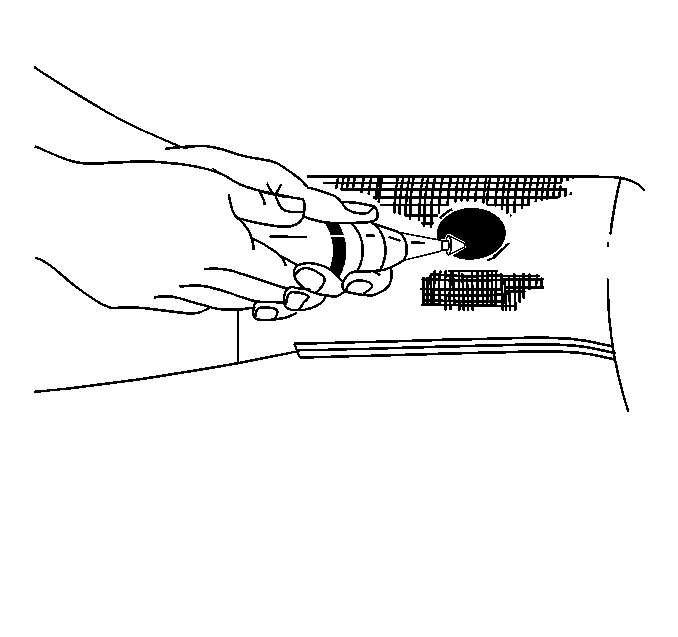
- Mix the recommended repair material. Refer to Flexible Plastic Part Repair Materials or Rigid Plastic Part Repair Materials .
- Apply the repair material to the damaged area until the repair is slightly higher than the surrounding area.
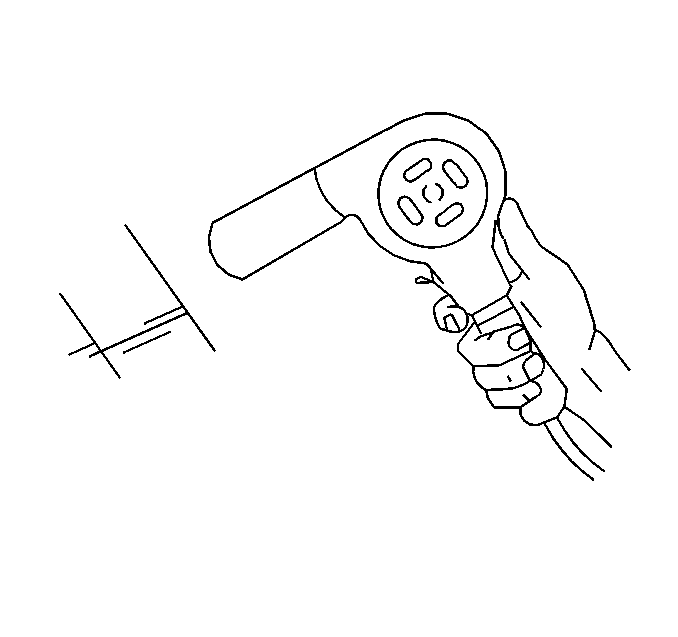
- Cure the repair material. Follow the manufacturer's recommendations.
- Rough out the surface using a #80 grit disc on a D.A. sander or a curved-tooth body file.
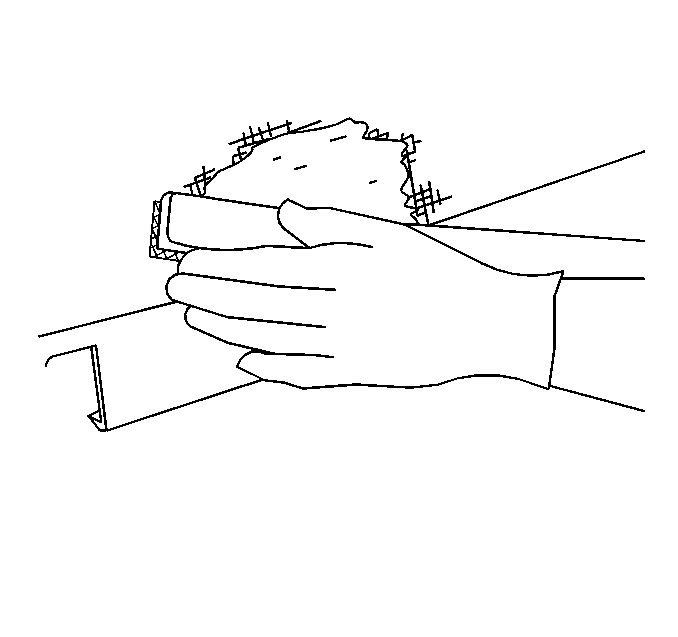
- Finish sand the area using a #220-320 grit wet or dry sandpaper on a sanding block.
| • | The side of the dish should have a pitch for a maximum bonding surface. |
| • | Use a sander with a vacuum attachment in order to minimize dust. |