Removal Procedure
Tools Required
J 42058 Frame Adapter Clamp
- Visually inspect and restore as much of the damage as possible to specifications using three-dimensional measuring procedures. Use J 42058 if pulling and straightening of the vehicle are required.
- Remove all panels, components, and interior trim located in the rear compartment.
- Remove both rear quarter panels.
- Remove the rear compartment frame panel rear surround.
- Drill out and remove six screws attaching the tub to the rails.
- Apply heat to inside of tub along bond lines indicated by the scribe lines on the floor of the tub.
- Pry up on the tub at the adhesive joint until tub bond breaks loose.
- Remove damaged rear compartment panel.
Important: Save any and all brackets, mounting studs, and accessories for transfer to the new rear compartment panel.
Caution: Make sure the fuel inlet is sealed before proceeding with repair procedure.
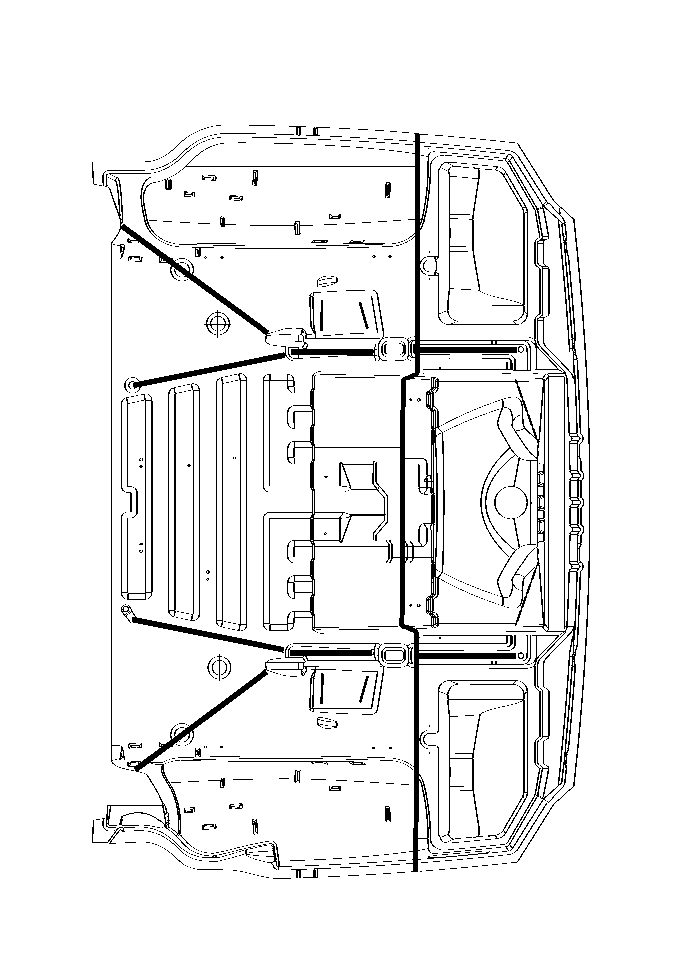
Important: The front edge of tub is also bonded across the seatback area and along the top of the rear impact bar. Detach bonds and remove as necessary.
Installation Procedure
- Remove all original adhesive using suitable tool.
- Scuff all bonding surfaces to ensure proper adhesion.
- Clean and prepare all bonding surfaces as necessary.
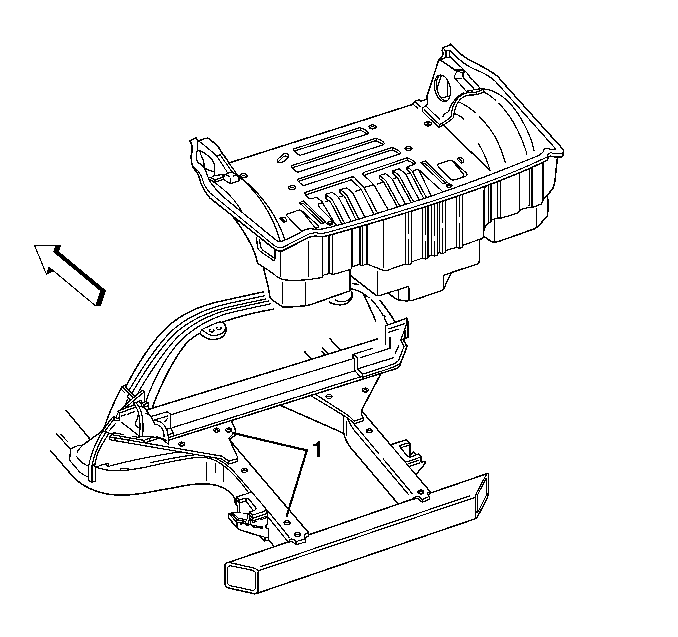
- Temporarily install the tub. The panel must fit flush with the surface of the rails and impact bar.
- Prime all bare metal surfaces with DP90, or an equivalent anti-corrosion primer. Do not top-coat any bonding surface.
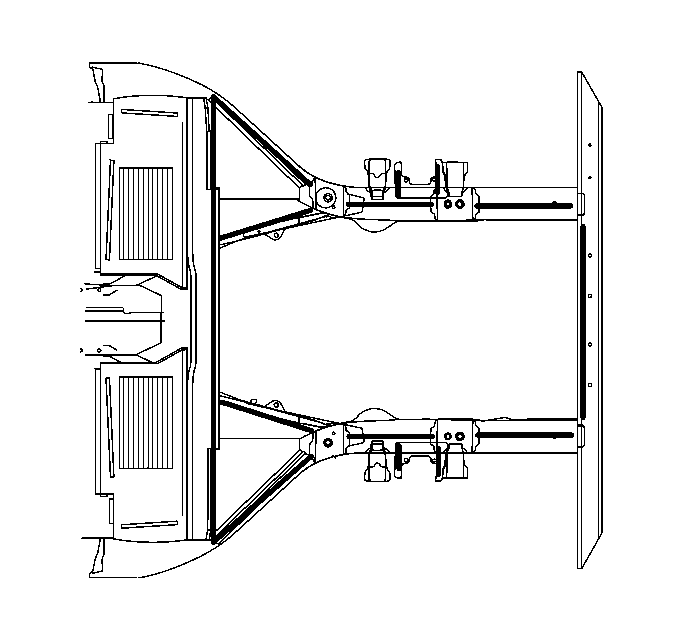
- Apply a consistent bead of adhesive, 10 mm in diameter, to the rail surface.
- Apply adhesive to the backside of the lock pillars, as well as over the fuel filler neck.
- Install the tub orienting the frame locating pins.
- Press down firmly on the entire tub to wet-out the adhesive.
- Use six close-end rivets (GM part number 9418420, or equivalent) in areas indicated along the bond line to hold the tub to the rails while adhesive cures.
- Remove any excess adhesive squeeze-out as necessary.
- Let adhesive cure according to adhesive manufacturer recommendations.
- Install all related panels and components.
Important: Use US Chemical and Plastics 82007B System 2000 Structural Adhesive, a PLIOGRIP® Adhesive manufactured by Ashland Chemical Company, or equivalent. Note the 30 minute working time and 2½ to 3 hour cure time.
Important: The rear compartment panel is positioned to the driver's side rail assembly using two dimples formed in the bottom surface of the tub.
Notice: Use fasteners no longer than 20 mm (¾ in) in length.
