Removal Procedure
- Heat the molding to between
32°-38°C (90°-100°F) to aid in removal.
- Pull the molding from the door.
| • | Cut the adhesive as the molding is pulled loose. |
- Clean any remaining adhesive from the door panel using an adhesive
and stripe removal disc or a suitable cleaner.
| • | 3M® Scotch Bright Molding Adhesive and Stripe Removal Disc,
or equivalent. |
| • | 3M® General Purpose Adhesive Cleaner, or equivalent. |
Installation Procedure
- Clean the surface area
of the door where the molding is to be applied with 3M® General Purpose
Adhesive Cleaner, or equivalent.
- Preheat the adhesive portion of the door molding and the mounting
area of the door to between 32°-38°C (90°-100°F).
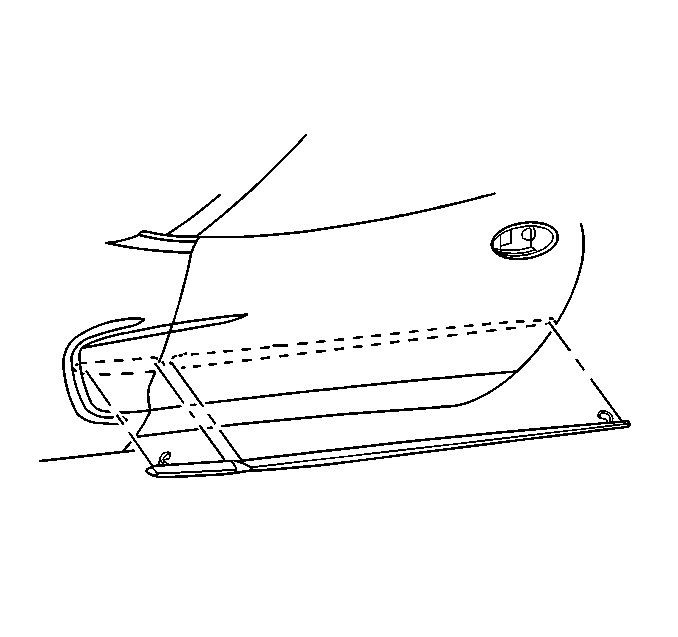
- Using a flexible tape measure locate and mark with masking tape
the mounting position of the molding.
| • | The distance between the forward upper edge of the fender down
to the top of the molding is 335 mm (13.2 in). |
| • | The distance between the bottom of the door handle key hole opening
down to the top of the molding is 195 mm (7.8 in). |
| • | The front edge of the molding is positioned 5 mm (0.2 in)
rearward of the front edge of the door. |
- Peel the protective liner paper from the adhesive on the new molding.
- Align the molding to the door and press the molding firmly to
the door using a hand roller to wet out the entire length of the door molding.
