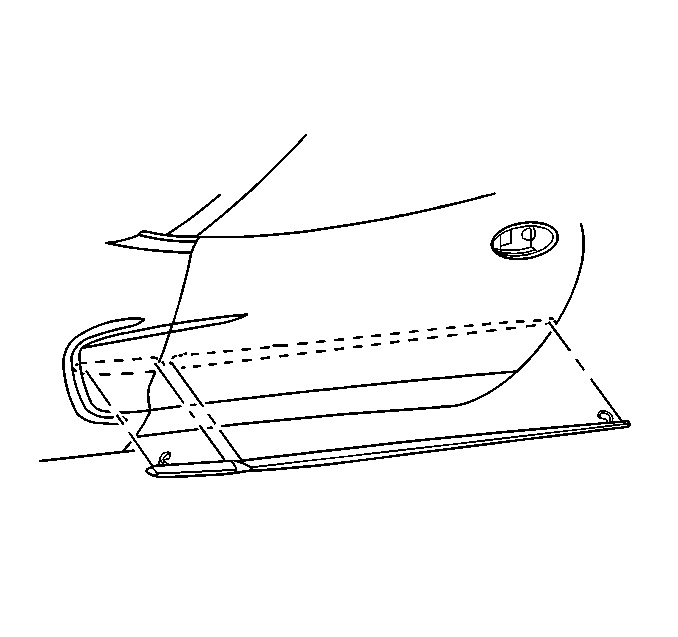
Tools Required
J 25070 Heat Gun
Removal Procedure

- When replacing an body side molding, do
the following:
| 1.1. | Use tape to protect the mounting surface during removal. |
| 1.2. | Use tape for alignment marks for installation of the body side
molding. |
- To remove an body side molding, heat the body side molding using
a J 25070
.
- Apply the heat using a circular motion for about 30 seconds holding
the J 25070
approximately
152 mm (6 in) from the surface.
Notice: Use a plastic, flat-bladed tool to prevent paint damage when removing
an emblem/name plate.
- Use a plastic, flat-bladed tool to remove the body side molding from
the panel surface.
Installation Procedure

- Heat the mounting surface to approximately
27-41°C (80-105°F) using the J 25070
, if necessary.
- Ensure that the temperature of the body side molding is approximately
29-32°C (85-90°F).
Important: Do not touch the adhesive backing on the body side molding.
- Remove the protective liner from the back of the body side molding.
- Position the molding to the following dimensions.
| • | The distance between the forward upper edge of the fender down
to the top of the molding is 335 mm (13.2 in). |
| • | The distance between the bottom of the door handle key hole opening
down to the top of the molding is 195 mm (7.8 in). |
| • | The front edge of the molding is positioned 5 mm (0.20 in)
rearward of the front edge of the door. |
- Apply equal pressure along the body side molding to uniformly
bond the item to the mounting surface.
- Remove the protective tape from the mounting surface.


