Removal Procedure
Caution: Disconnect the power window switch when working inside the driver's door. When operated, the Express Down Feature allows the door window to drop very quickly, without stopping, which could cause personal injury.
Important: The clip retaining the outside door handle opening rod to the door lock should not be reused. To ensure the proper retention of the rod the clip must be replaced after being opened to release the rod.
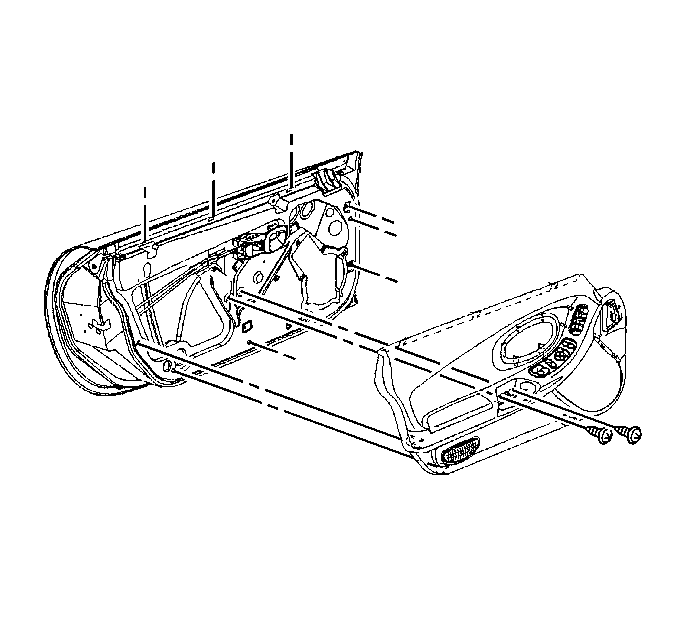
- Remove the door trim panel. Refer to Door Trim Panel Replacement .
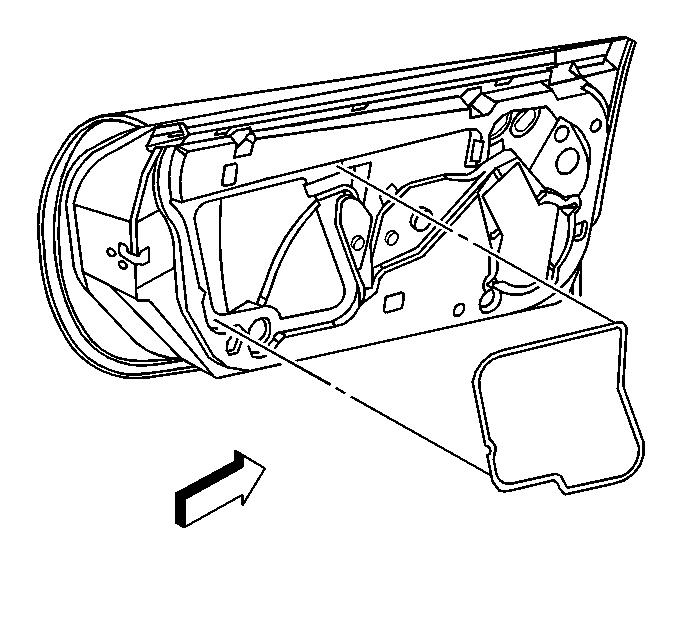
- Remove the water deflector.
- Remove the switch from the door trim panel.
- Reconnect the power window switch to the wire harness and raise the door window.
- Disconnect the switch.
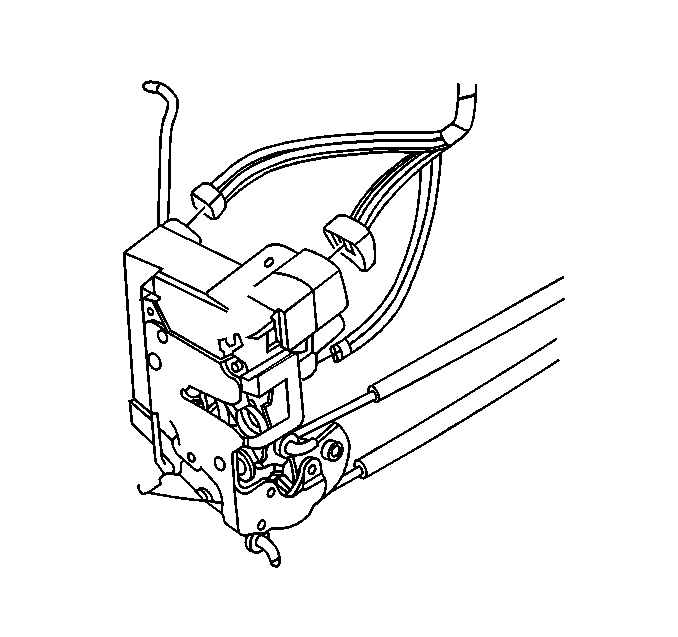
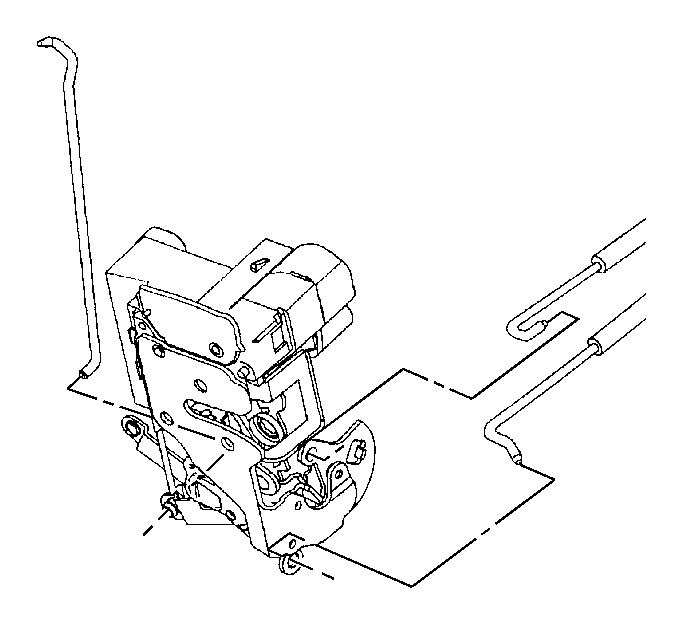
- Disconnect the outside handle lock cylinder rod from the lock cylinder lever (key lockable outside handle).
- Disconnect the electrical connectors from the lock.
- Disconnect the outside handle opening rod from the door lock by opening the clip using a coolant hose removal tool or by cutting the base of the clip off with a pair of side cutters and unscrewing the clip from the rod.
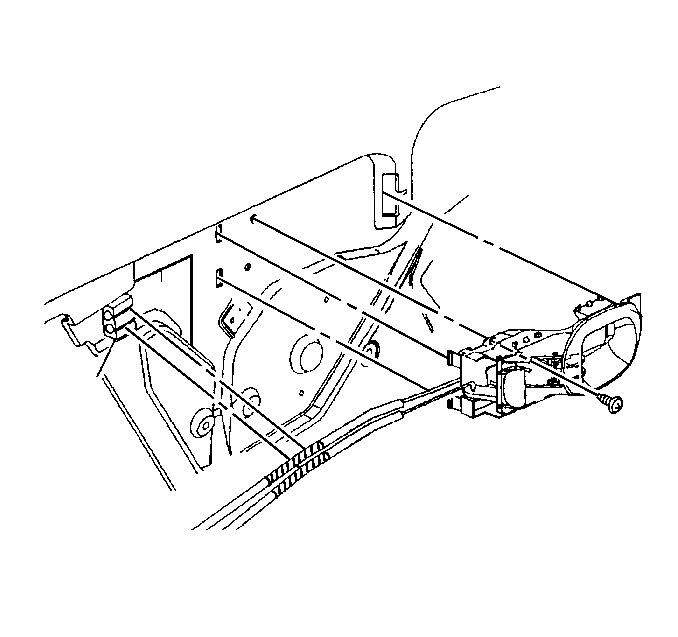
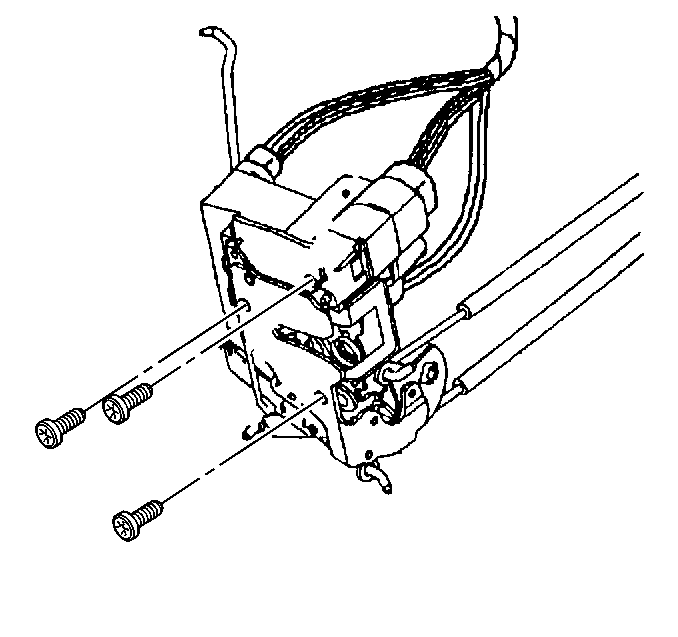
- Remove the screws from the door lock.
- Remove the Inside door handle. Refer to Door Inside Handle Replacement .
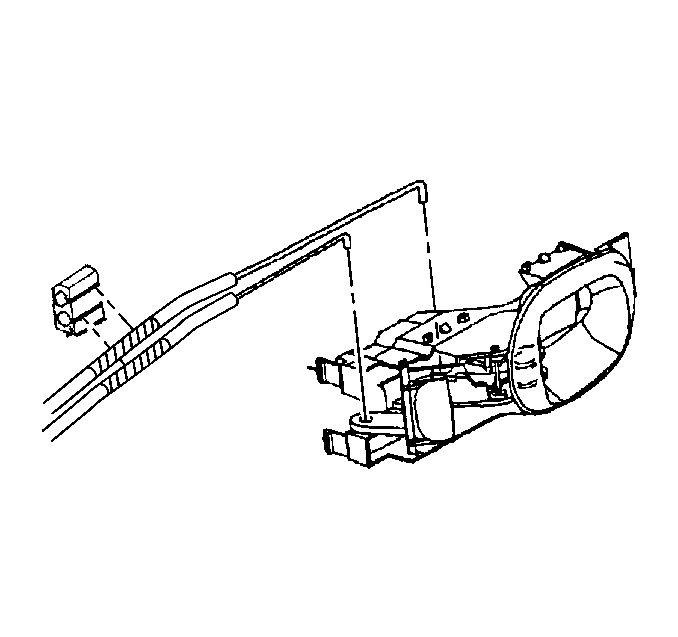
- Disconnect the rods from the inside handle.
- Disconnect the rods from the anti rattle retainer.
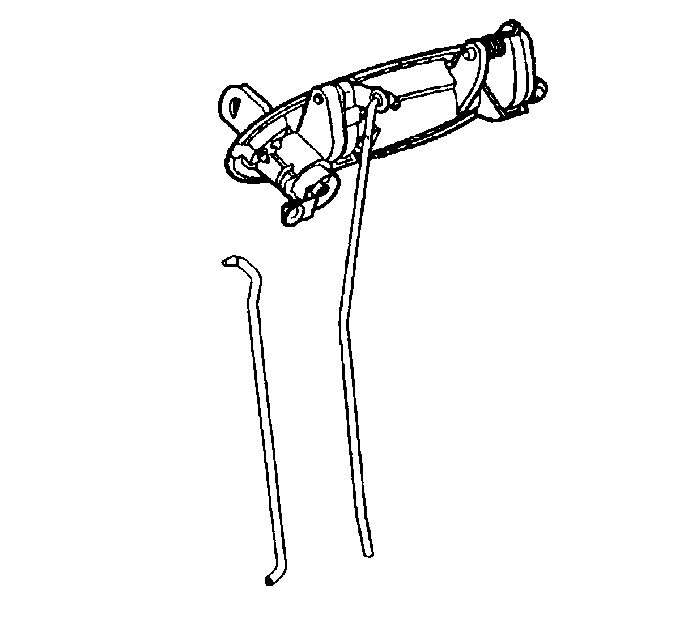
- Remove the door lock with the inside handle and the outside handle opening rods attached.
- Remove the rods if not reusing the lock. Note the position of each rod.
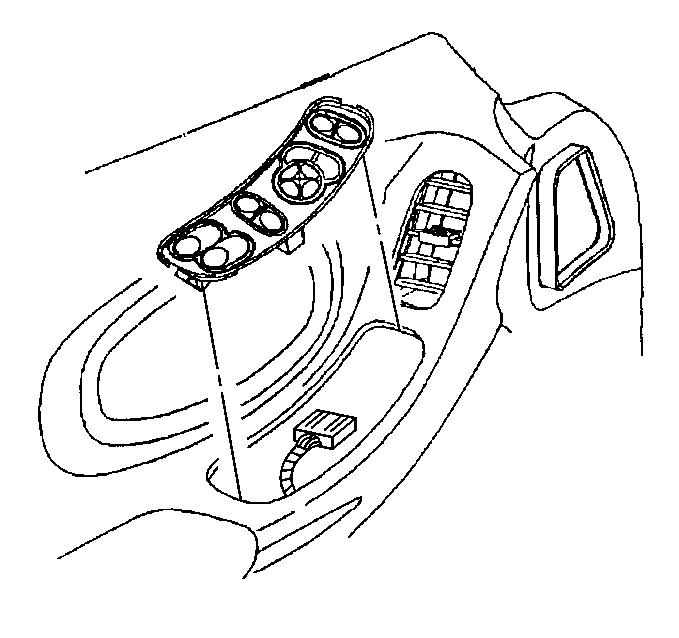
| 3.1. | Pry up the rear edge of the driver side switch, or the front edge of the passenger side switch. |
| 3.2. | Slide the driver side switch rearward, or the passenger side switch forward, out of the door trim panel. |
Installation Procedure
Caution: Disconnect the power window switch when working inside the driver's door. When operated, the Express Down Feature allows the door window to drop very quickly, without stopping, which could cause personal injury.
- Install the inside door handle rods to the door lock.
- Install the lock cylinder rod to the door lock (left door and right door Japan).
- If reusing the lock, install a new outside handle door opening rod clip to the lock, (a new clip is supplied with a new lock).
- Position the door lock to the inside of the door.
- Install the door lock upper screw first, then install the lower screws.
- Connect the lock rod to the outside handle lock cylinder lever (key lockable outside handle).
- Connect the outside handle opening rod to the door lock.
- Connect the electrical connectors.
- Connect the rods to the inside handle.
- Install the inside door handle.
- Snap the inside handle rods, at the black line on the rod sleeve, into the door anti-rattle clip.
- Install the water deflector.
- Connect the power window switch and lower the door window.
- Disconnect the power window switch.
- Install the door trim panel. Refer to Door Trim Panel Replacement .
- Install the door switch

Important: To ensure the proper retention of the door opening rod to the door lock, the lock clip must be replaced after being opened to release the rod.
Notice: Use the correct fastener in the correct location. Replacement fasteners must be the correct part number for that application. Fasteners requiring replacement or fasteners requiring the use of thread locking compound or sealant are identified in the service procedure. Do not use paints, lubricants, or corrosion inhibitors on fasteners or fastener joint surfaces unless specified. These coatings affect fastener torque and joint clamping force and may damage the fastener. Use the correct tightening sequence and specifications when installing fasteners in order to avoid damage to parts and systems.
Tighten
Tighten the door lock screws to 10 N·m (89 lb in).


| 16.1. | Connect the electrical connector. |
| 16.2. | Insert the front edge of the driver side switch, the rear edge of the passenger side switch, into the door trim panel. |
| 16.3. | Press the rear edge of the driver side switch, the front edge of the passenger side switch, into the door trim panel to secure. |
