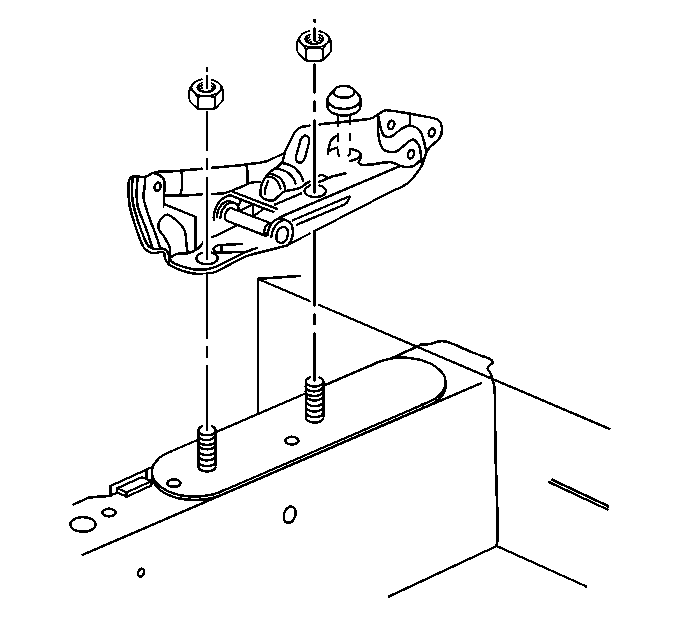
For 1990-2009 cars only
Removal Procedure
- Remove the hood.
- Secure the stud plate.
- Drill out the rivet holding the stud plate to the top of the side rail.
- Raise the vehicle. Refer to Lifting and Jacking the Vehicle in General Information.
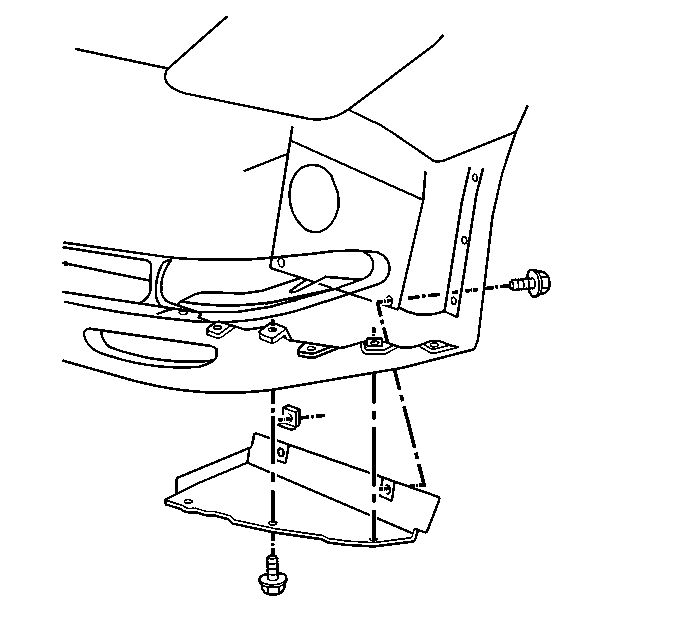
- Remove the valance and the fascia close out panel.
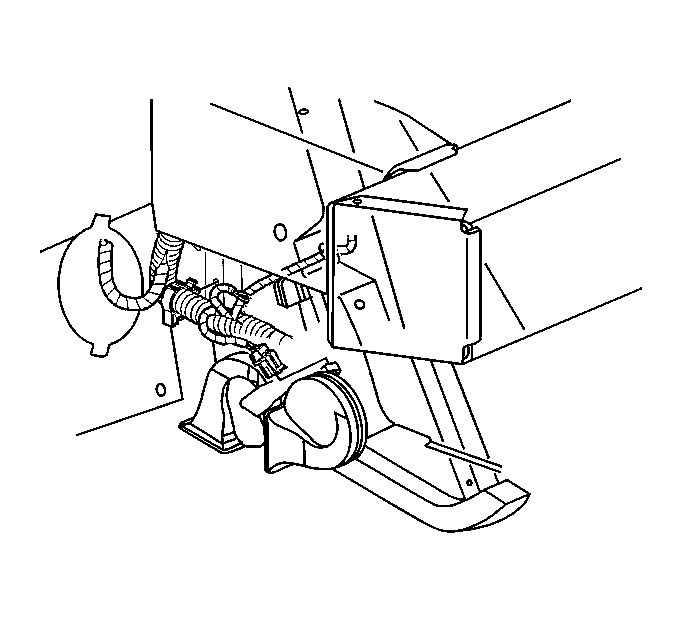
- Remove the bolt mounting the horn assembly, (if working on passengers side only).
- Disconnect the electrical connector from the horn assembly, (passengers side only).
- Remove the horn assembly, (passengers side only).
- Relocate the wire harness, (passenger side only).
- Relocate the air pump hose, (if working on drivers side only).
- Drill a 25 mm (1 in) hole (1) in the bottom underside of the side rail.
- Lower the vehicle part way.
- Insert a wire (1) down through the stud plate retaining rivet hole (2).
- Hook or tie the upper end of the wire to prevent the wire from sliding down through the hole.
- Fish the bottom end of the wire out through the cut hole in the bottom of the side rail.
- Release the stud plate and guide it down the wire.
- A long screwdriver inserted through the one inch hole can be used to guide the stud plate.
- Remove the wire from the stud plate.
- Secure the old stud plate in the frame rail with adhesive or sprayed in foam, to prevent the stud plate from rattling.
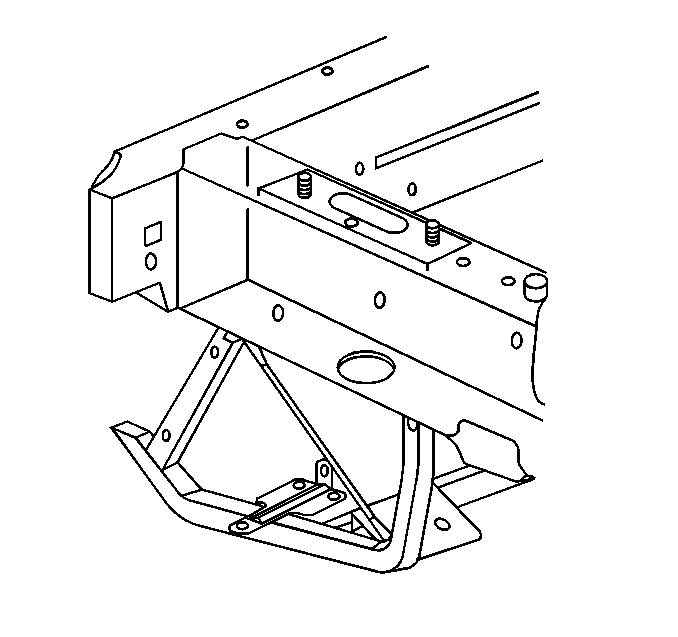
Install a nut, or lock onto a stud plate stud with locking pliers.
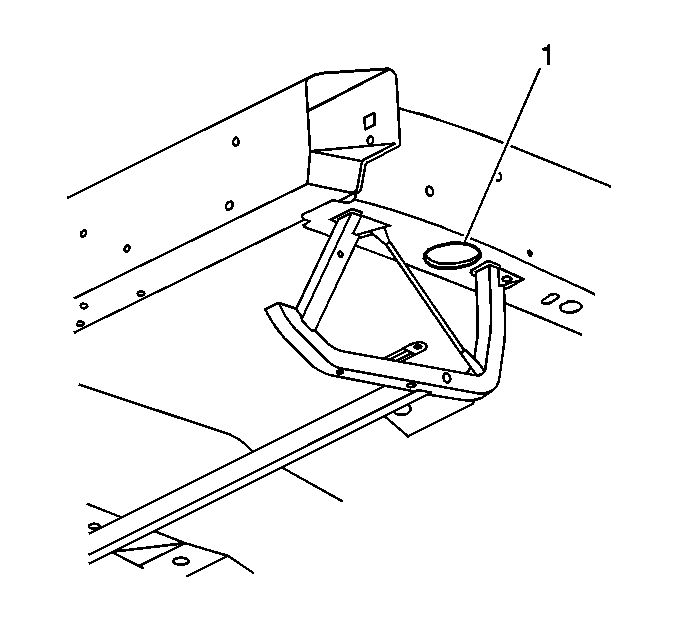
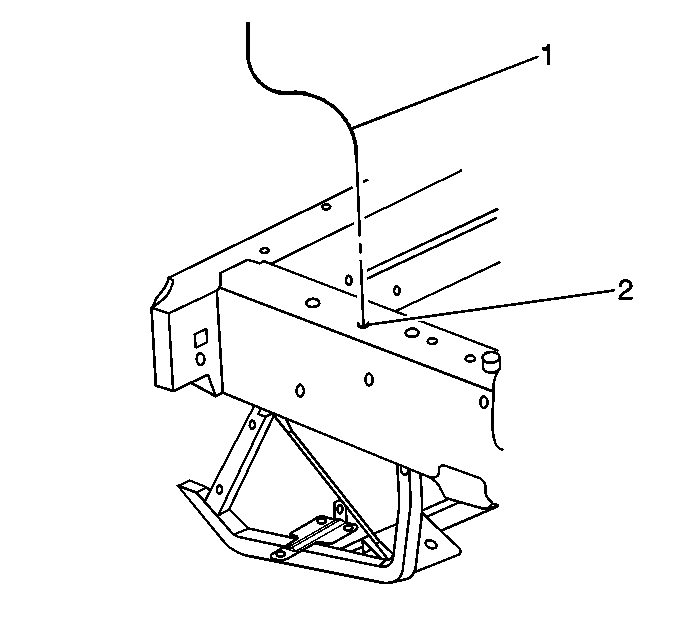
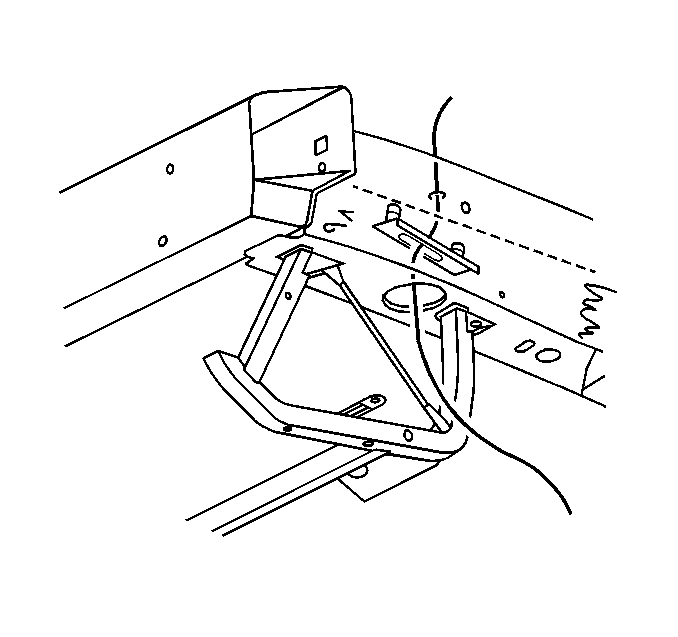
The stud plate is to large to be removed through the one inch hole.
Installation Procedure
- Reinsert the wire (1) through the hole (2) in the top of the frame rail.
- Fish the bottom end of the wire out through the cut hole in the bottom of the side rail.
- Modify the new stud plate (2) by trimming away enough material so that it will fit through the one inch hole.
- Insert the wire through the small hole in the new stud plate.
- Attach a large nut (1) to the end of the wire that was passed through the stud plate small hole.
- Insert the stud plate through the one inch hole.
- Pull the wire and the stud plate up to the underside of the top of the frame rail.
- Pull the hinge stud plate tight to the top of the frame rail.
- Install the nuts to the hinge stud plate studs.
- Remove the wire and nut down through the hole in the bottom of the side rail.
- Rivet the stud plate to the top of the frame rail.
- Remove the nuts from the stud plate studs.
- Install the hood and hood hinge. Refer to Hood Replacement in Body Front End.
- Raise the vehicle.
- Apply anti-corrosion material to the hole cut in the side rail.
- Install the horns and bracket, if removed. Refer to Horn Replacement in Horns.
- Relocate the wire harness to original position, if moved.
- Relocate the air pump hose to its original position, if moved.
- Install the fascia close out panel and the valance panel. Refer to Front Bumper Fascia Lower Close Out Panel Replacement in Bumpers.
- Lower the vehicle.

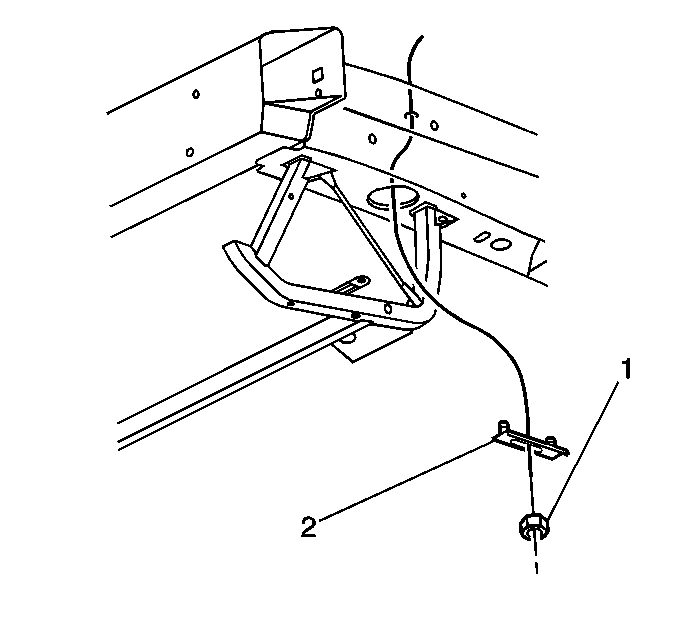
A large screwdriver inserted through the hole in the bottom of the side rail may be used to assist in positioning the stud plate.

Notice: Refer to Fastener Notice in the Preface section.
