For 1990-2009 cars only
Removal Procedure
- Remove the intake manifold. Refer to Intake Manifold Replacement in Engine Mechanical.
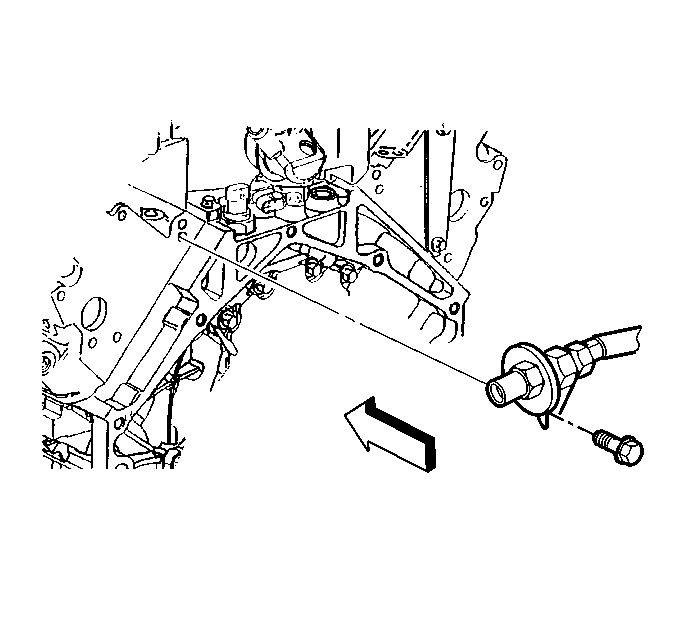
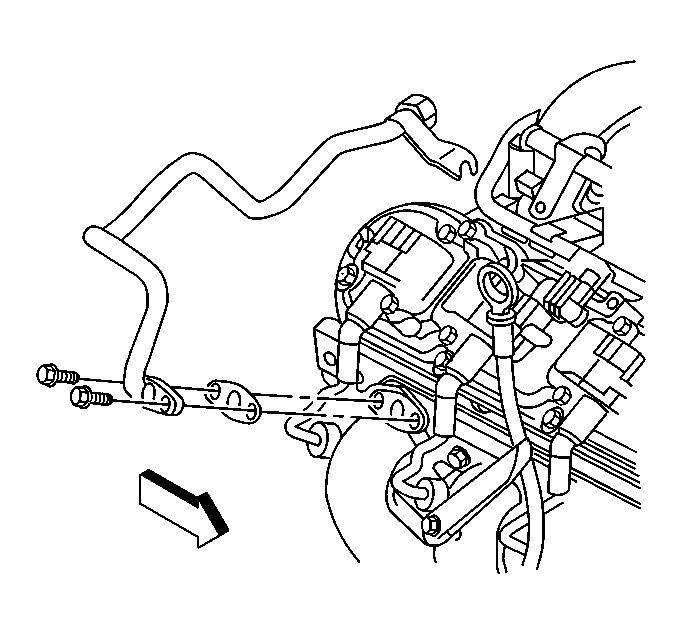
- Remove the clamps and secondary air injection (AIR) hoses from the AIR system right pipe.
- Remove the AIR pipe bolt from the cylinder head.
- Remove the right AIR pipe from the manifold.
- Unscrew the check valve from the AIR pipe.
- Before replacing a check valve, test the valve for proper operation.
Caution: Allow the engine to cool before servicing the secondary air injection AIR system in order to reduce the chance of severe burns.


| 6.1. | Install a vacuum pump to the nipple side of the check valve, AIR pump side. |
| 6.2. | Pump the vacuum pump to 10 inches Hg and observe the gage. |
| 6.3. | Replace the check valve if the vacuum bleeds down to zero within 5 seconds. |
Installation Procedure
- Screw the check valve onto the AIR pipe.
- Connect the right AIR pipe to the exhaust manifold.
- Install the AIR pipe bolt from the cylinder head.
- Install the hose and the clamp to the check valve.
- Install the intake manifold. Refer to Intake Manifold Replacement in Engine Mechanical.
- Check the AIR system for proper operation.
- Connect the negative battery cable. Refer to Battery Negative Cable Disconnection and Connection in Engine Electrical.
- Program the transmitters. Refer to Transmitter Programming in Keyless Entry.
Notice: Refer to Fastener Notice in the Preface section.

Tighten
Tighten the check valve to 23 N·m (17 lb ft).
Tighten
Tighten the AIR pipe to the exhaust manifold to
20 N·m (15 lb ft).

