For 1990-2009 cars only
Tools Required
| • | J 38185 Hose Clamp Pliers |
| • | J 39400-A Halogen Leak Detector |
Removal Procedure
- Recover the refrigerant from the A/C system. Refer to Refrigerant Recovery and Recharging in Heating, Ventilation and Air Conditioning.
- Drain the cooling system. Refer to Cooling System Draining and Filling .
- Remove the condenser. Refer to Condenser Replacement in Heating, Ventilation and Air Conditioning.
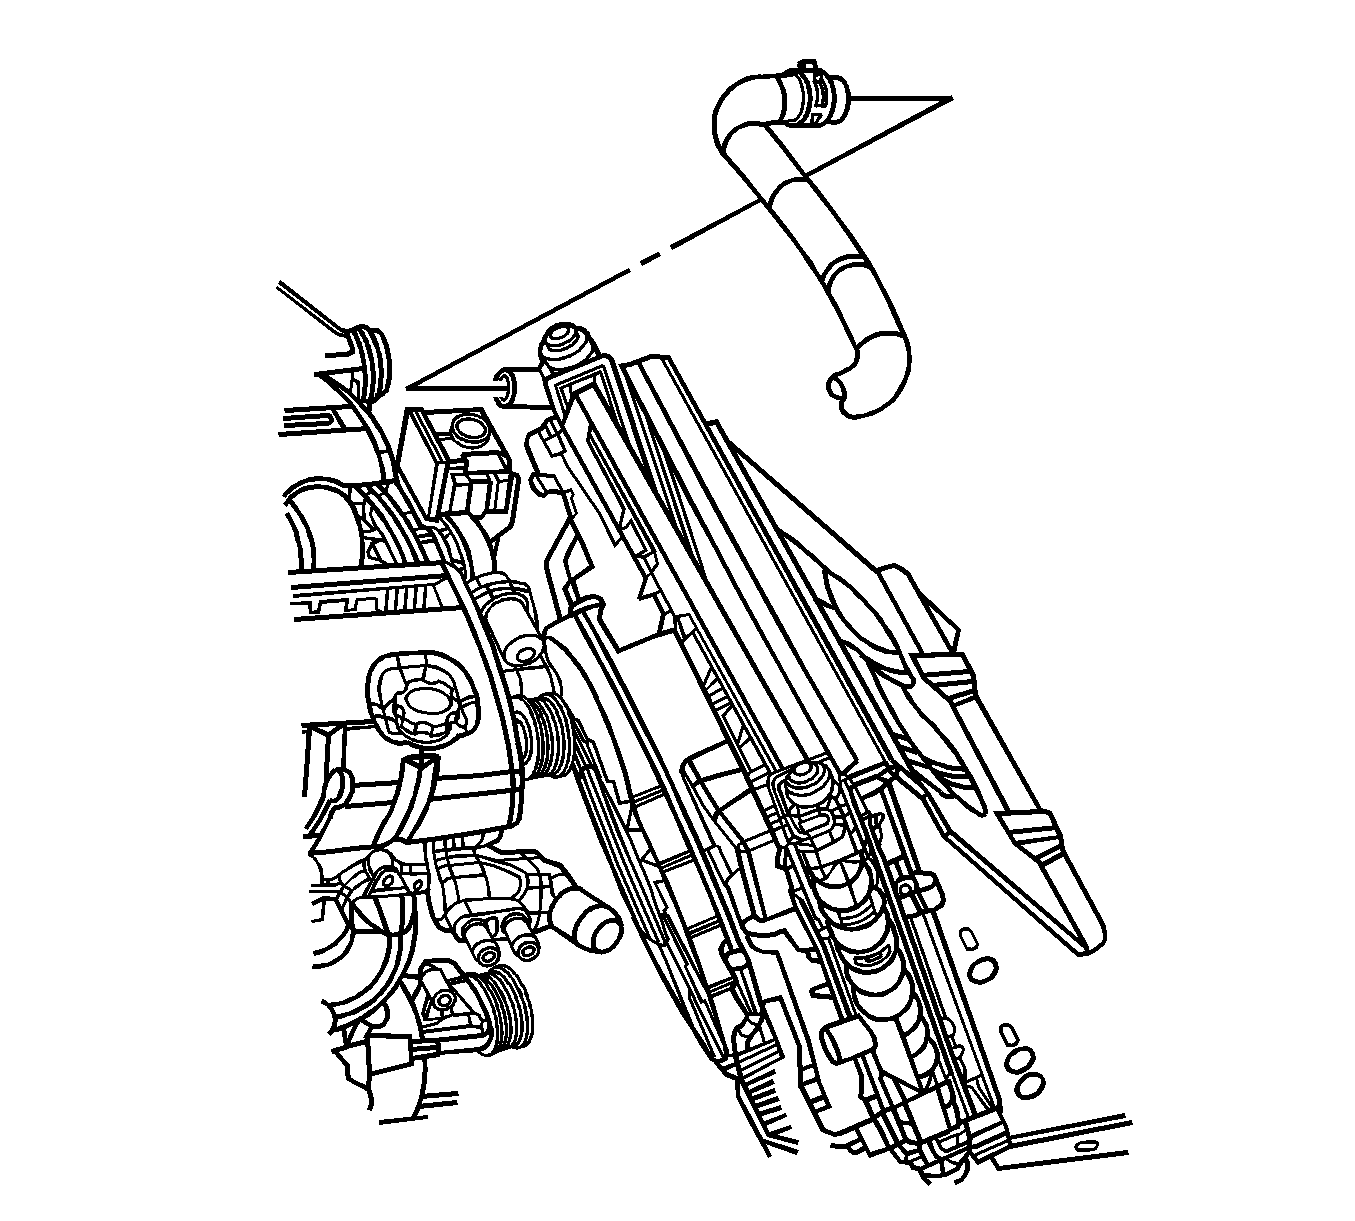
- Disengage tension on the radiator inlet hose clamp at the radiator using J 38185 .
- Disconnect the radiator inlet hose from the radiator.
- Remove the cooling fan and shroud assembly from the radiator. Refer to Cooling Fan and Shroud Replacement .
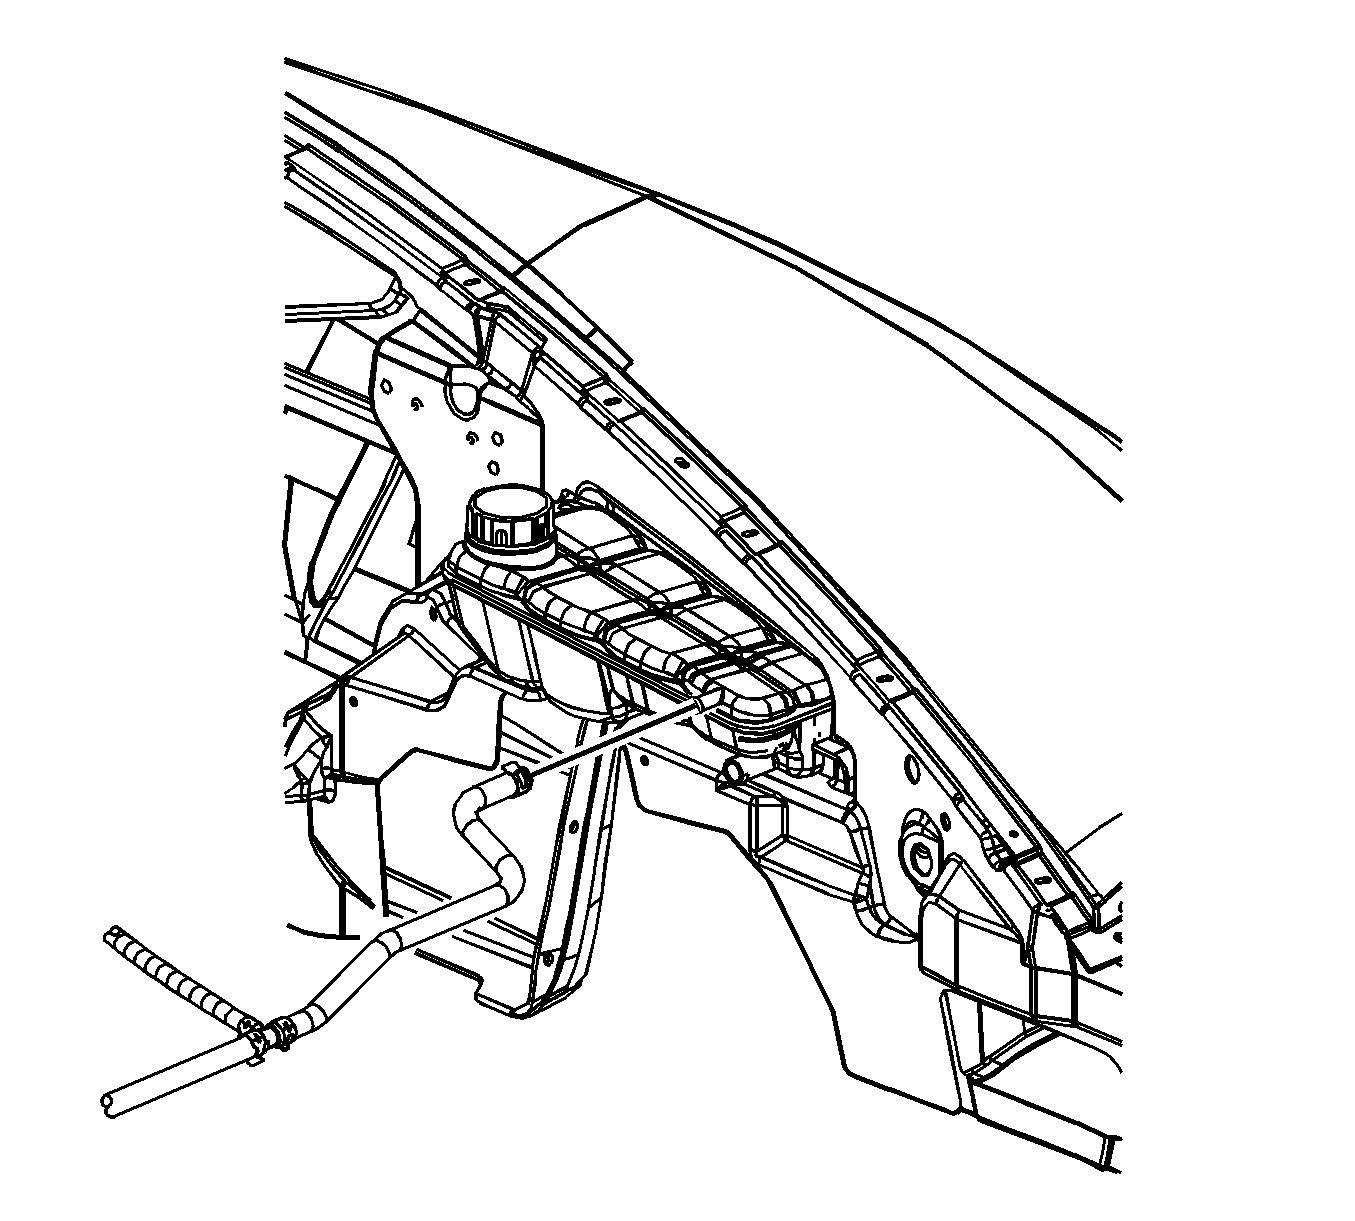
- Disengage tension and reposition the surge tank inlet hose clamp at the radiator.
- Disconnect the surge tank inlet hose from the radiator.
- Vehicles equipped with a transmission oil cooler, disconnect the upper transmission oil cooler line from the radiator. Refer to Transmission Fluid Cooler Hose/Pipe Quick-Connect Fitting Disconnection and Connection in Automatic Transmission - 4L60-E/4L65-E.
- Vehicles equipped with a engine oil cooler, disconnect the upper engine oil cooler line from the radiator. Refer to Engine Oil Cooler Hose/Pipe Replacement .
- Raise and support the vehicle. Refer to Lifting and Jacking the Vehicle in General Information.
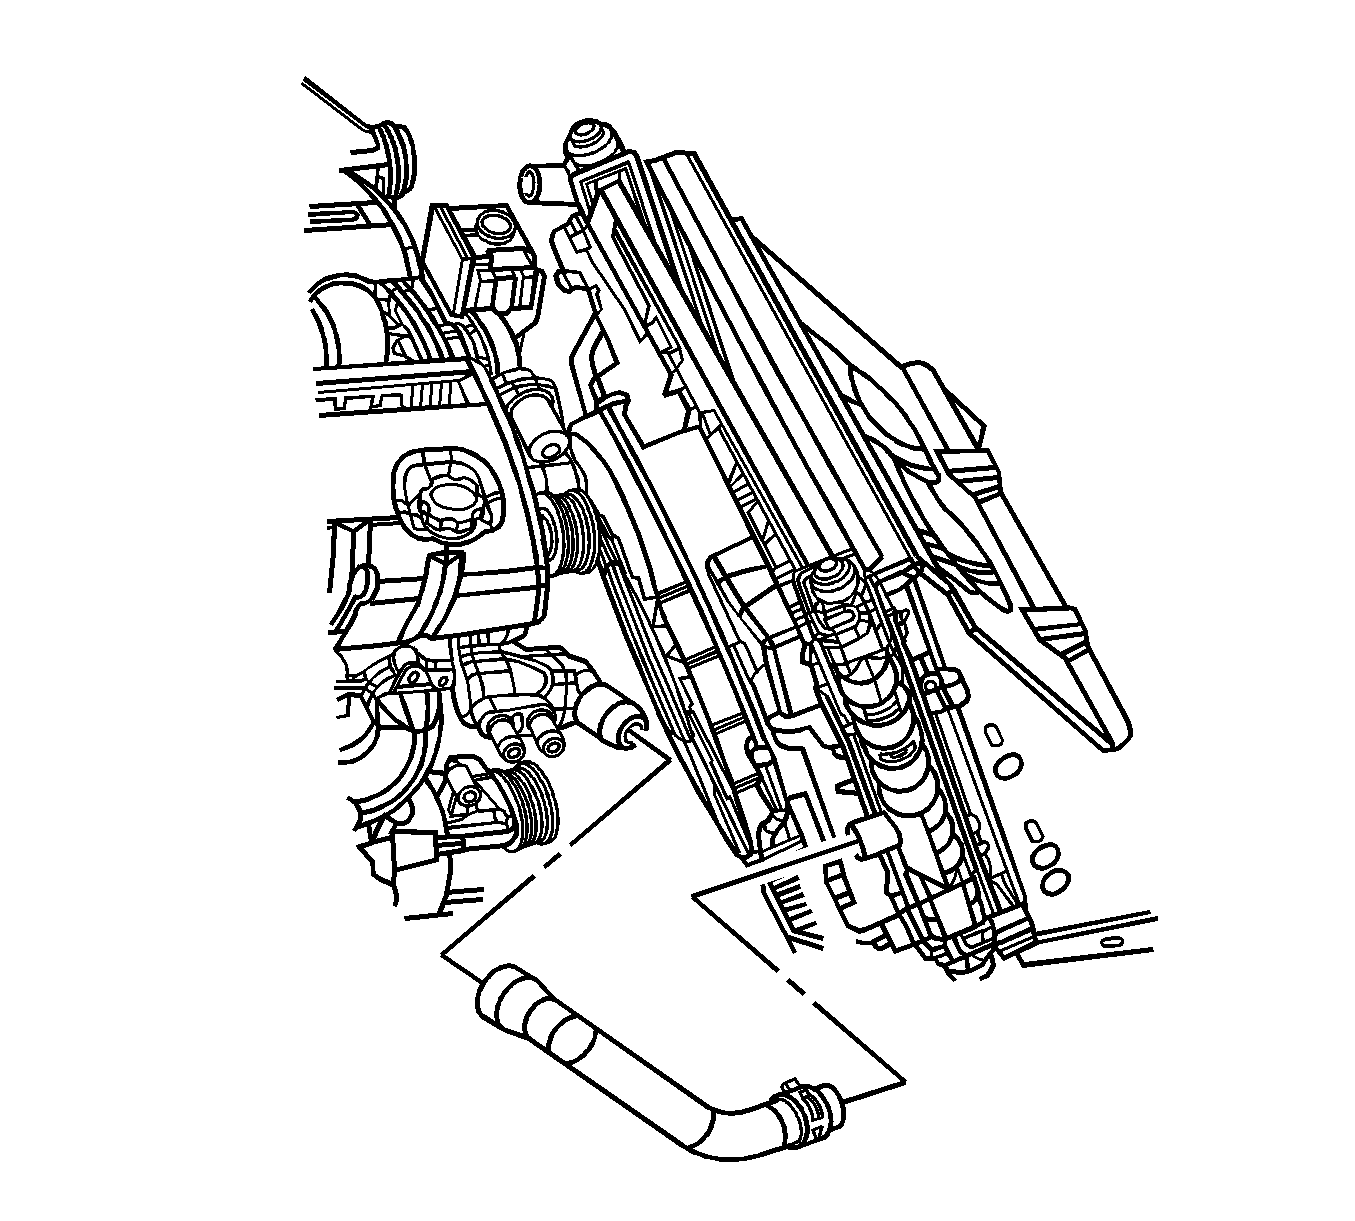
- Disengage tension on the radiator outlet hose clamp at the radiator using the J 38185 .
- Disconnect the radiator outlet hose from the radiator.
- Vehicles equipped with a transmission oil cooler, disconnect the lower transmission oil cooler line from the radiator. Refer to Transmission Fluid Cooler Hose/Pipe Quick-Connect Fitting Disconnection and Connection in Automatic Transmission - 4L60-E/4L65-E.
- Vehicles equipped a with engine oil cooler, disconnect the lower engine oil cooler line from the radiator. Refer to Engine Oil Cooler Hose/Pipe Replacement .
- Remove the radiator from the vehicle.

Important: Lift up on the cooling fan and shroud assembly to disengage the tabs from the radiator slots.


Installation Procedure
- Install the radiator to the vehicle.
- Raise the vehicle.
- Vehicles equipped with a engine oil cooler, connect the lower engine oil cooler line to the radiator. Refer to Engine Oil Cooler Hose/Pipe Replacement .
- Vehicles equipped with a transmission oil cooler, connect the lower transmission oil cooler line to the radiator. Refer to Transmission Fluid Cooler Hose/Pipe Quick-Connect Fitting Disconnection and Connection in Automatic Transmission - 4L60-E/4L65-E.
- Connect the radiator outlet hose to the radiator.
- Engage tension on the radiator outlet hose clamp at the radiator.
- Lower the vehicle.
- Vehicle equipped with a transmission oil cooler, connect the upper transmission oil cooler line to the radiator. Refer to Transmission Fluid Cooler Hose/Pipe Quick-Connect Fitting Disconnection and Connection in Automatic Transmission - 4L60-E/4L65-E.
- Vehicles equipped with a engine oil cooler, connect the upper engine oil cooler line to the radiator. Refer to Engine Oil Cooler Hose/Pipe Replacement .
- Connect the surge tank inlet hose to the radiator.
- Engage tension on the surge tank inlet hose clamp at the radiator.
- Install the cooling fan and shroud assembly to the radiator. Refer to Cooling Fan and Shroud Replacement .
- Connect the radiator inlet hose to the radiator.
- Engage tension on the radiator inlet hose clamp at the radiator using J 38185 .
- Install the condenser. Refer to Condenser Replacement in Heating, Ventilation and Air Conditioning.
- Fill the cooling system. Refer to Cooling System Draining and Filling .
- Evacuate and recharge the A/C system. Refer to Refrigerant Recovery and Recharging in Heating, Ventilation and Air Conditioning.
- Leak test the fittings of the component using J 39400-A .
- Inspect the transmission fluid level. Refer to Transmission Fluid Check in Automatic Transmission - 4L60-E/4L65-E.


Important: Lift up on the cooling fan and shroud assembly and engage the tabs to the radiator slots.

