For 1990-2009 cars only
Removal Procedure
- Raise and support the vehicle. Refer to Lifting and Jacking the Vehicle in General Information.
- Lower and support the rear of the exhaust system.
- Install a drain pan under the vehicle.
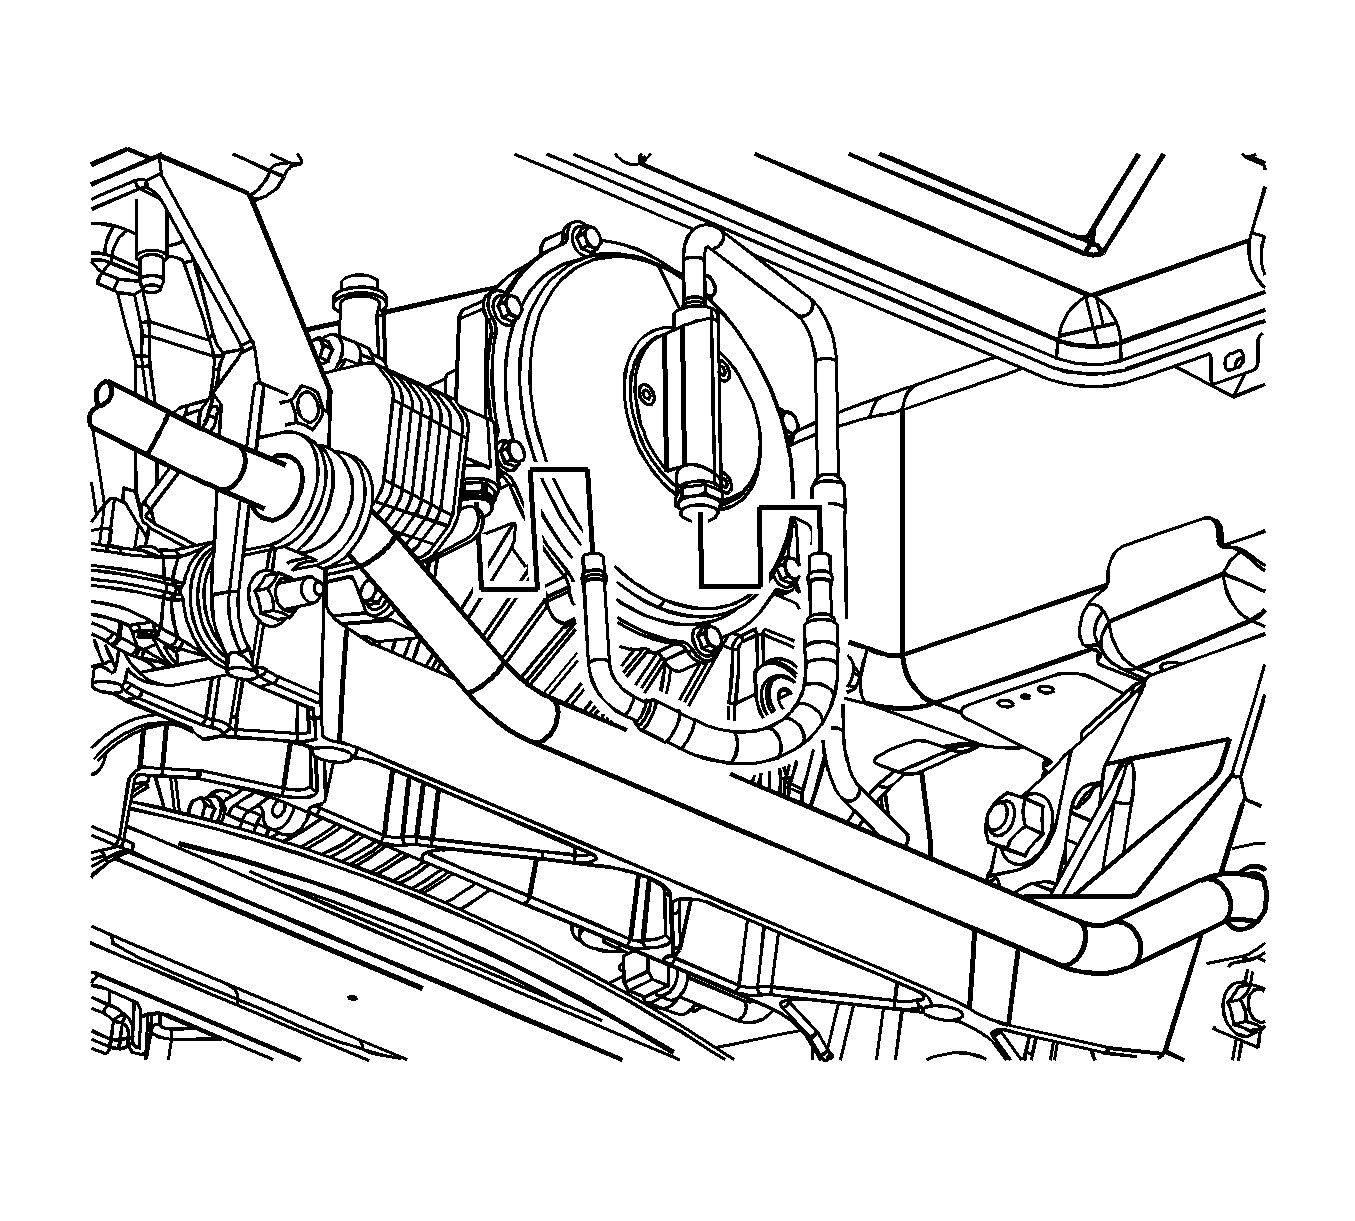
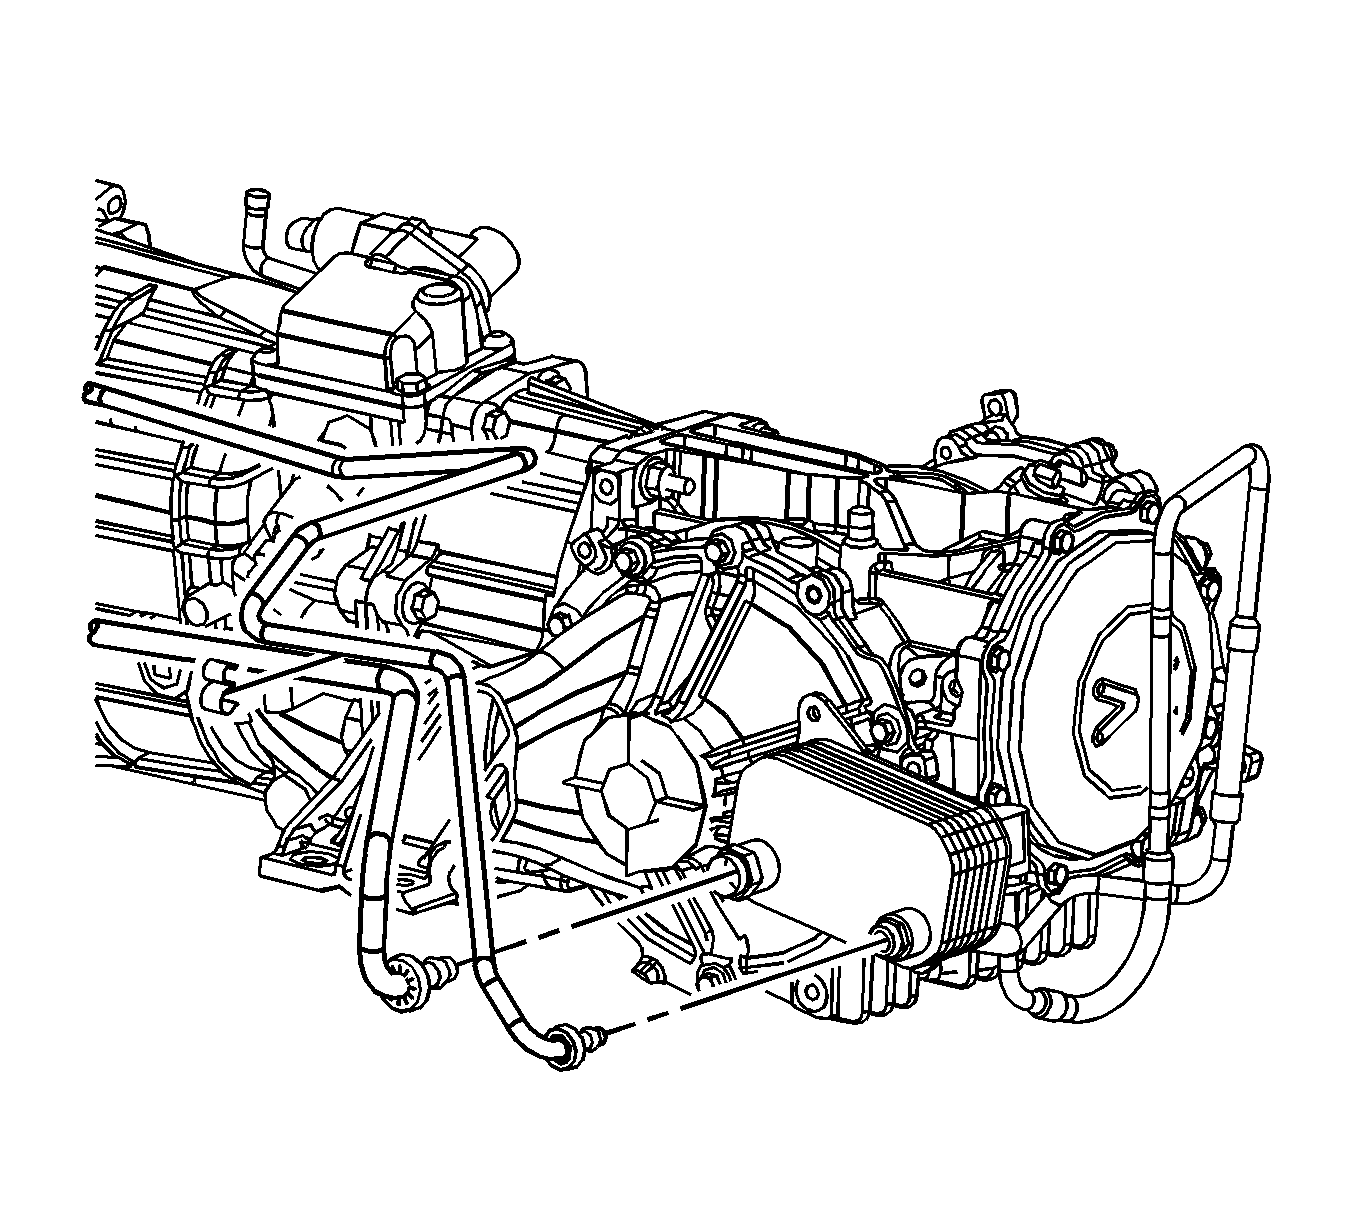
- Disconnect the differential cooler pump outlet pipe from the differential cooler. Refer to Differential Cooler Hose/Pipe Quick Connect Fitting .
- Disconnect the transmission fluid cooler inlet pipe from the differential cooler. Refer to Differential Cooler Hose/Pipe Quick Connect Fitting .
- Disconnect the transmission fluid cooler outlet pipe from the differential cooler. Refer to Differential Cooler Hose/Pipe Quick Connect Fitting .
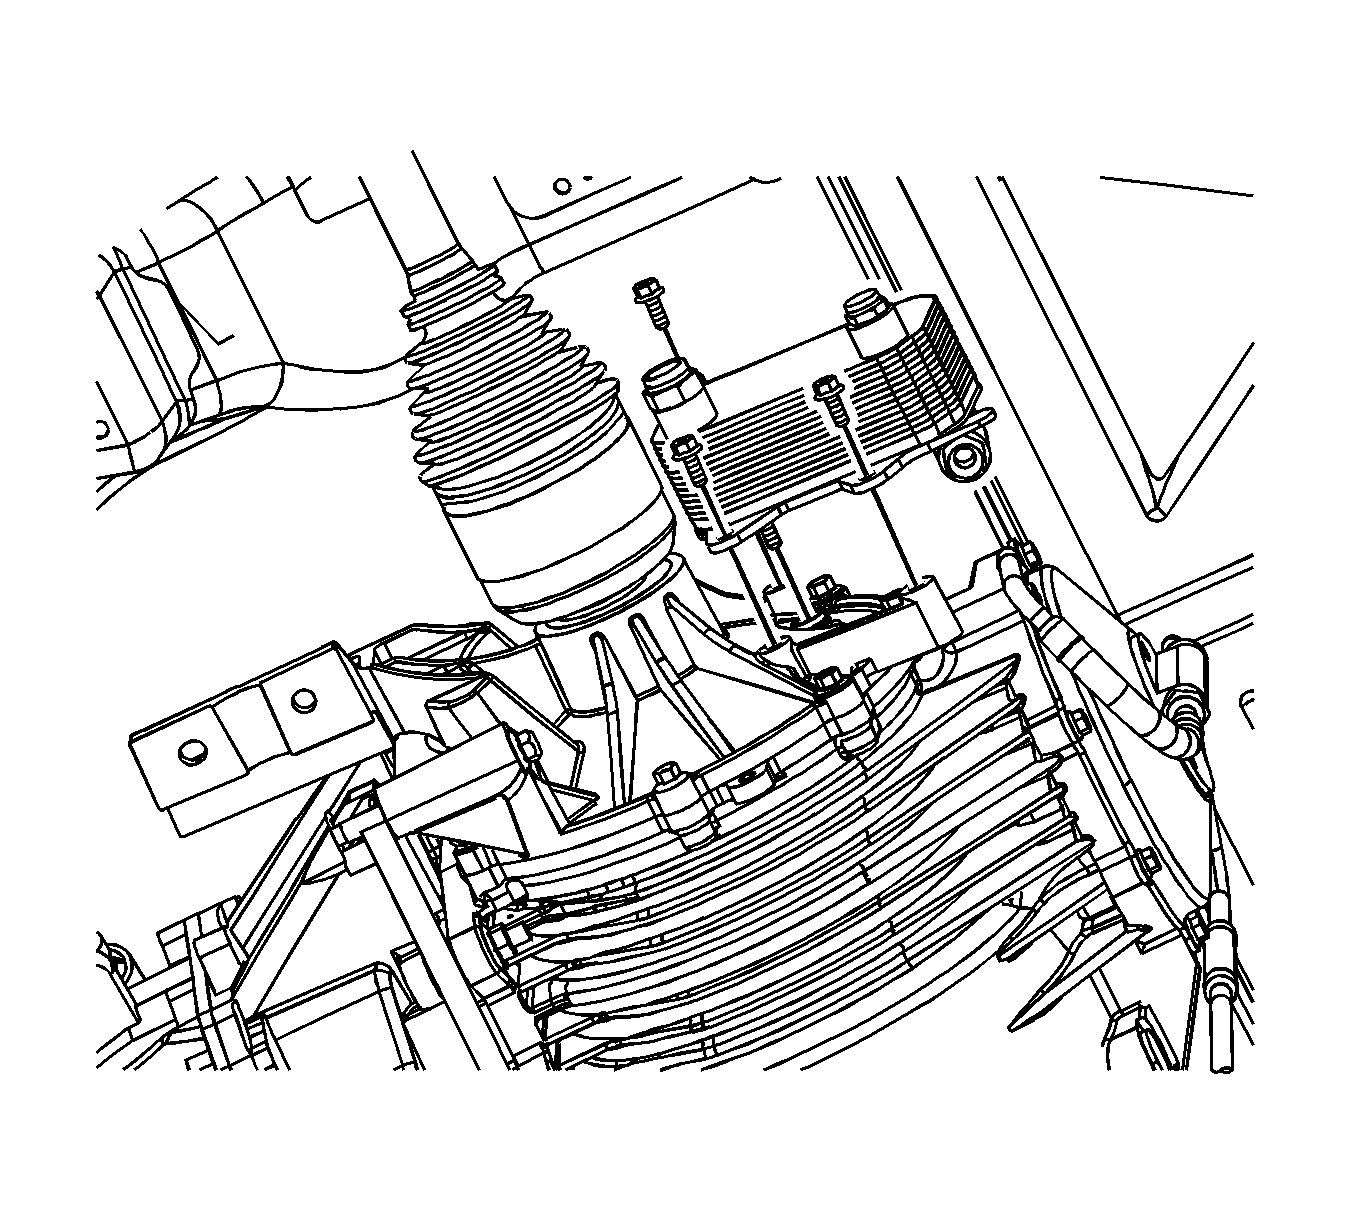
- Remove the differential cooler mounting bolts.
- Remove the differential cooler from the vehicle.


Important: Pull the differential oil cooler straight out to ensure the return pipe in the back of the differential oil cooler clears the differential housing.
Installation Procedure
- Install the differential cooler to the vehicle.
- Install the differential cooler mounting bolts.
- Connect the transmission fluid cooler outlet pipe to the differential cooler. Refer to Differential Cooler Hose/Pipe Quick Connect Fitting .
- Connect the transmission fluid cooler inlet pipe to the differential cooler. Refer to Differential Cooler Hose/Pipe Quick Connect Fitting .
- Connect the differential cooler pump outlet pipe to the differential cooler. Refer to Differential Cooler Hose/Pipe Quick Connect Fitting .
- Fill the differential fluid. Refer to Rear Axle Lubricant Level Inspection .
- Fill the transmission fluid. Refer to Transmission Fluid Check in Automatic Transmission - 4L60-E/4L65-E.
- Remove the drain pan from under the vehicle.
- Raise and secure the rear of the exhaust system.
- Lower the vehicle. Refer to Lifting and Jacking the Vehicle in General Information.

Notice: Refer to Fastener Notice in the Preface section.
Tighten
Tighten the bolts to 10 N·m (89 lb in).


