For 1990-2009 cars only
- Remove the door trim panel. Refer to Front Side Door Trim Panel Replacement - Left Side or to Front Side Door Trim Panel Replacement - Right Side .
- Reconnect the window switch to the door harness.
- Raise the window.
- Disconnect the window switch from the harness.
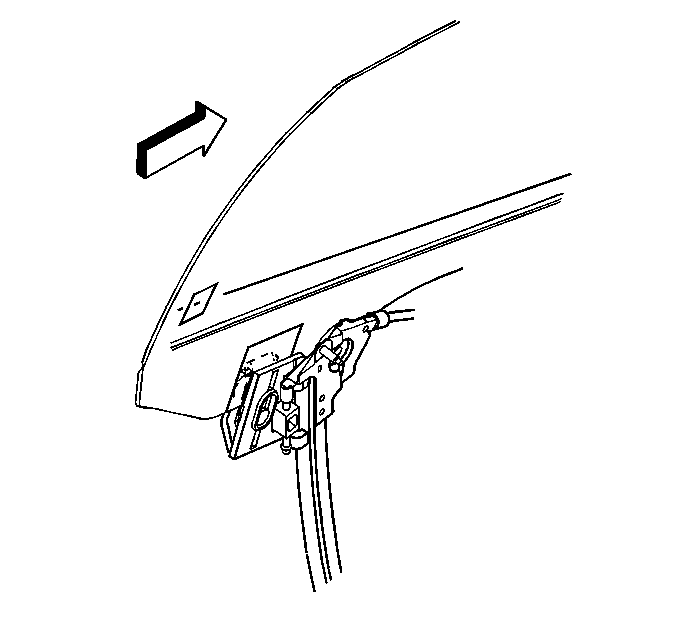
- Remove the window clamp sight access plugs.
- Mark the location of the clamps on the window.
- Loosen the window clamp bolts.
- Jiggle the window to break the window loose from the clamps rubber seals.
- Adjust the window using one of the following methods:
- Slide the window in the window clamps as necessary.
- Tighten the window clamps.
- Open the door and install the window clamp sight access plugs.
- Install the door trim panel. Refer to Front Side Door Trim Panel Replacement - Left Side or to Front Side Door Trim Panel Replacement - Right Side .
- Perform minor height and minor tip-in adjustments as necessary. Refer to Door Window Tip-In Adjustment and Door Window Minor Height Adjustment .


| • | Put a socket on the clamp bolt and use the socket to move the window. |
| 1. | Adjust the window forward or reward first. |
| 2. | Adjust the front height second. |
| 3. | Adjust the rear height last. |
| • | Sit in the vehicle with the door closed and with the aid of an assistant standing outside of the vehicle, position the window in the door opening. |
| 1. | Adjust the window forward or reward first. |
| 2. | Adjust the front height second. |
| 3. | Adjust the rear height last. |

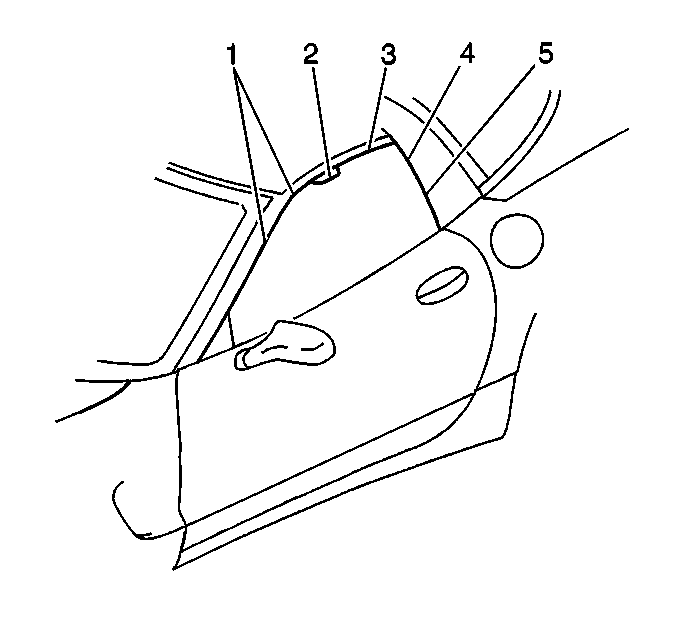
| • | The gap to the reveal molding (1) should be 5 to 8 mm (0.2 to 0.3 in). |
| • | The gap to the retainer (3) should be 5 to 8 mm (0.2 to 0.3 in). |
Notice: Refer to Fastener Notice in the Preface section.
Tighten
Tighten the window regulator window clamp bolts
to 10 N·m (89 lb in).

