For 1990-2009 cars only
Removal Procedure
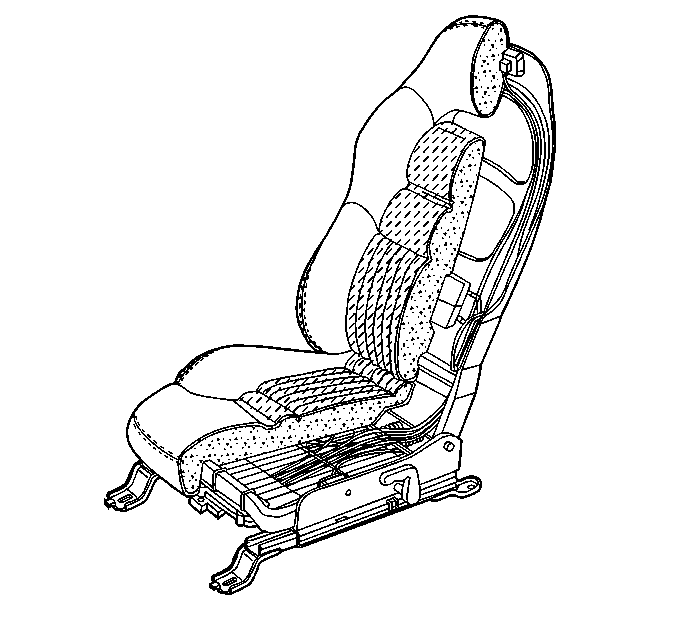
The power seat motors are only available as an assembly with the adjusters. To replace the assembly follow the procedure to replace the adjuster. Refer to Front Seat Adjuster Replacement .
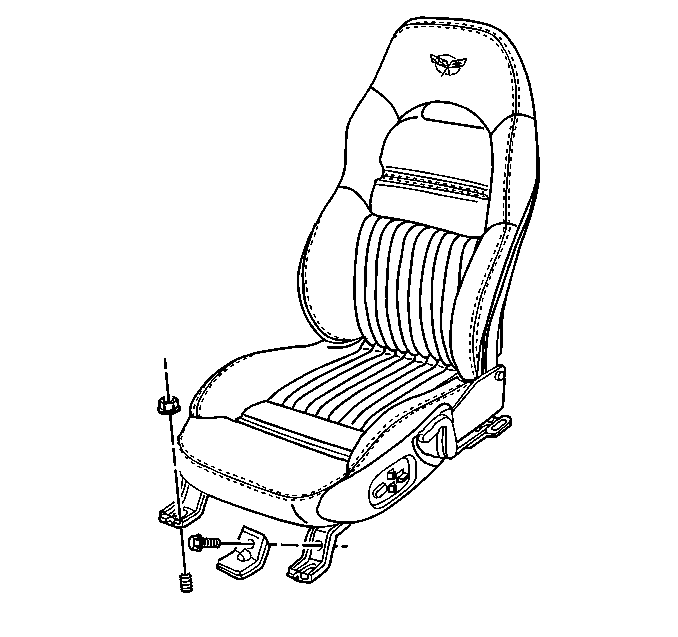
- Remove the seat. Refer to Seat Replacement .
- Remove or reposition the lumbar pump, if equipped.
- Slide the front motor bracket to one side.
- Remove that drive cable.
- Slide the bracket off that adjuster transmission.
- Slide the bracket in the opposite direction and remove the drive cable and the bracket from that adjuster transmission.
- Position the bracket outward.
- Disconnect the motor electrical harness connector.
- Remove the front motor.
- Mark the location and position of the rear motors to aid in installation.
- Remove the motors with harness.


Remove the tie straps attaching the pump to the torque tube and reposition the pump.
Installation Procedure
- Position the motors and harness to the seat frame.
- Install the cables to the two rear motors and to the adjuster.
- Install the screws mounting the rear motors.
- Install the front motor (forward and back motor) to the bracket.
- Connect the harness electrical connector.
- Position the bracket onto one adjuster transmission.
- Insert the drive cable into the motor and then into the transmission. It may be necessary to turn the cable to get the cable to slide into the transmission.
- Repeat the 2 previous steps on the opposite side.
- Bend the bracket ends outward enough to prevent the bracket from sliding off the transmissions.
- Tie strap the lumbar pump to the torque tube, if equipped.
- Install the seat. Refer to Seat Replacement .


