For 1990-2009 cars only
Removal Procedure
Caution: Refer to Battery Disconnect Caution in the Preface section.
- Disconnect the battery negative cable. Refer to Battery Negative Cable Disconnection and Connection in Engine Electrical.
- Remove the protective cap on the radiator surge tank upper stud.
- Remove the radiator surge tank upper nut.
- Loosen the radiator surge tank side nut.
- Lift the radiator surge tank upward and position it forward.
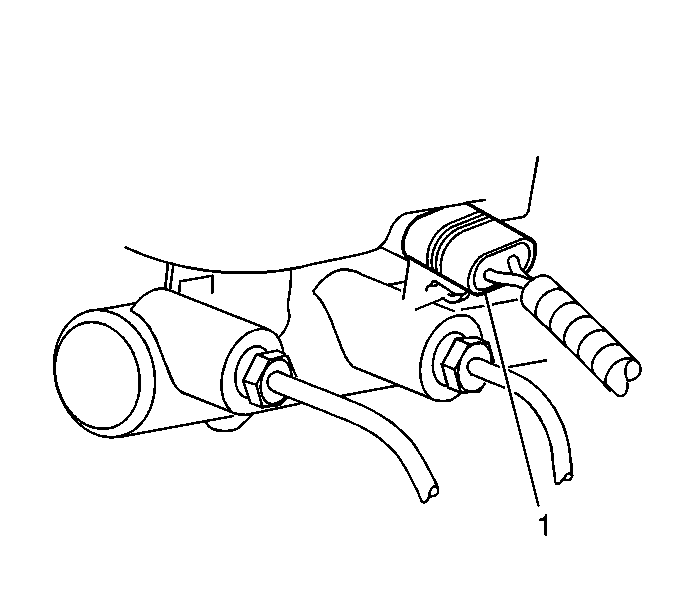
- Disconnect the electrical connector (1) from the brake fluid level sensor.
- Remove the nuts securing the master cylinder to the brake booster.
- Remove the master cylinder from the brake booster without disconnecting the brake pipes and position the master cylinder aside.
- Disconnect the brake booster vacuum hose from the booster check valve.
- Remove the instrument panel lower trim panel. Refer to Driver Knee Bolster Panel Replacement in Instrument Panel, Gages, and Console.
- Remove the brake pedal position sensor. Refer to Brake Pedal Position Sensor Replacement in Lighting Systems.
- Remove the retainer, washer, brake pedal pin, and brake booster pushrod from the brake pedal.
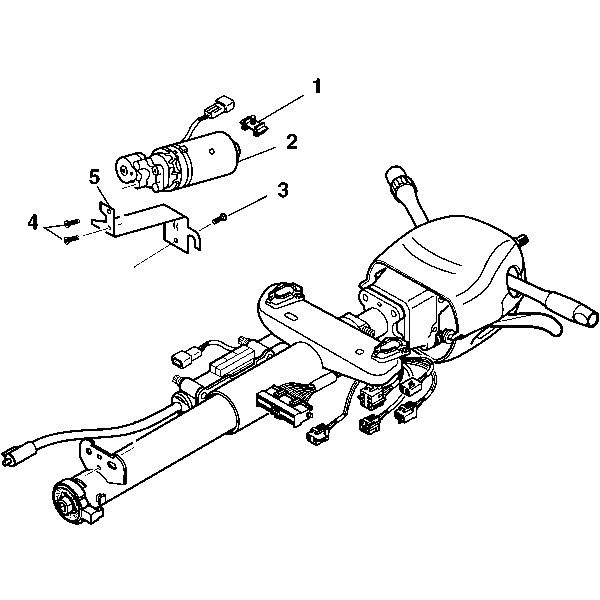
- Remove the screw (3) from the telescoping column motor mounting bracket (5), if equipped.
- Position the motor assembly to the right of the steering column.
- Remove the brake booster mounting nuts and washers from the booster studs.
- In order to remove the booster from the cowl, perform the following steps:
- Remove the brake booster and seal from the cowl.
- Inspect the booster seal and sealing surfaces for damage. Replace the seal if necessary.
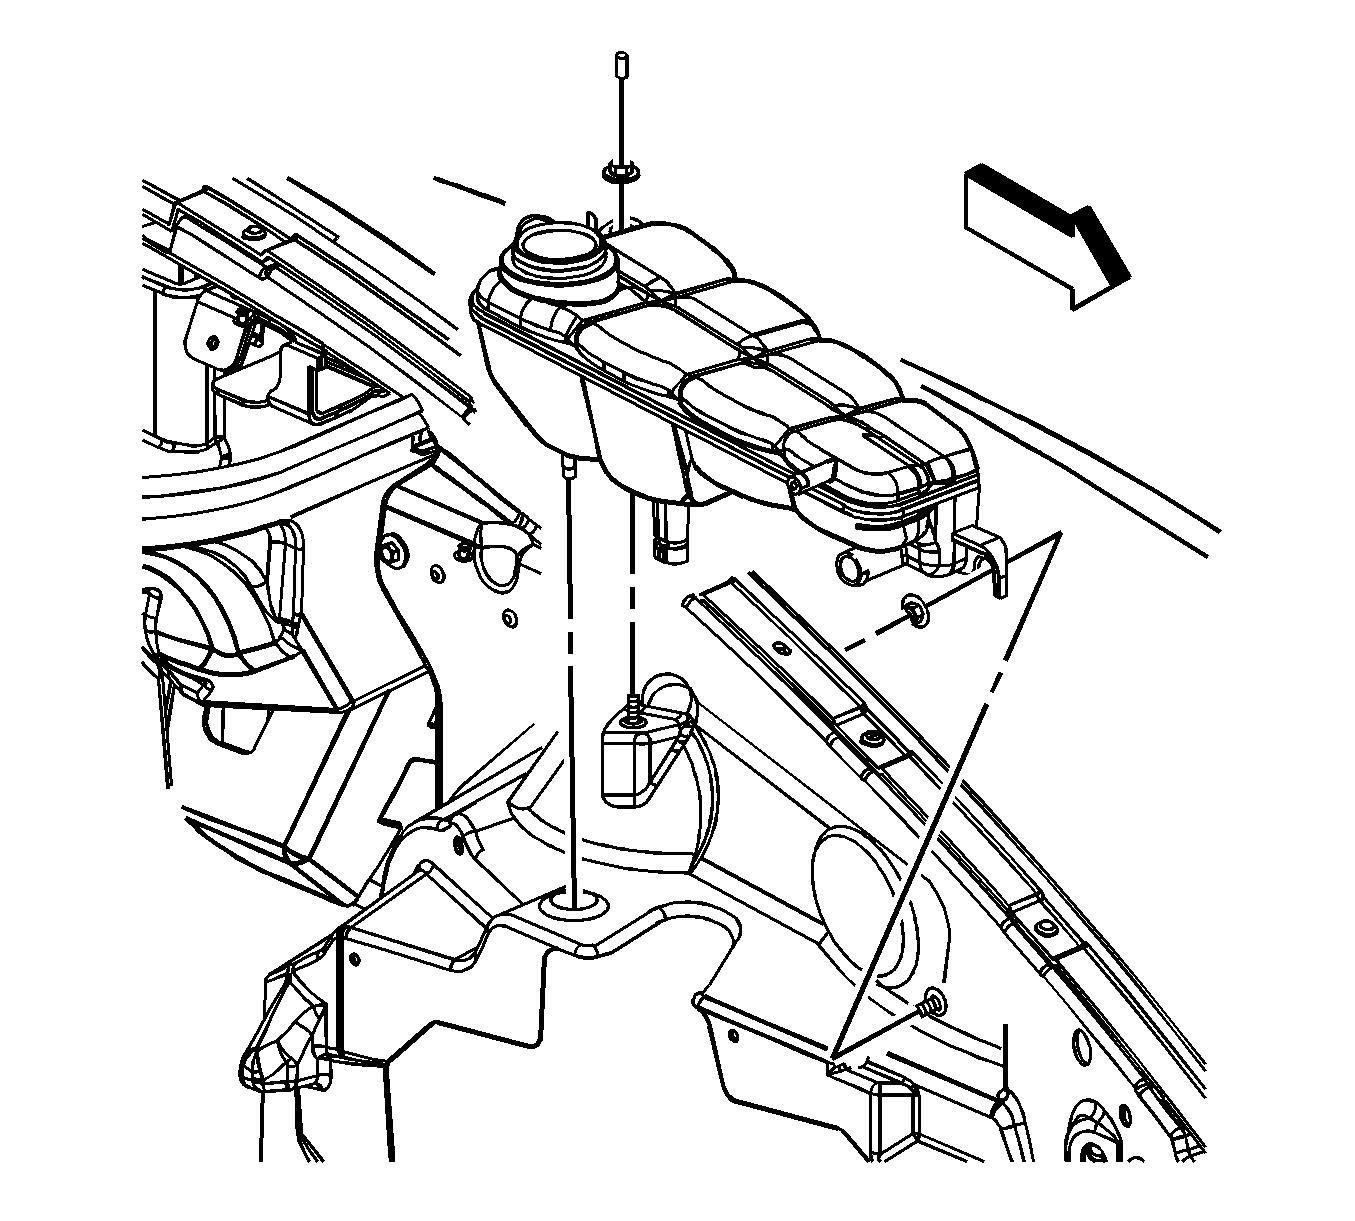
Important: DO NOT remove the radiator surge tank inlet and outlet hoses.
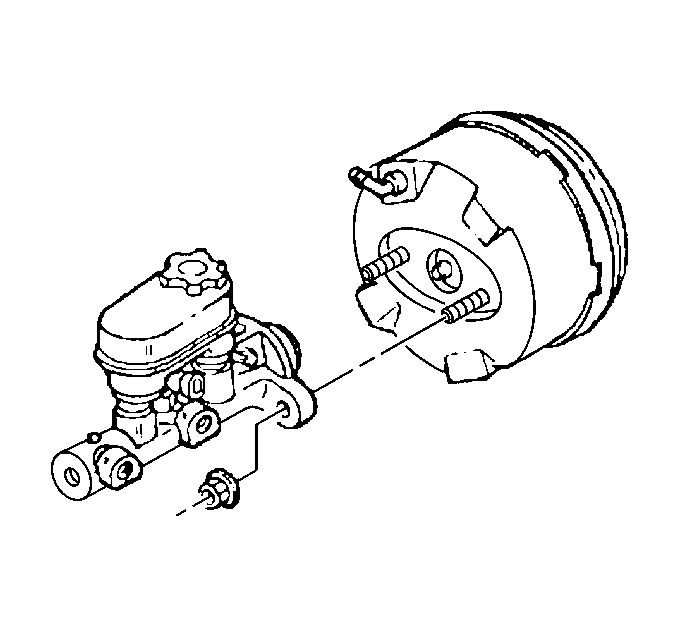
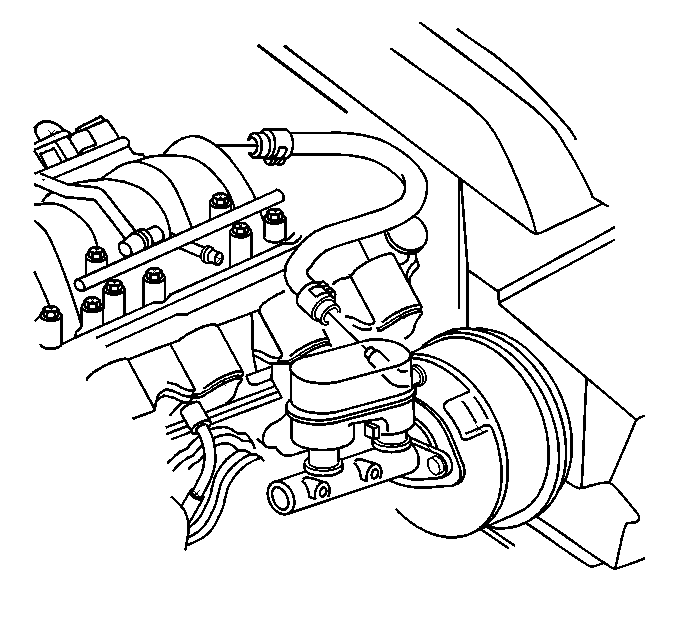
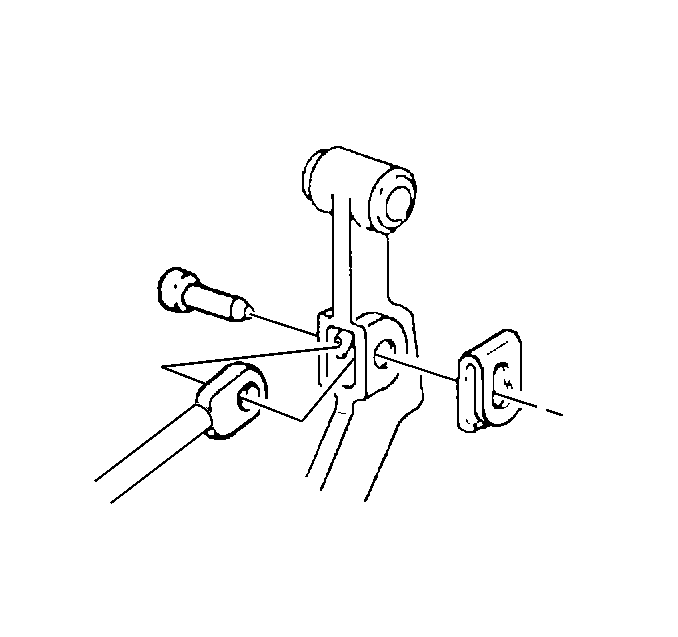
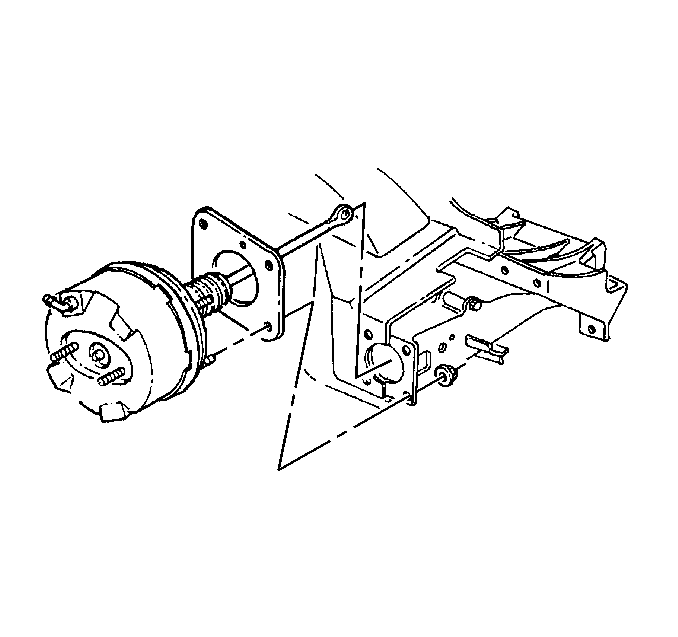
Important: The brake booster is retained to the cowl with push-on nuts.
| • | In order to release the booster mounting studs from the push-on nuts, move booster from side to side. |
| • | Pull the booster straight out. |
Installation Procedure
- Install the seal and brake booster to the front of dash.
- Install brake booster mounting nuts and washers to the booster studs.
- Install the brake booster pushrod, brake pedal pin, washer, and retainer to the brake pedal. Verify proper engagement of the retainer to the brake pedal by rotating the retainer.
- Install the brake pedal position sensor. Refer to Brake Pedal Position Sensor Replacement in Lighting Systems.
- Reposition the telescoping column motor assembly to the steering column, if equipped.
- Install the screw (3) to the motor mounting bracket (5).
- Install the instrument panel lower trim panel. Refer to Driver Knee Bolster Panel Replacement in Instrument Panel, Gages, and Console.
- Connect the brake booster vacuum hose to the brake booster check valve.
- Install the master cylinder to the brake booster.
- Install the master cylinder mounting nuts.
- Connect the electrical connector (1) to the brake fluid level sensor.
- Position the radiator surge tank to the mounting studs.
- Install the radiator surge tank upper nut,
- Install the protective cap on the radiator surge tank upper stud.
- Connect the battery negative cable. Refer to Battery Negative Cable Disconnection and Connection in Engine Electrical.
- Program the transmitters. Refer to Transmitter Programming in Keyless Entry.

Notice: Refer to Fastener Notice in the Preface section.
Tighten
Tighten the brake booster mounting nuts to 27 N·m (20 lb ft).


Tighten
Tighten the screw to 7 N·m (62 lb in).


Tighten
Tighten the master cylinder mounting nuts to 29 N·m (21 lb ft).


Tighten
Tighten the radiator surge tank upper and side nuts to 8 N·m (71 lb in).
