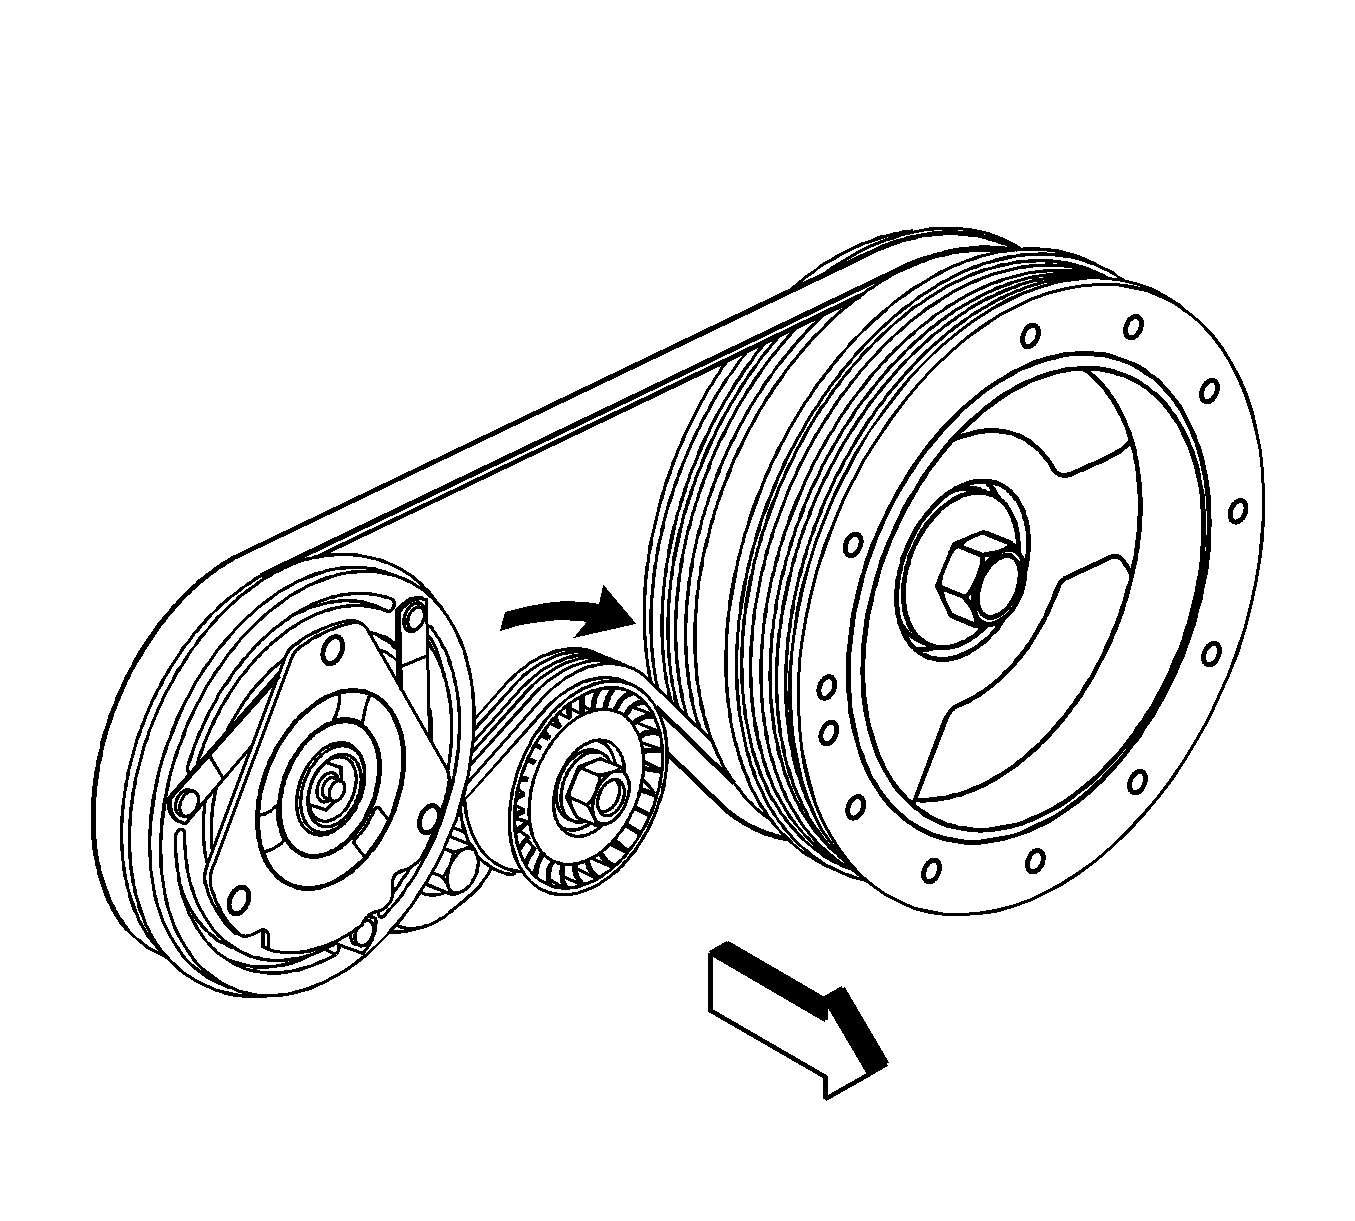
For 1990-2009 cars only
Removal Procedure
- Remove the accessory drive belt. Refer to Drive Belt Replacement - Accessory .
- Raise the vehicle. Refer to Lifting and Jacking the Vehicle.
- Using the appropriate tool, rotate the A/C belt tensioner clockwise in order to relieve tension on the belt.
- Remove the A/C belt from the pulleys.
- Slowly release the tension on the A/C belt tensioner.
- Remove the wrench and or socket from the A/C belt tensioner.
- Clean and inspect the belt surfaces of all the pulleys.

Installation Procedure
- Install the A/C belt around the crankshaft balancer.
- Using the appropriate wrench or socket, rotate the A/C belt tensioner clockwise in order to relieve tension on the belt.
- Rotate the A/C belt tensioner clockwise in order to relieve tension on the belt.
- Install the A/C belt over the idler pulley.
- Install the A/C belt around the A/C compressor pulley.
- Slowly release the tension on the A/C belt tensioner.
- Remove the appropriate tool from the A/C belt tensioner.
- Inspect the A/C belt for proper installation and alignment.
- Lower the vehicle.
- Install the accessory drive belt. Refer to Drive Belt Replacement - Accessory .

