For 1990-2009 cars only
Removal Procedure
- Disconnect the negative battery cable. Refer to Battery Negative Cable Disconnection and Connection .
- Remove the instrument panel (I/P) assembly. Refer to Instrument Panel Assembly Replacement .
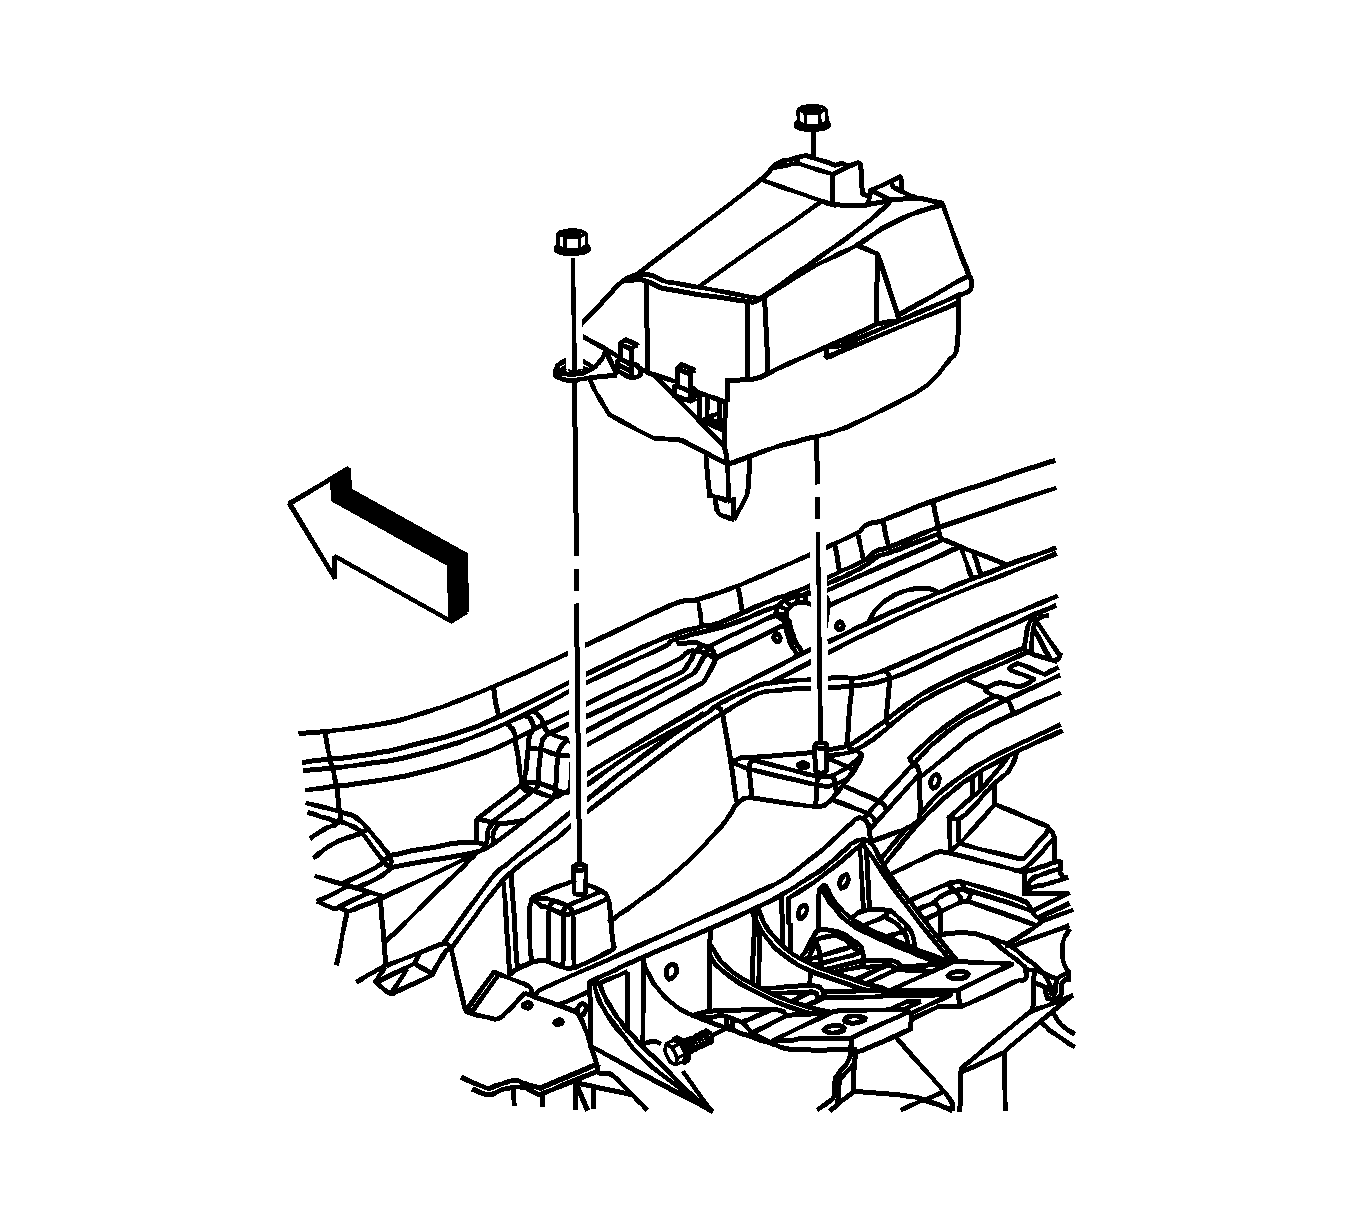
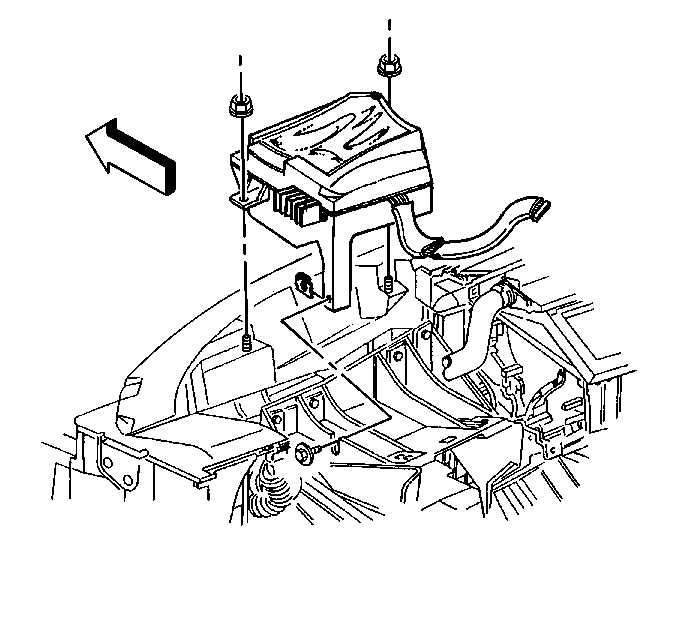
- Remove the retaining screw that secures the head up display (HUD) to the steering column bracket.
- Remove the HUD retaining nuts.
- Remove the HUD from the vehicle.

Installation Procedure
- Transfer the retaining screw and nut to the replacement HUD.
- Install the HUD to the vehicle:
- Install the HUD retaining nuts.
- Tighten the screw that retains the HUD to the steering column bracket.
- Install the I/P assembly. Refer to Instrument Panel Assembly Replacement .
- Connect the negative battery cable. Refer to Battery Negative Cable Disconnection and Connection .
- Refer to Control Module References for programming and setup information.

| 2.1. | Install the HUD onto the dash panel mounting studs. |
| 2.2. | Slide the HUD retaining screw into the slot on the steering column bracket. |
Notice: Refer to Fastener Notice in the Preface section.
Tighten
Tighten the nuts to 5 N·m (44 lb in).
Tighten
Tighten the screw to 3 N·m (27 lb in).
