Tool Required
| • | DT-48007 Spline Holder |
| • | J 8001 Dial Indicator Set |
| • | J 42155 Getrag Axle Differential Housing Lifting Tool |
| • | J 42173 Getrag Axle Ring Gear Holder |
| • | J 46405 Output Shaft Seal Installer |
- Assemble the drive pinion prior to rear axle assembly. Refer to Drive Pinion Assemble .
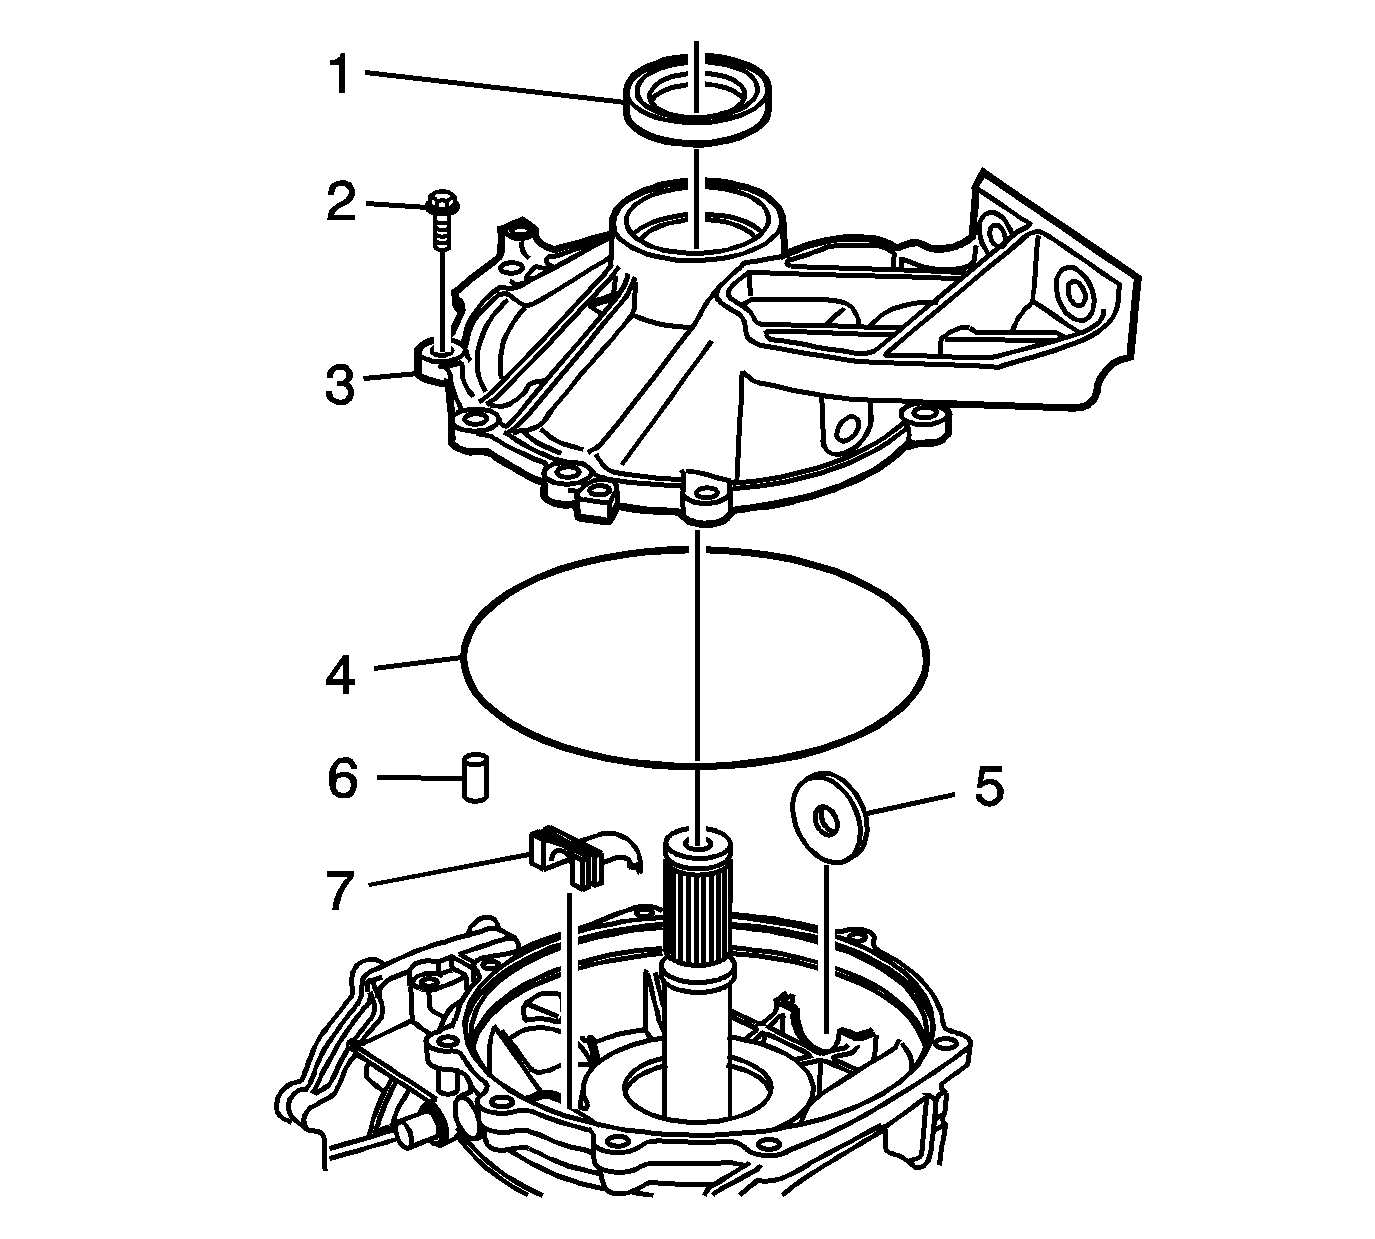
- Using the J 46405 , install the oil seal into the left cover.
- Using the J 46405 , install the oil seal into the right cover.
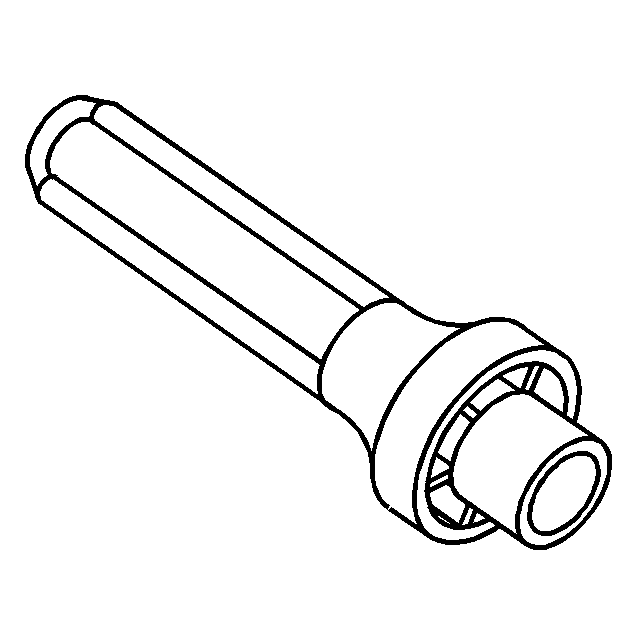
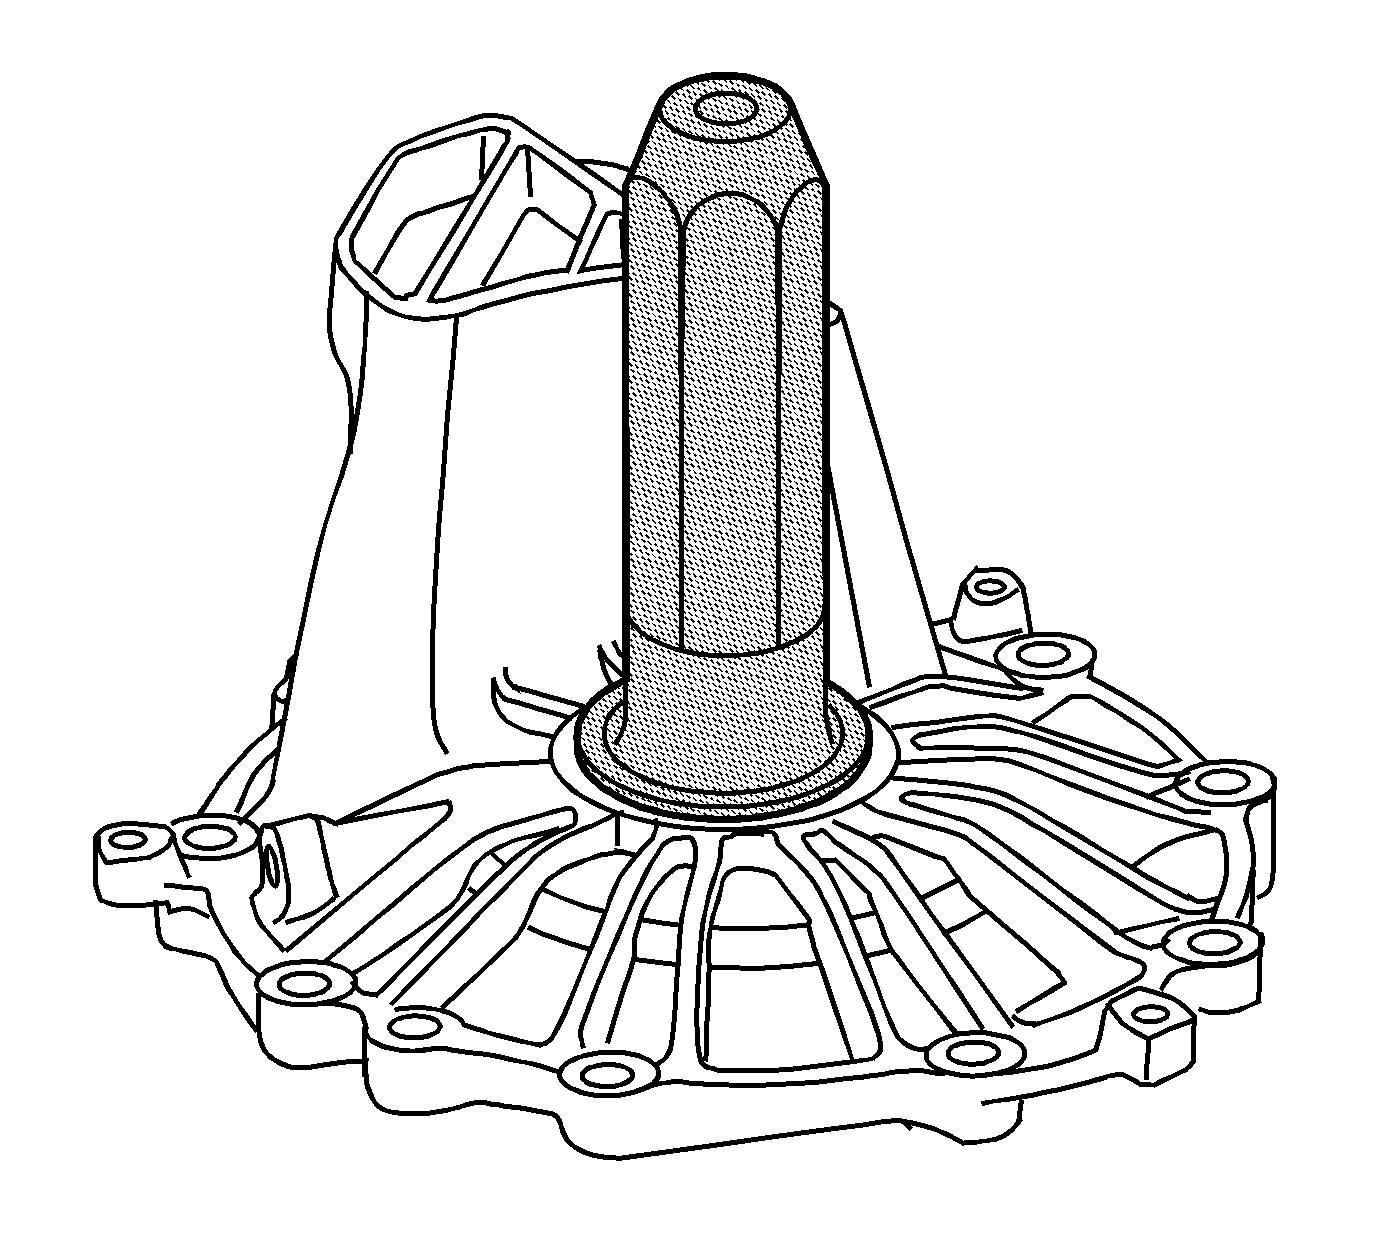
- Install the pinion housing assembly (1) and the selected shim or shims (2) to the differential housing. Refer to Drive Pinion Shim Selection for shim selection.
- Install the pinion housing/cage bolts.
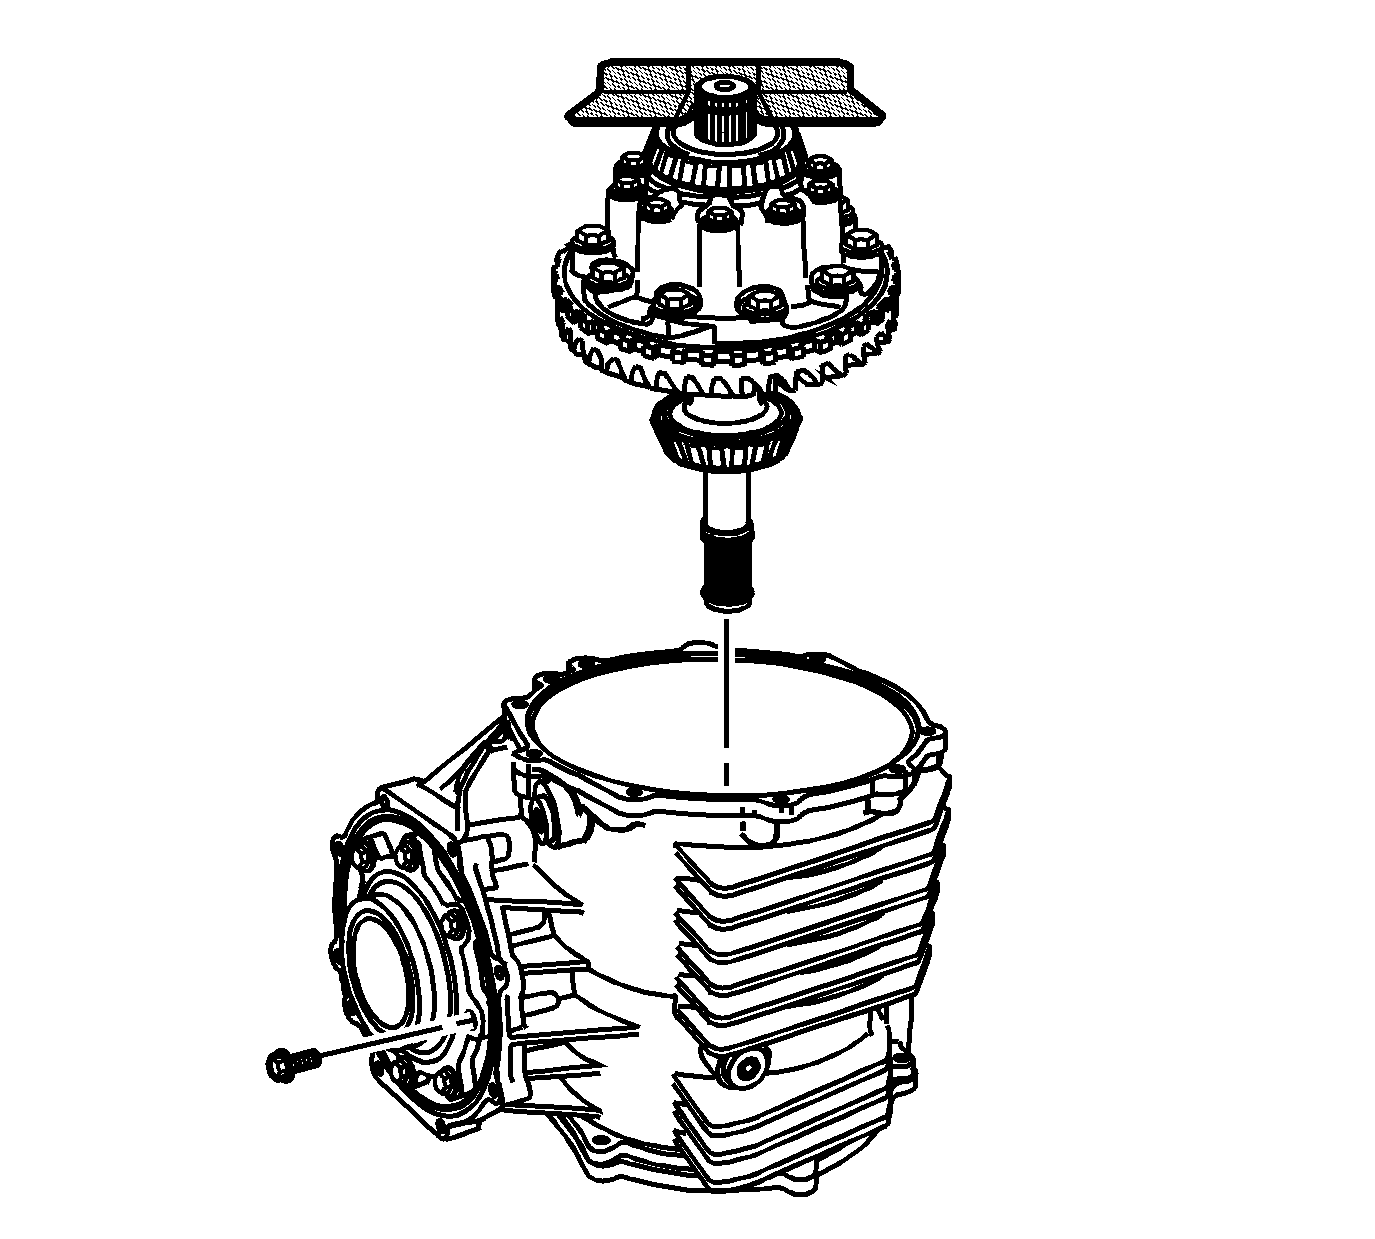
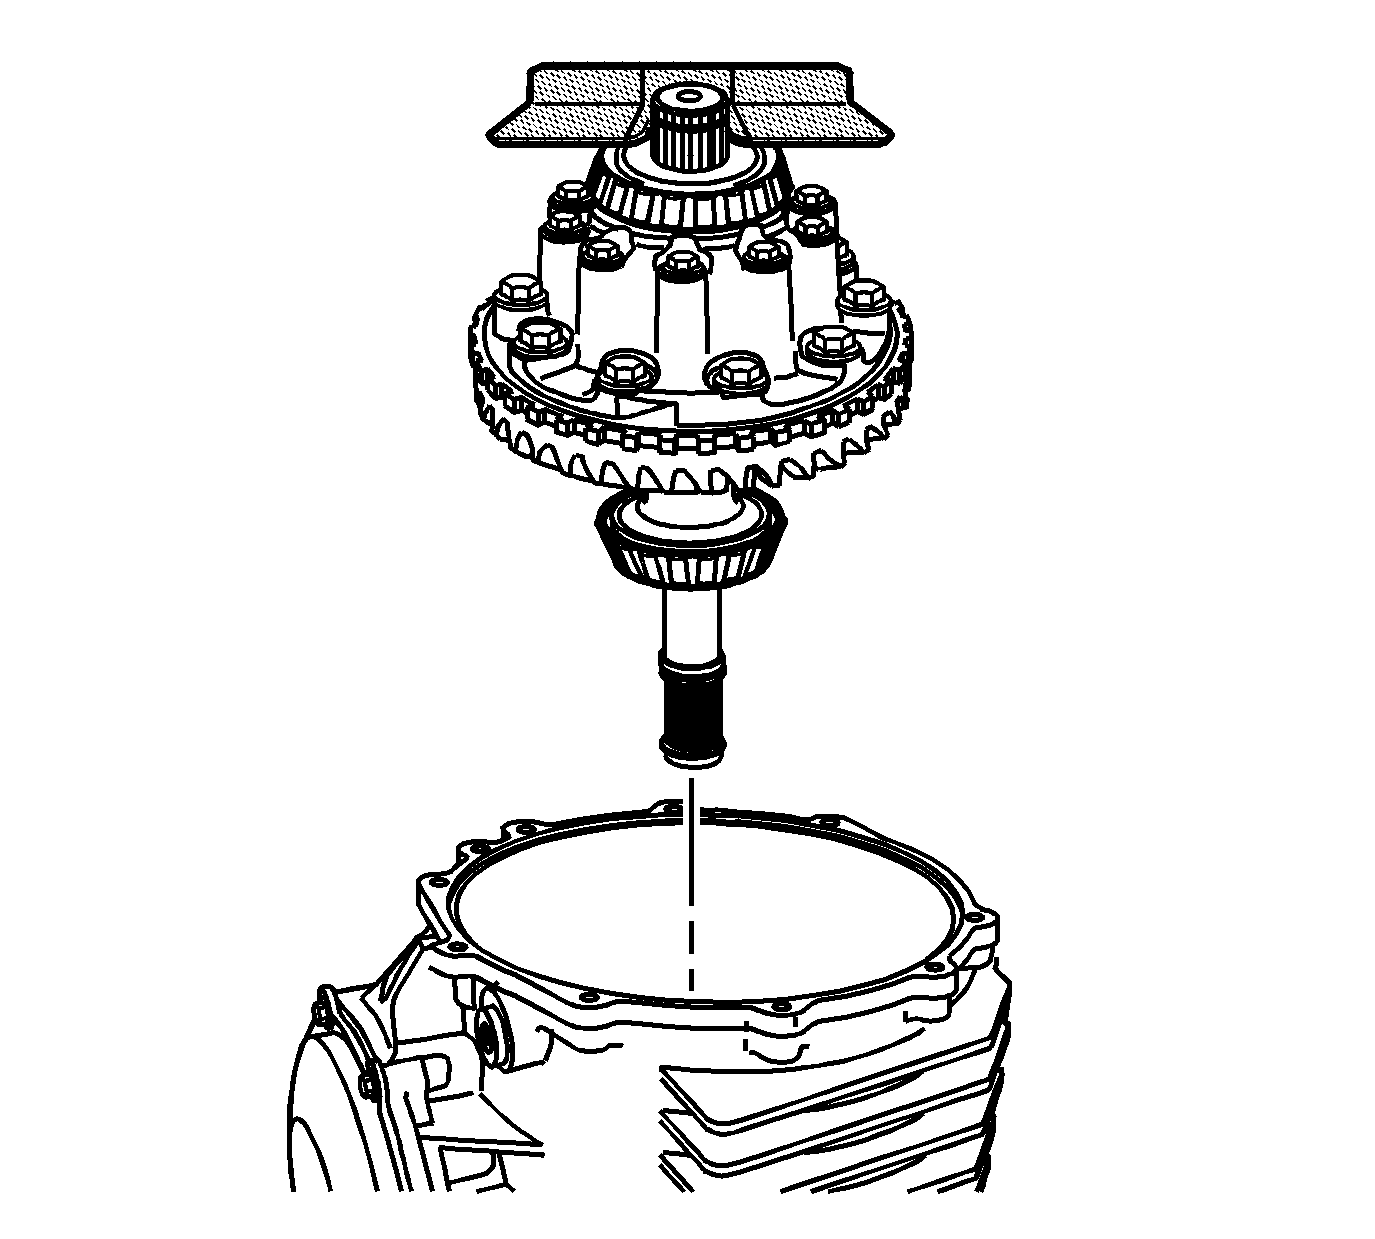
- Install the J 42155 into the groove of the output shaft, in order to install the differential case assembly.
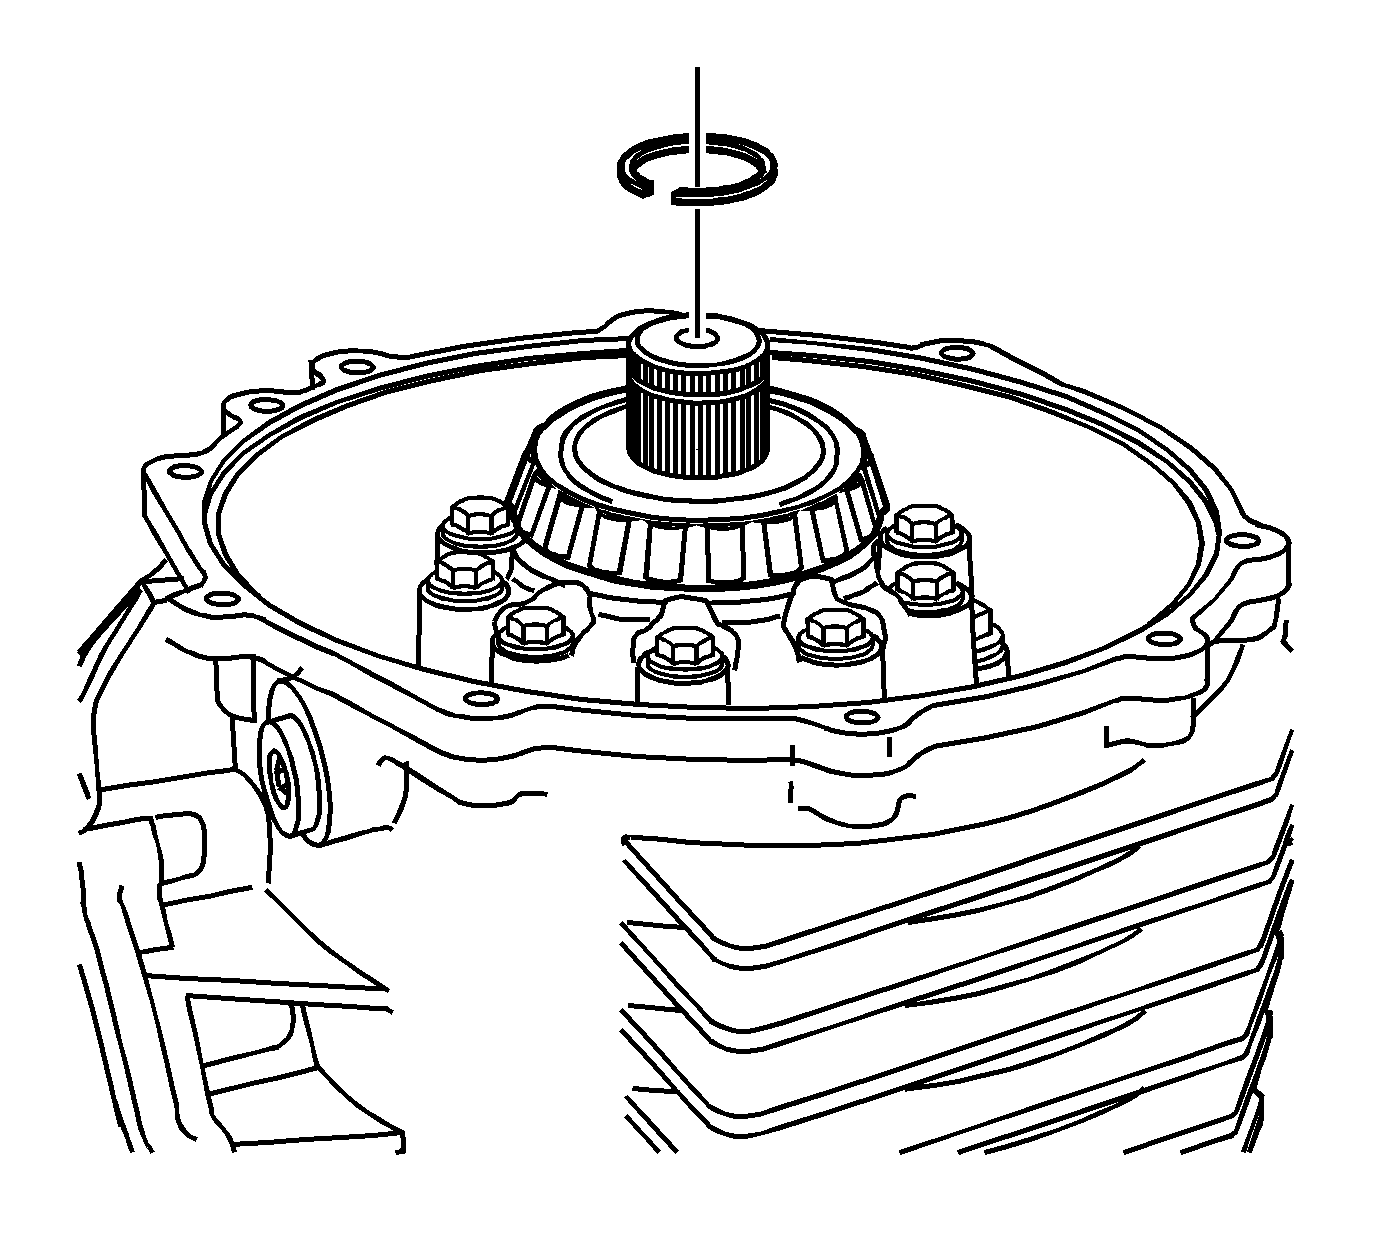
- Install the C-clip into the groove of the output shaft.
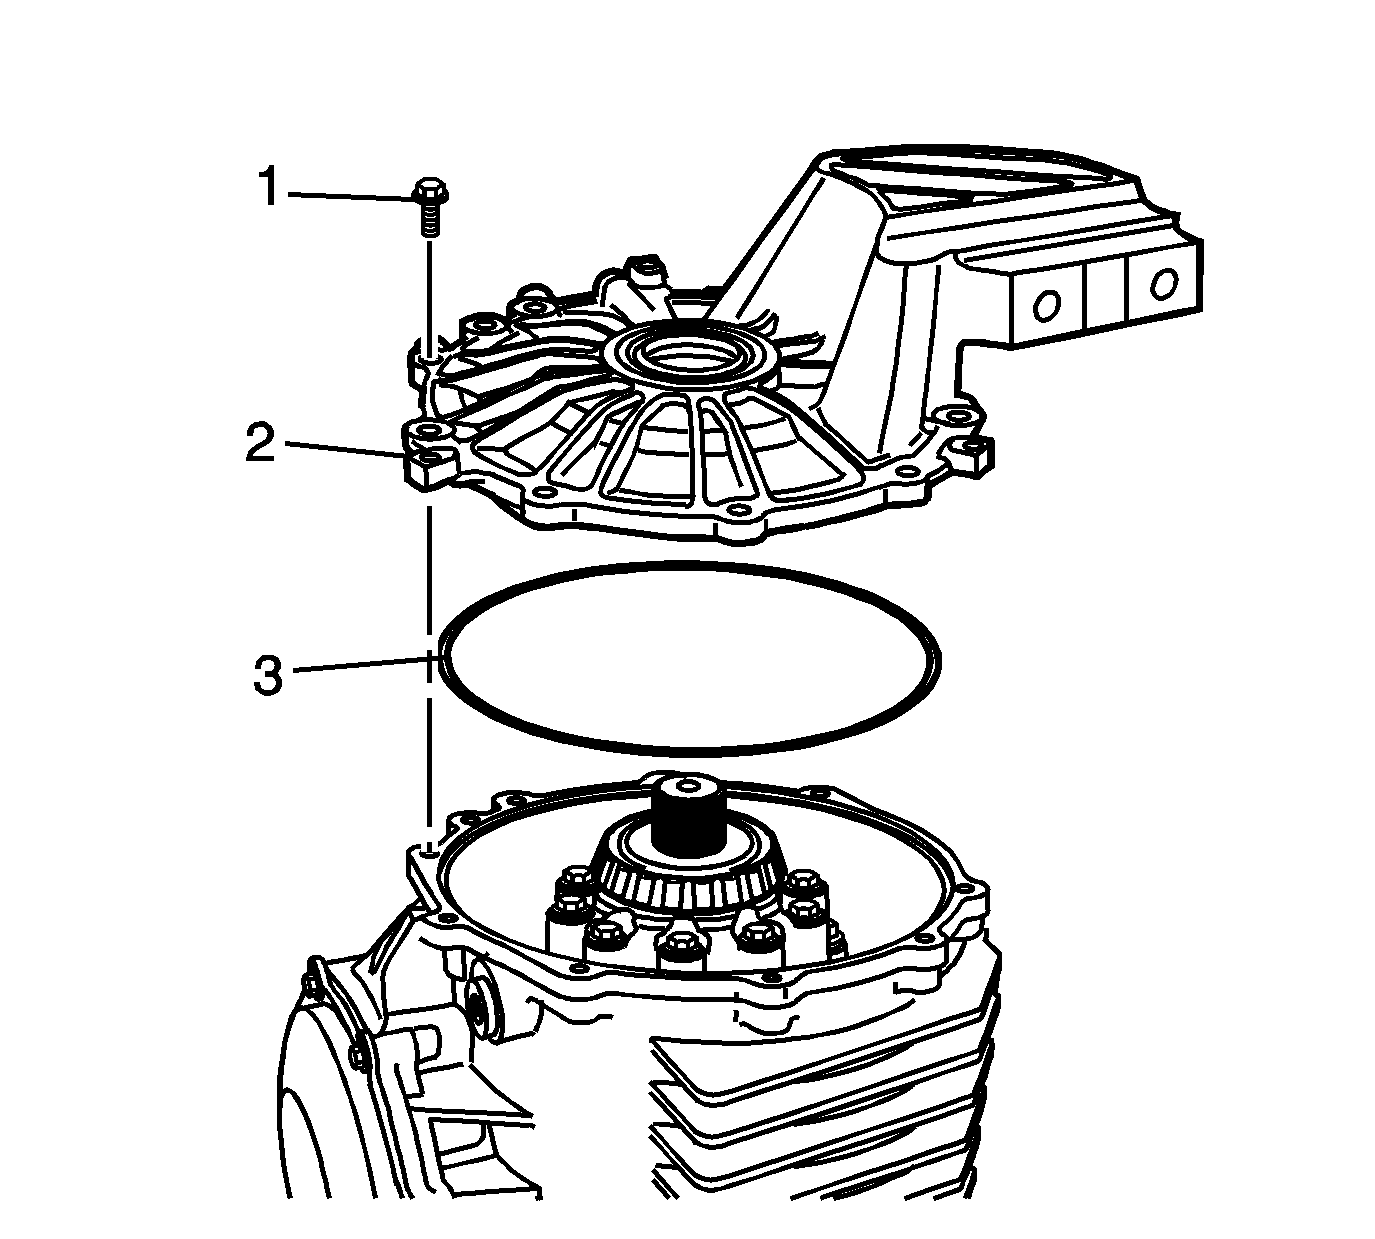
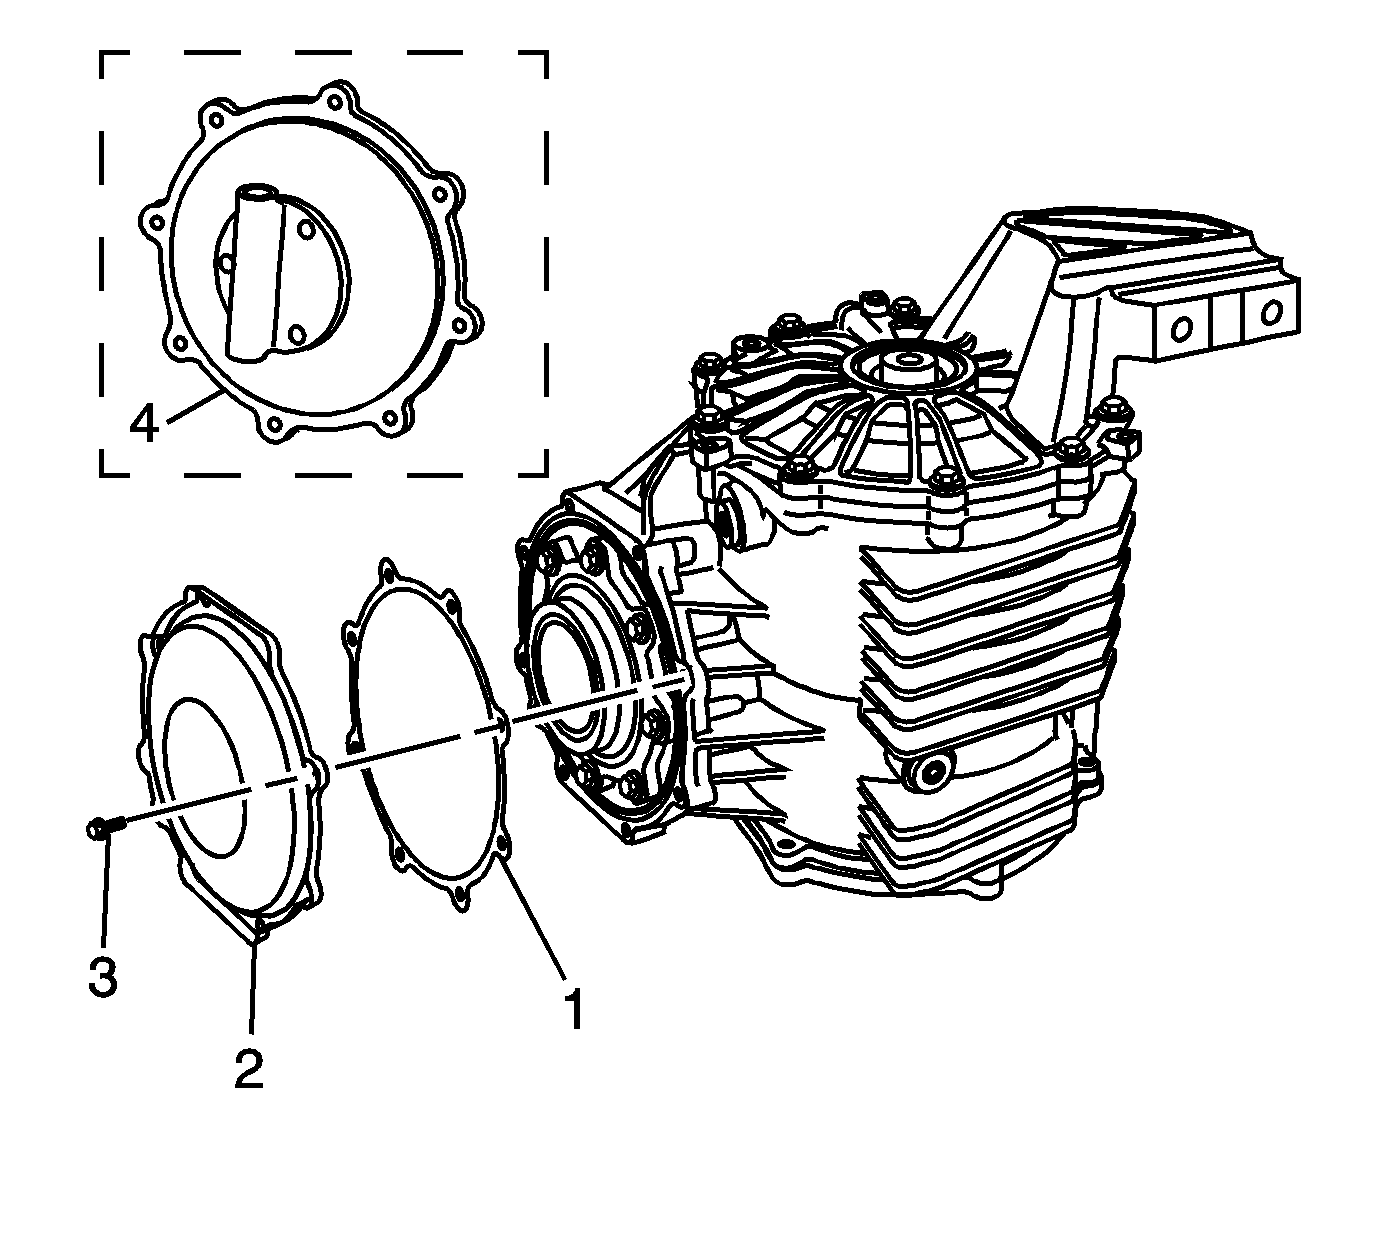
- Install the O-ring (3) to the right cover (2).
- Install the right cover and bolts (1).
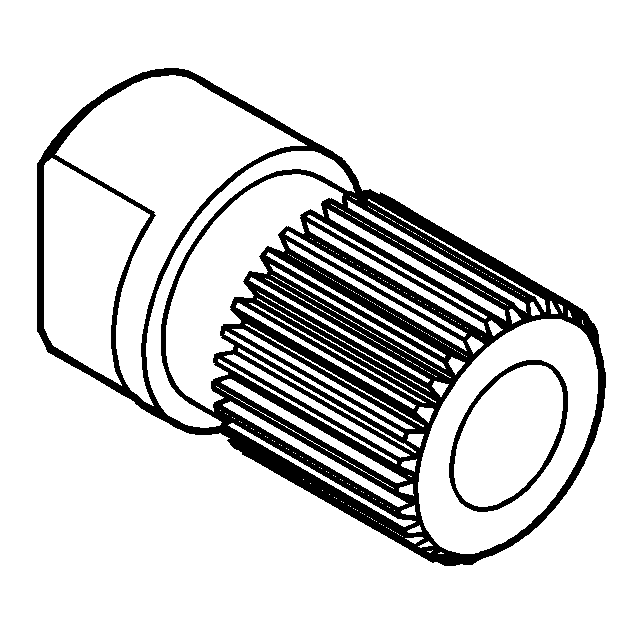
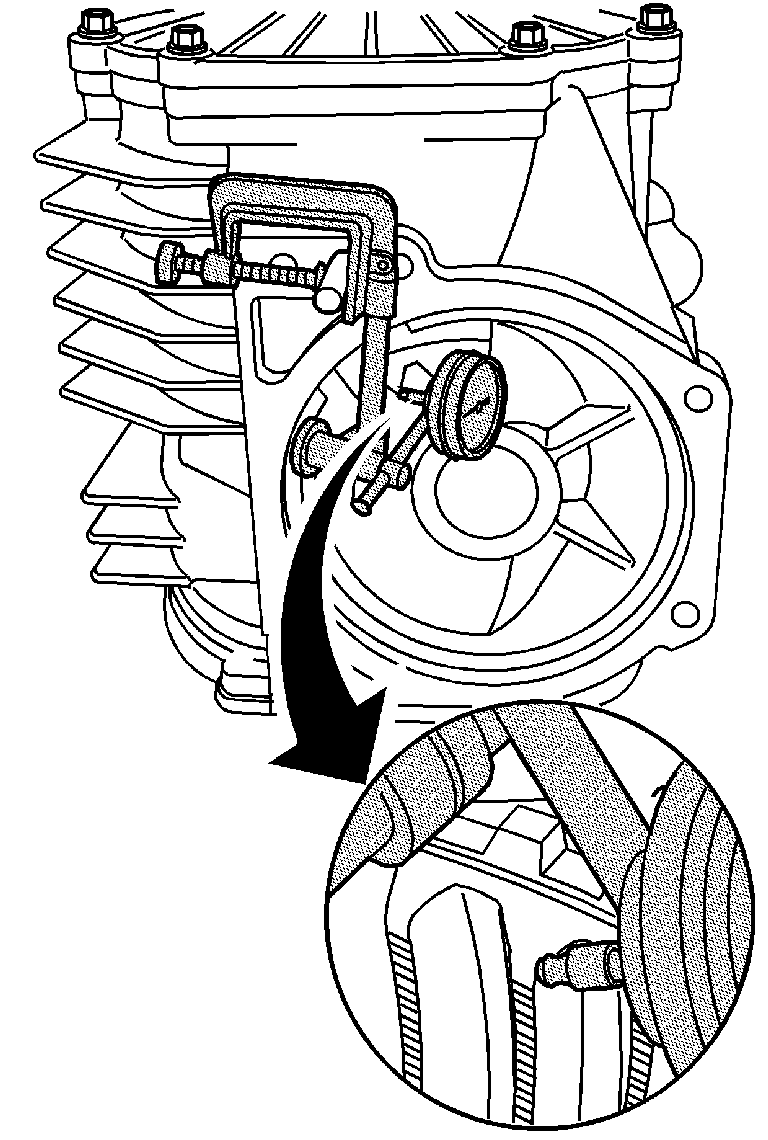
- Install the J 8001 onto the transmission stud. Position the tip of the dial indicator against the center of the ring gear tooth surface.
- Install the DT-48007 into the splines of the pinion to retain the pinion in order to properly measure backlash.
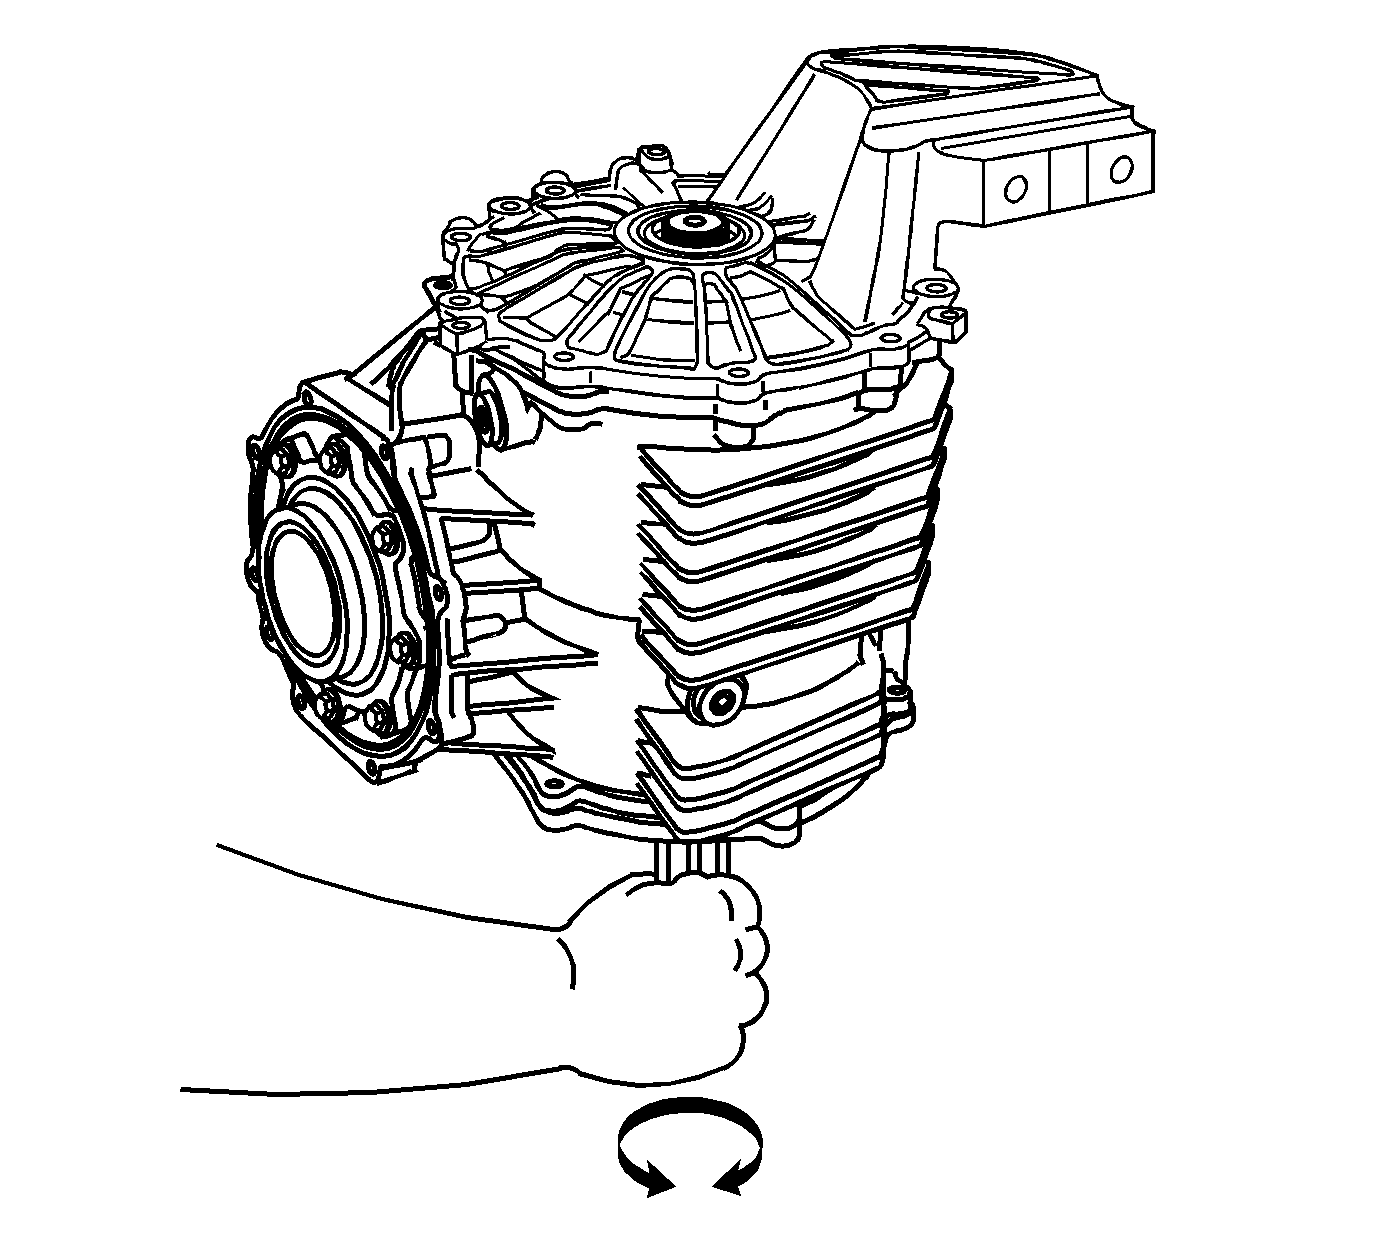
- Move the right output shaft in both directions in order to measure the gear backlash. Measure the backlash in two to three locations at the ring gear teeth while holding the pinion shaft. Refer to Rear Axle Specifications .
- Install the rear cover (2), bolts (3), and gasket (1), or pump - some models.
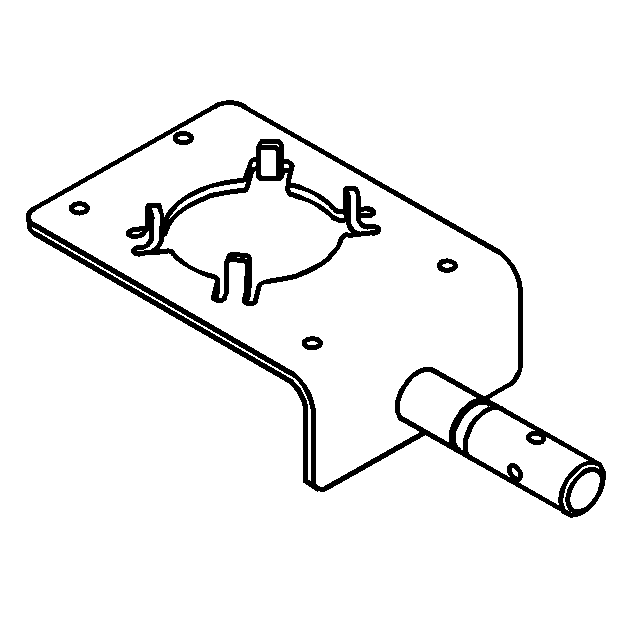
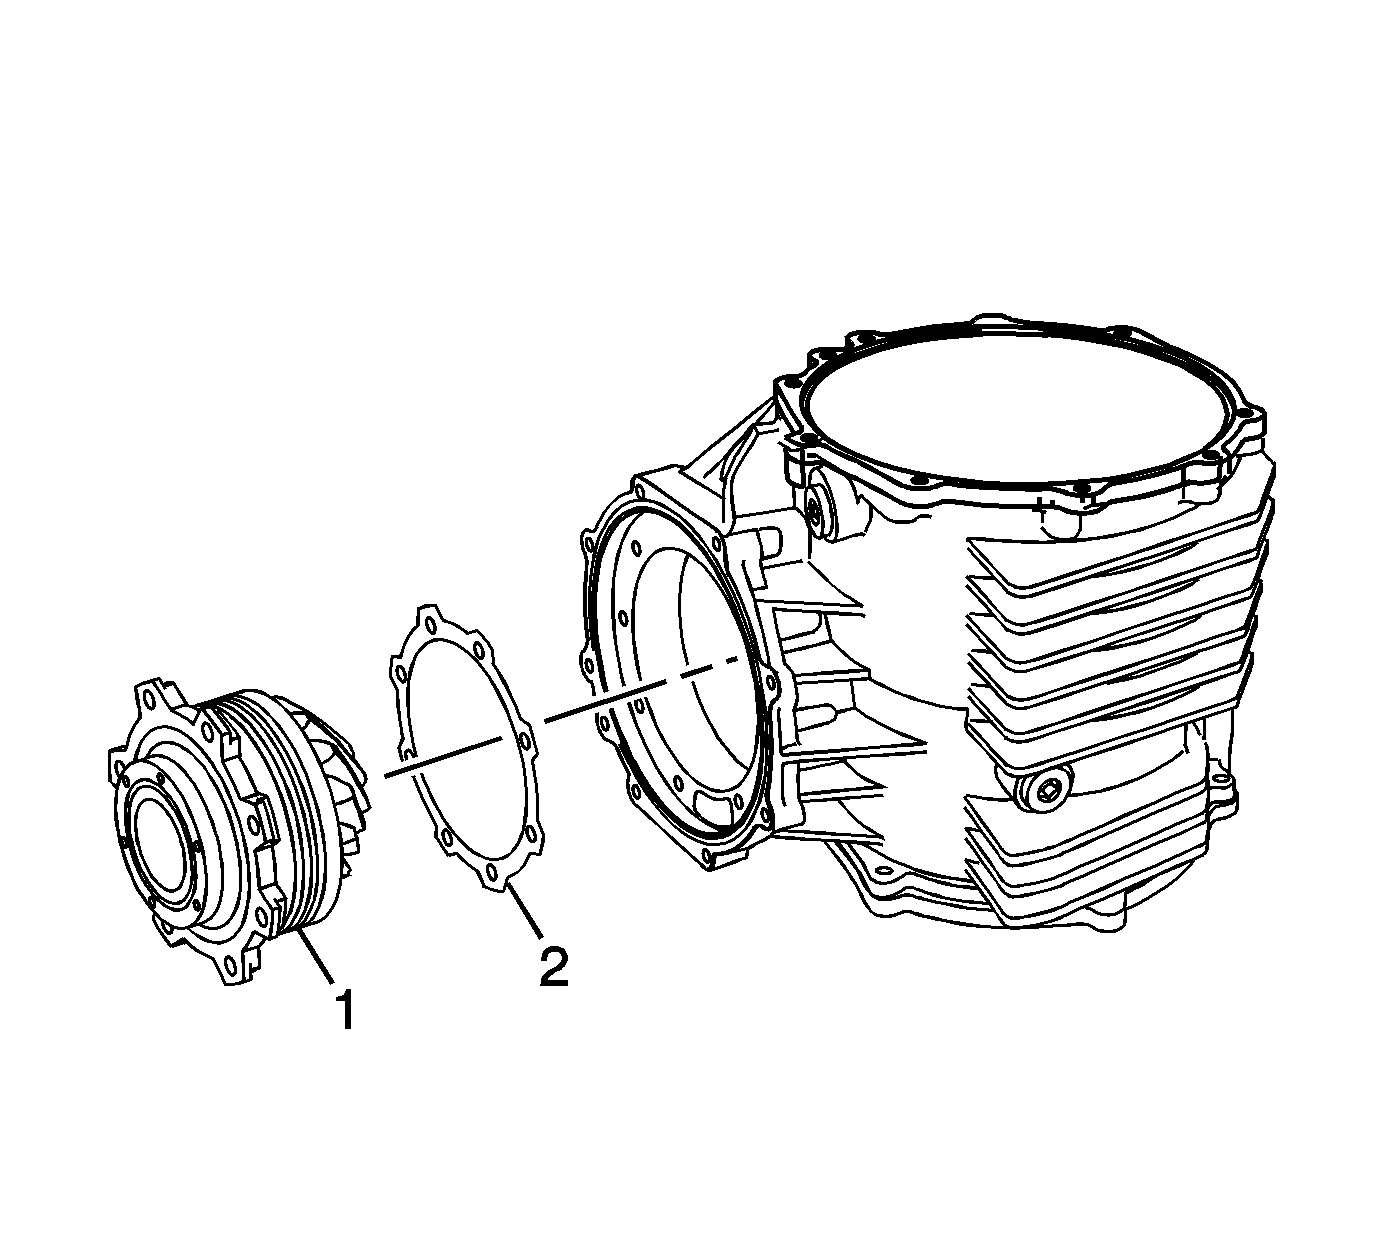
- Remove the bolts (3) and the differential assembly (1) from the J 42173 (2).
- Install the O-ring (4) to the left cover (3).
- Install the magnet (5) to the carrier.
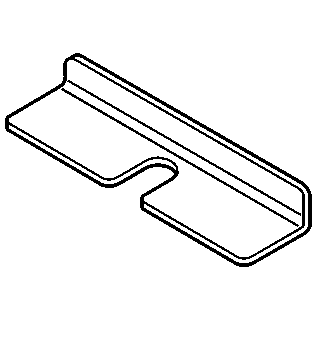
- Install the oil trough (7).
- Install the left cover (3) and bolts (2).
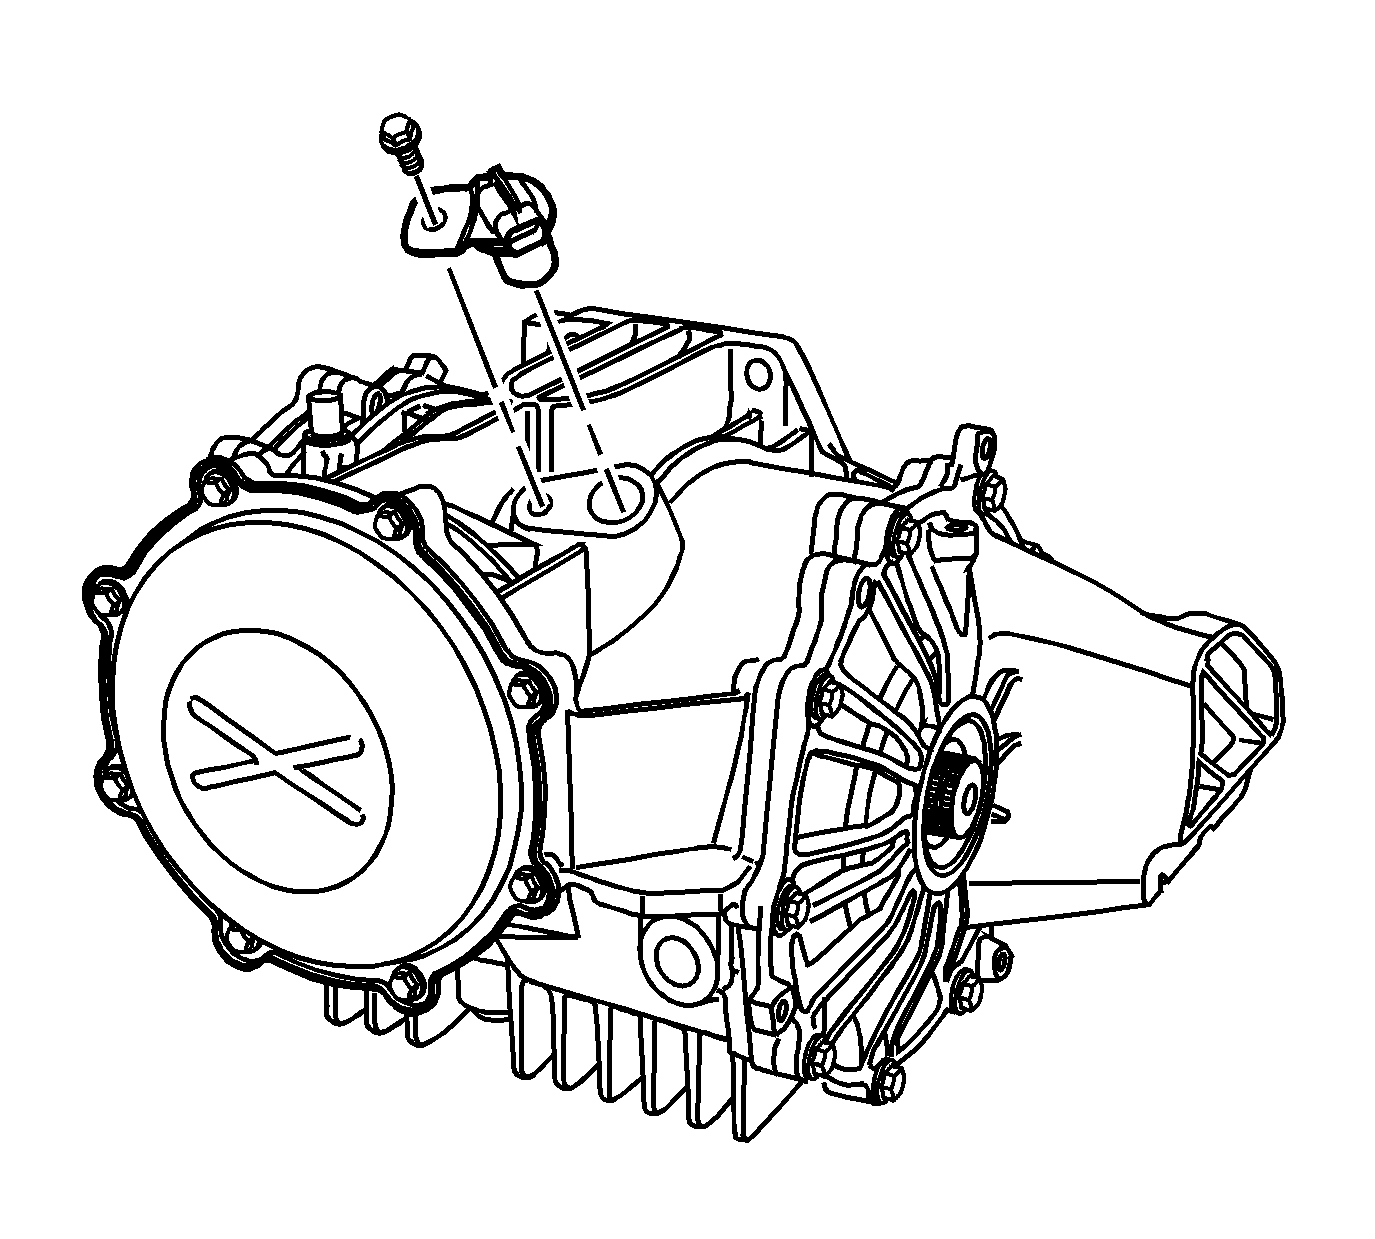
- Install the vehicle speed sensor and bolt, if equipped.
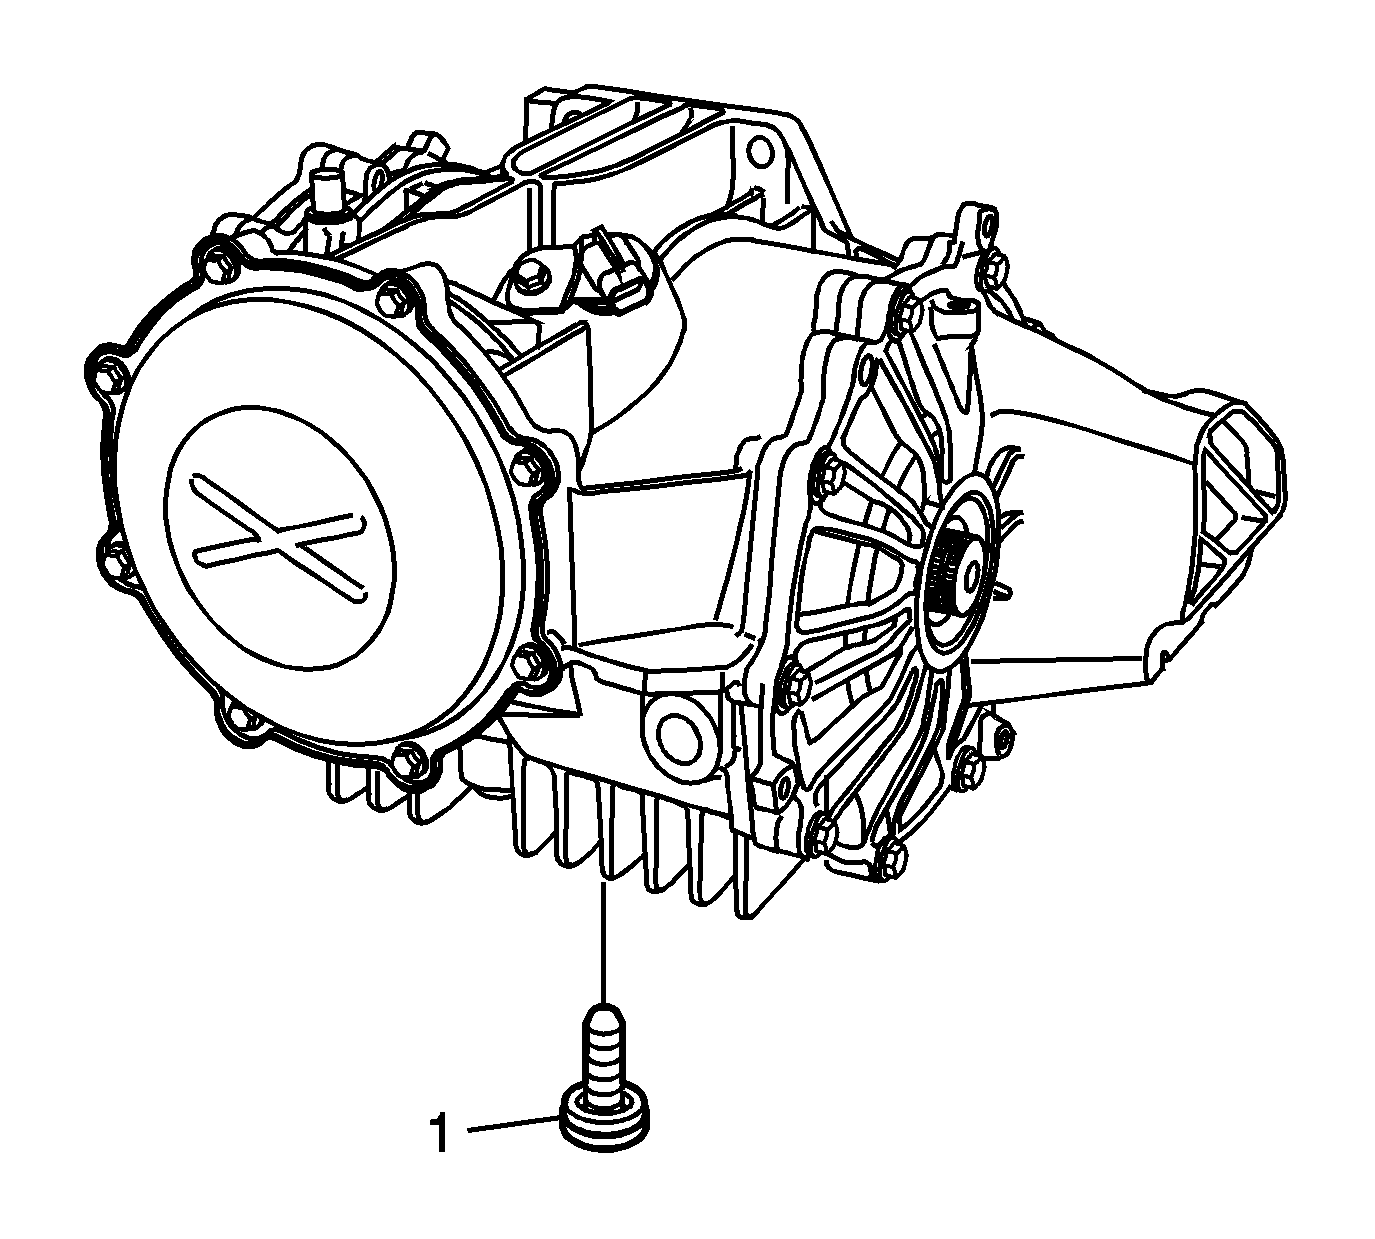
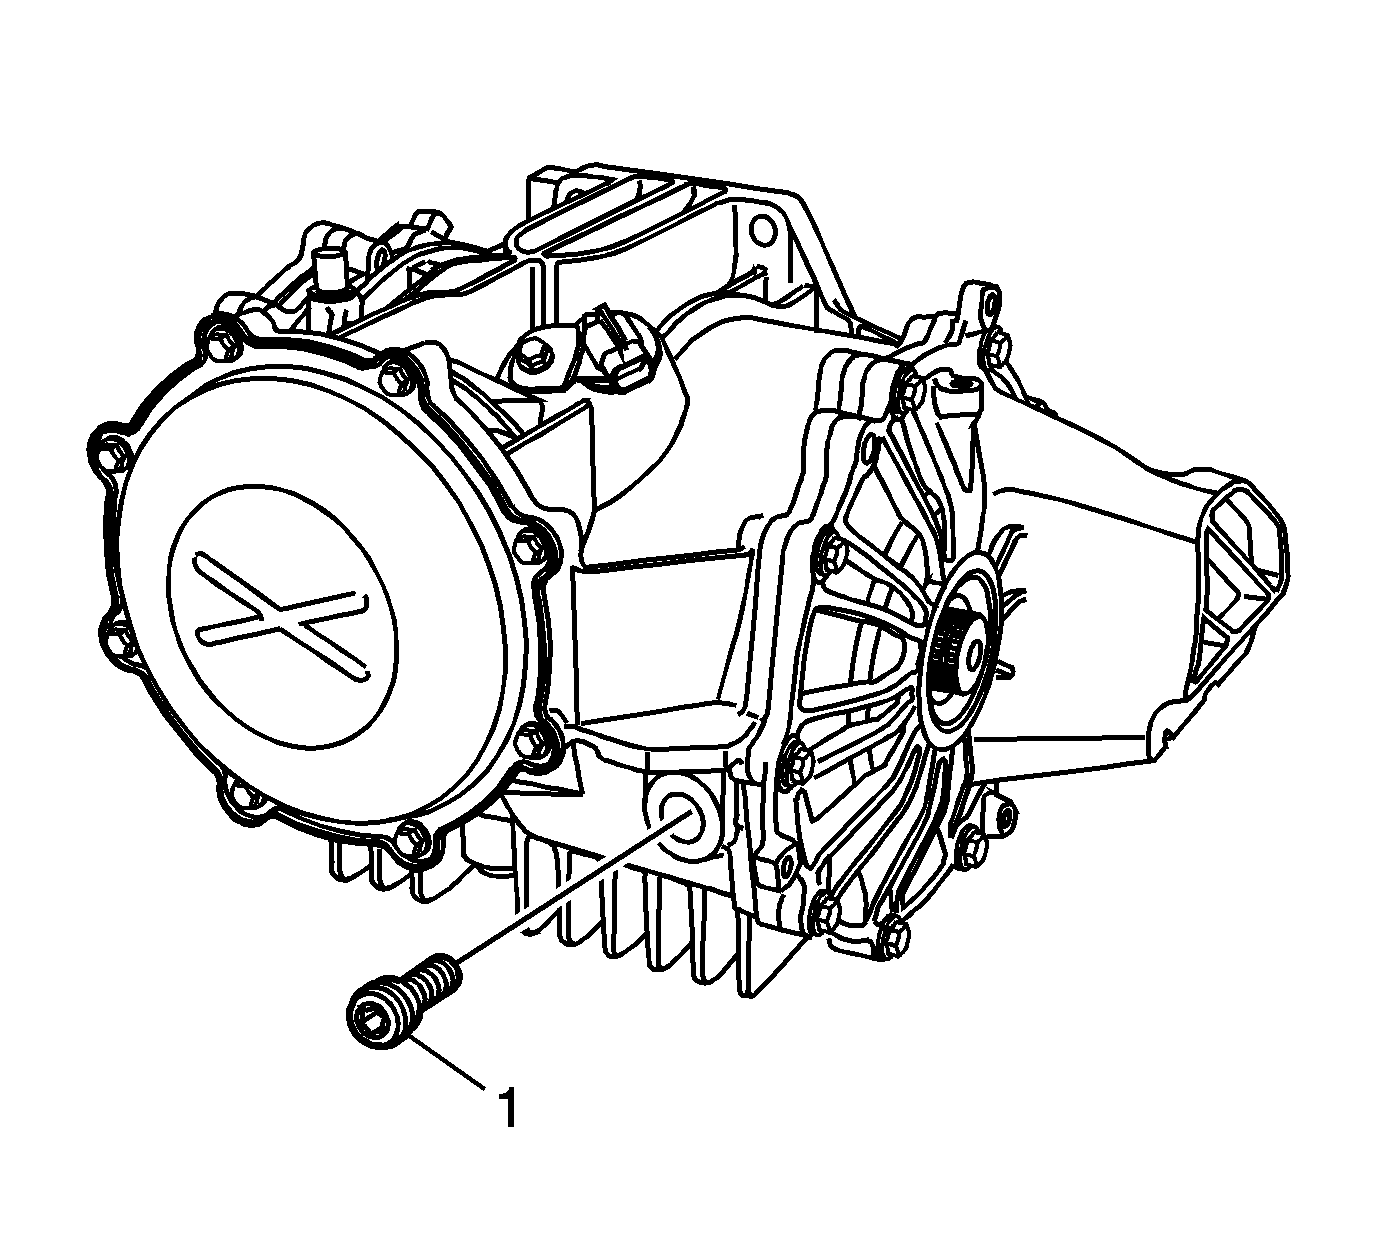
- Install the drain plug and washer (1).
- For models equipped with a cooler, perform the following:
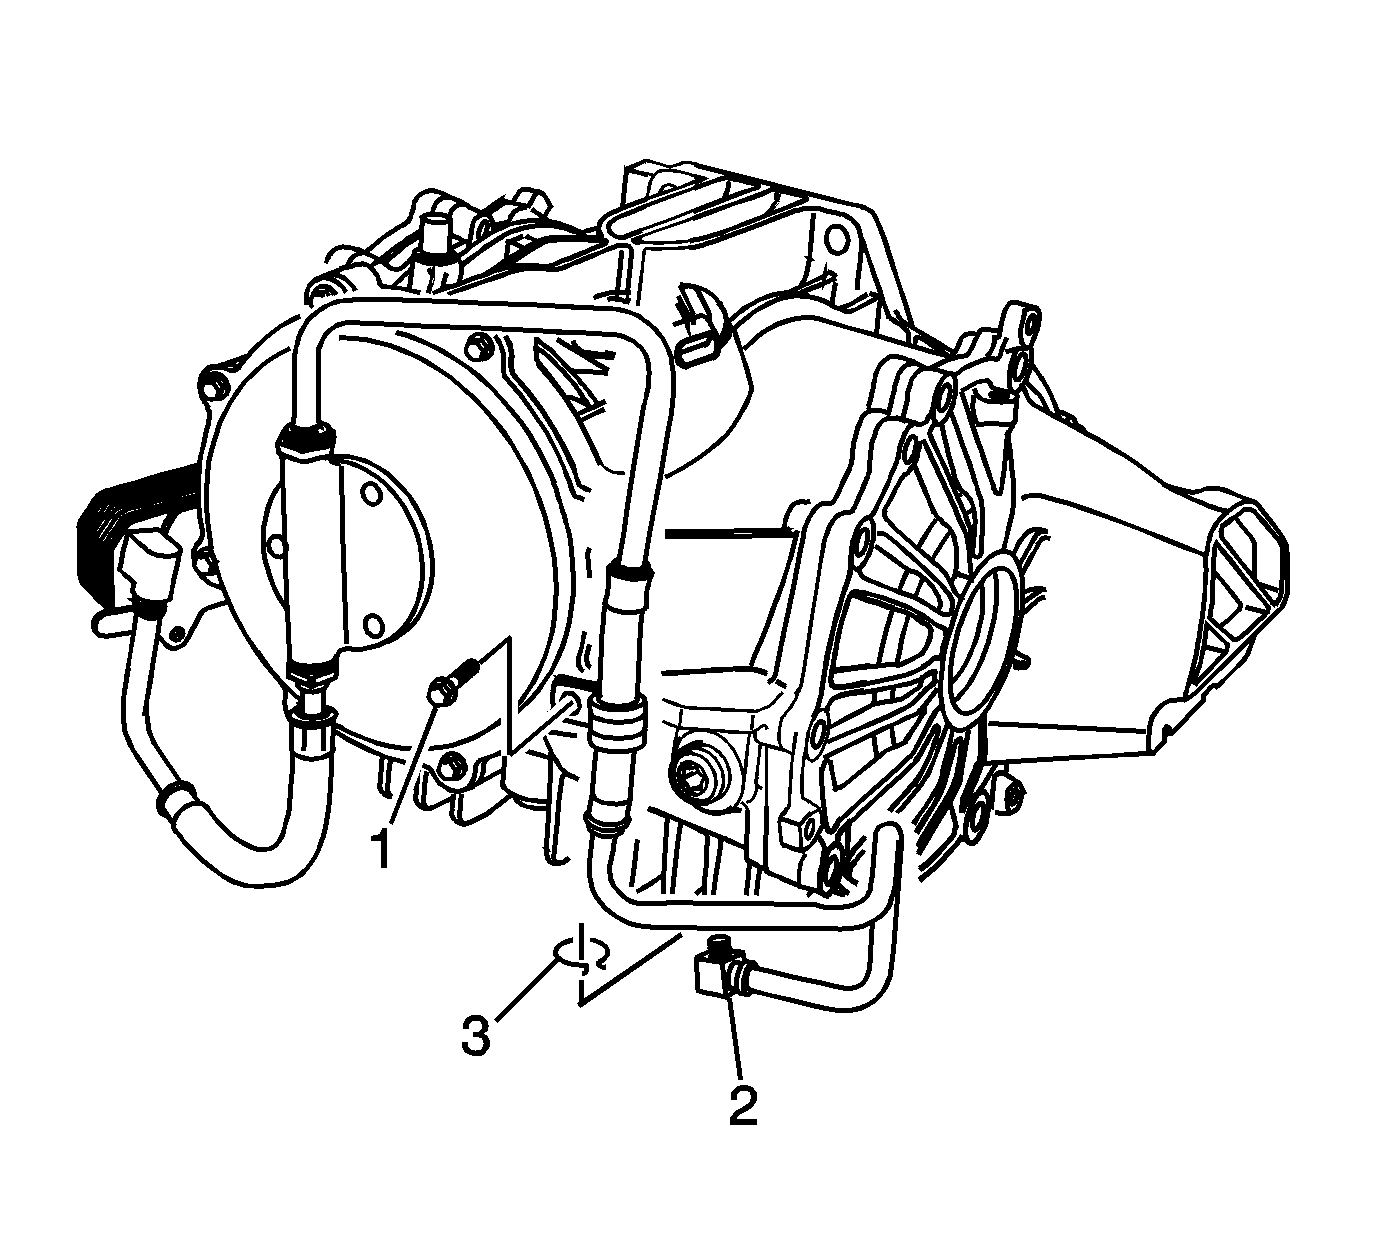
- For models equipped with a pump and cooler, perform the following steps:
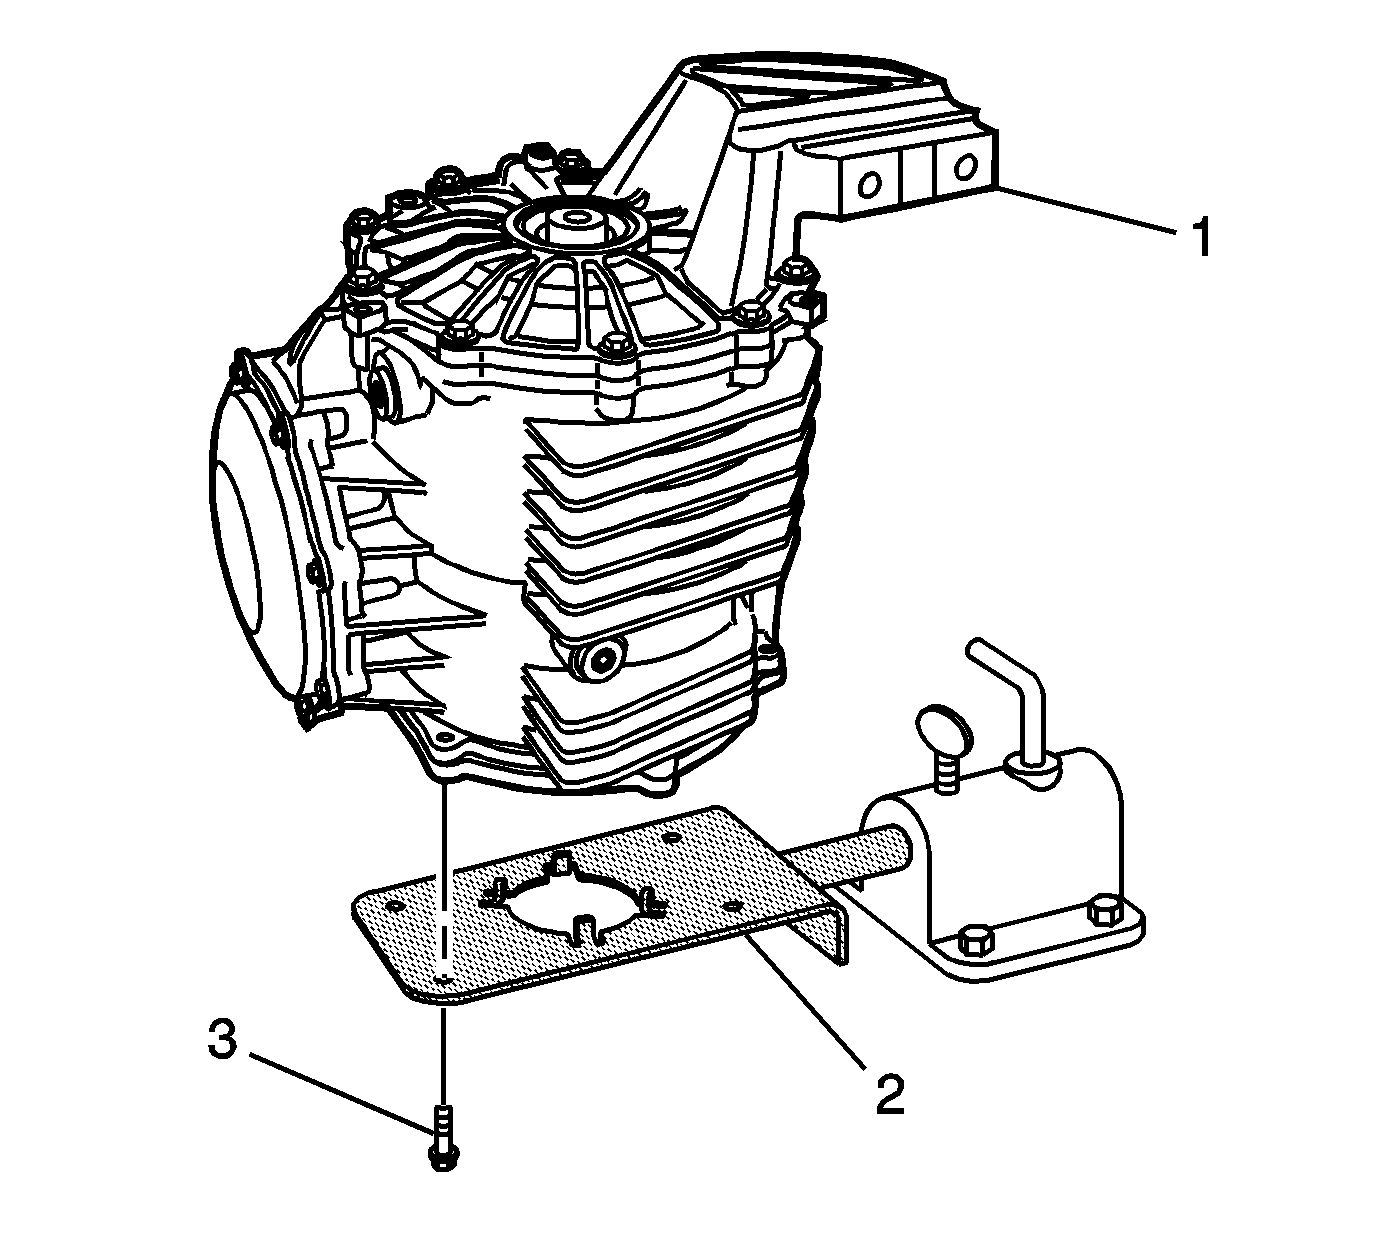
- Install the inlet pipe clamp retaining bolt (1).
- Clean any dirt from around the differential fill plug.
- Fill the differential with fluid:
- Inspect the fluid level to ensure it is even with the bottom of the fill plug hole to no lower than 6 mm (0.25 in) below the opening.
- Install the fill plug and washer (1) to the differential.
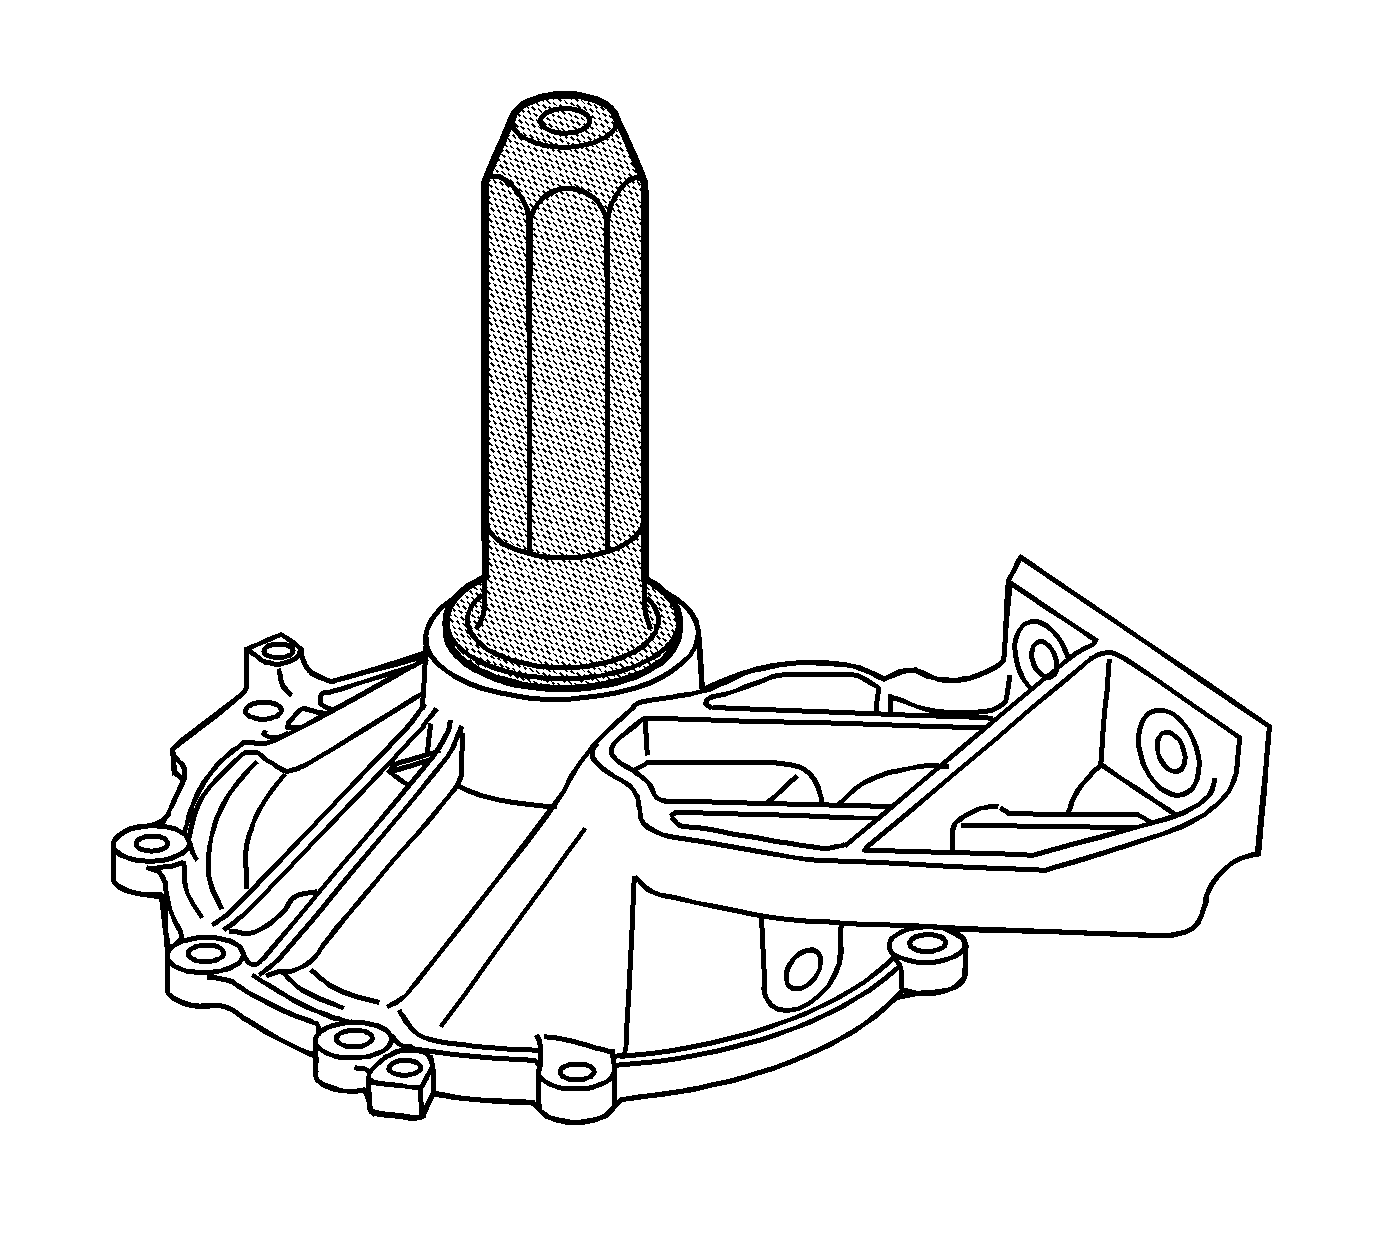
Important: If the pinion assembly components have not been replaced, reuse the original pinion housing shims. If the pinion assembly components have been replaced, refer to Drive Pinion Shim Selection for selection of the proper size shims.
The use of M8 x 1.25 dowels or long bolts will ease in pinion housing/cage and shim installation and alignment.
Notice: Refer to Fastener Notice in the Preface section.
Tighten
Tighten the bolts to 30 N·m (22 lb ft).
Tighten
Tighten the bolts to 30 N·m (22 lb ft).
Tighten
Tighten the bolts and bolt/stud to 10 N·m (89 lb in).
Tighten
Tighten the bolts to 30 N·m (22 lb ft).
Tighten
Tighten the bolt to 10 N·m (89 lb in).
Tighten
Tighten the drain plug to 35 N·m (26 lb ft).
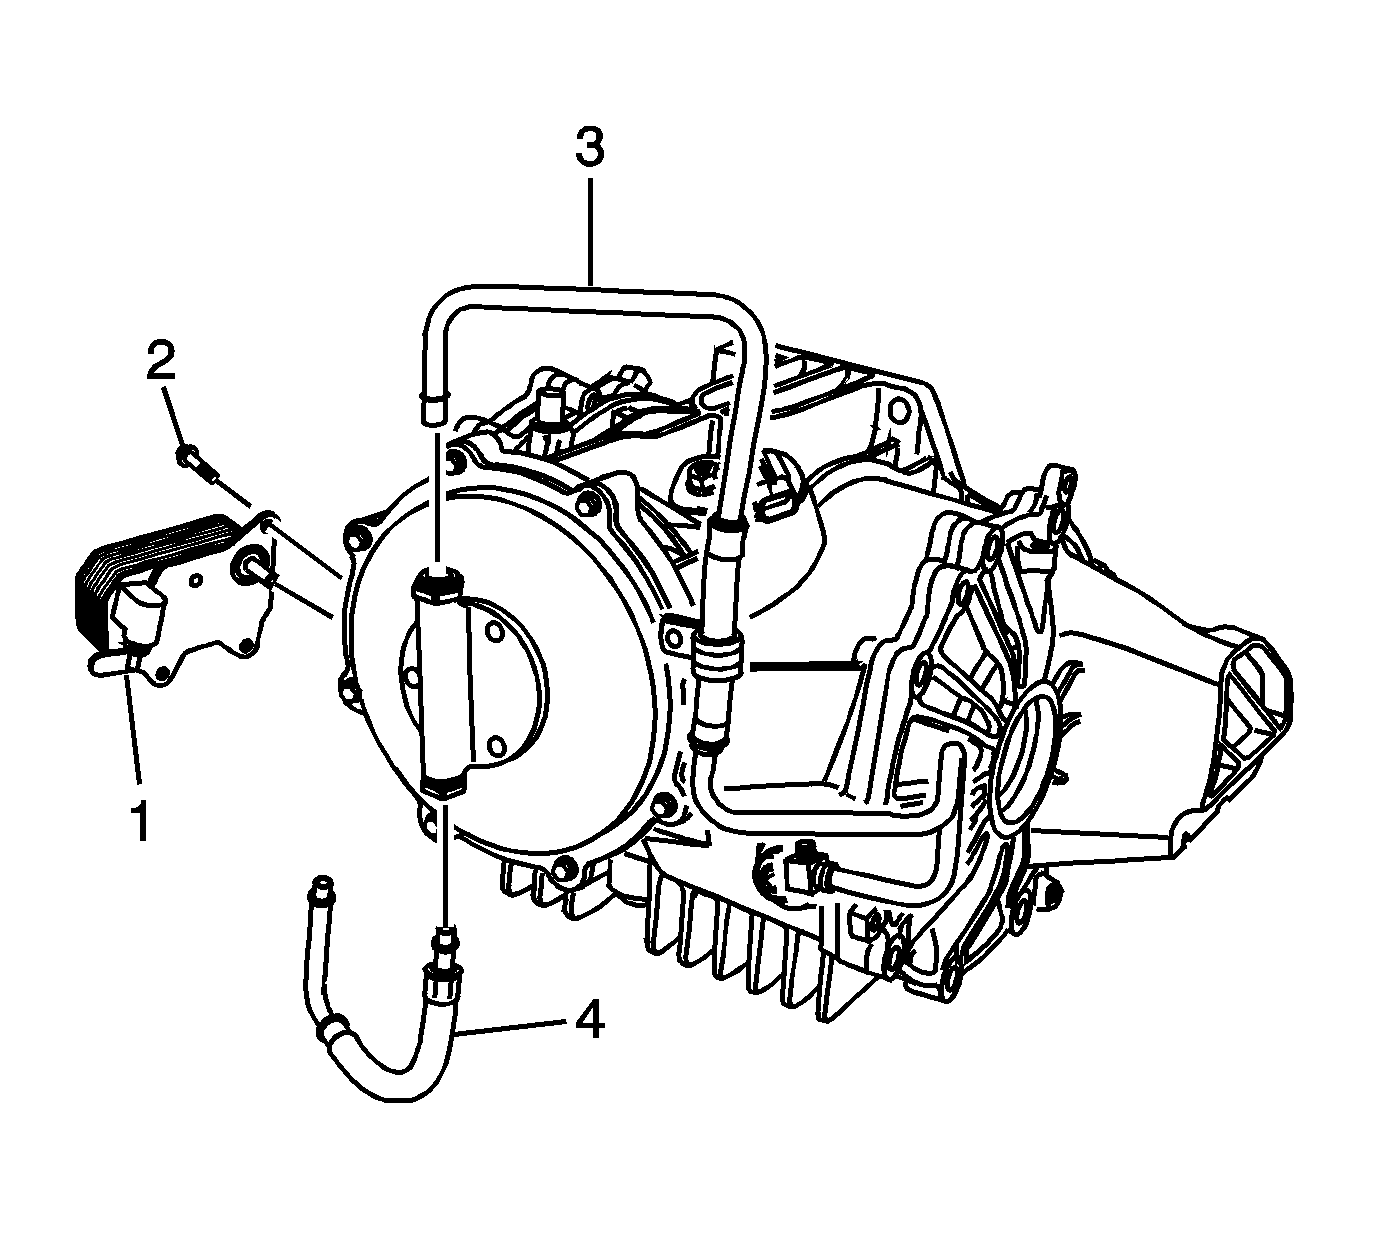
| 21.1. | Install cooler (1) with cooler mounting bolts (2). |
Tighten
Tighten the cooler mounting bolts to 10 N·m (89 lb in).
| 21.2. | Install the outlet pipe (4) to cooler and pump. |
| 21.3. | Install the inlet pipe (3) to the pump. |
| 22.1. | Install a new drain quick connect fitting clip (3). |
| 22.2. | Install the inlet pipe (2) to the drain. |
Tighten
Tighten the pipe clamp retaining bolt to 10 N·m (89 lb in).
| • | Fill with synthetic axle lubricant GM P/N 12378261 (Canadian P/N 10953455). |
| • | Add limited-slip differential lubricant additive GM P/N 1052358 (Canadian P/N 992694). Refer to Lubrication Specifications . |
Tighten
Tighten the differential fill plug to 35 N·m (26 lb ft).
