Rear Brake Caliper Overhaul JL9-J55
Caution: Refer to Brake Fluid Irritant Caution in the Preface section.
Notice: Refer to Brake Fluid Effects on Paint and Electrical Components Notice in the Preface section.
- Remove the rear brake caliper from the vehicle. Refer to Rear Brake Caliper Replacement.
- Remove the brake caliper piston from the caliper bore by directing low pressure compressed air into the caliper bore through the fluid inlet hole.
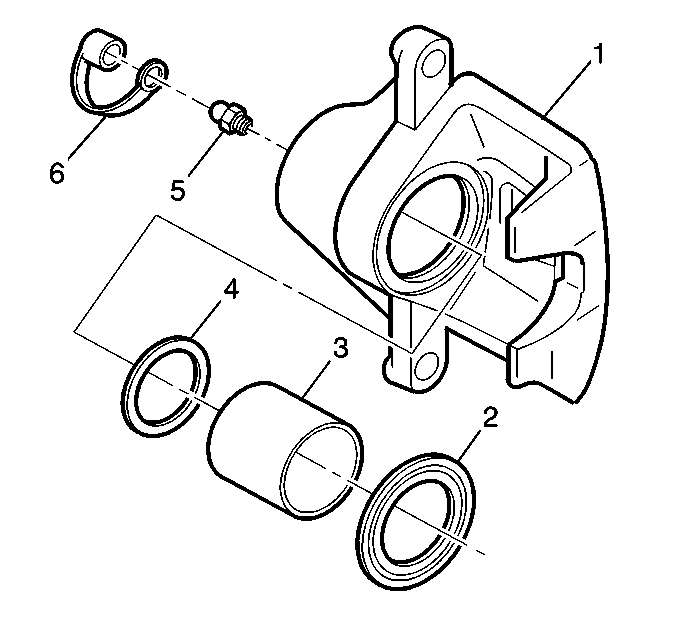
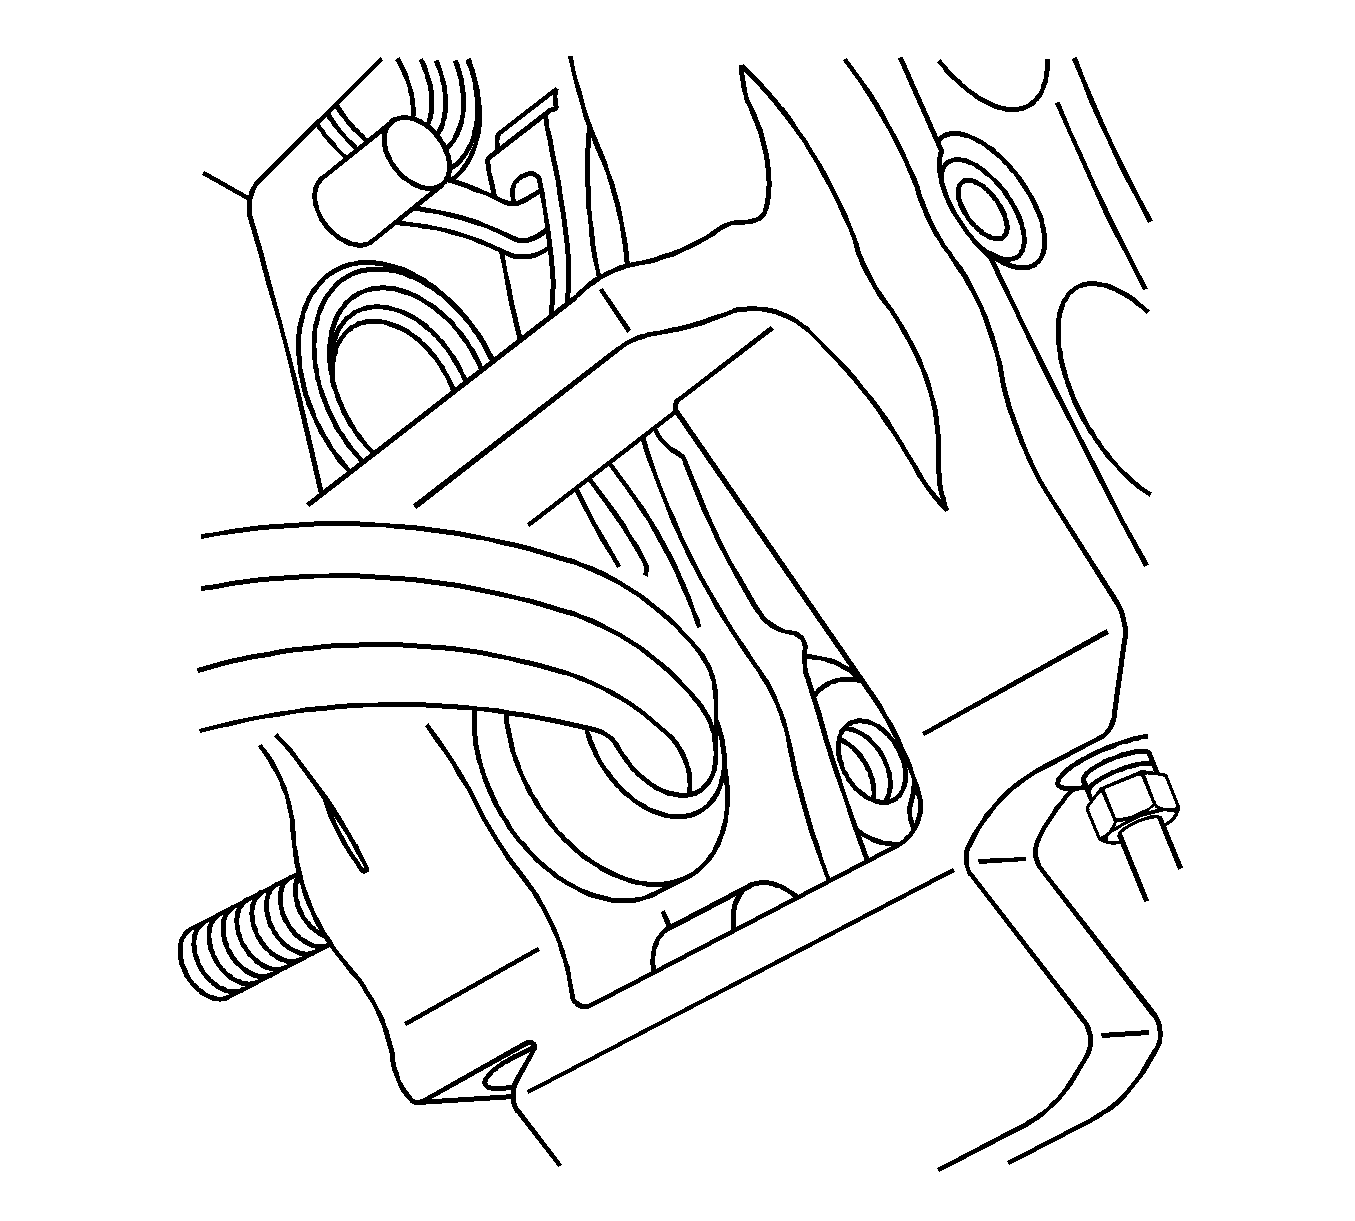
- Using a small wooden or plastic tool, remove the piston dust boot seal (2) from the seal counterbore in the caliper (1) and discard the boot seal.
- Using a small wooden or plastic tool, remove the piston seal (4) from the caliper bore and discard the piston seal.
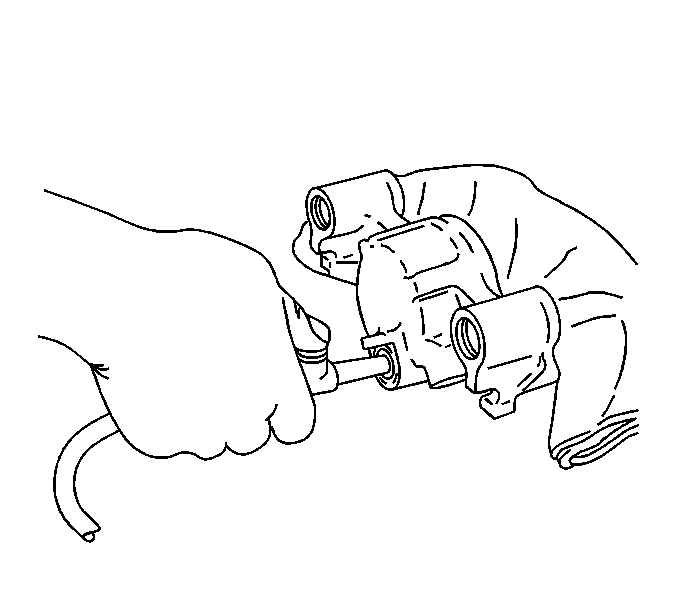
- Remove the bleeder valve (5) and cap (6) from the caliper (1).
- Clean the brake caliper piston bore and seal counterbore, and the caliper piston with denatured alcohol, or equivalent.
- Dry the caliper piston bore and counterbore, and the piston with non-lubricated, filtered compressed air.
- Inspect the caliper bore for cracks, scoring, pitting, excessive rust, and/or excessive corrosion.
- If light rust or light corrosion are present in the caliper bore, attempt to remove the imperfection with a fine emery paper. If the imperfection cannot be removed, replace the caliper assembly.
- If cracks, scoring, pitting, excessive rust, and/or excessive corrosion are present in the caliper bore, replace the caliper assembly.
- Inspect the caliper piston for cracks, scoring, and/or damage to the chrome plating. Replace the caliper piston if any of these conditions exist.
- Lubricate the new piston seal with GM approved brake fluid from a clean, sealed brake fluid container. Refer to Fluid and Lubricant Recommendations.
- Install the lubricated, new piston seal into the caliper bore.
- Install the new piston dust boot seal over the piston.
- Install the caliper piston into the caliper bore.
- Install the caliper bleed screw.
- Install the caliper bleed screw cap.
- Install the caliper to the vehicle. Refer to Rear Brake Caliper Replacement.
Caution: Do not place your fingers in front of the piston in order to catch or protect the piston while applying compressed air. This could result in serious injury.
Notice: Use clean cloths to pad interior of caliper housing during piston removal. Use just enough air to ease the pistons out of the bores. If the pistons are blown out, even with the padding provided, it may be damaged.
Important: Do not use abrasives to clean the brake caliper piston.
| 15.1. | Install the boot over the end of the piston so that the fold will face toward the brake caliper housing piston bore opening. |
| 15.2. | Seat the boot into the brake caliper bore groove and slide the piston into the brake caliper bore. |
| 15.3. | Push the piston down to the bottom of the brake caliper bore. |
| 15.4. | Make sure the boot are properly seated into the piston groove and into the groove in the brake caliper bore. |
Notice: Refer to Fastener Notice in the Preface section.
Tighten
Tighten the screw to 12 N·m (106 lb in).
Rear Brake Caliper Overhaul J56
Tools Required
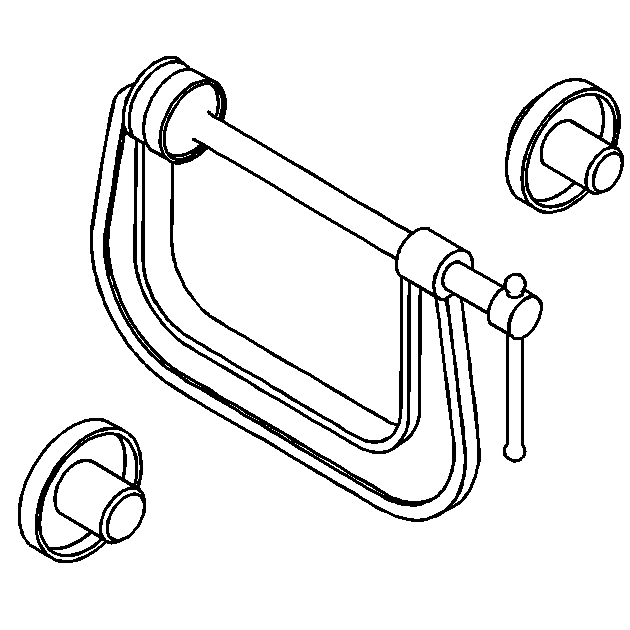
CH-47954 Caliper Seal Installer
Removal Procedure
Caution: Refer to Brake Dust Caution in the Preface section.
Caution: Refer to Brake Fluid Irritant Caution in the Preface section.
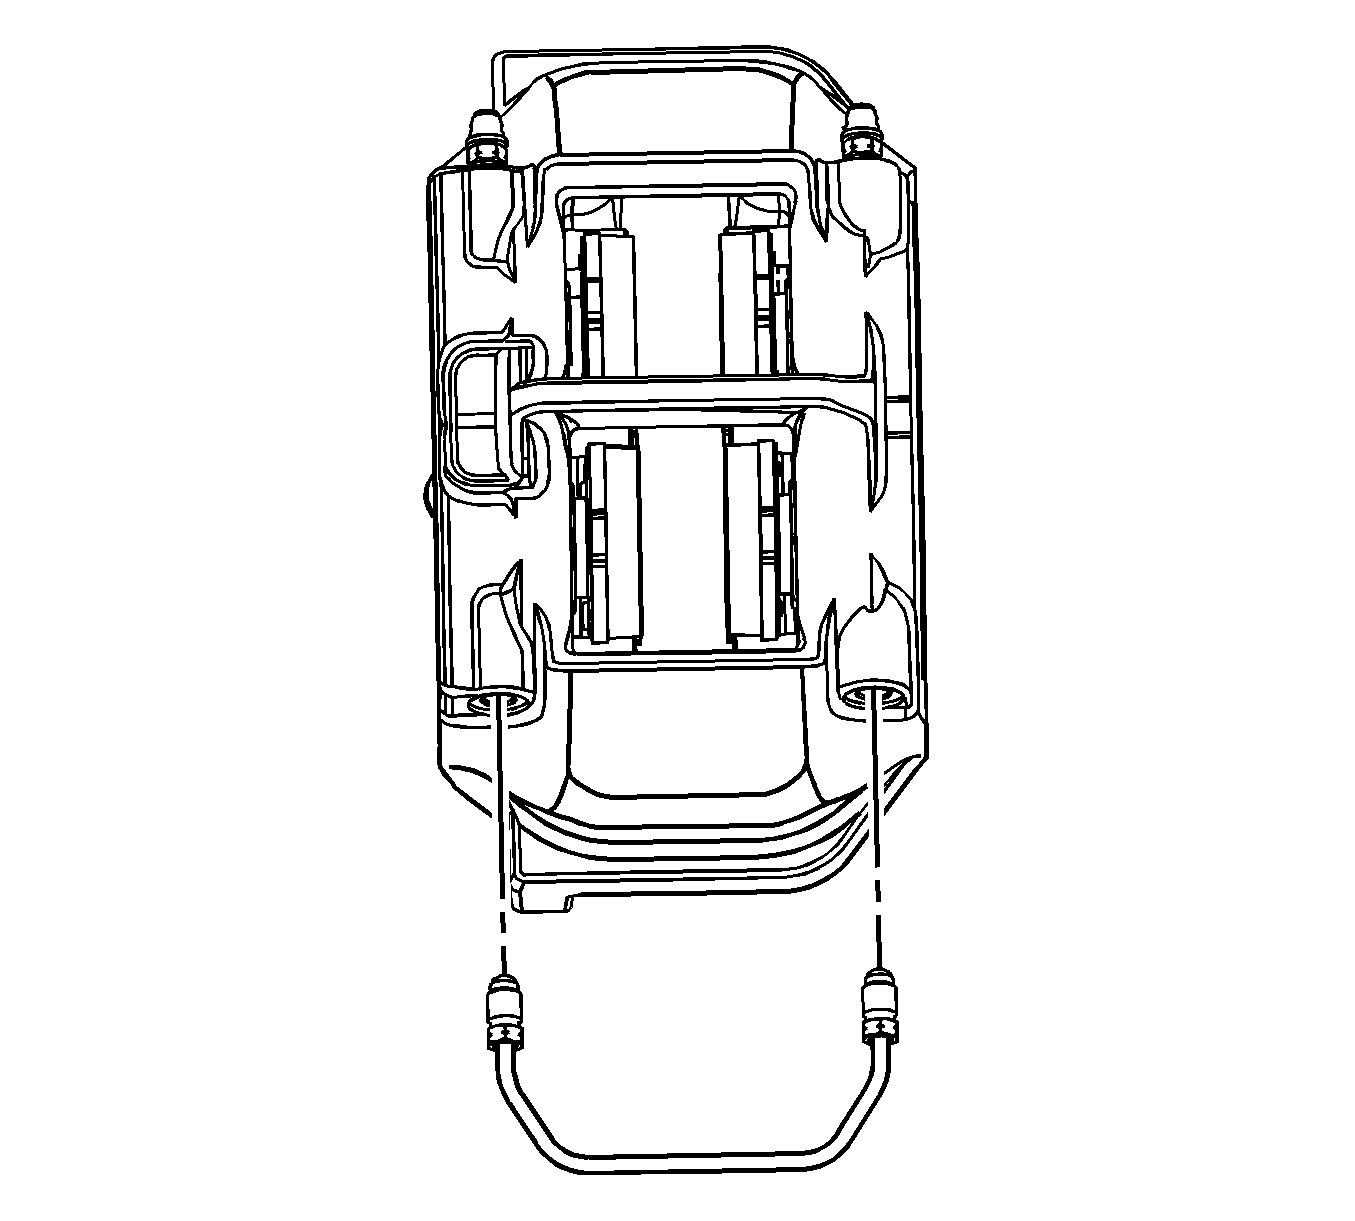
- Remove the brake caliper from the vehicle. Refer to Rear Brake Caliper Replacement.
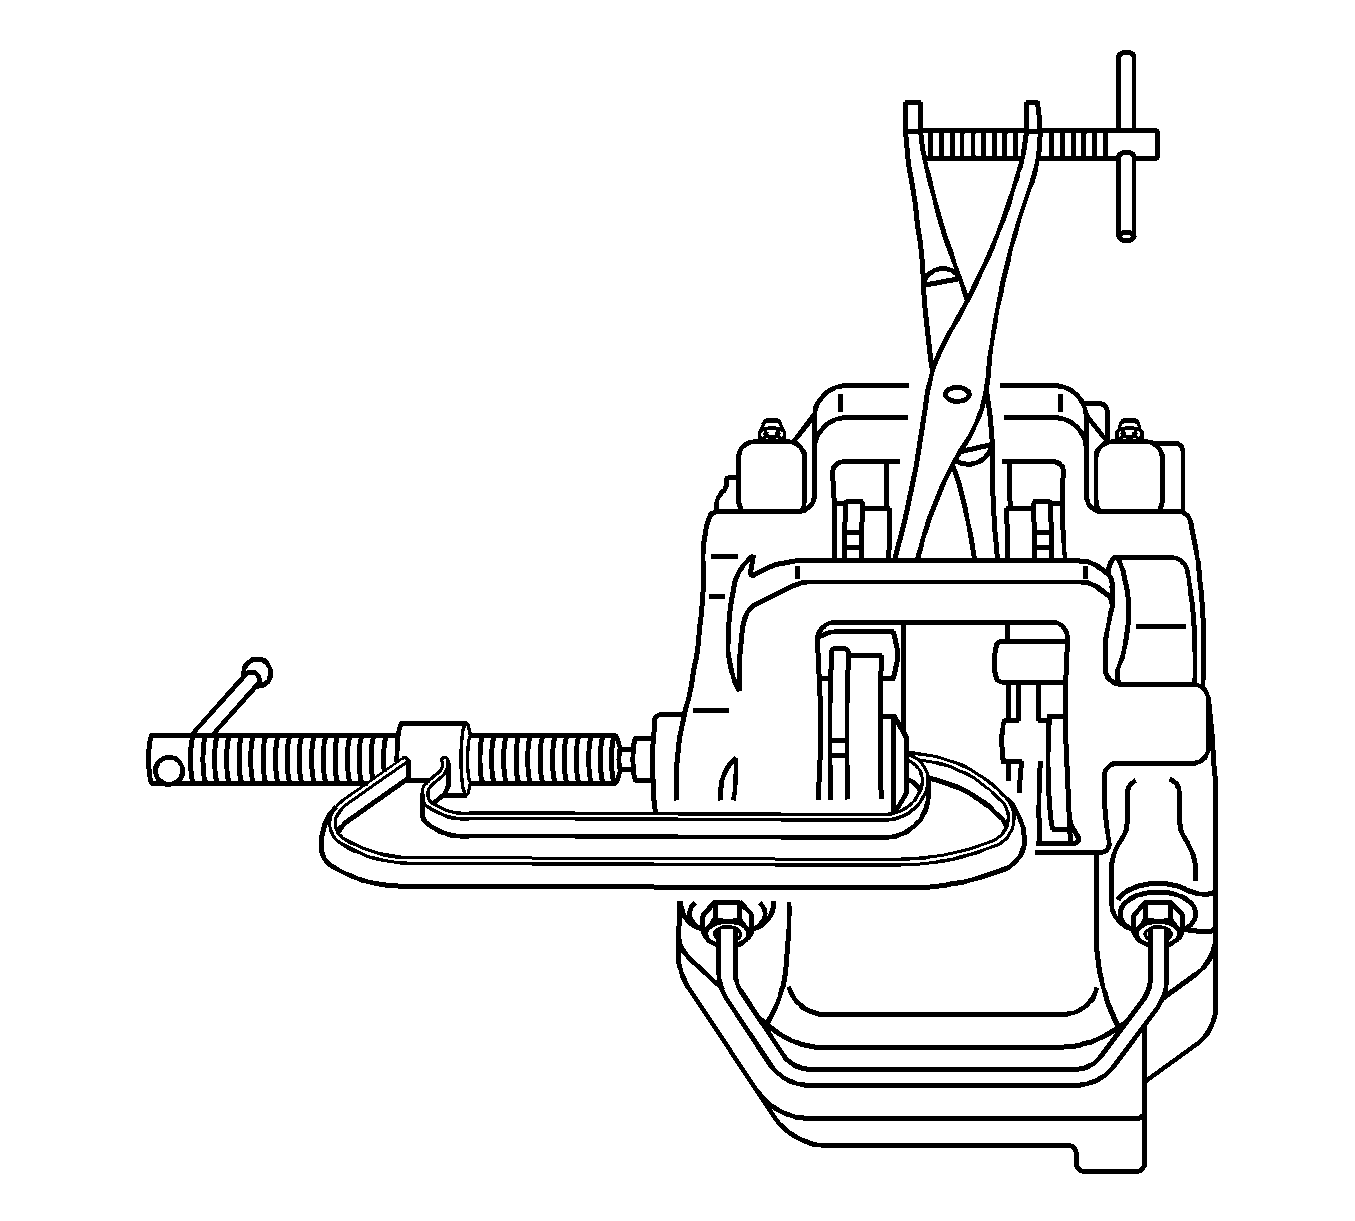
- Install the caliper in a vise.
- Using the appropriate tools, position the tools between the inner and outer brake pads so that when the compressed air is applied, the pistons will not move.
- Using the C-Clamp from the CH-47954 , hold the brake pad opposite the piston to be removed from the caliper.
- Apply filtered, non-lubricated compressed air to the piston.
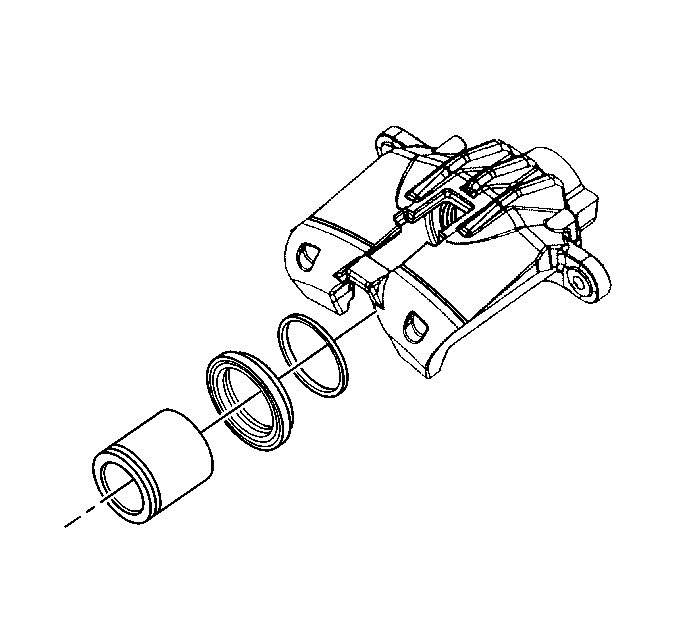
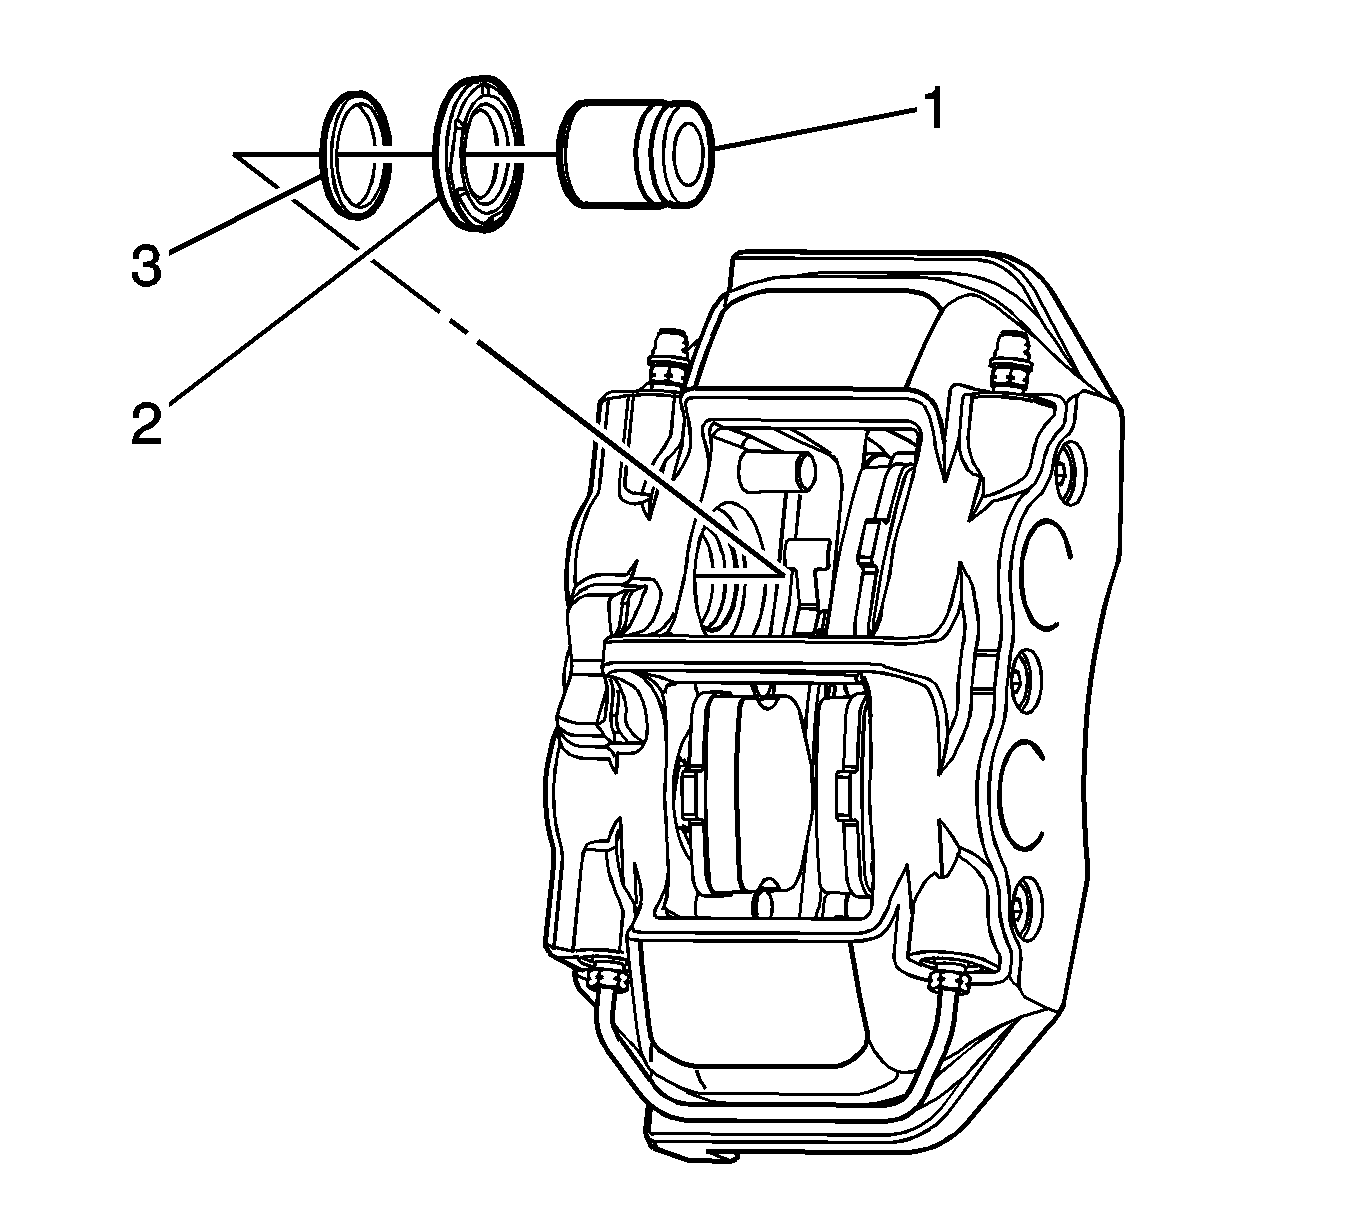
- Remove the piston (1) from the caliper.
- After the inboard and outboard piston has been removed, move to the next piston and repeat the clamping procedure until all pistons have been removed.
- Using a long medium-bladed screwdriver, remove the dust seal (2) from the caliper body. Use caution as not to damage the caliper.
- Using a small flat-bladed pocket screwdriver or equivalent, remove the piston seal (3).
- Remove the brake pipe between the inboard and outboard pistons, if necessary.
Important: Plug the brake hose to prevent brake fluid leaks and contamination.
Important: Use a vise or holding fixture that has soft jaws to prevent damage to the aluminum body of the caliper.
Important: The following service procedure should be repeated until all pistons have been removed from the caliper.
Caution: Refer to Safety Glasses and Compressed Air Caution in the Preface section.
Important: Remove the brake pipe only if it is damaged and must be replaced.
Installation Procedure
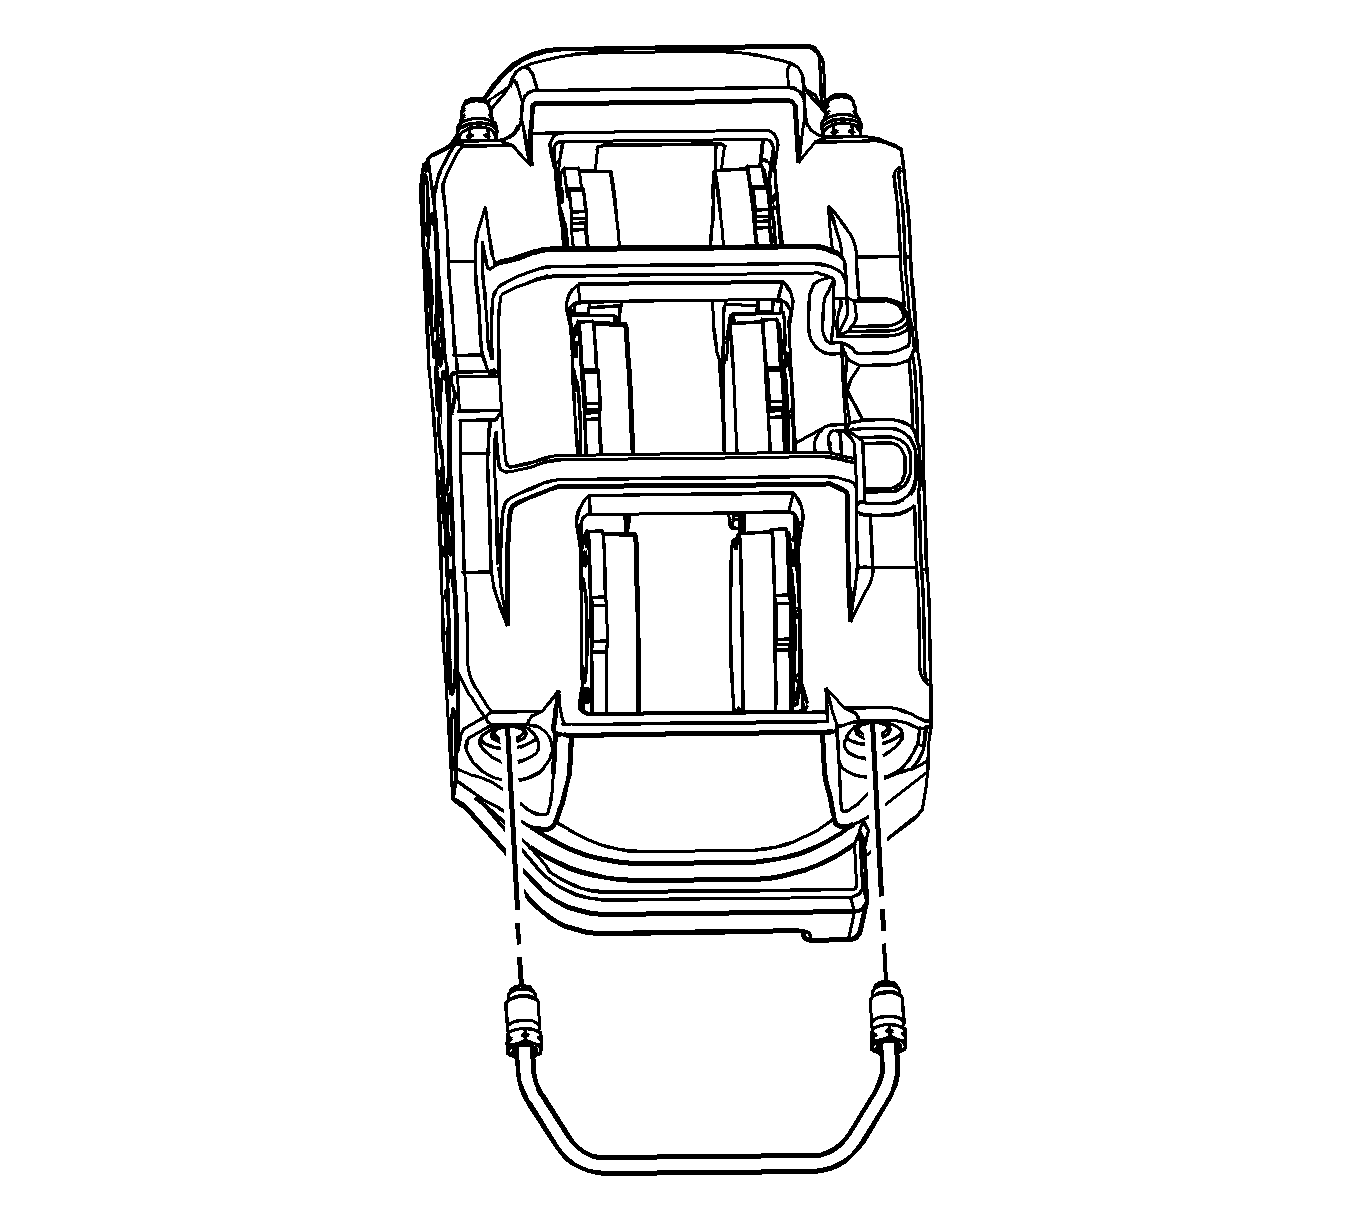
- Install the brake caliper brake pipe, if removed and hand start both brake pipe fittings.
- Position the piston seal (3) in the bore.
- Install the piston (1) in the bore.
- Position the dust seal (2) in the piston groove.
- Using the CH-47954 , install the dust seal in the following manner:
- Remove the brake caliper from the vise or holding fixture.
- Using a small flat-bladed pocket screwdriver, install the dust seal in the groove in the piston.
- Install the brake caliper. Refer to Rear Brake Caliper Replacement.
- Replace the brake pads, if necessary. Refer to Rear Disc Brake Pads Replacement.
Notice: Refer to Fastener Notice in the Preface section.
Important: Hand install both brake pipe fittings before tightening to specification.
Tighten
Tighten the brake pipe fittings to 40 N·m (30 lb ft)
Important: When the dust seal is properly seated, the dust seal maybe slightly above the surface of the caliper housing. The inner surface of the caliper is slightly curved.
| 5.1. | Position the C-Clamp and cup on the caliper. |
| 5.2. | Align the tool on the dust seal for the proper installation of the dust seal. |
| 5.3. | Slowly apply pressure to the dust seal. |
| 5.4. | Check the alignment of the dust seal to the bore. |
| 5.5. | If the position of the tool and dust seal has changed, reposition the tool on seal. |
| 5.6. | Fully seat the dust seal in the piston bore. |
| 5.7. | Repeat this procedure for the remainder of the caliper pistons. |
Important: Use care to avoid damage to the dust seal when installing into the caliper piston groove.
