Removal Procedure
- Remove the console. Refer to
Console Replacement
.
- Remove the I/P accessory trim plate. Refer to
Instrument Panel Accessory Trim Plate Replacement
.
- Remove the floor shift control knob. Refer to
Transmission Control Lever Knob Replacement
.
- Remove the floor shift control from the vehicle to allow for boot replacement without possible damage to the boot retaining tabs. Refer to
Transmission Control Replacement
.
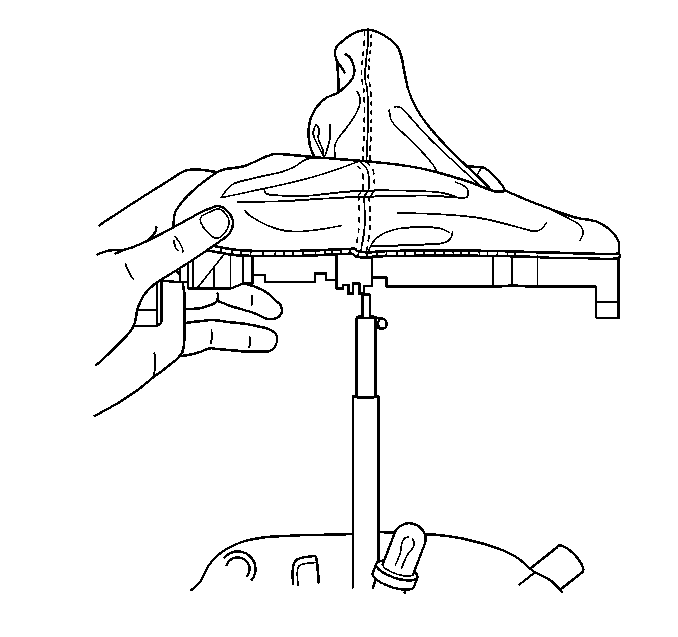
- Remove the floor shift control boot from the floor shift control.
| 5.1. | Carefully squeeze the front and side tabs or the rear and side tabs at the same time in order to release them. |
| 5.2. | Carefully squeeze the remaining tab in order to release it. |
| 5.3. | Release the snap lock retainer on the LH side of the boot. |
| 5.4. | Move the boot to the left and release the shift indicator guide pin from the shift control lever. |
| 5.5. | Disconnect the indicator lamp socket from the boot. |
| 5.6. | Remove the boot from the shift control. |
Installation Procedure
- Install the floor shift control boot to the floor shift control.
| 1.1. | Position the boot onto the shifter. |
| 1.2. | Align the shift indicator guide pin to the slot in the boot, then move the boot to the right to insert the guide pin into the slot. |
| 1.3. | Connect the shift indicator lamp socket to the boot. |
| 1.4. | Evenly insert the tabs until the boot locks into position. |
- Install the floor shift control to the vehicle. Refer to
Transmission Control Replacement
.
- Install the shift control knob. Refer to
Transmission Control Lever Knob Replacement
.
- Install the I/P accessory trim plate. Refer to
Instrument Panel Accessory Trim Plate Replacement
.
- Install the console. Refer to
Console Replacement
.
