For 1990-2009 cars only
Removal Procedure
Caution: Refer to Express Down Feature Caution in the Preface section.
Important: The regulator and the motor are serviced as an assembly.
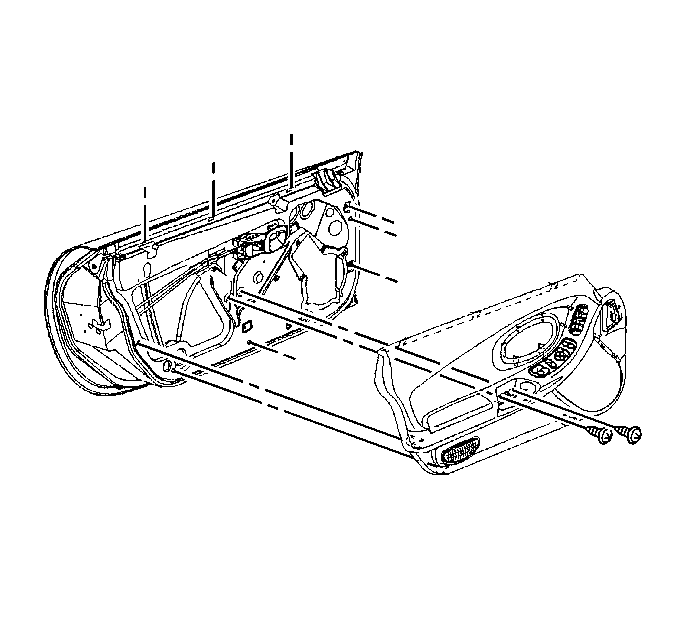
- Remove the door trim panel. Refer to Front Side Door Trim Panel Replacement - Left Side or Front Side Door Trim Panel Replacement - Right Side .
- Remove the water deflector.
- Remove the radio speaker assembly from the door.
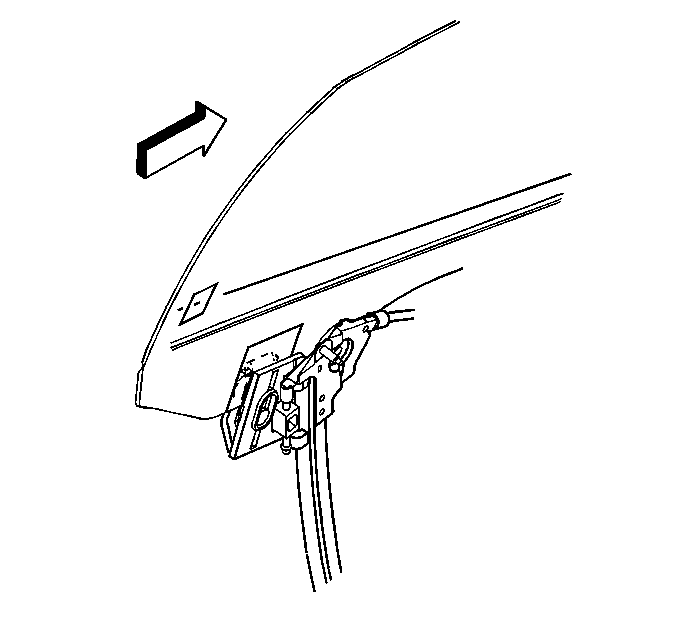
- Remove the plugs from the window clamp sight access holes.
- Remove the door window. Refer to Door Window Replacement .
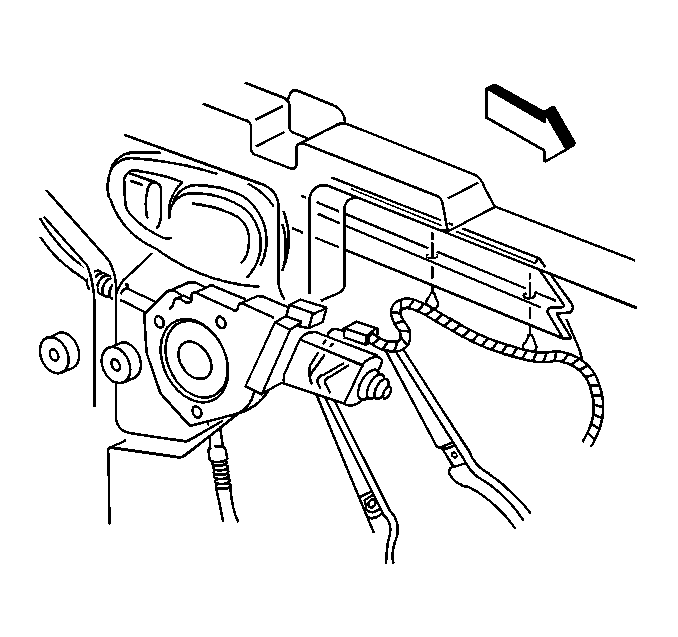
- Disconnect the regulator motor electrical connector.
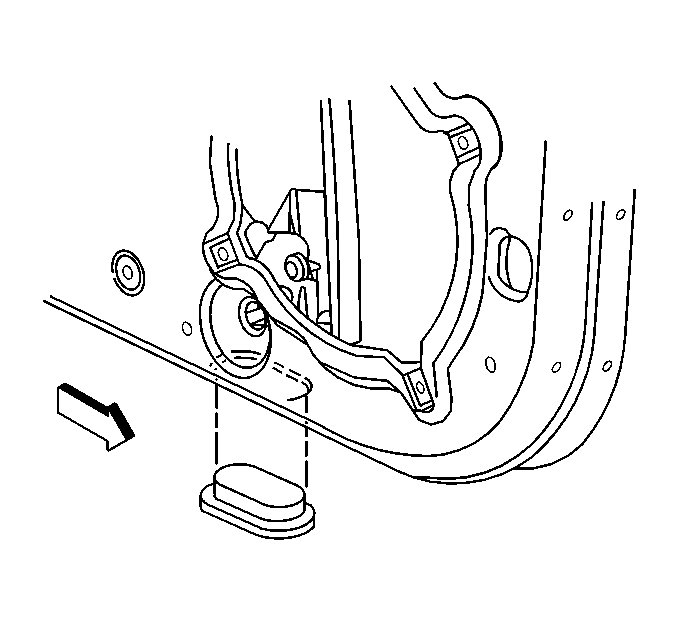
- Remove the front plug from under the bottom of the door.
- Mark the location of the regulator to aid in reassembly.
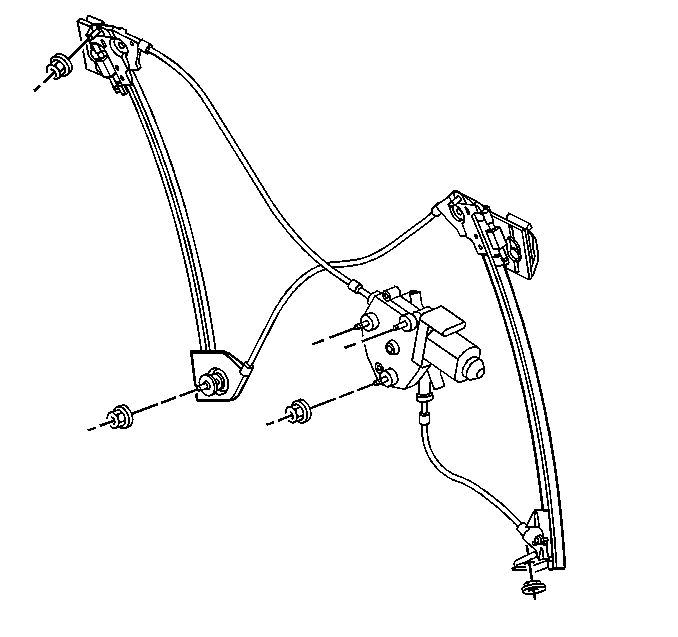
- Remove the nuts from the regulator lower channel studs.
- Remove the nuts from the regulator motor studs.
- Remove the regulator rose bud clip from the door.
- Remove the nuts from the upper regulator channel studs.
- Fold the regulator and remove the regulator through the door inner opening.
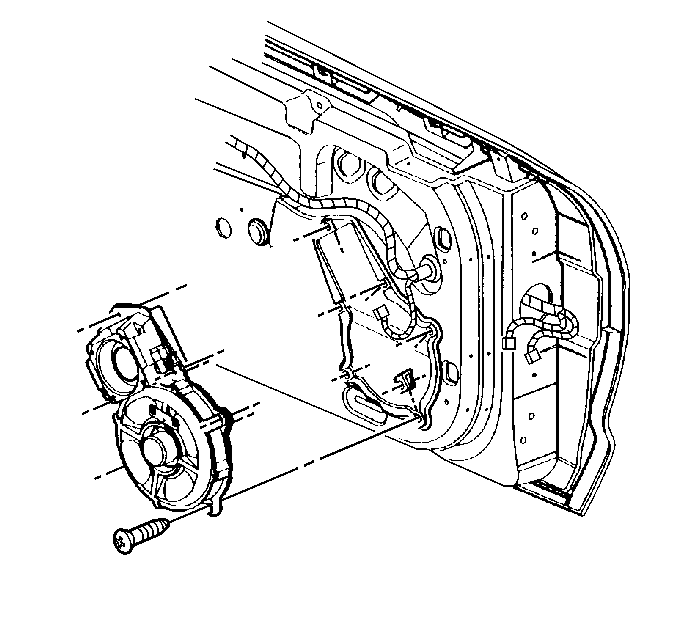
| 3.1. | Disconnect the electrical/audio connector. |
| 3.2. | Remove the speaker retaining screws. |
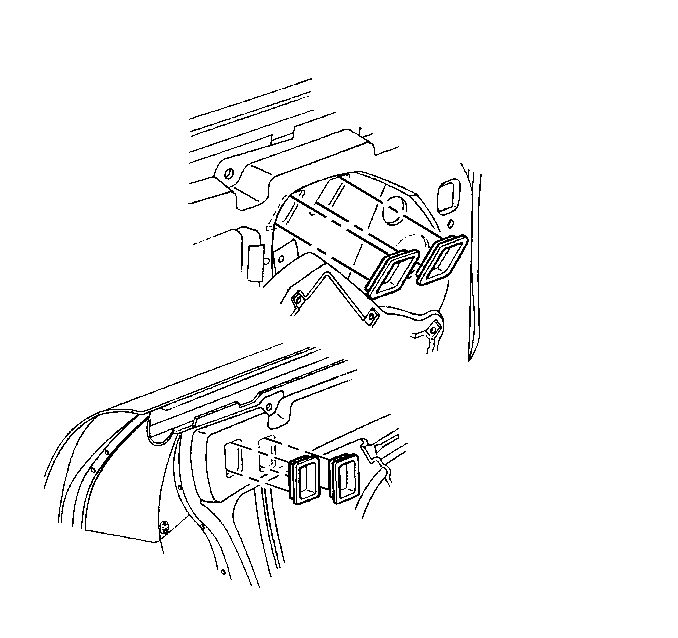
Installation Procedure
Caution: Refer to Express Down Feature Caution in the Preface section.
- Adjust the regulator jack screws to match the old regulator if replacing the regulator.
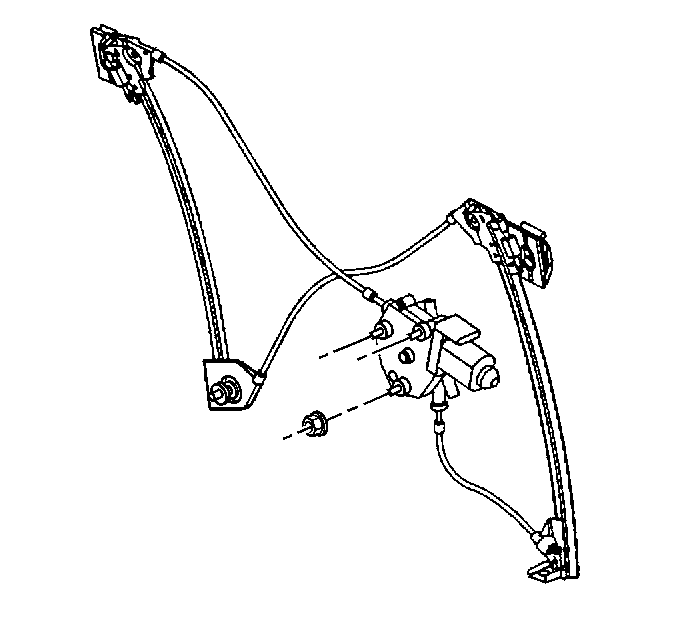
- Fold the regulator and insert the folded regulator into the door with the motor forward.
- Position the motor studs through the door inner panel.
- Install the nuts to the motor studs.
- Install the regulator channel studs through the holes in the door.
- Install the nuts to the regulator channel studs in the following order:
- Install the regulator rose bud clip to the door.
- Tighten the window regulator channel stud nuts.
- Connect the electrical connector to the motor.
- Reconnect the window switch and raise the regulator to the full up position.
- Install the window. Refer to Door Window Replacement .
- Adjust the window to align with door opening.
- Install the plugs in the window clamp sight access holes.
- Install the uppermost screw mounting the speaker assembly to the door.
- Install the remaining screws in a criss-cross pattern.
- Connect the electrical/audio connector.
- Install the water deflector.
- Install the door trim panel. Refer to Front Side Door Trim Panel Replacement - Left Side or Front Side Door Trim Panel Replacement - Right Side .
- Check the window fit, adjust as necessary. Refer to Door Window Major Height Adjustment , Door Window Tip-In Adjustment or Door Window Minor Height Adjustment .
- Install the access plugs into the bottom of the door.
- Reinitialize the windows. Refer to Power Window Reinitialization .

Notice: Refer to Fastener Notice in the Preface section.
Tighten
Tighten the window regulator motor nuts to 10 N·m (89 lb in).
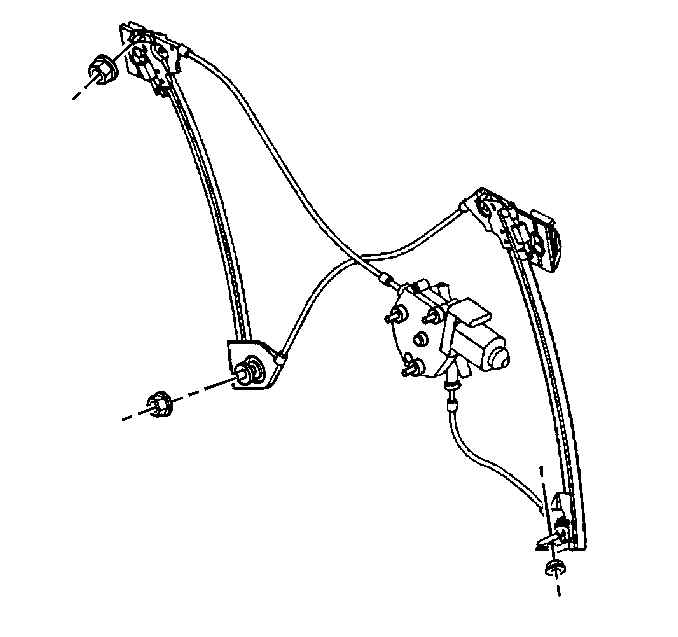
| 6.1. | Upper forward |
| 6.2. | Lower forward |
| 6.3. | Upper rearward |
| 6.4. | Lower rearward |
Tighten
Tighten the regulator channel stud nuts to 10 N·m (89 lb in).


Tighten
Tighten the door speaker assembly screws to 3 N·m (27 lb in).

