For 1990-2009 cars only
Removal Procedure
- Raise the seat to the full up position.
- Remove the seat. Refer to Driver and Passenger Seat Replacement .
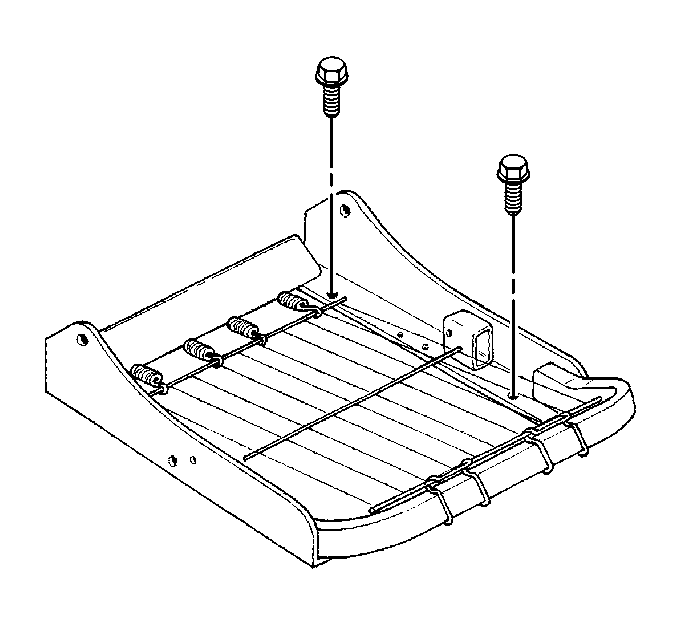
- Remove the seat cushion cover. Refer to Front Seat Cushion Cover and Pad Replacement .
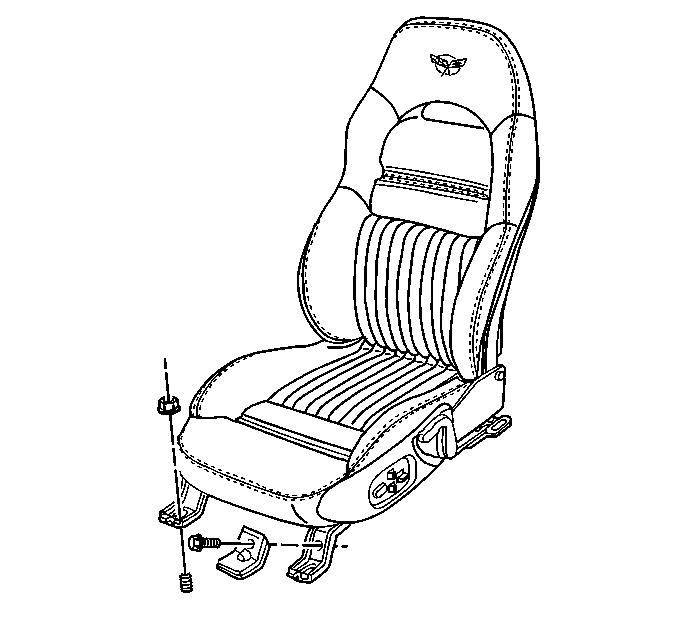
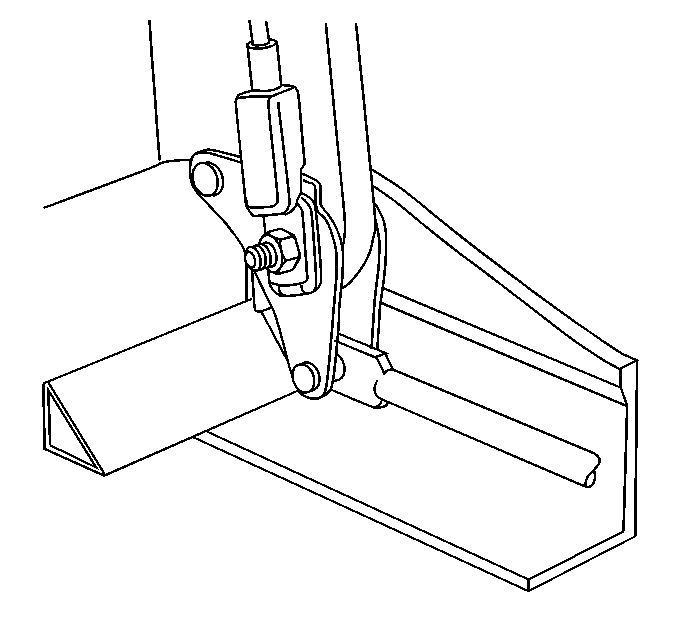
- Remove the hinge pin nuts and the hinge pins.
- Lay the seat back down.
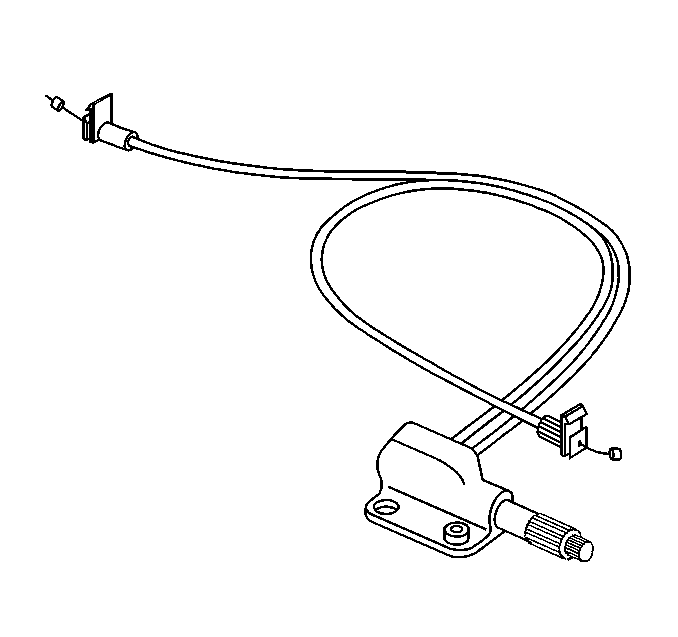
- Remove the cables from the actuators.
- Remove the seat from the adjuster to access the recliner mechanism attaching screws.
- Remove the screws attaching the recliner mechanism.
- Remove the recliner mechanism.
Installation Procedure
Important: Do not lubricate the seat back recliner mechanism.
- Install the recliner mechanism to the seat frame.
- Install the cables to the actuators.
- Securely snap the cable retaining clips to the actuators with the tabs up.
- Install the seat adjusters to the seat, if removed.
- Apply LOCTITE™ 271 to the bolts and secure the adjuster to the seat.
- Install the hinge bolts, seat back release cables, and nuts.
- Install the seat cushion trim cover. Refer to Front Seat Cushion Cover and Pad Replacement .
- Install the side trim panel. Refer to Seat Cushion Outer Trim Panel Replacement .
- Install the seat. Refer to Driver and Passenger Seat Replacement .
Notice: Refer to Fastener Notice in the Preface section.
Tighten
Tighten the bolts to 24 N·m (18 lb ft).
Important: Use a tread locking compound on the hinge bolts.
Tighten
Tighten the hinge bolt nuts to 24 N·m (18 lb ft).
