Caution: Do not attempt to repair or alter the head impact energy-absorbing material glued to the headliner or to the garnish trims. If the material is damaged, replace the headliner and/or the garnish trim. Failure to do so could result in personal injury.
Removal Procedure
Important: Note the routing of the string fasteners located at the number five bow prior to removal.
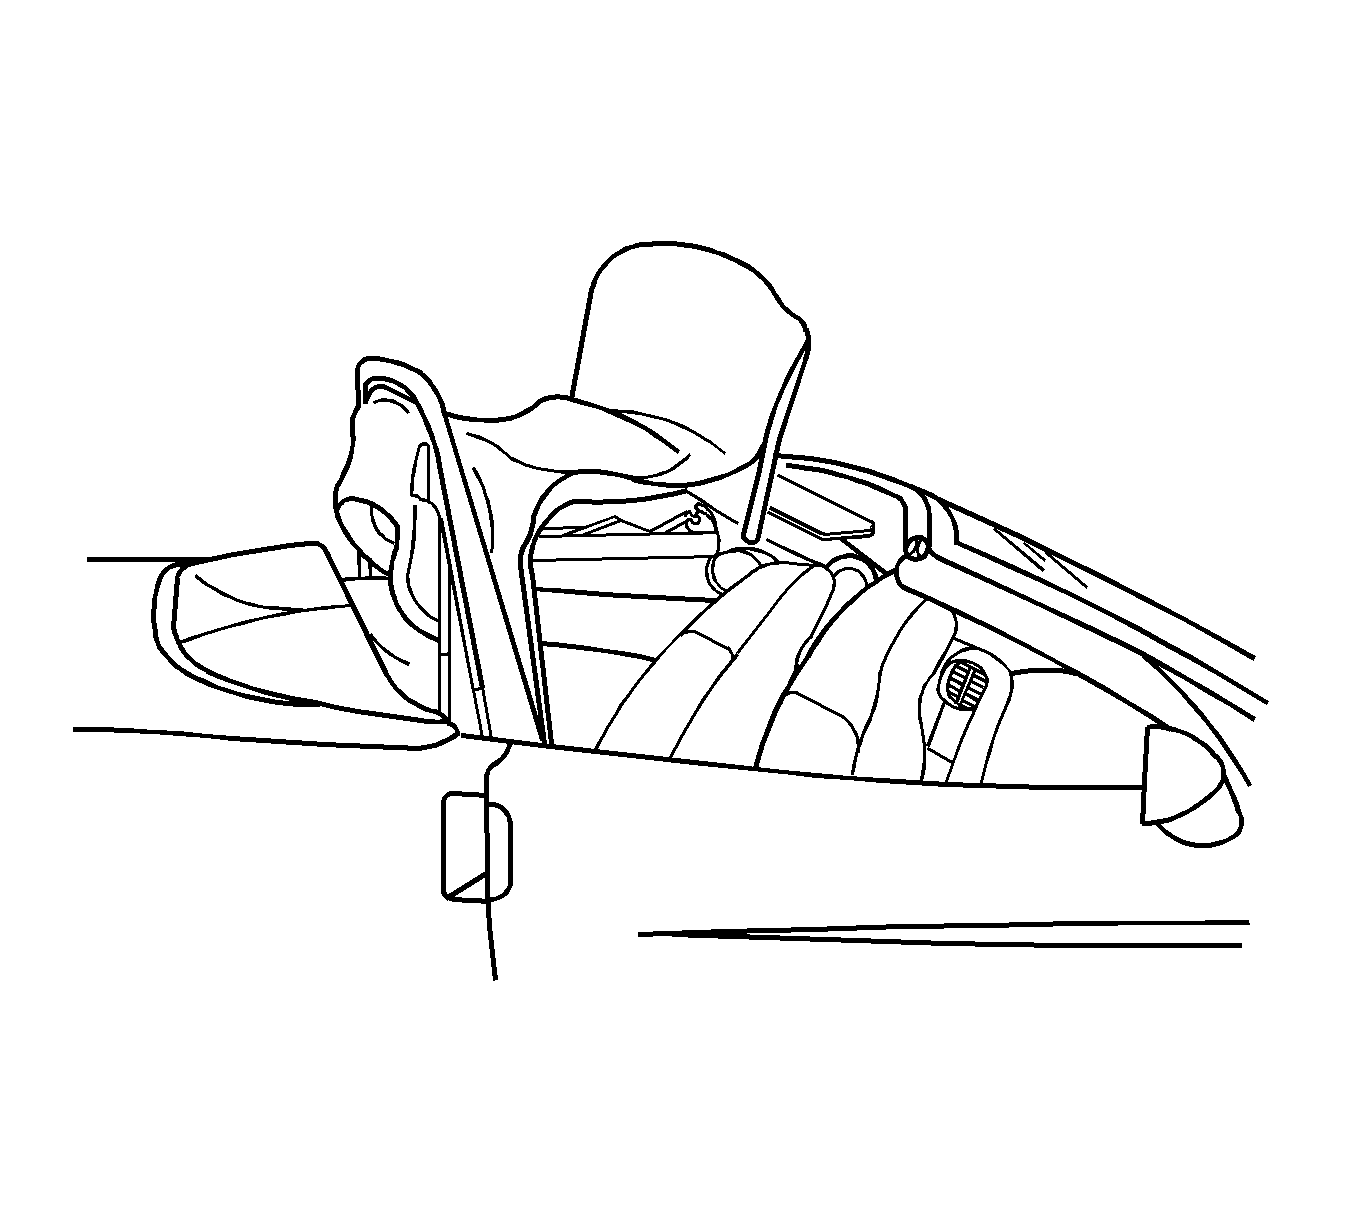
- Position the folding top with the number one and five bow up.
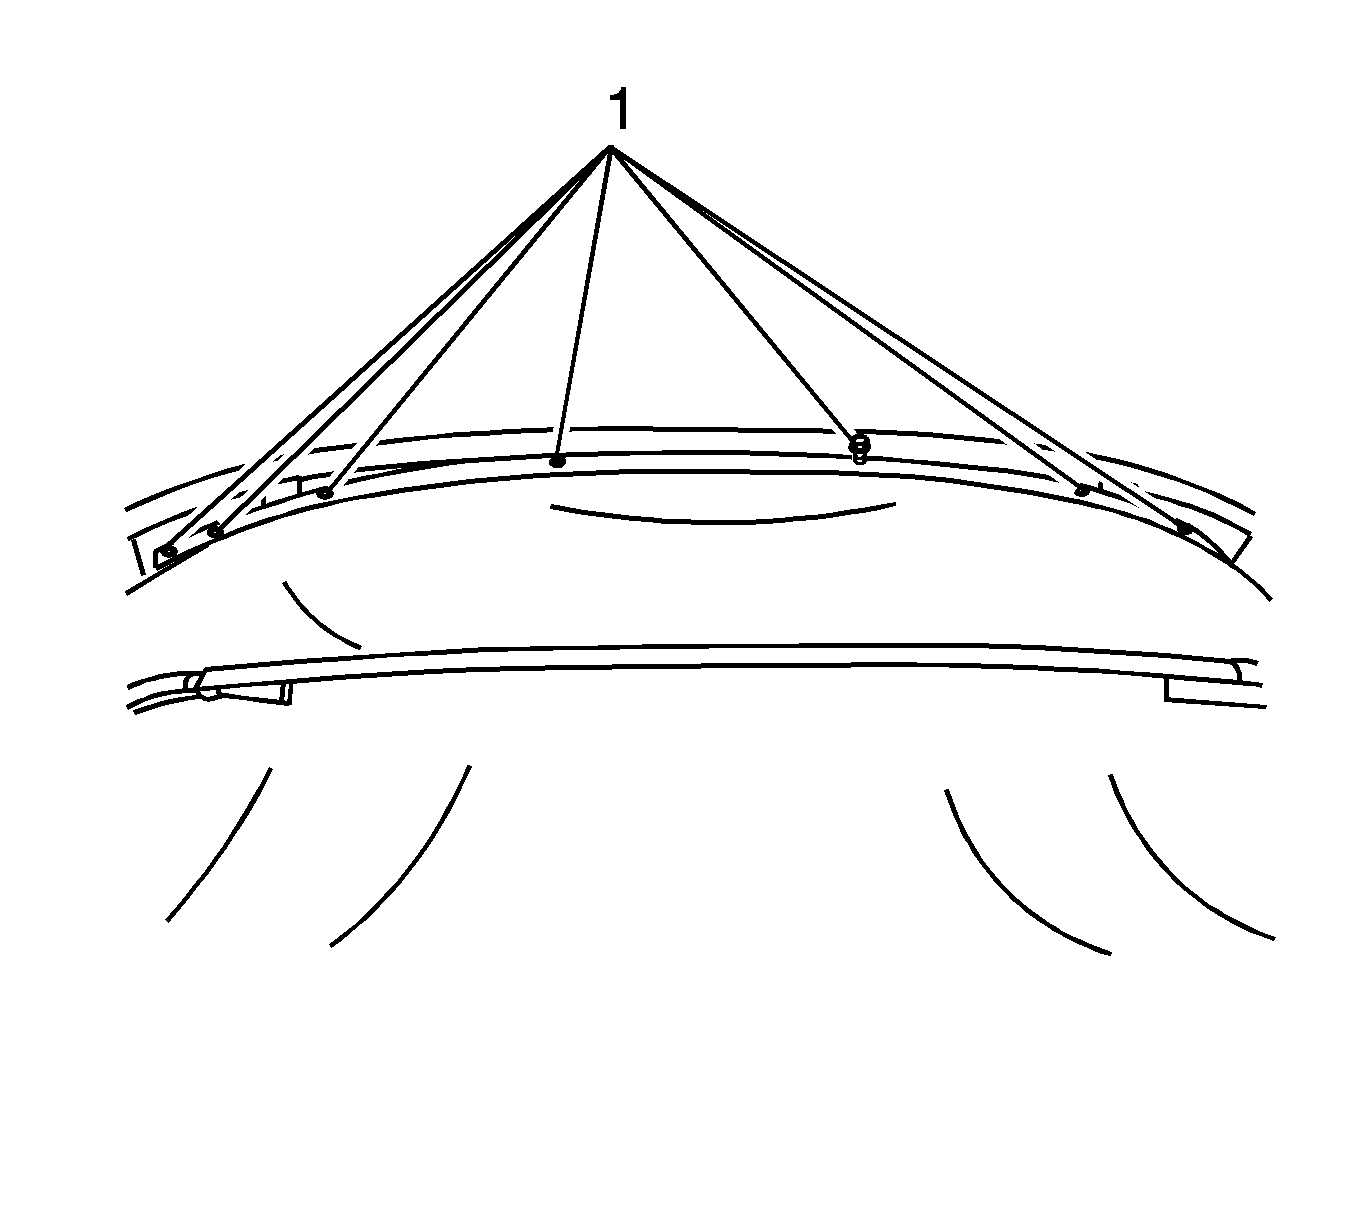
- Remove the screws (1) securing the top cover compression seal panel and headliner to the number one bow.
- Remove the front weatherstrips and retainers from the right and left sides.
- Remove the folding top cover retain screws from the number one header bow retainer strip.
- Remove the screw in each front corner of the headliner (1) and pull back the back the front edge of the top cover from the number one bow.
- Remove the folding top position switch and screw.
- Remove the interior trim from the top of the B pillar.
- Remove the screw (1) from the switch.
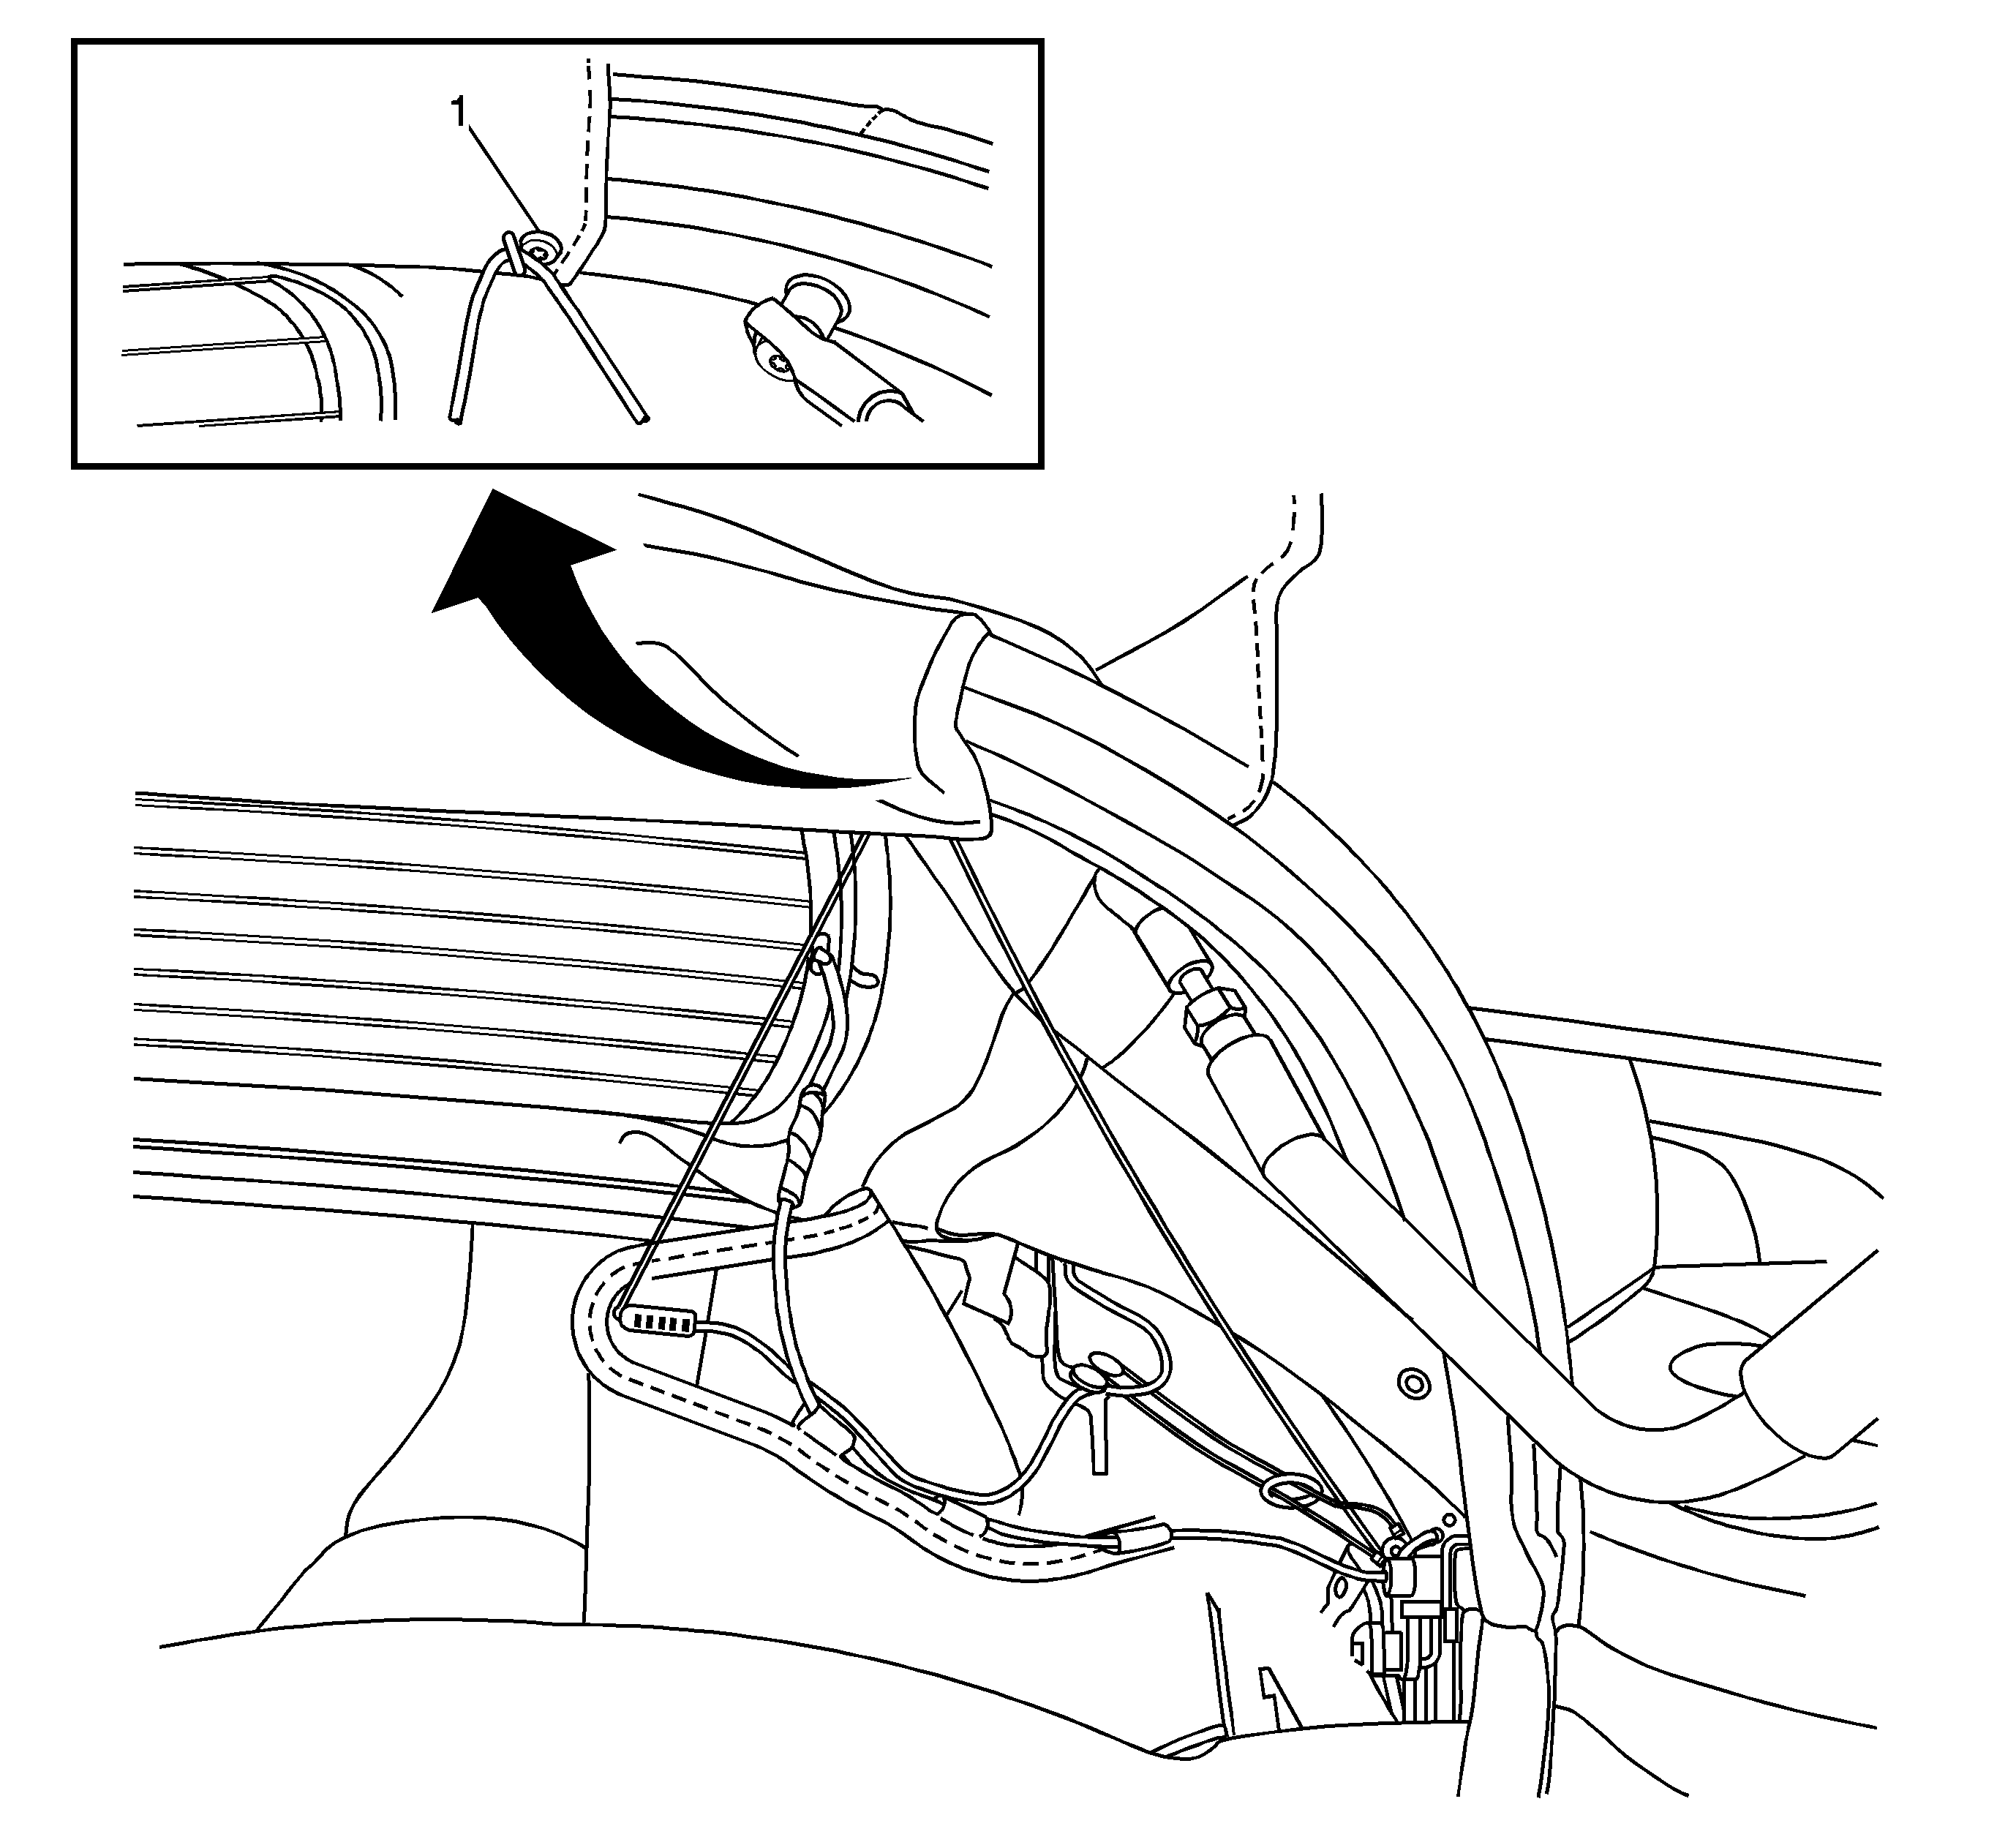
- Remove the screw (1) from the left and right sides of the string holding the anti-glare screen. Fold the anti-glare screen over the top of the number five bow.
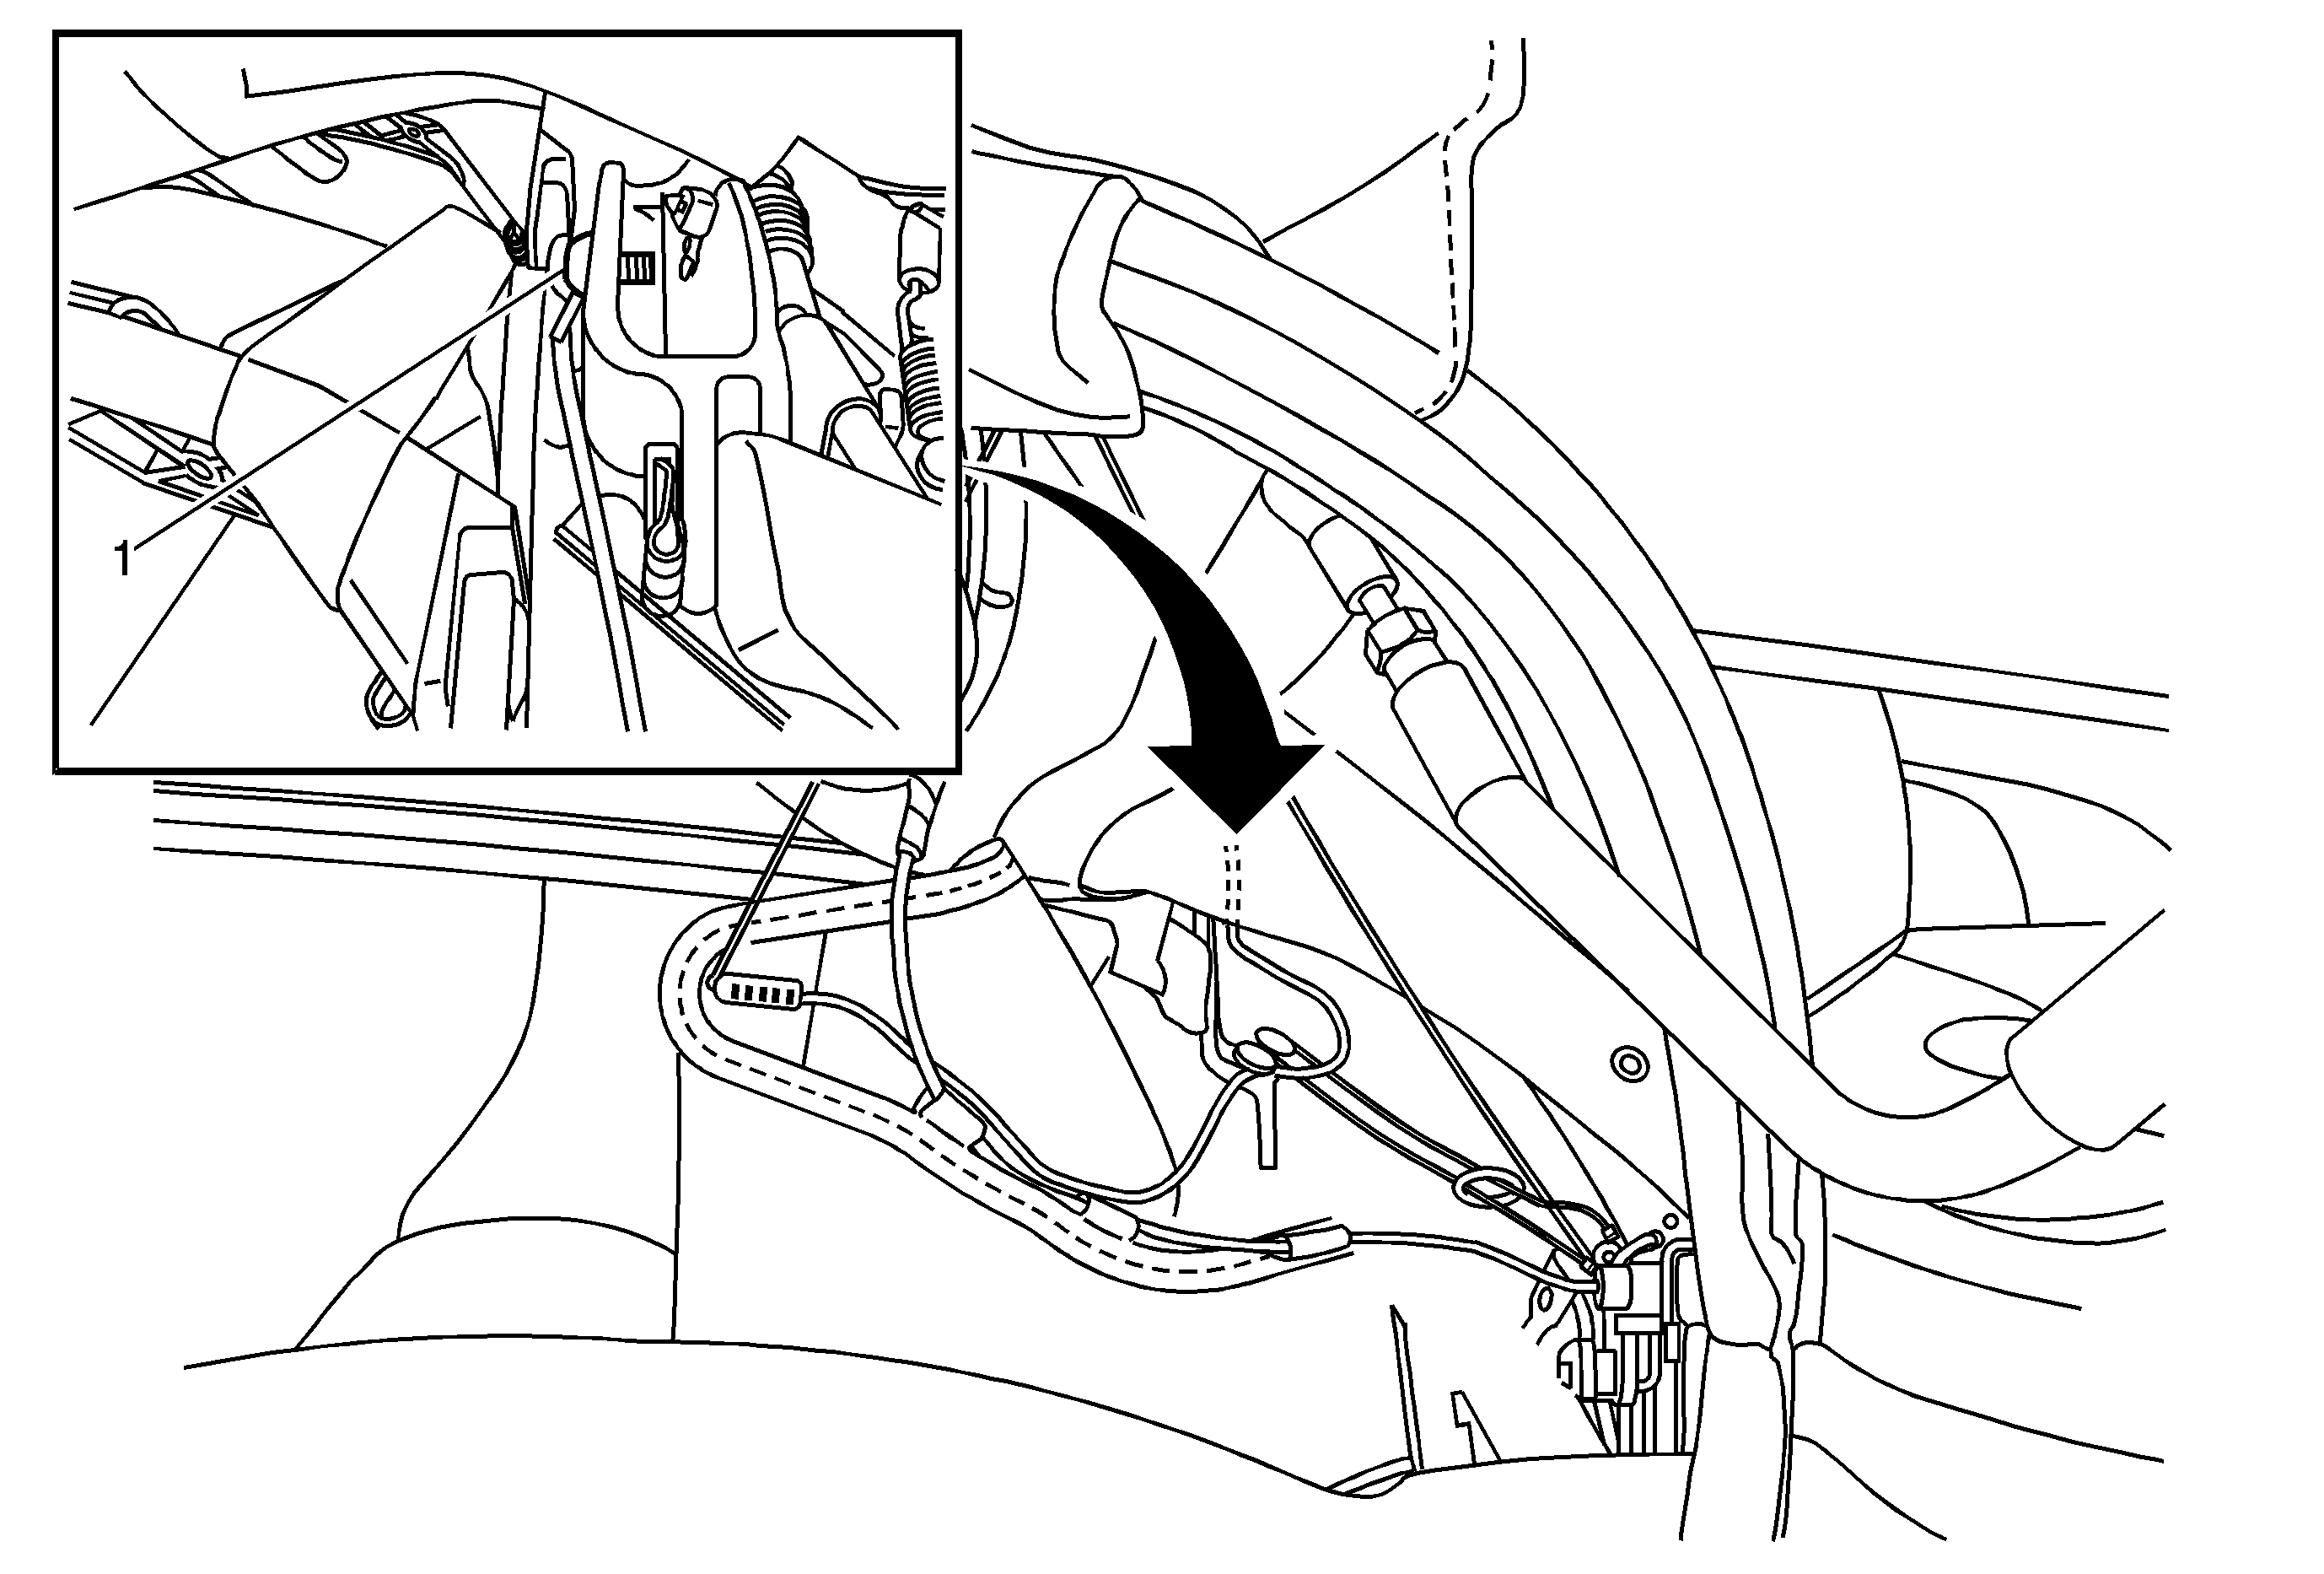
- Disconnect the folding top rear counterbalance arm spring clips, lift the arm (1) up and out of the way.
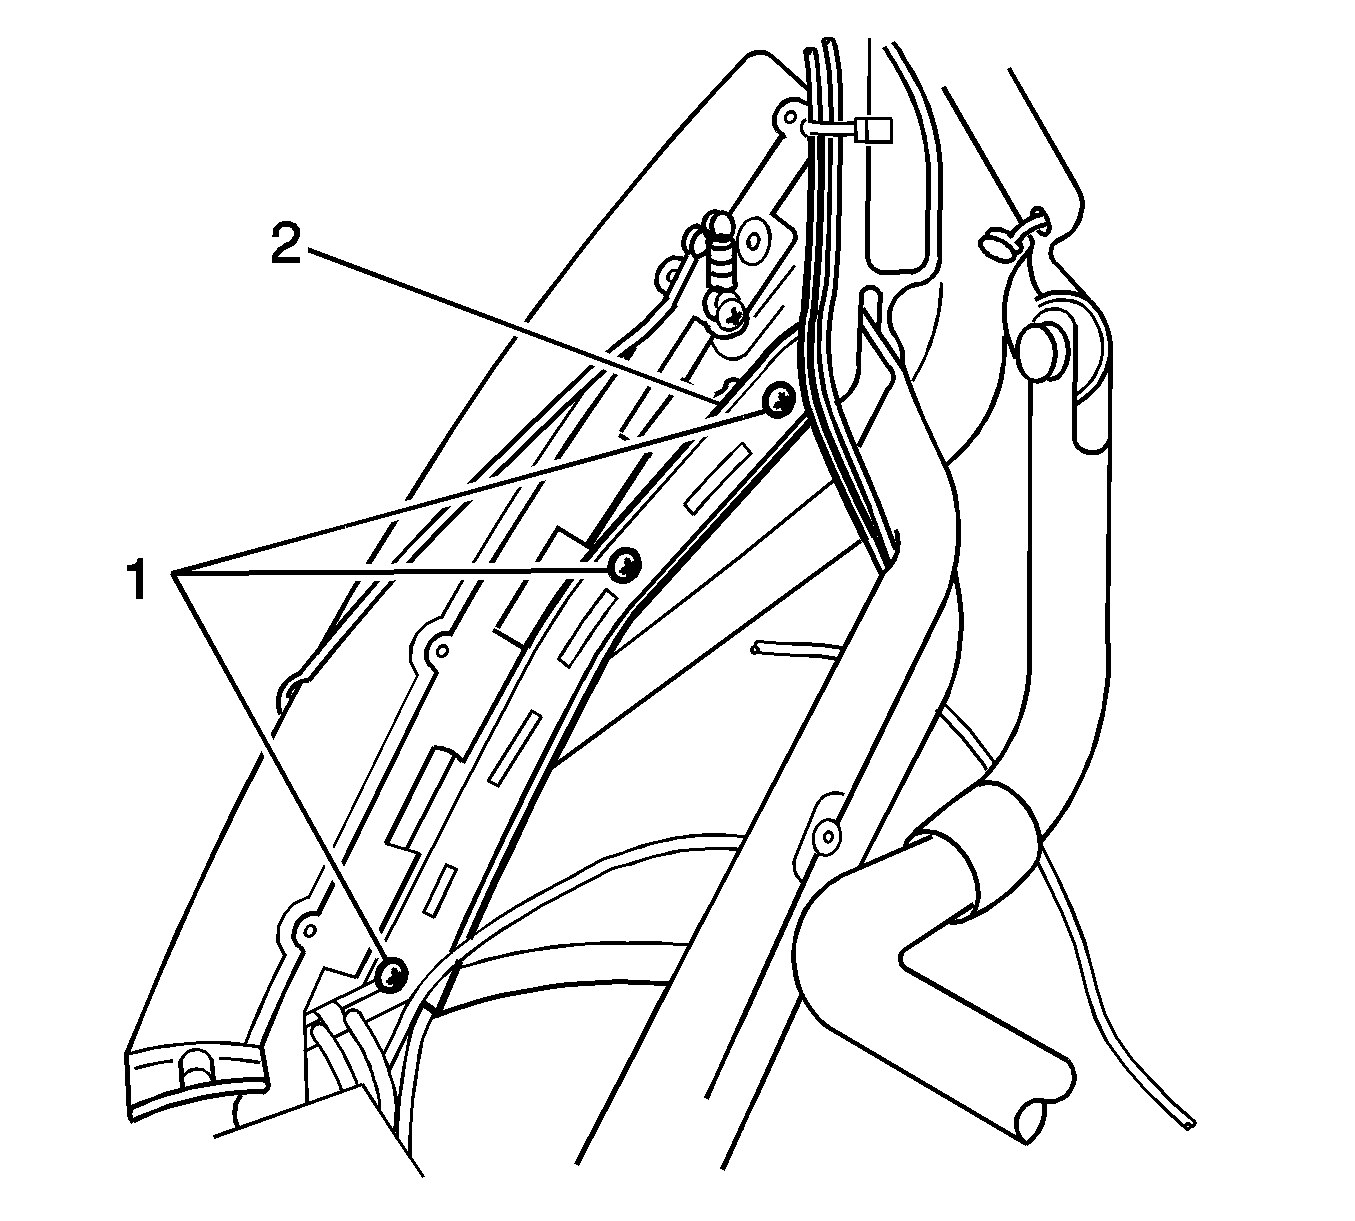
- Remove the three headliner retaining screws (1) and remove the retainer (2) from the left and right sides.
- Drill out the rivet (1) that holds the D-ring and metal P-clip from the left and right side.
- Remove the screw (1) from the D-ring on the number five bow.
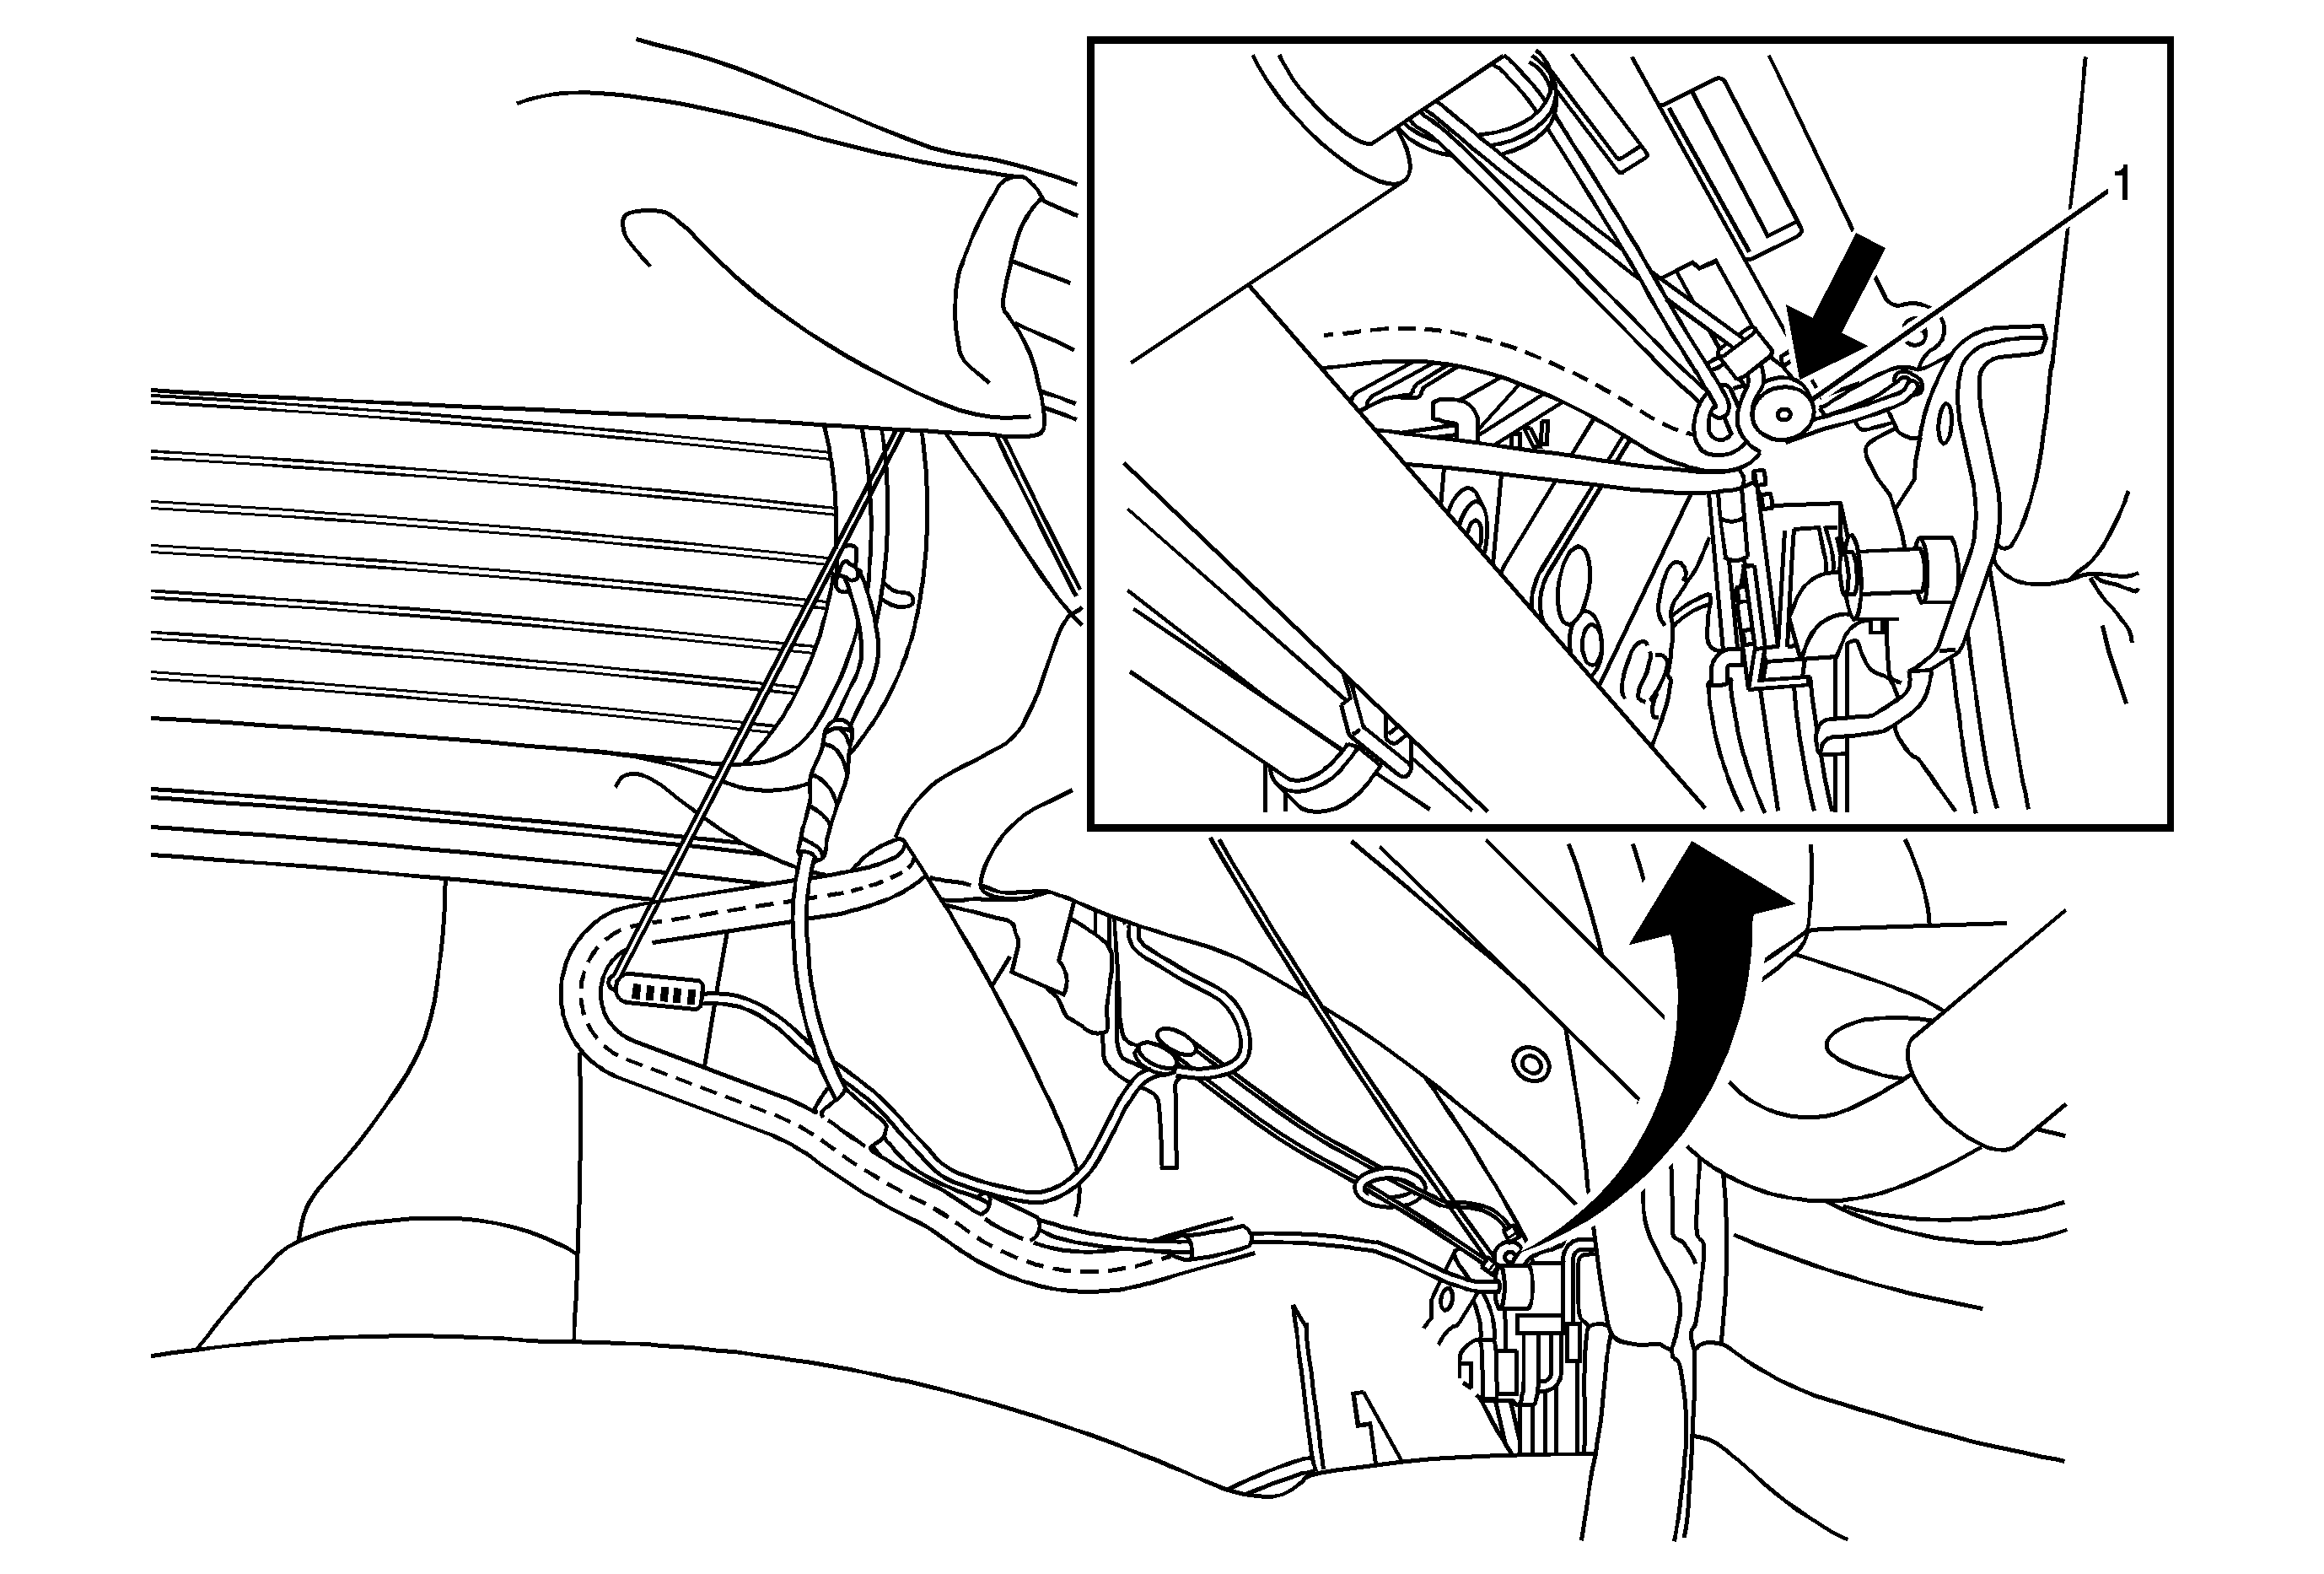
- Remove the screw (1) holding the D-ring and the end from the lower corners.
- Remove the screw (1) from the end of the string, under the convertible top.
- Disconnect the rear defogger wires.
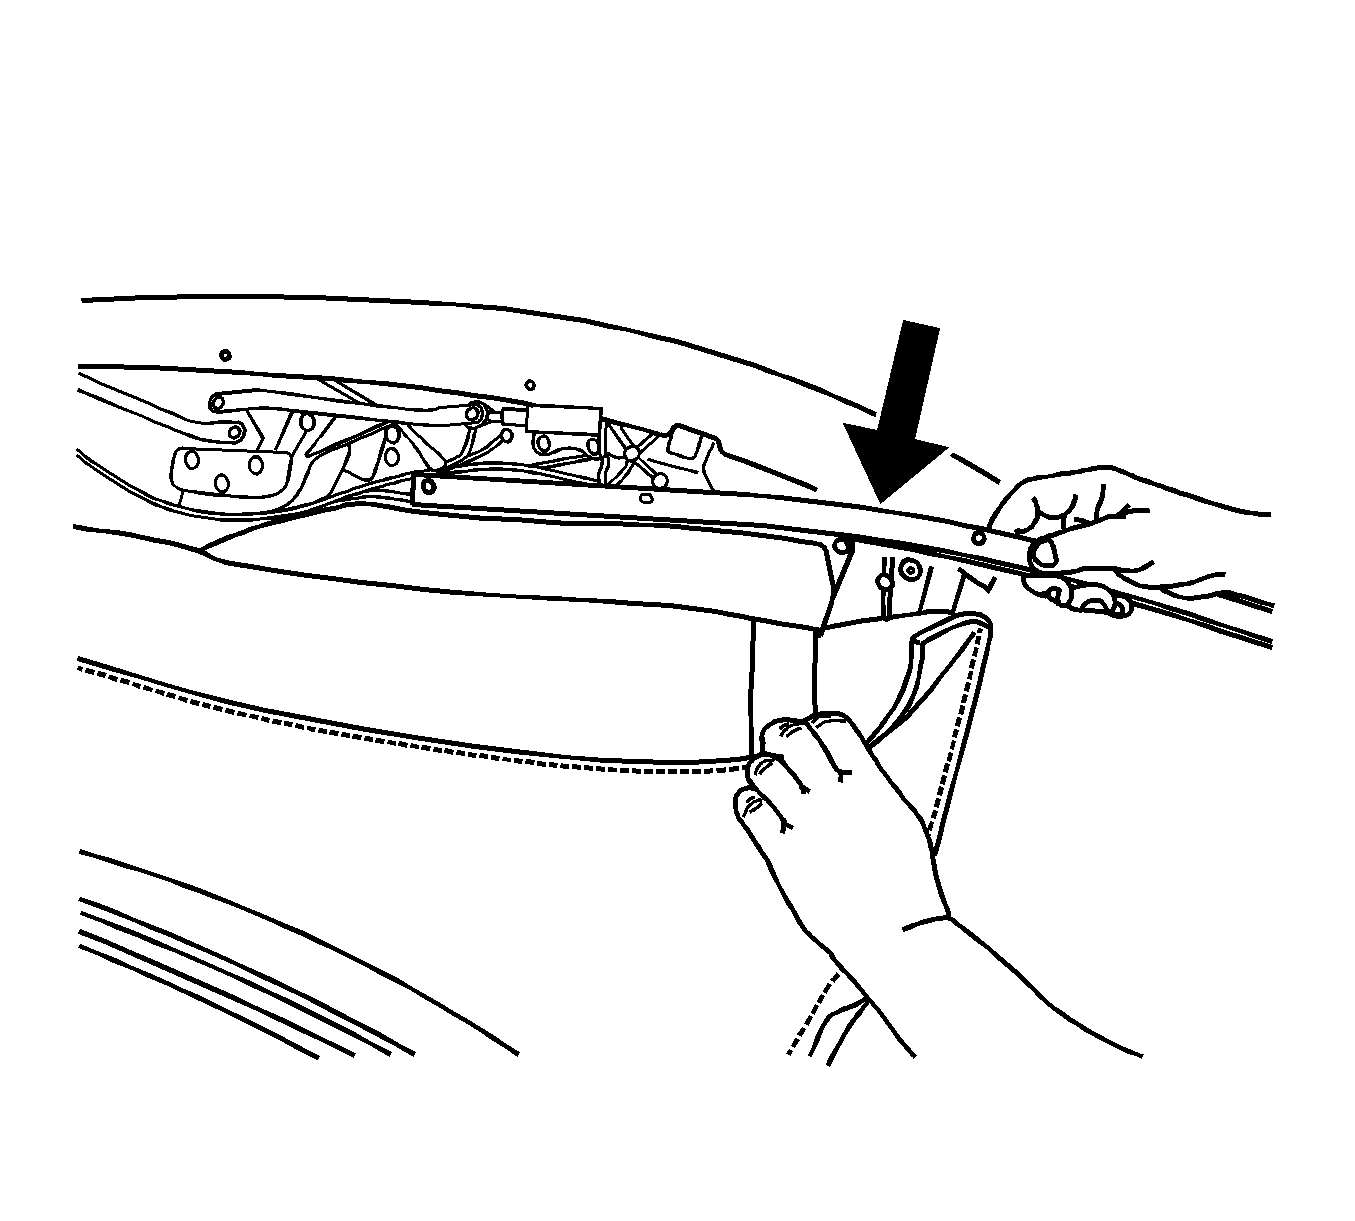
- Remove the headliner by sliding it through the numbers 2, 3, and 4 bows. Slide the headliner material simultaneous.
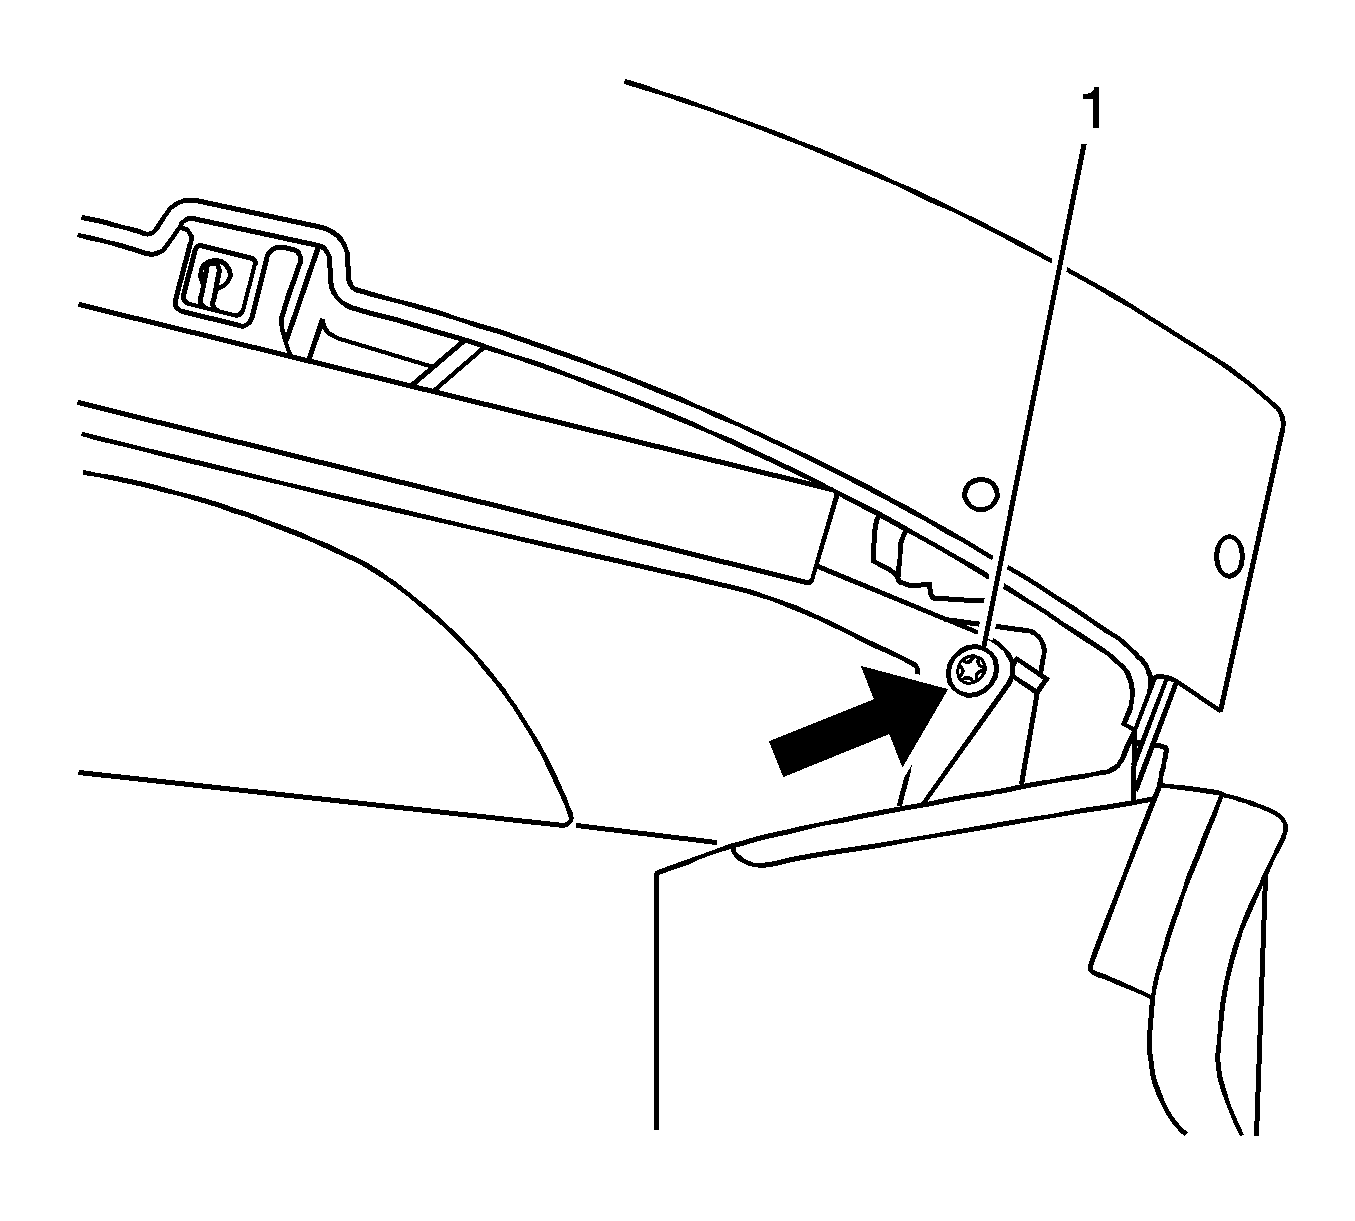
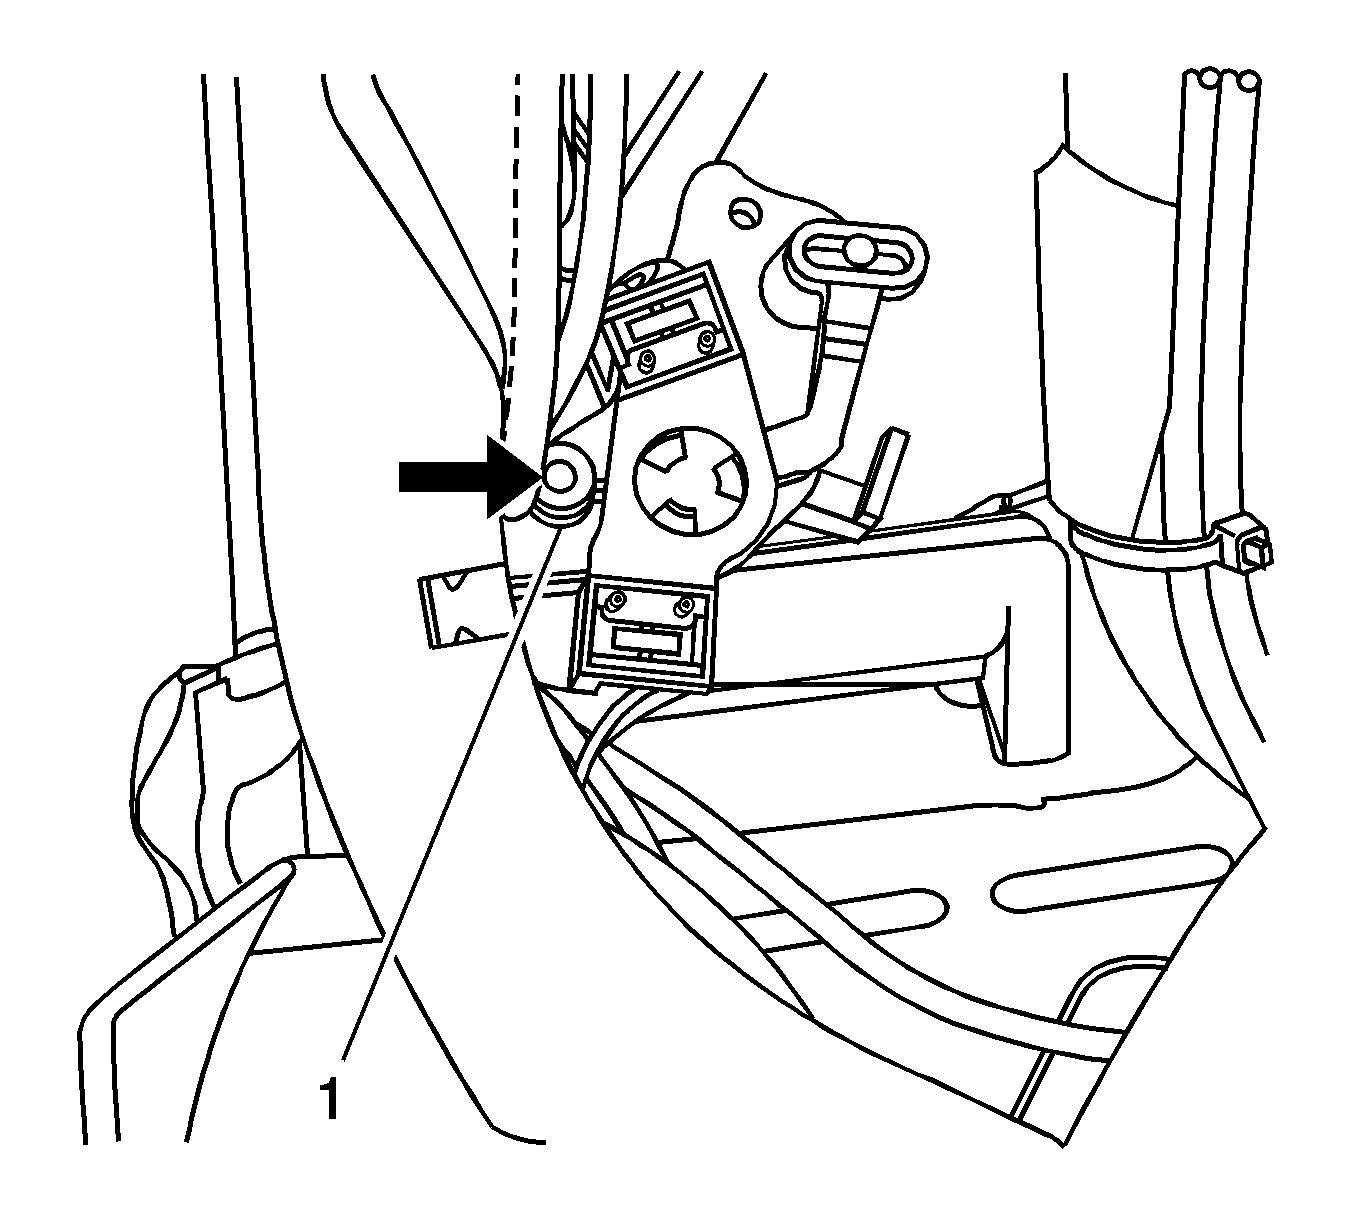
Important: If the vehicle has a power top, do the following :
Important: Mark the screw (1) for reinstalling in step 13 of the installation procedure.
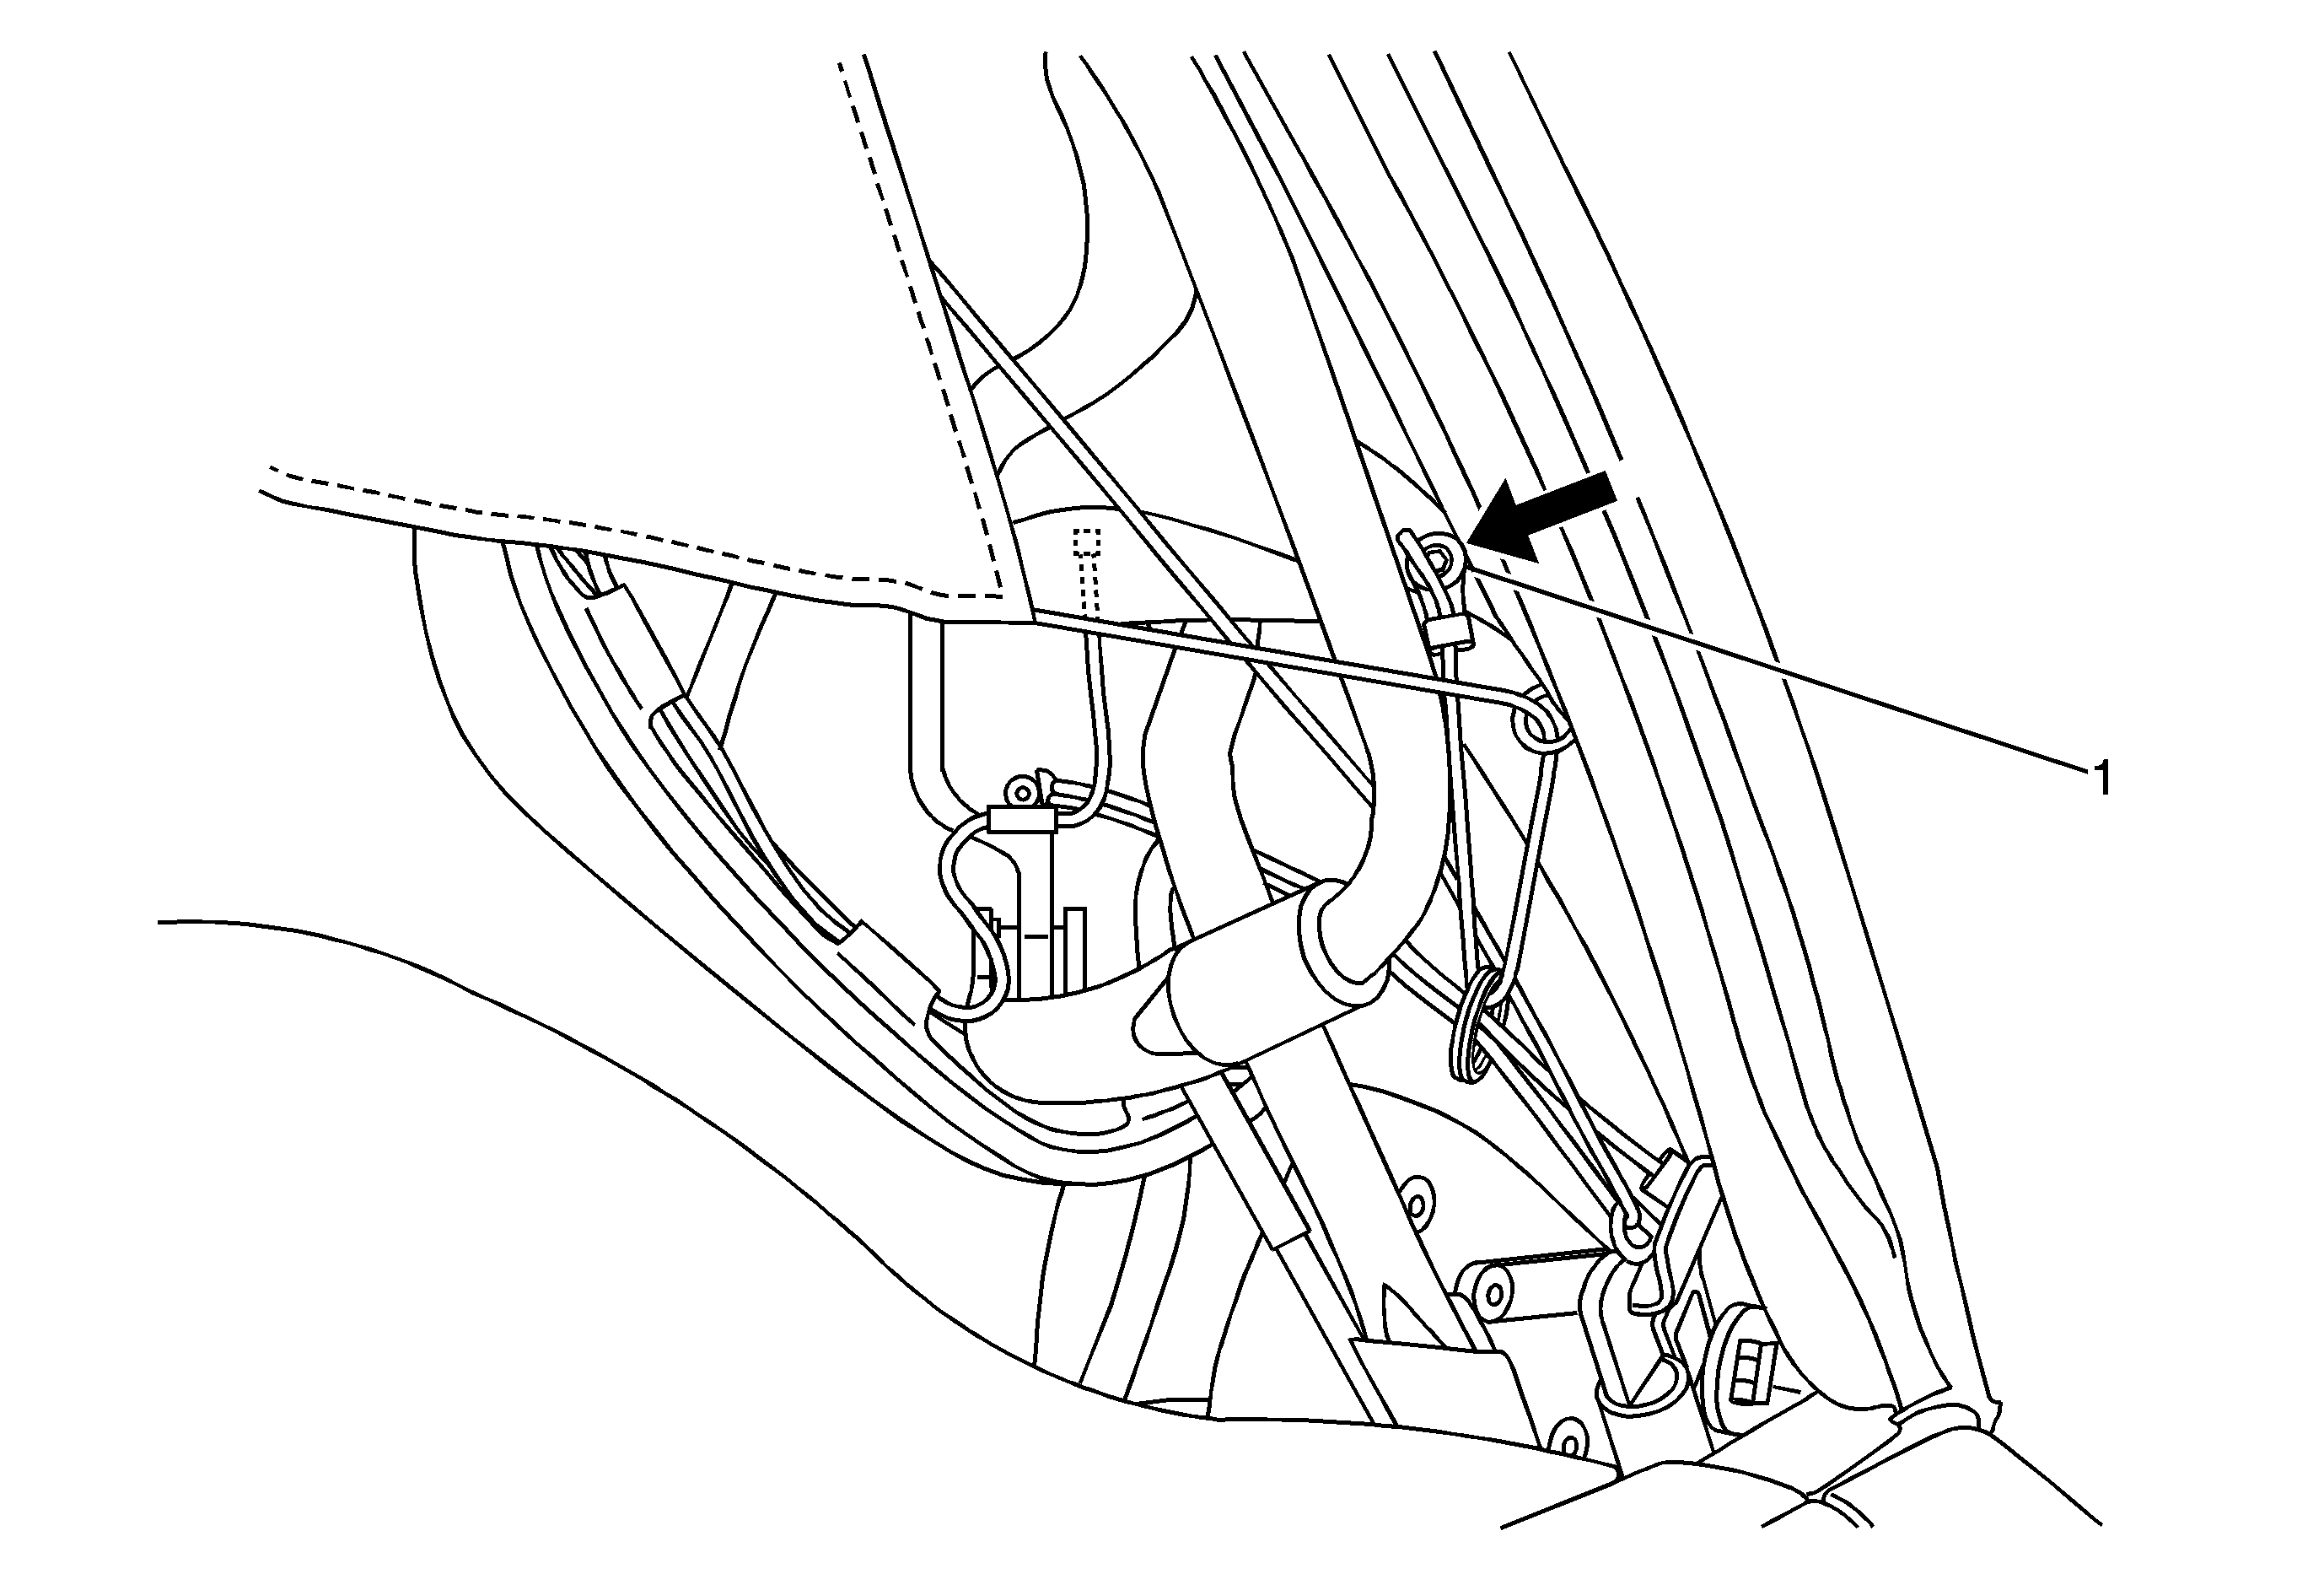
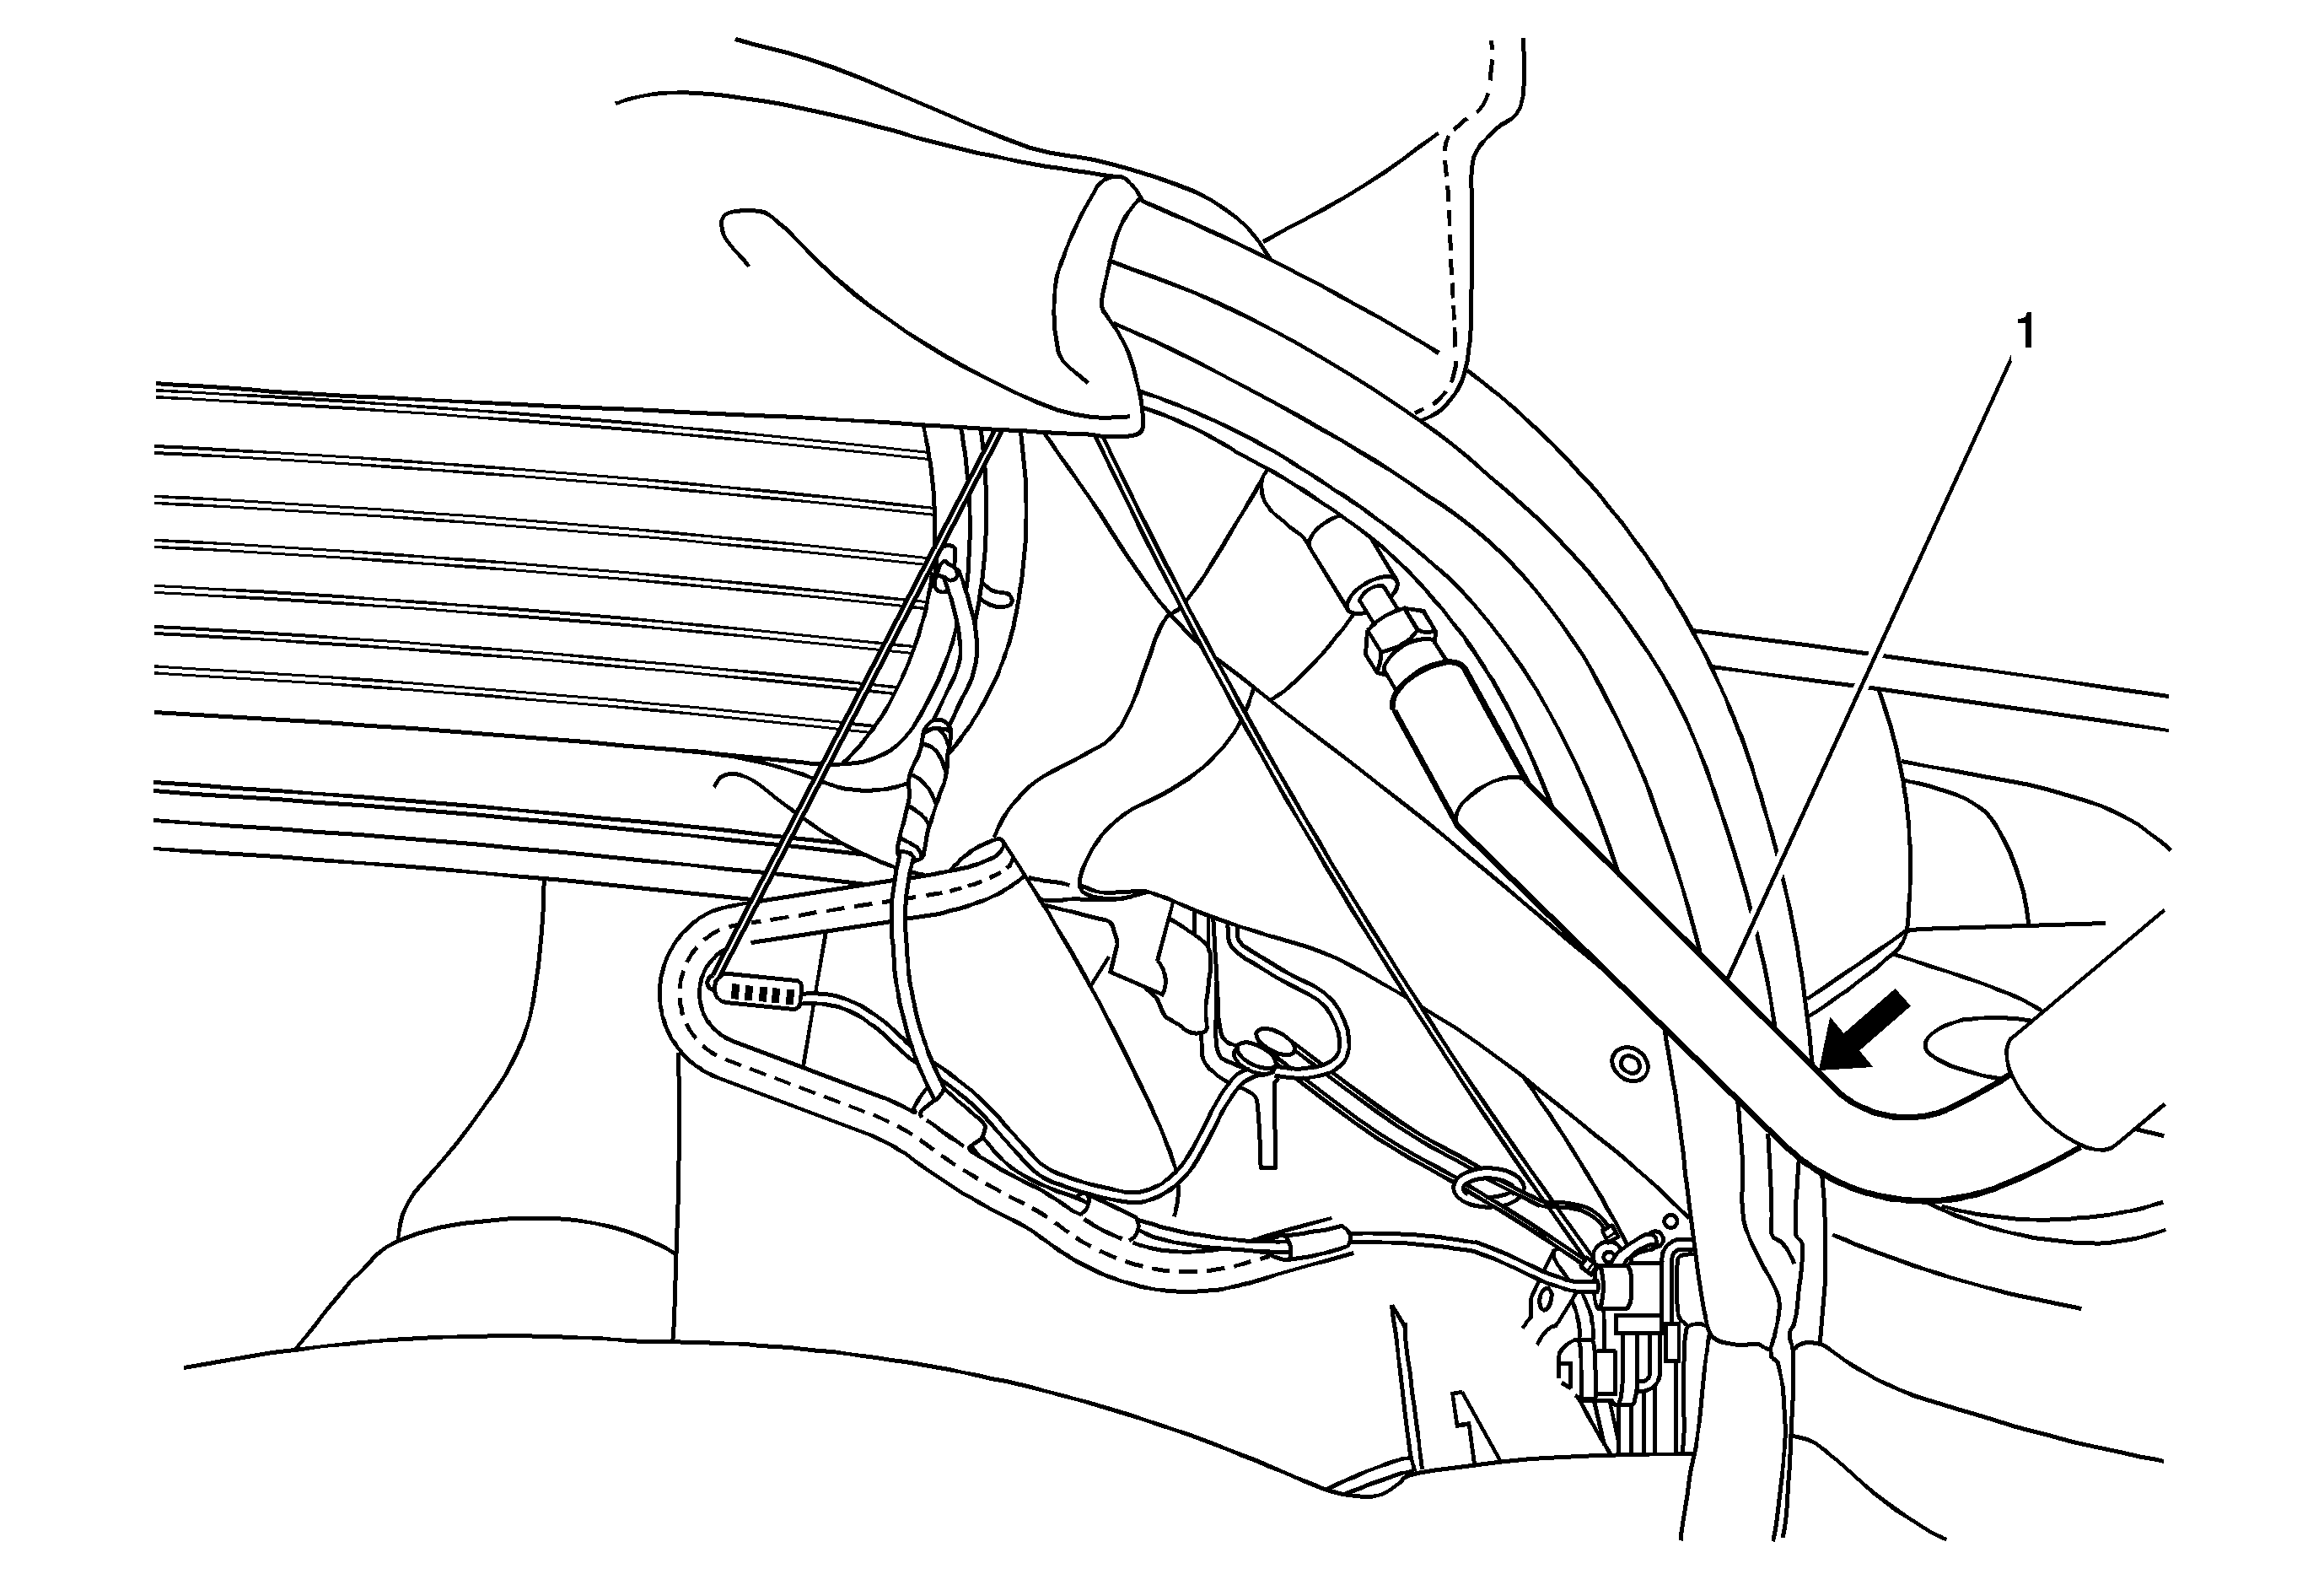
Important: Do Not remove the folding top rear counterbalance arm completely.
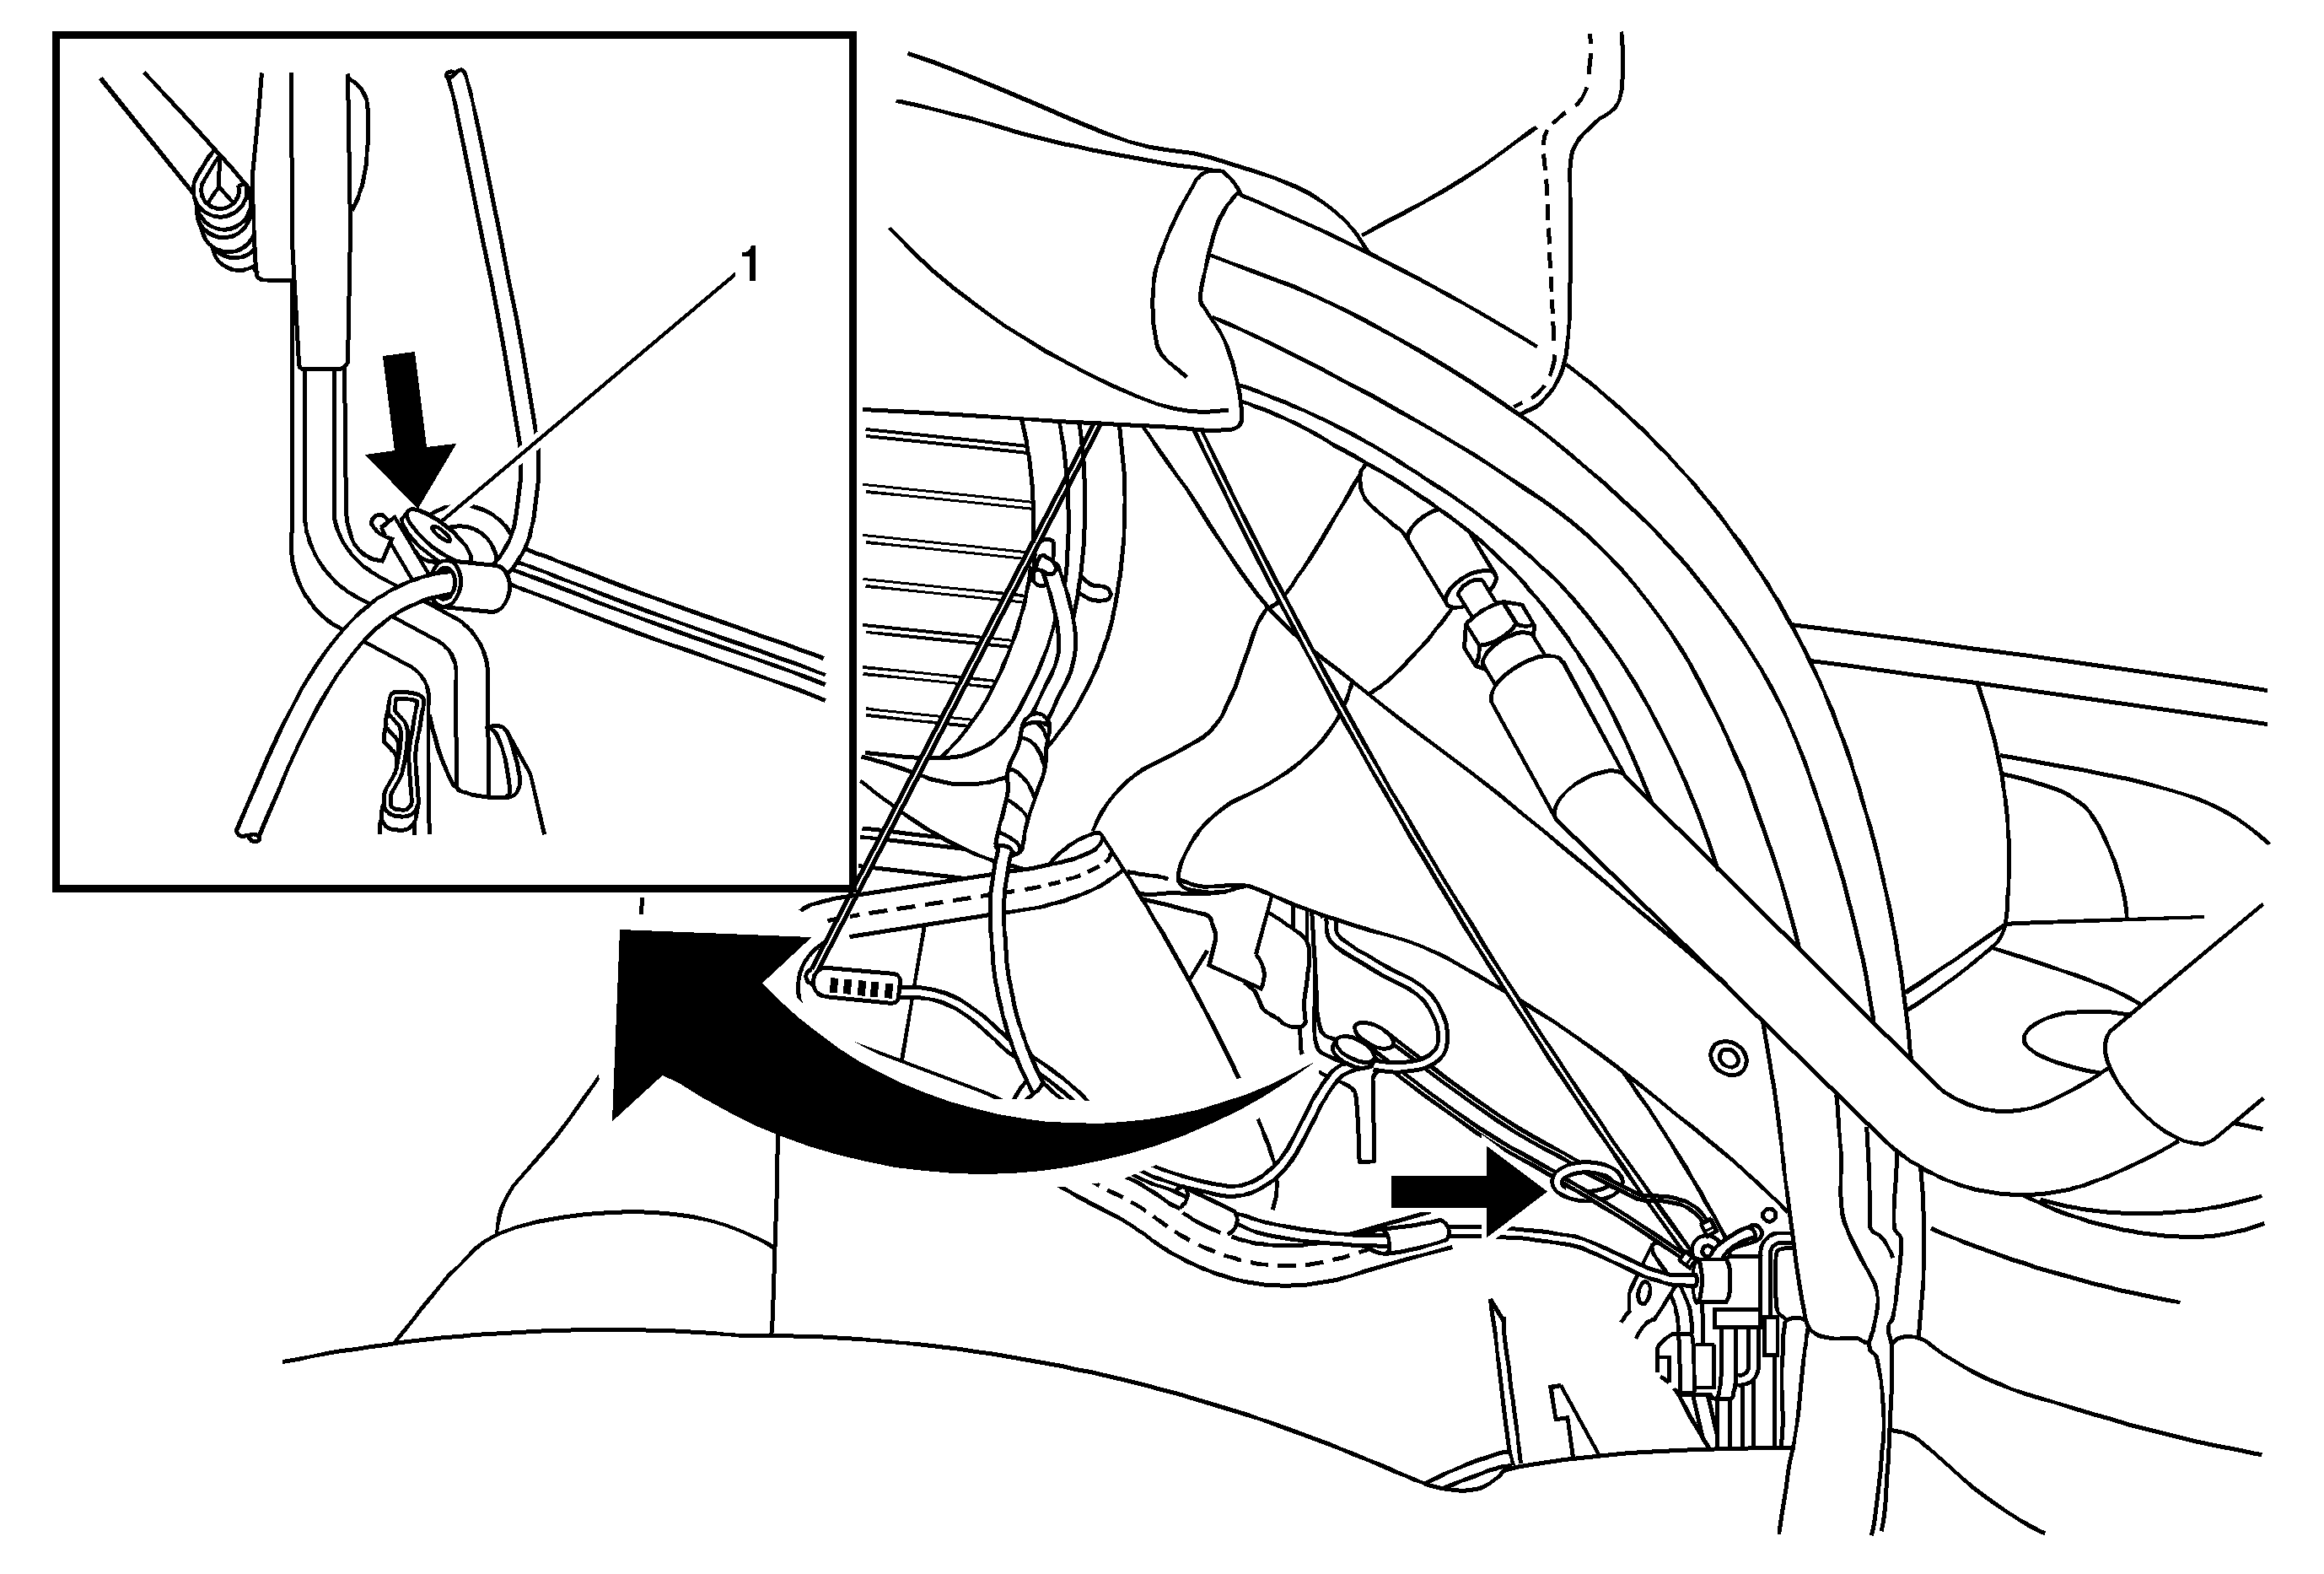
Important: Protect the rear compartment from drill shavings in this step.
Installation Procedure
- Install the headliner material by sliding it into the the number 2, 3, and 4 bows.
- Install the headliner material into the headliner retainer brackets (2).
- position the bracket (2) and headliner to the rear side rail.
- Install the screws (1) to the end of the string, under the convertible top.
- Connect the rear defogger wires.
- Install the screw (1) that attaches the end of the string from the headliner to the convertible top linkage. Note that this is the string with only a retainer at the end.
- Install the screw (1) coming from the headliner , attach the D-ring (1) to the number five bow.
- Install the screw (1) that attach the second D-ring and the end of the string to the convertible top linkage.
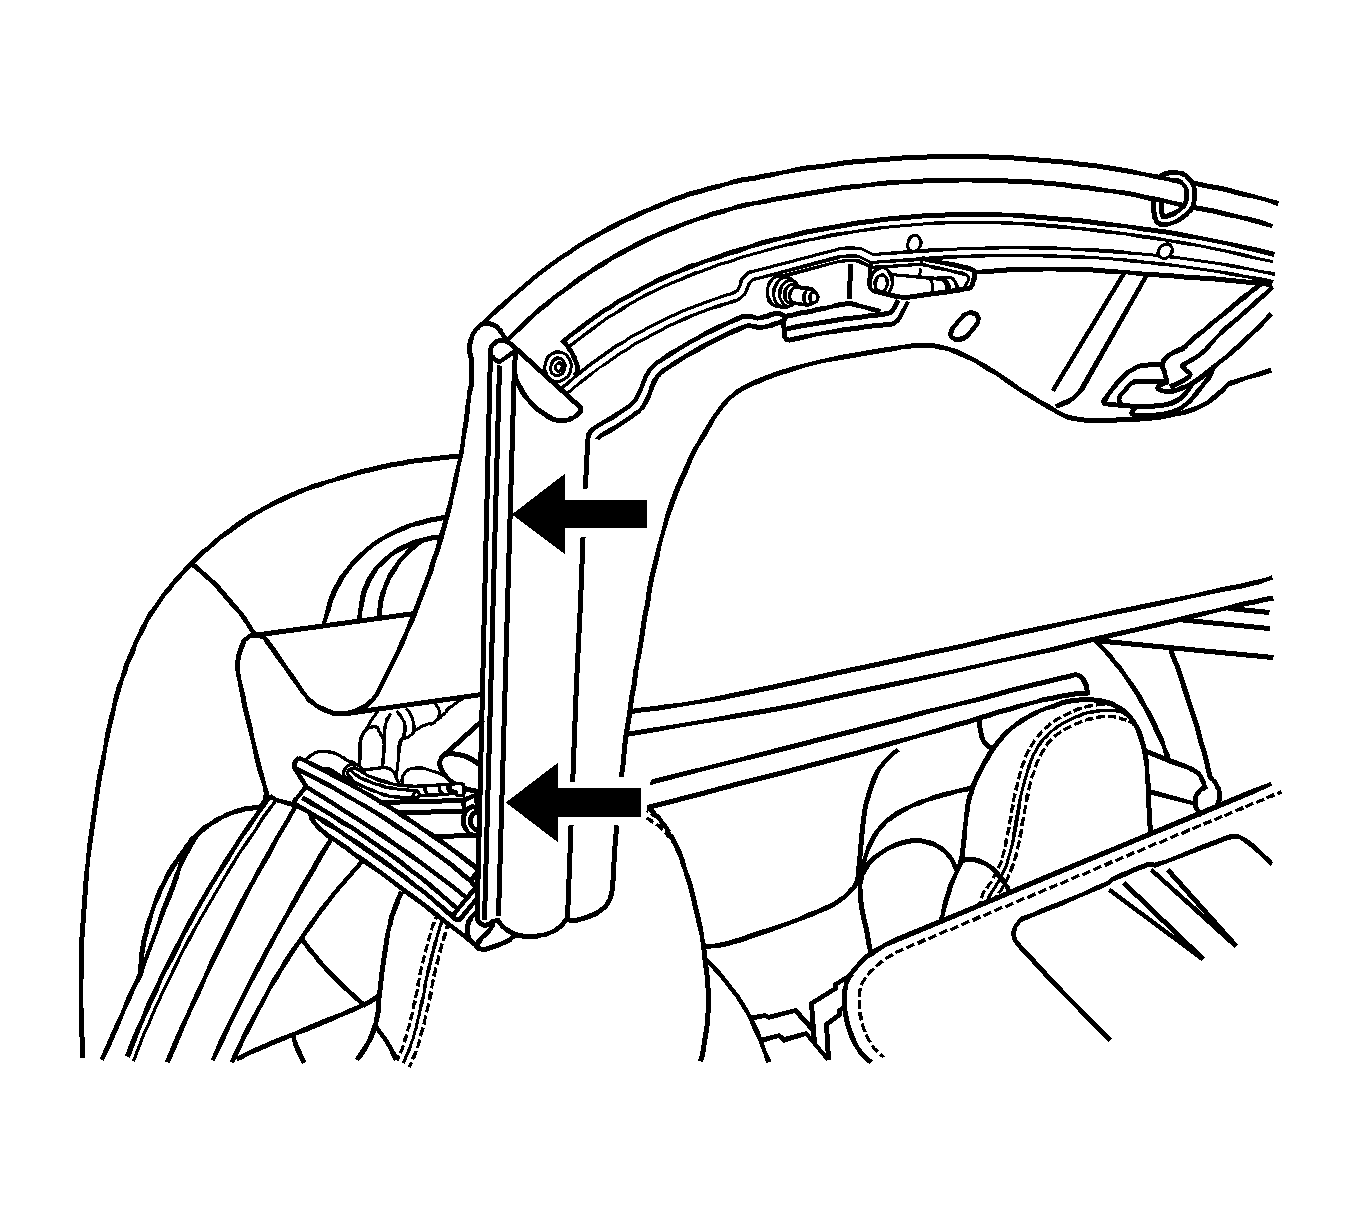
- Grab the third D-ring and slide the metal ring over the string (refer to the lower arrow in the illustration.
- Attach the third D-ring and the P-clip to the convertible top linkage using a rivet (1).
- Install the folding top rear counterbalance arm (1) and spring clips.
- Install the string end from the anti-glare cover through the metal ring and attach the end with the screw (1).
- Install the folding top position switch and screw (1).
- Install the interior trim to the top of the B pillar.
- Install the folding top cover retain screws to the number one header bow retainer strip.
- Install the screw in each front corner of the headliner (1) and pull the front edge of the top cover to the number one bow.
- Fold the top cover over the number one bow and install the top cover compression seal panel retaineing screws (1).
- Install the front weatherstrips and retainers to the right and left sides.
- Ensure proper operation.
| 1.1. | Start the material approximately 1 inch into the number 2, 3 and 4 bows. |
| 1.2. | Slide the material simultaneously with in the bows to avoid binding. |

Notice: Refer to Fastener Notice in the Preface section.
Tighten
Tighten the screws to 2 N·m (18 lb in).

Tighten
Tighten the screws to 2 N·m (18 lb in).

Tighten
Tighten the screws to 2 N·m (18 lb in).

Tighten
Tighten the screws to 2 N·m (18 lb in).

Important: The orientation of the P-clip and the D-ring. They Must be in this position.
If the P-clip is not on the new headliner string, carefully remove it from the old headliner string and install it on the new headliner string.

Tighten
Tighten the screws to 2 N·m (18 lb in).

Important: If the vehicle has a power top, do the following :
Tighten
Tighten the screws to 2 N·m (18 lb in).

Tighten
Tighten the screws to 2 N·m (18 lb in).

Tighten
Tighten the screws to 2 N·m (18 lb in).

Tighten
Tighten the screws to 2 N·m (18 lb in).

Tighten
Tighten the screws to 3 N·m (29 lb in).
| 19.1. | Manually place the top in a closed position. |
| 19.2. | Observe the headliner as the top number one bow approaches the header. |
| 19.3. | If the headliner strings are binding or stretching STOP. |
| 19.4. | Check the headliner strings for proper routing. |
