Headliner Wear (Replace Bolts and Remove Sharp Edge)

| Subject: | Headliner Wear (Replace Bolts and Remove Sharp Edge) |
| Models: | 2007-2009 Chevrolet Corvette |
This bulletin is being revised to add the 2009 model year. Please discard Corporate Bulletin Number 08-08-110-001 (Section 08 - Body and Accessories).
Condition #1
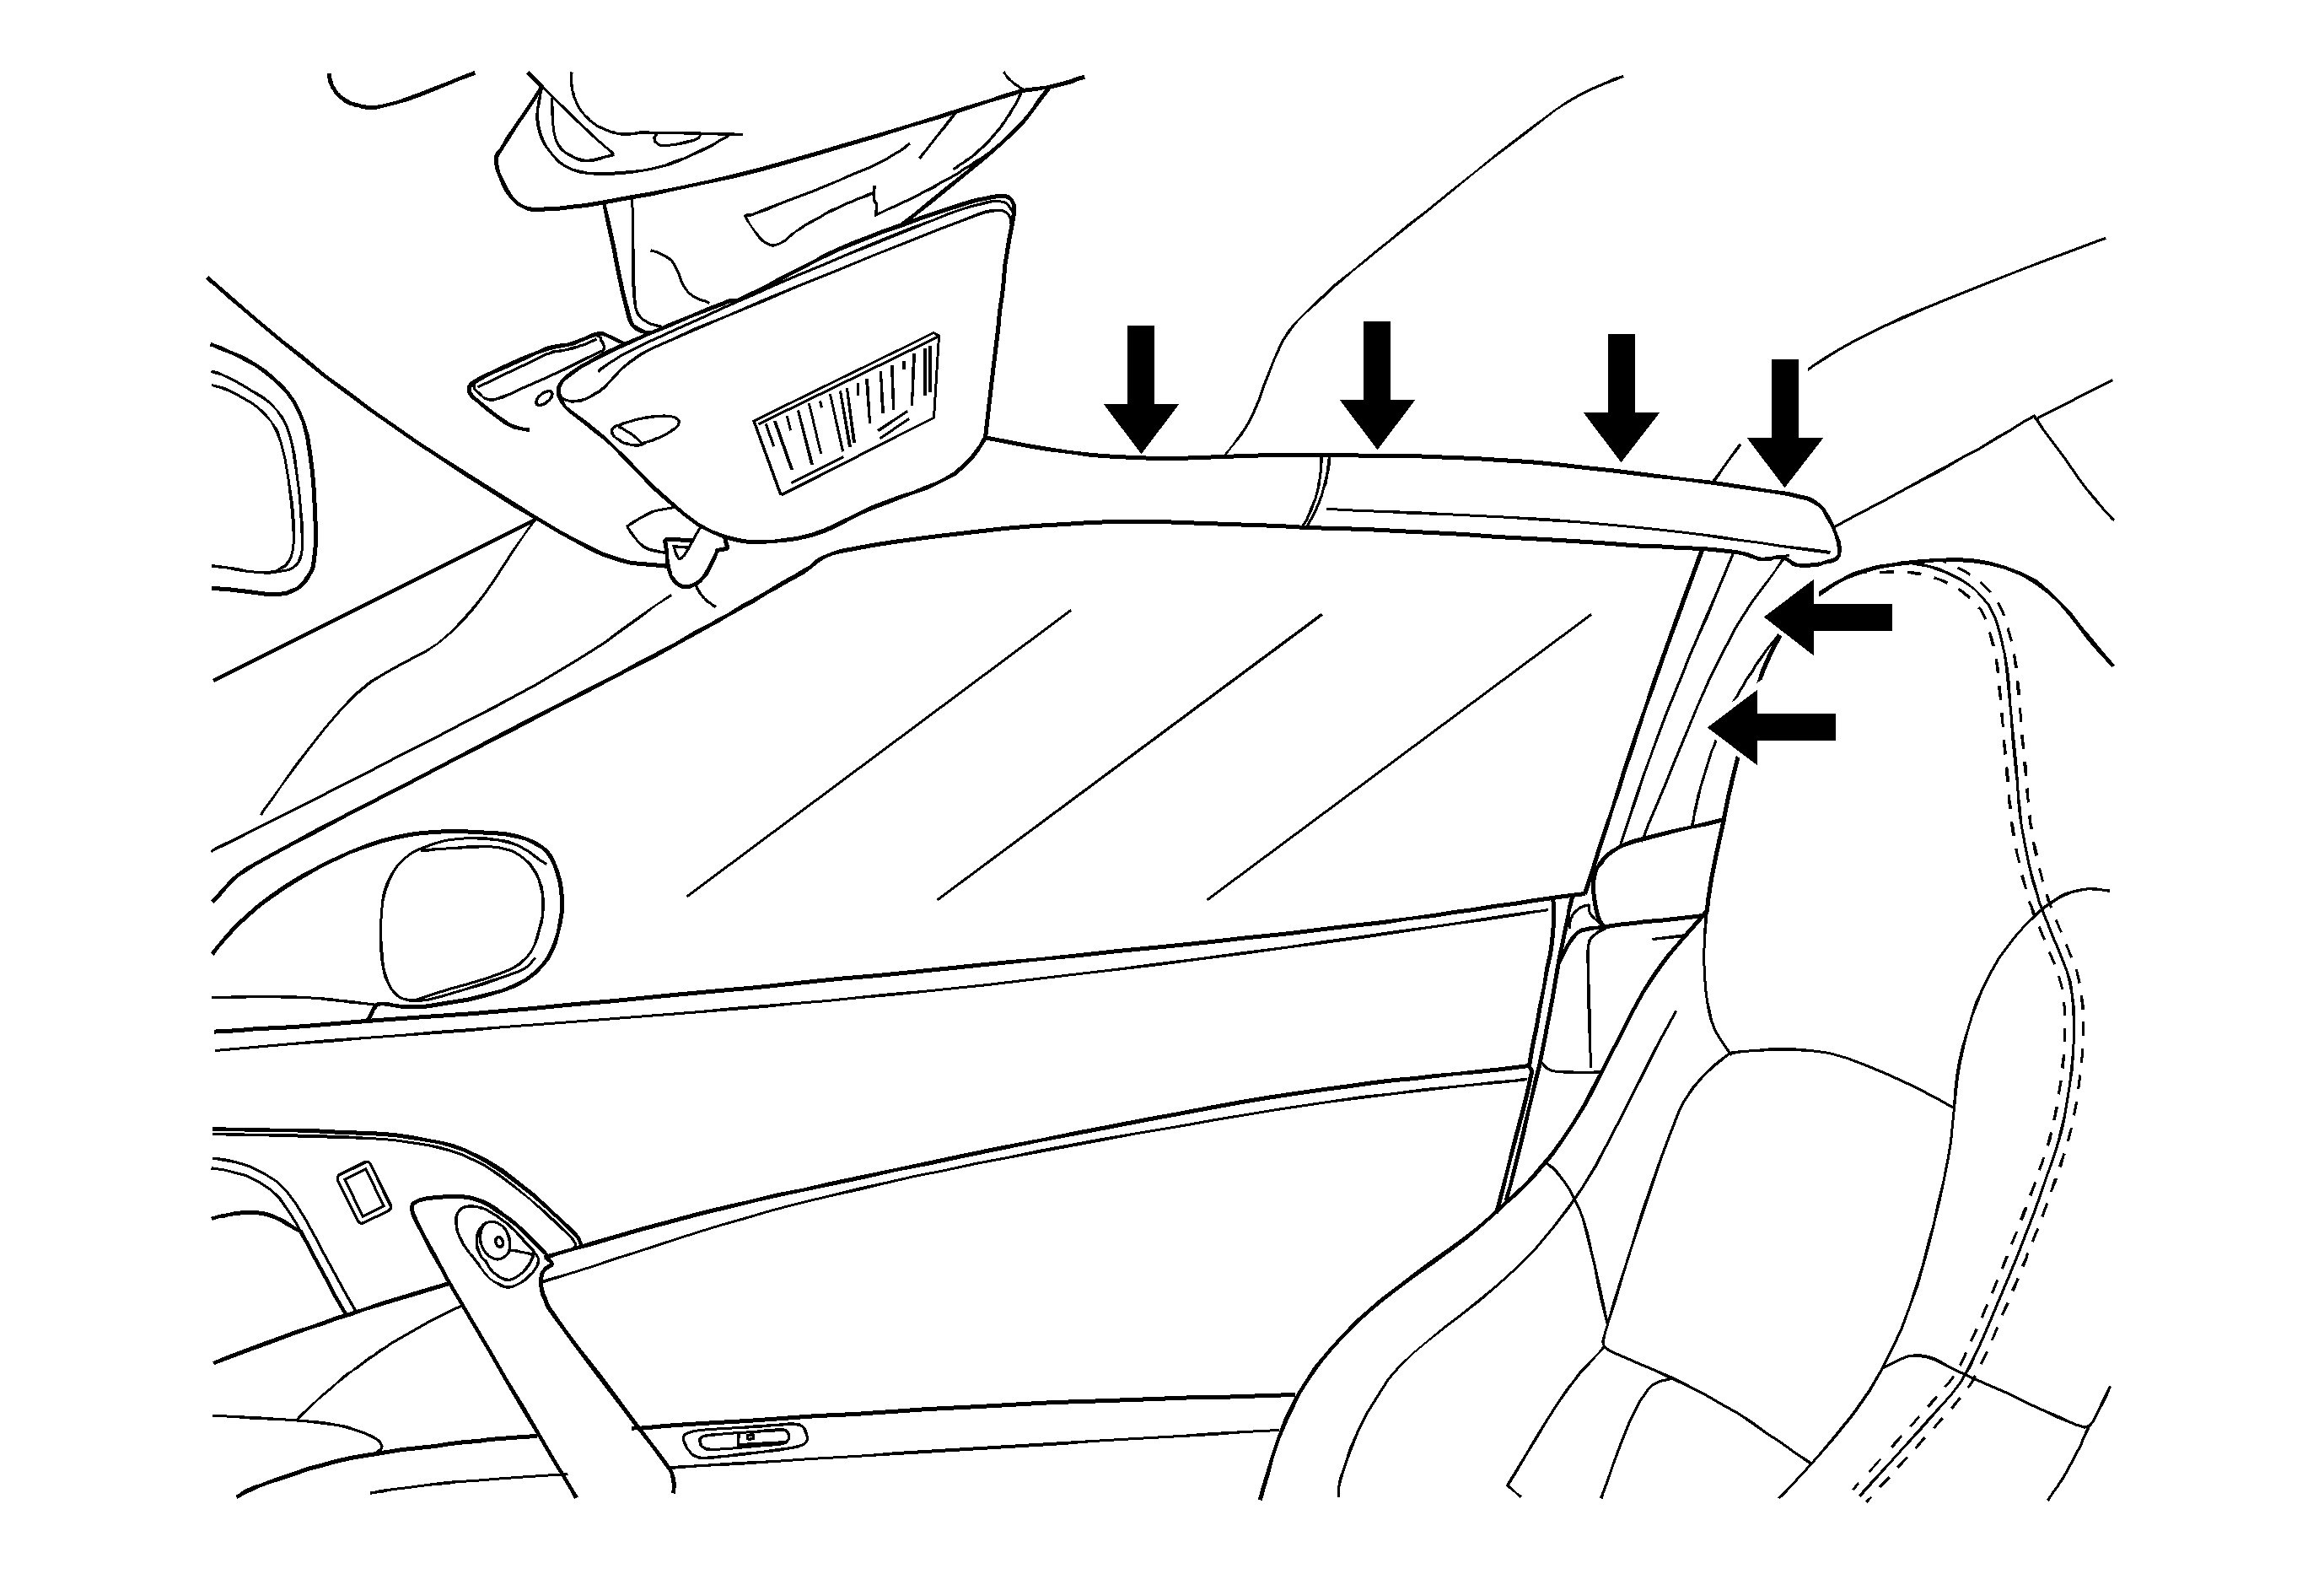
Some customers may comment that the headliner has some wear damage on the outer edges along the upper trim.
Condition #2
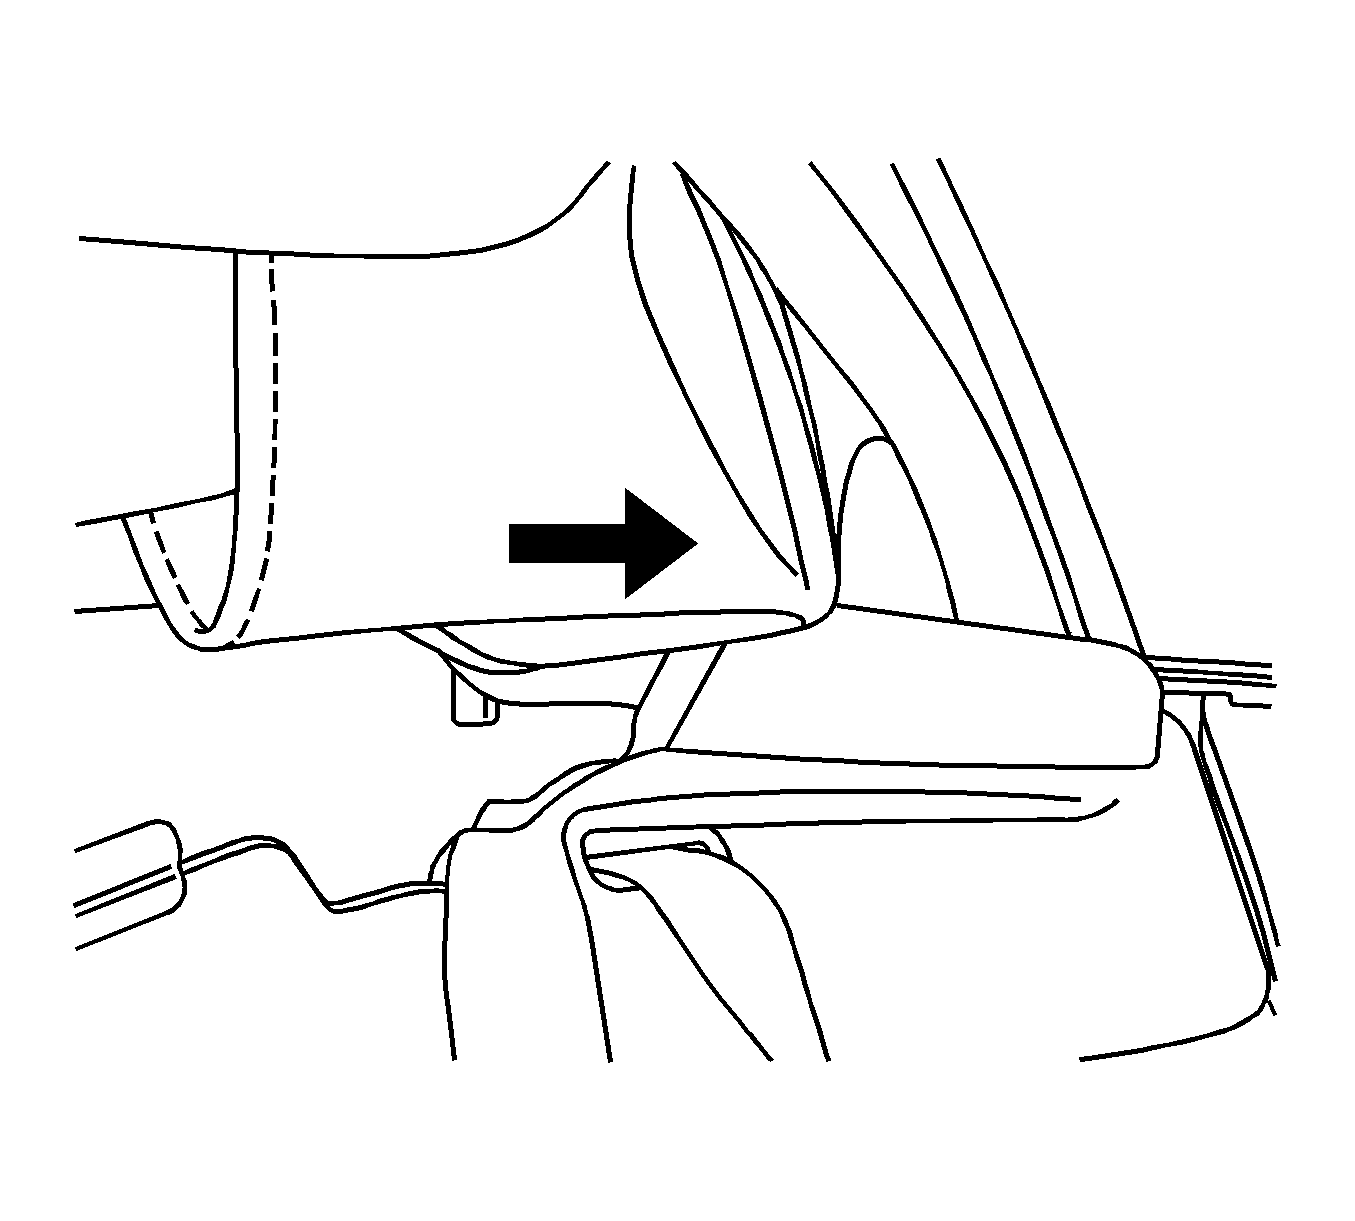
Some customers may comment on small holes in the rear corners of the headliner.
Cause #1
This condition may be caused by a sharp edge on the outer headliner trim, causing the wear.
Cause #2
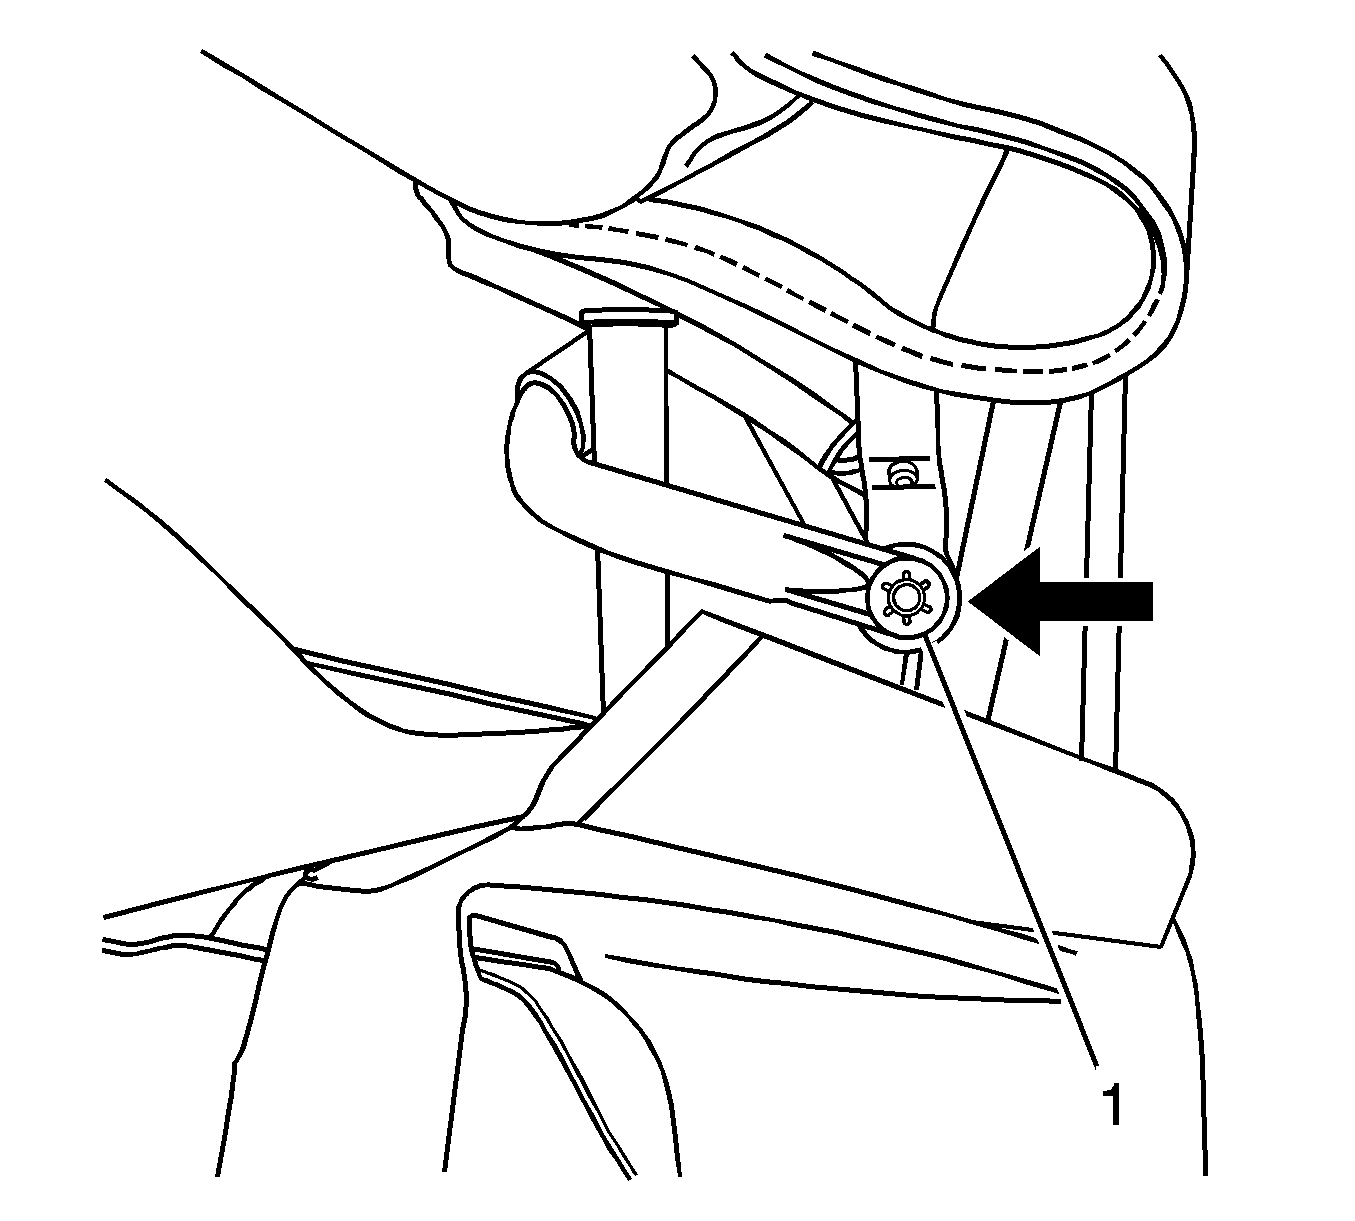
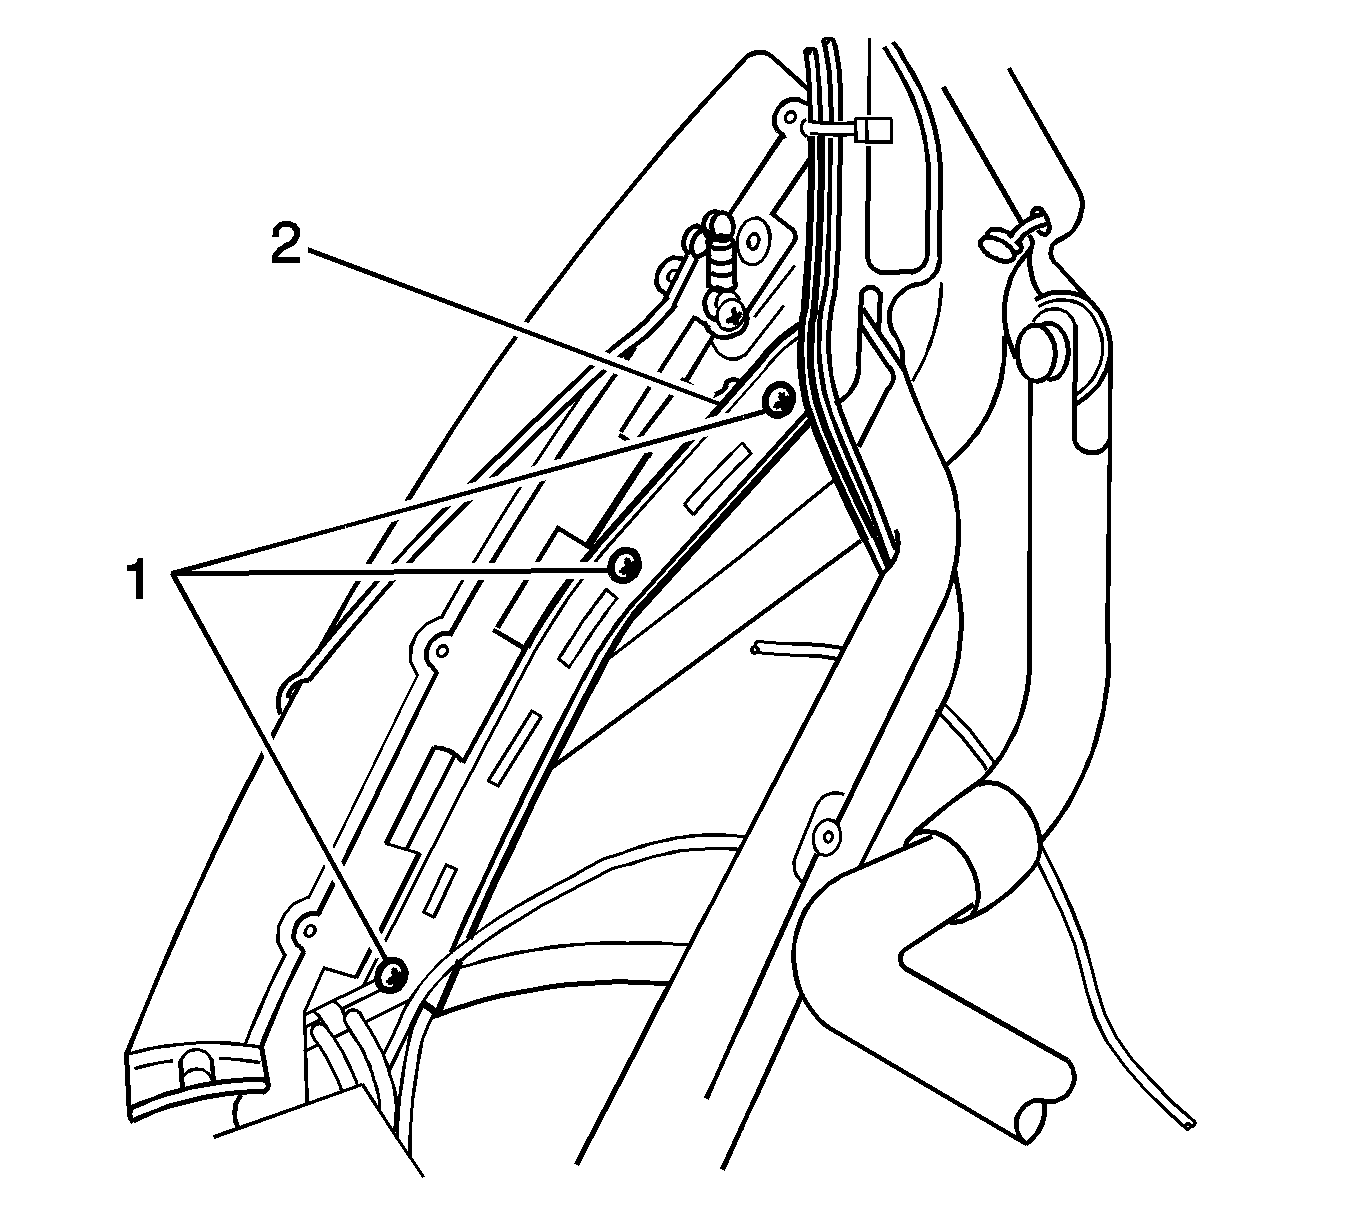
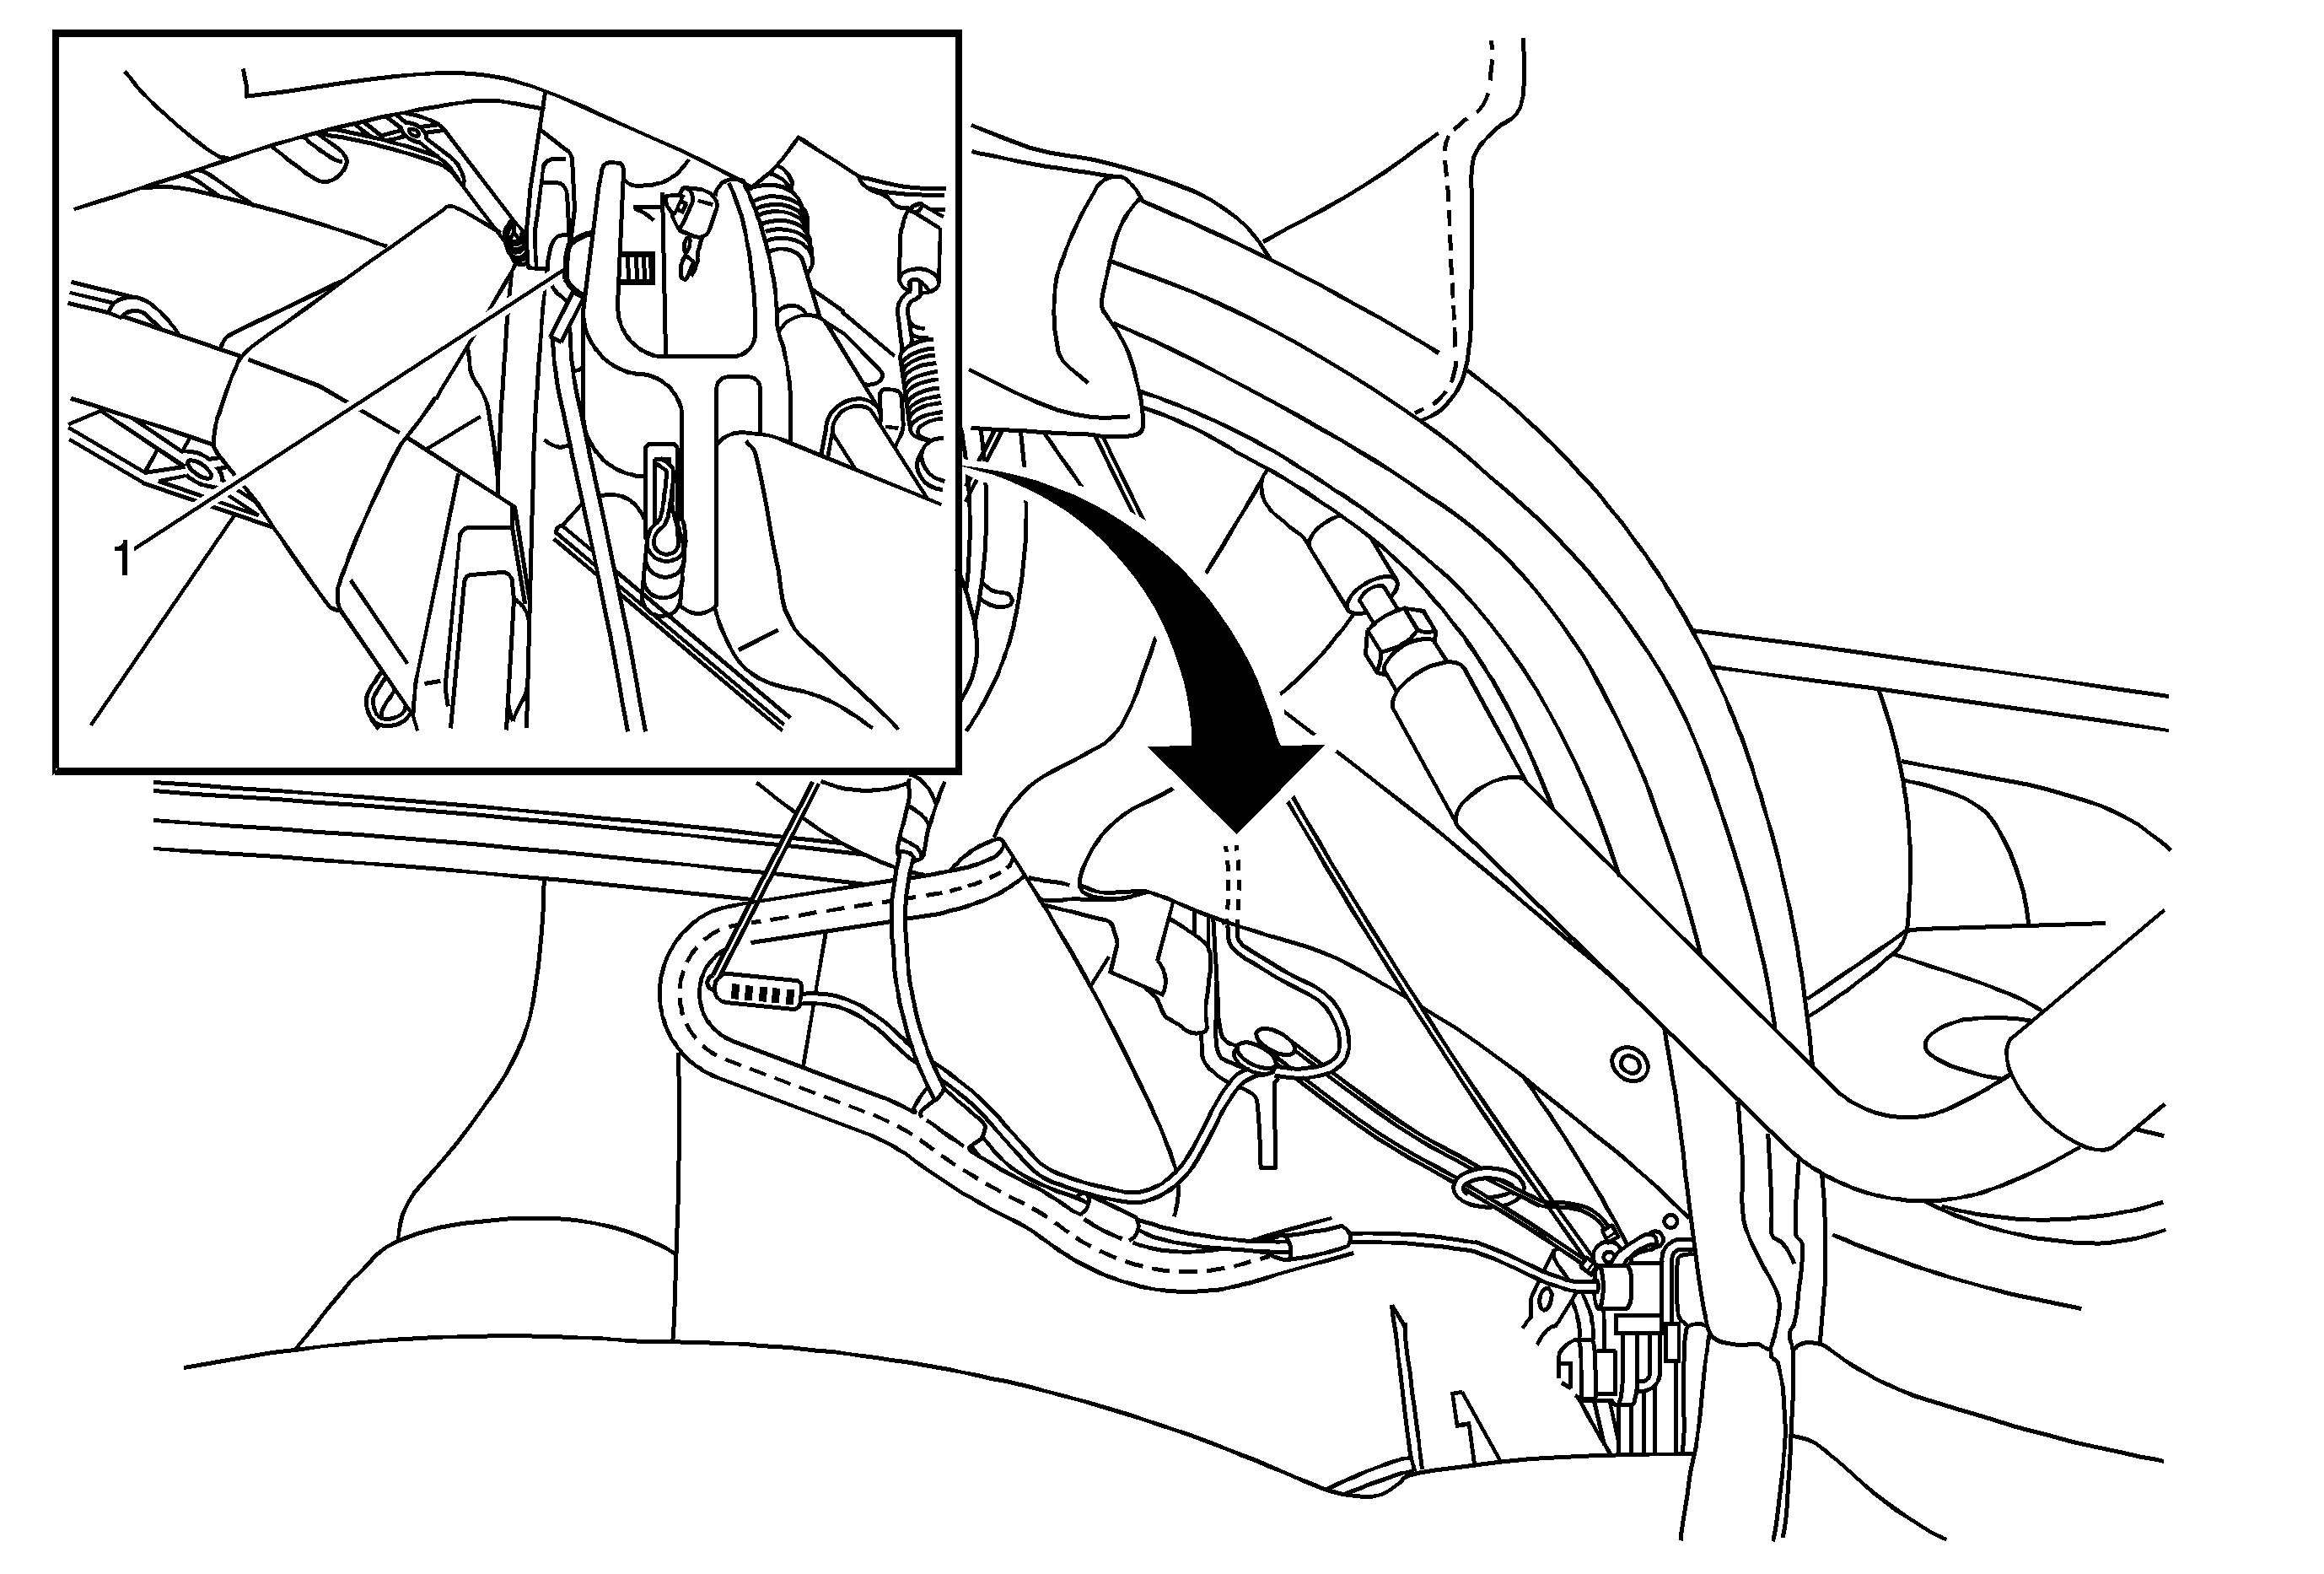
This condition may be caused by four pins and retainers. Two per side (1) This illustration shows one retainer on the right side, the other retainer is just above the one shown.
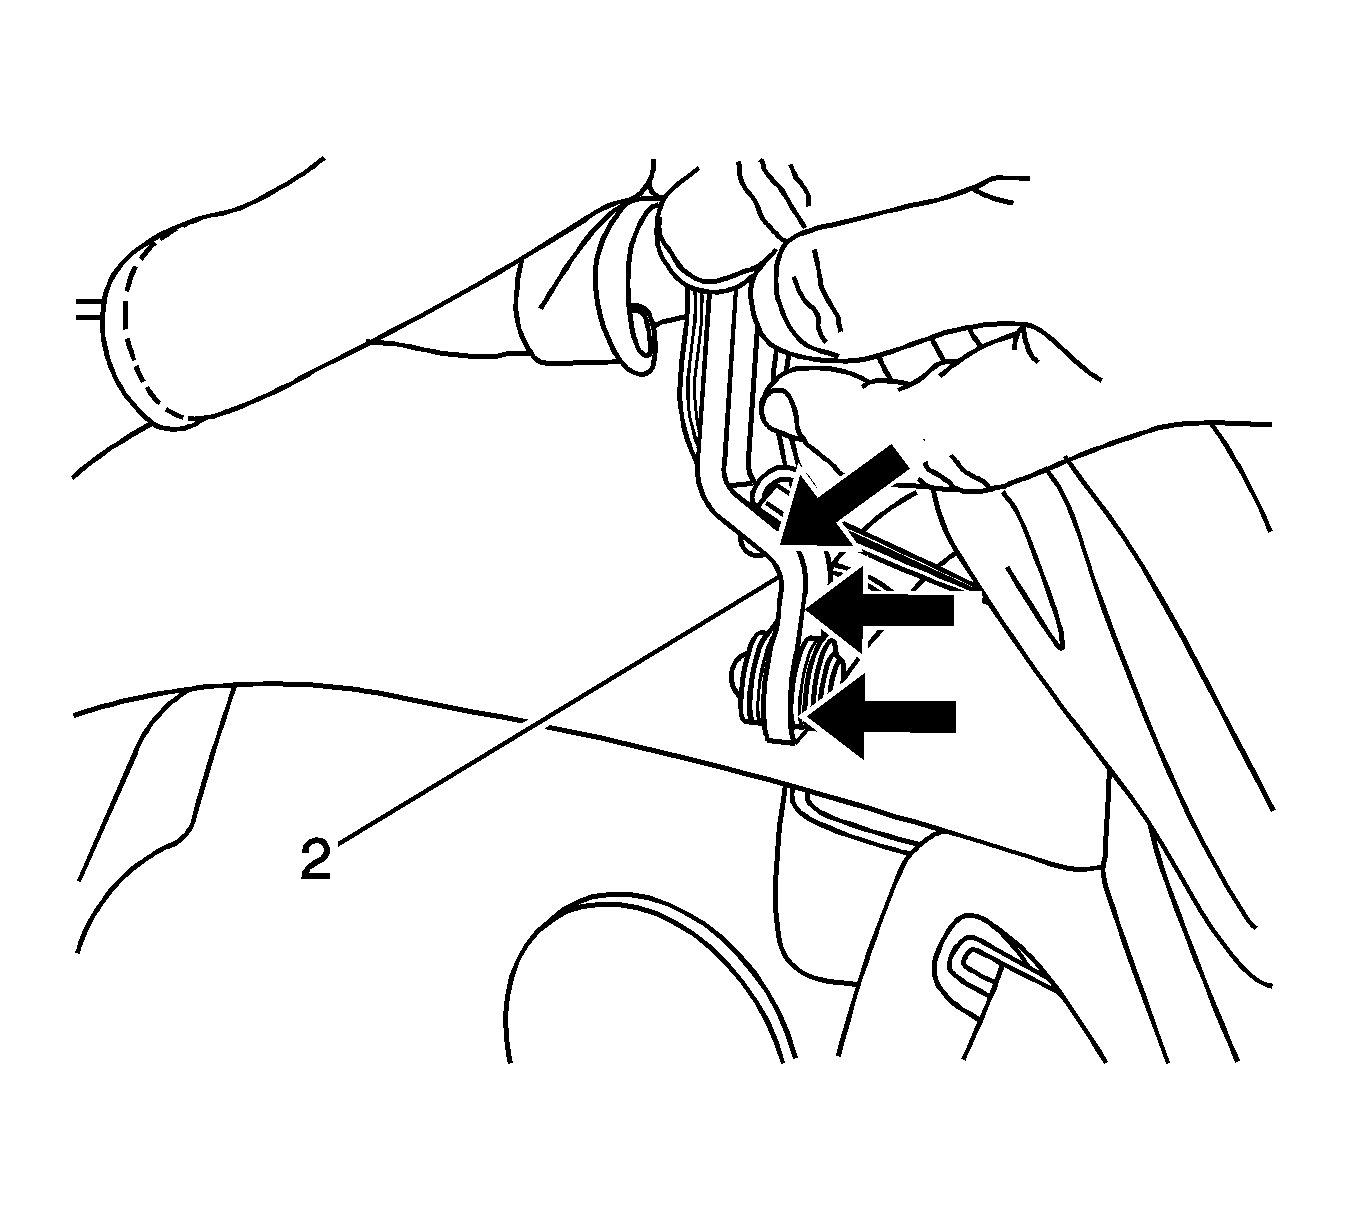
Or sharp edges (2) from the convertible top mechanism, which may be wearing small holes in the rear corners of the headliner when it is stowed.
Correction #1
Round off the inner top edge of the headliner trim and replace the headliner following the procedure below.
Correction #2
Remove the headliner and replace the four aluminum pins and retainers. There are two pins and two retainers per side. Also check the convertible top linkage for sharp edges. Sand down all sharp edges and paint as necessary. Replace the headliner following the procedure listed below.
Headliner Replacement Procedure
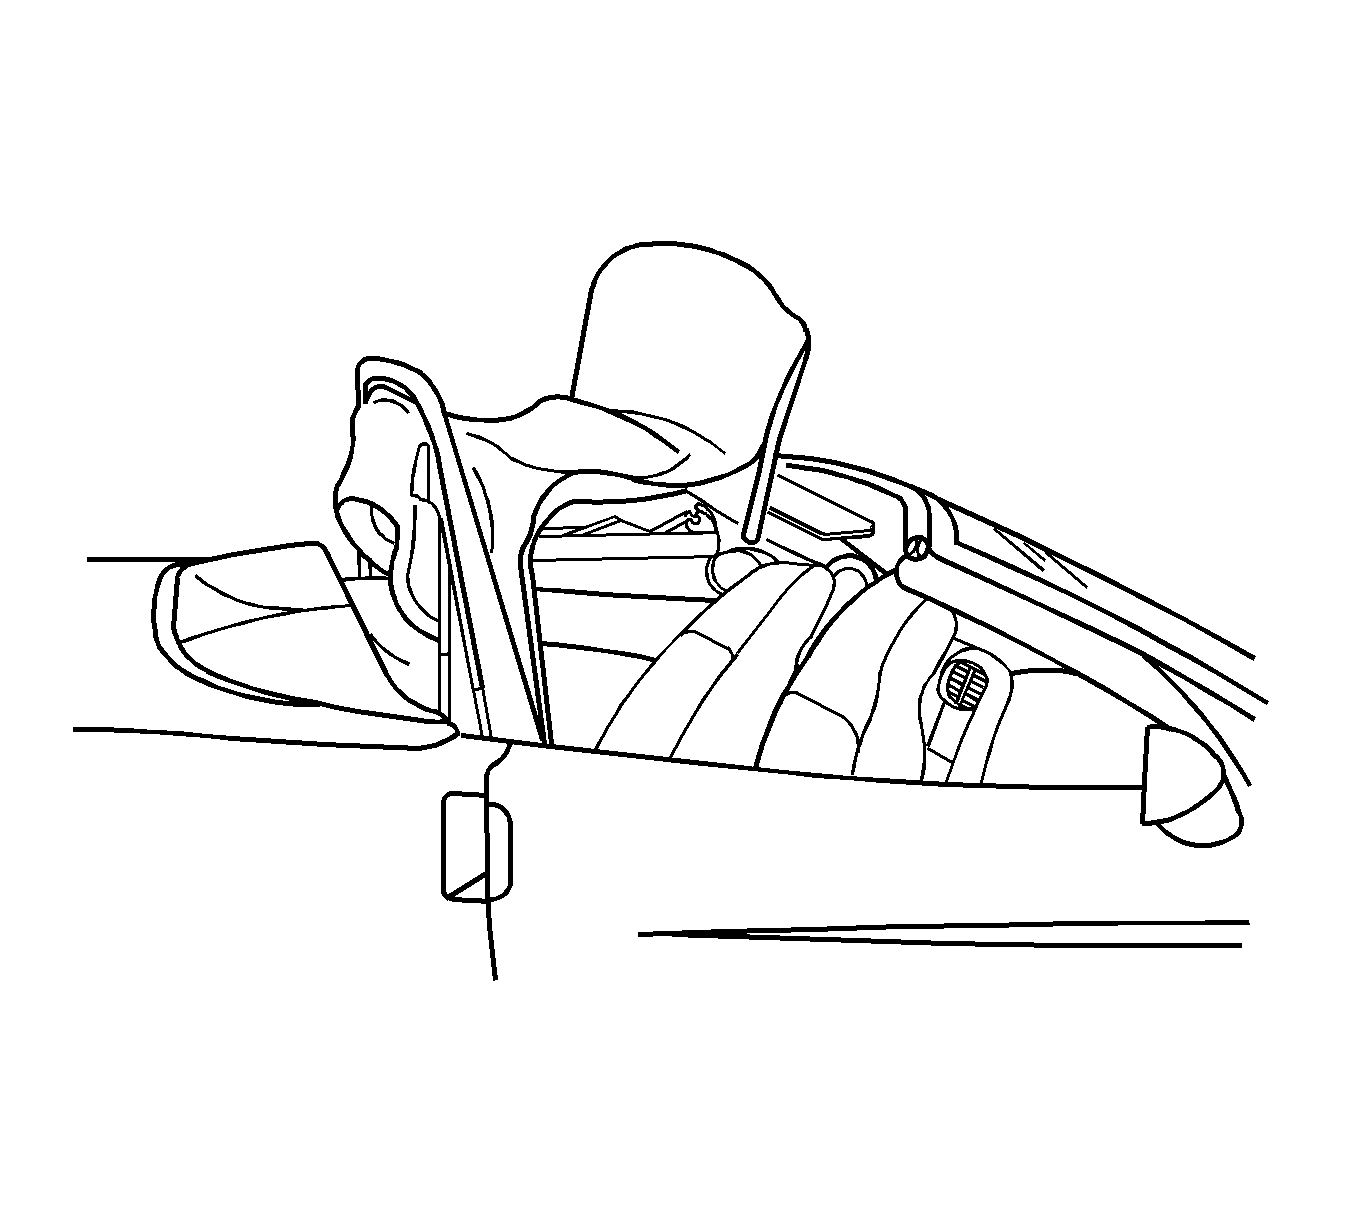
- Position the top with the #1 bow and the #5 bow up and secure top with the strap.
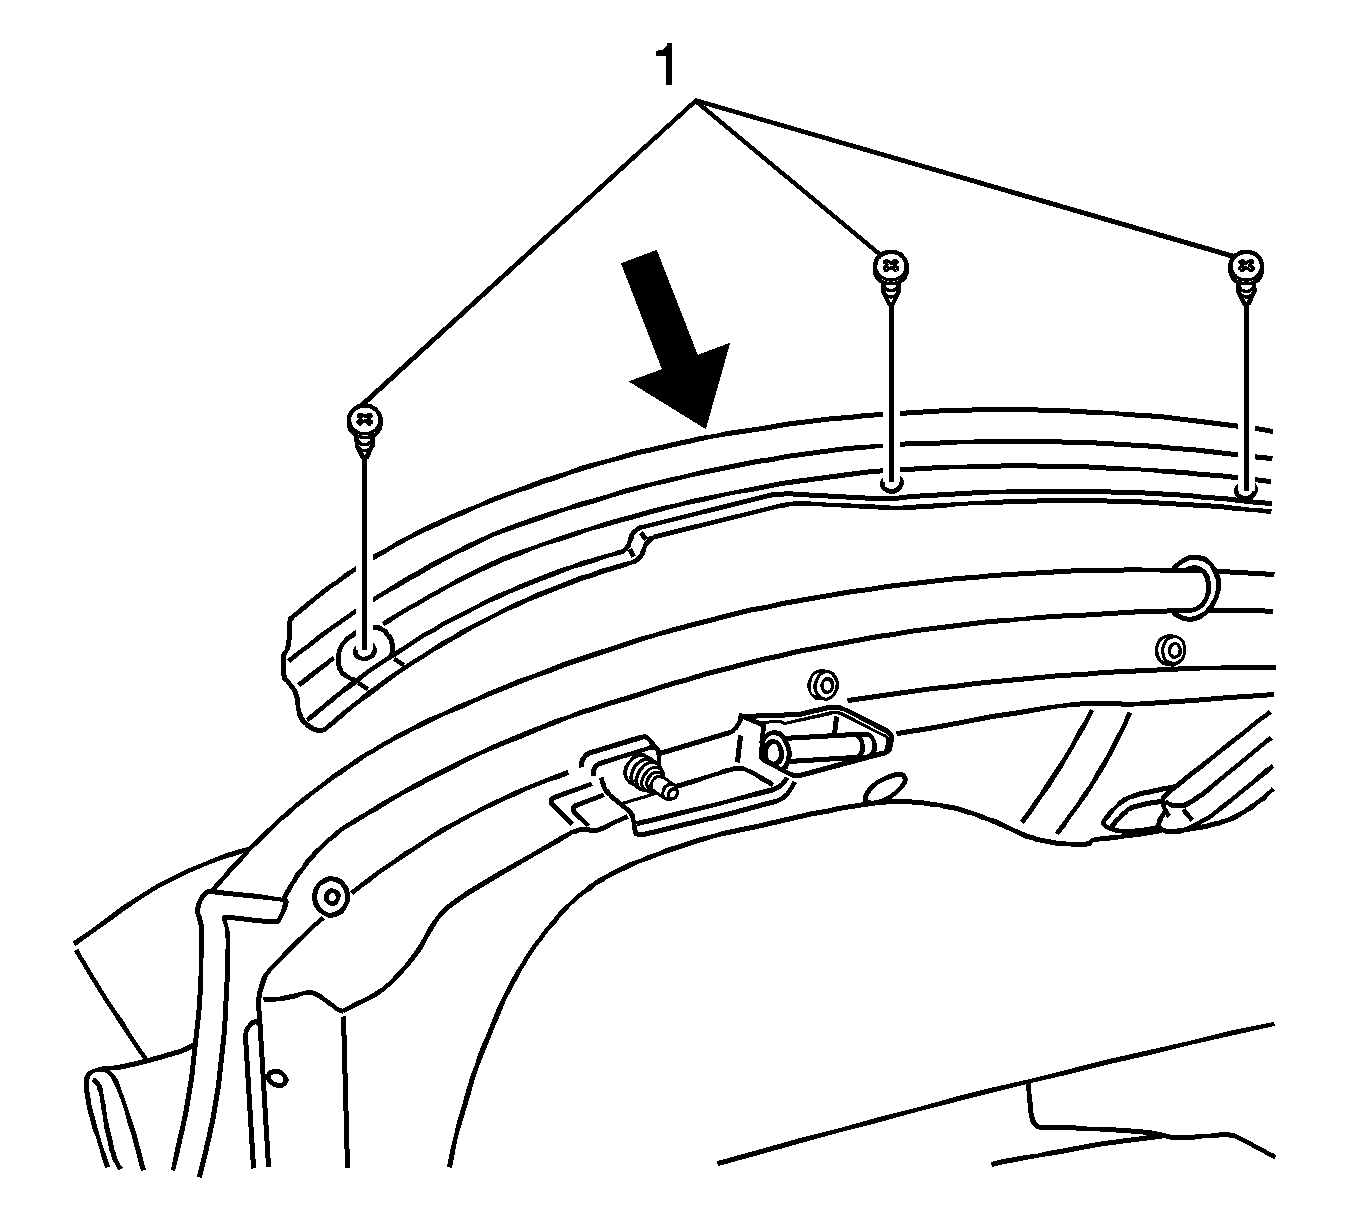
- Remove the five folding top compression seal panel screws (1).
- Remove the front weatherstrips and retainers from the right and left sides.
- Remove the five folding top cover retaining screws from the #1 header bow and remove the retainer.
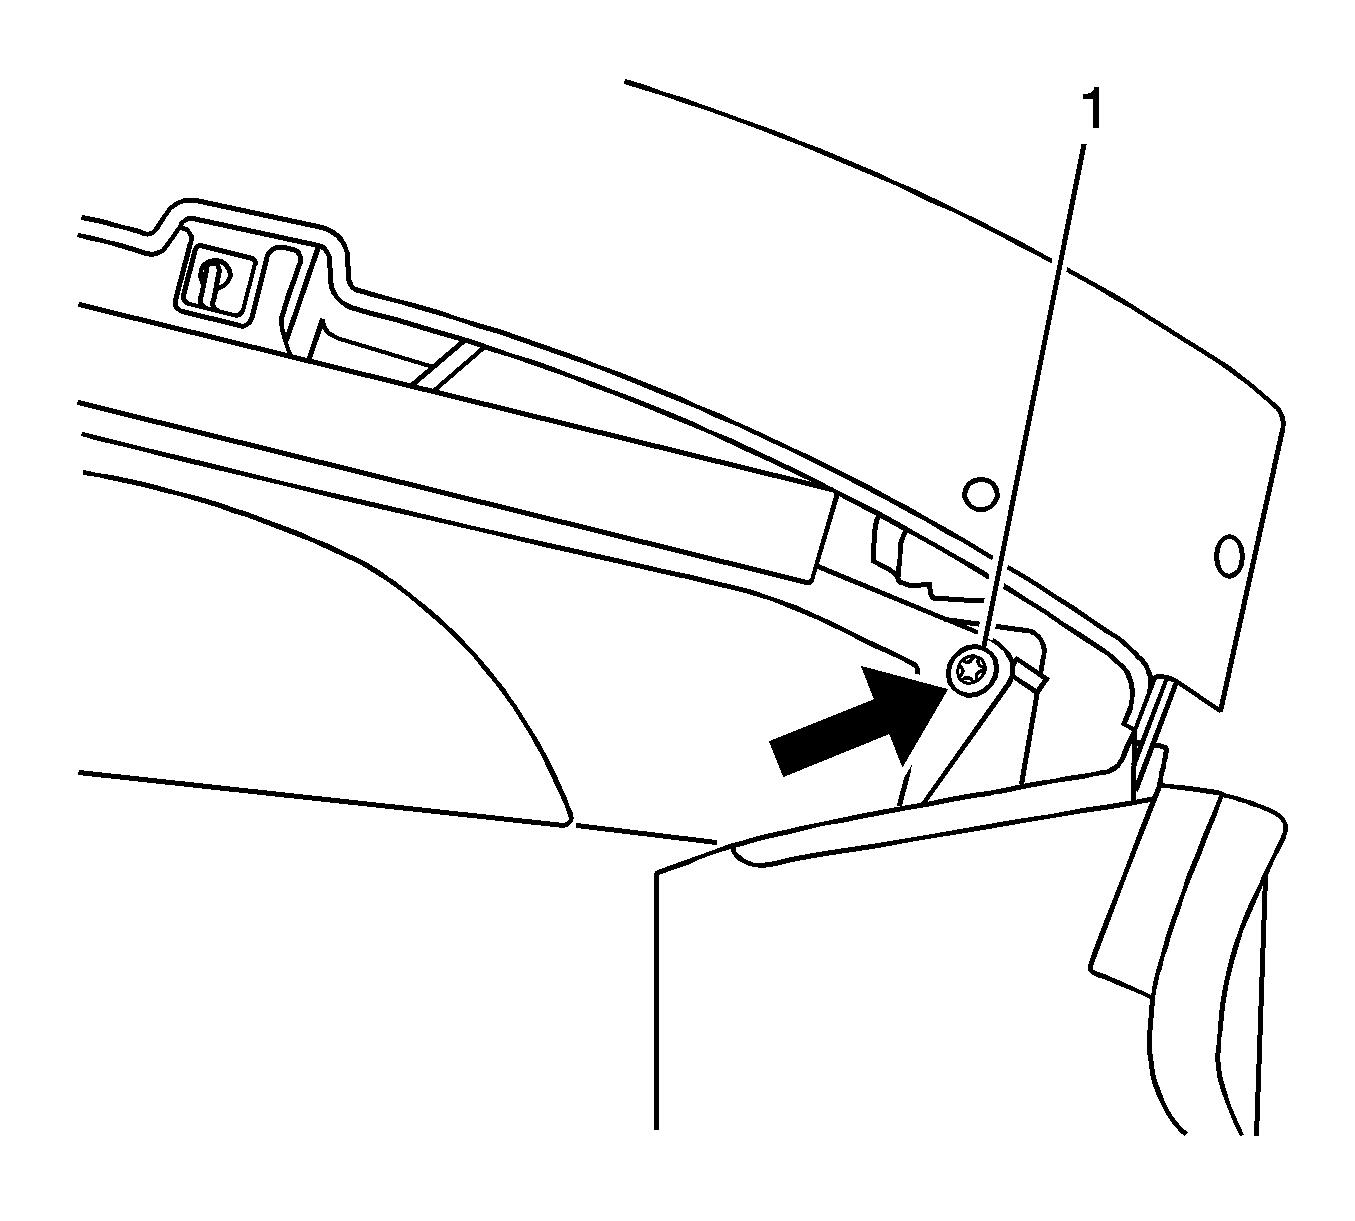
- Remove the screws in each front corner of the headliner (1) and pull back the front edge of the top cover from the #1 bow.
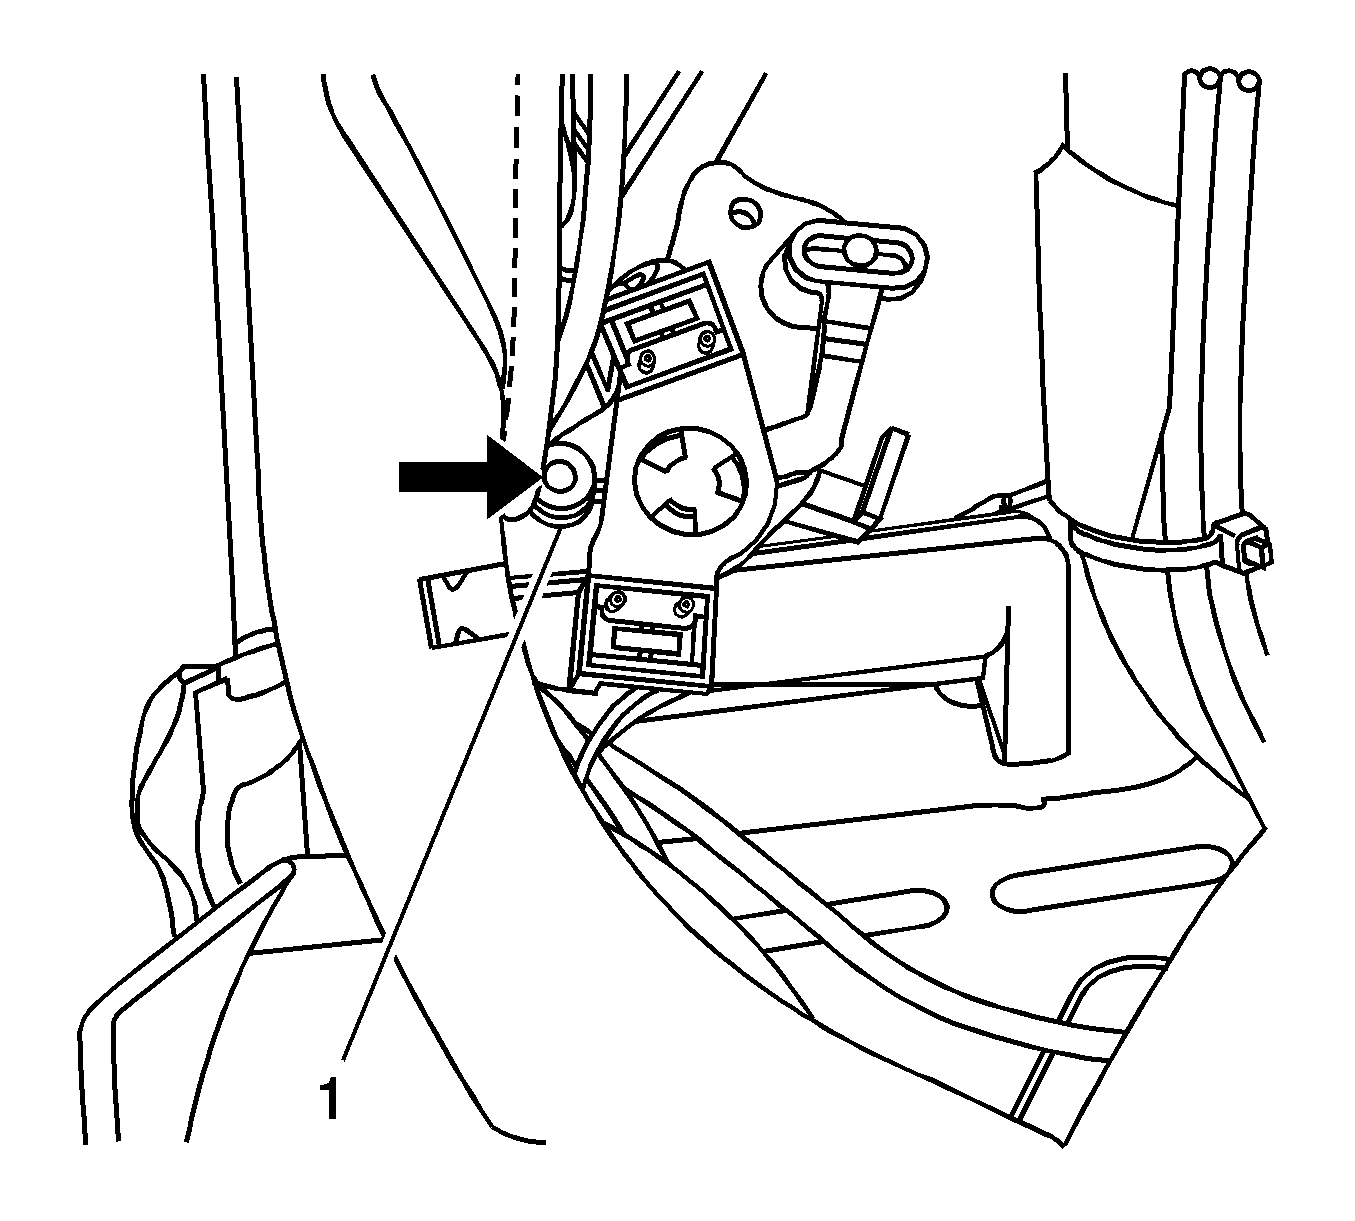
- If the vehicle has a power folding top, do the following: To gain access to the folding top switch, remove the interior trim at the top of the B pillar. Remove the screw (1) from the switch and set aside.
- Remove the screw (1) from the left and right sides of the string holding the anti-glare screen. Fold the anti-glare screen over the top of the number 5 bow.
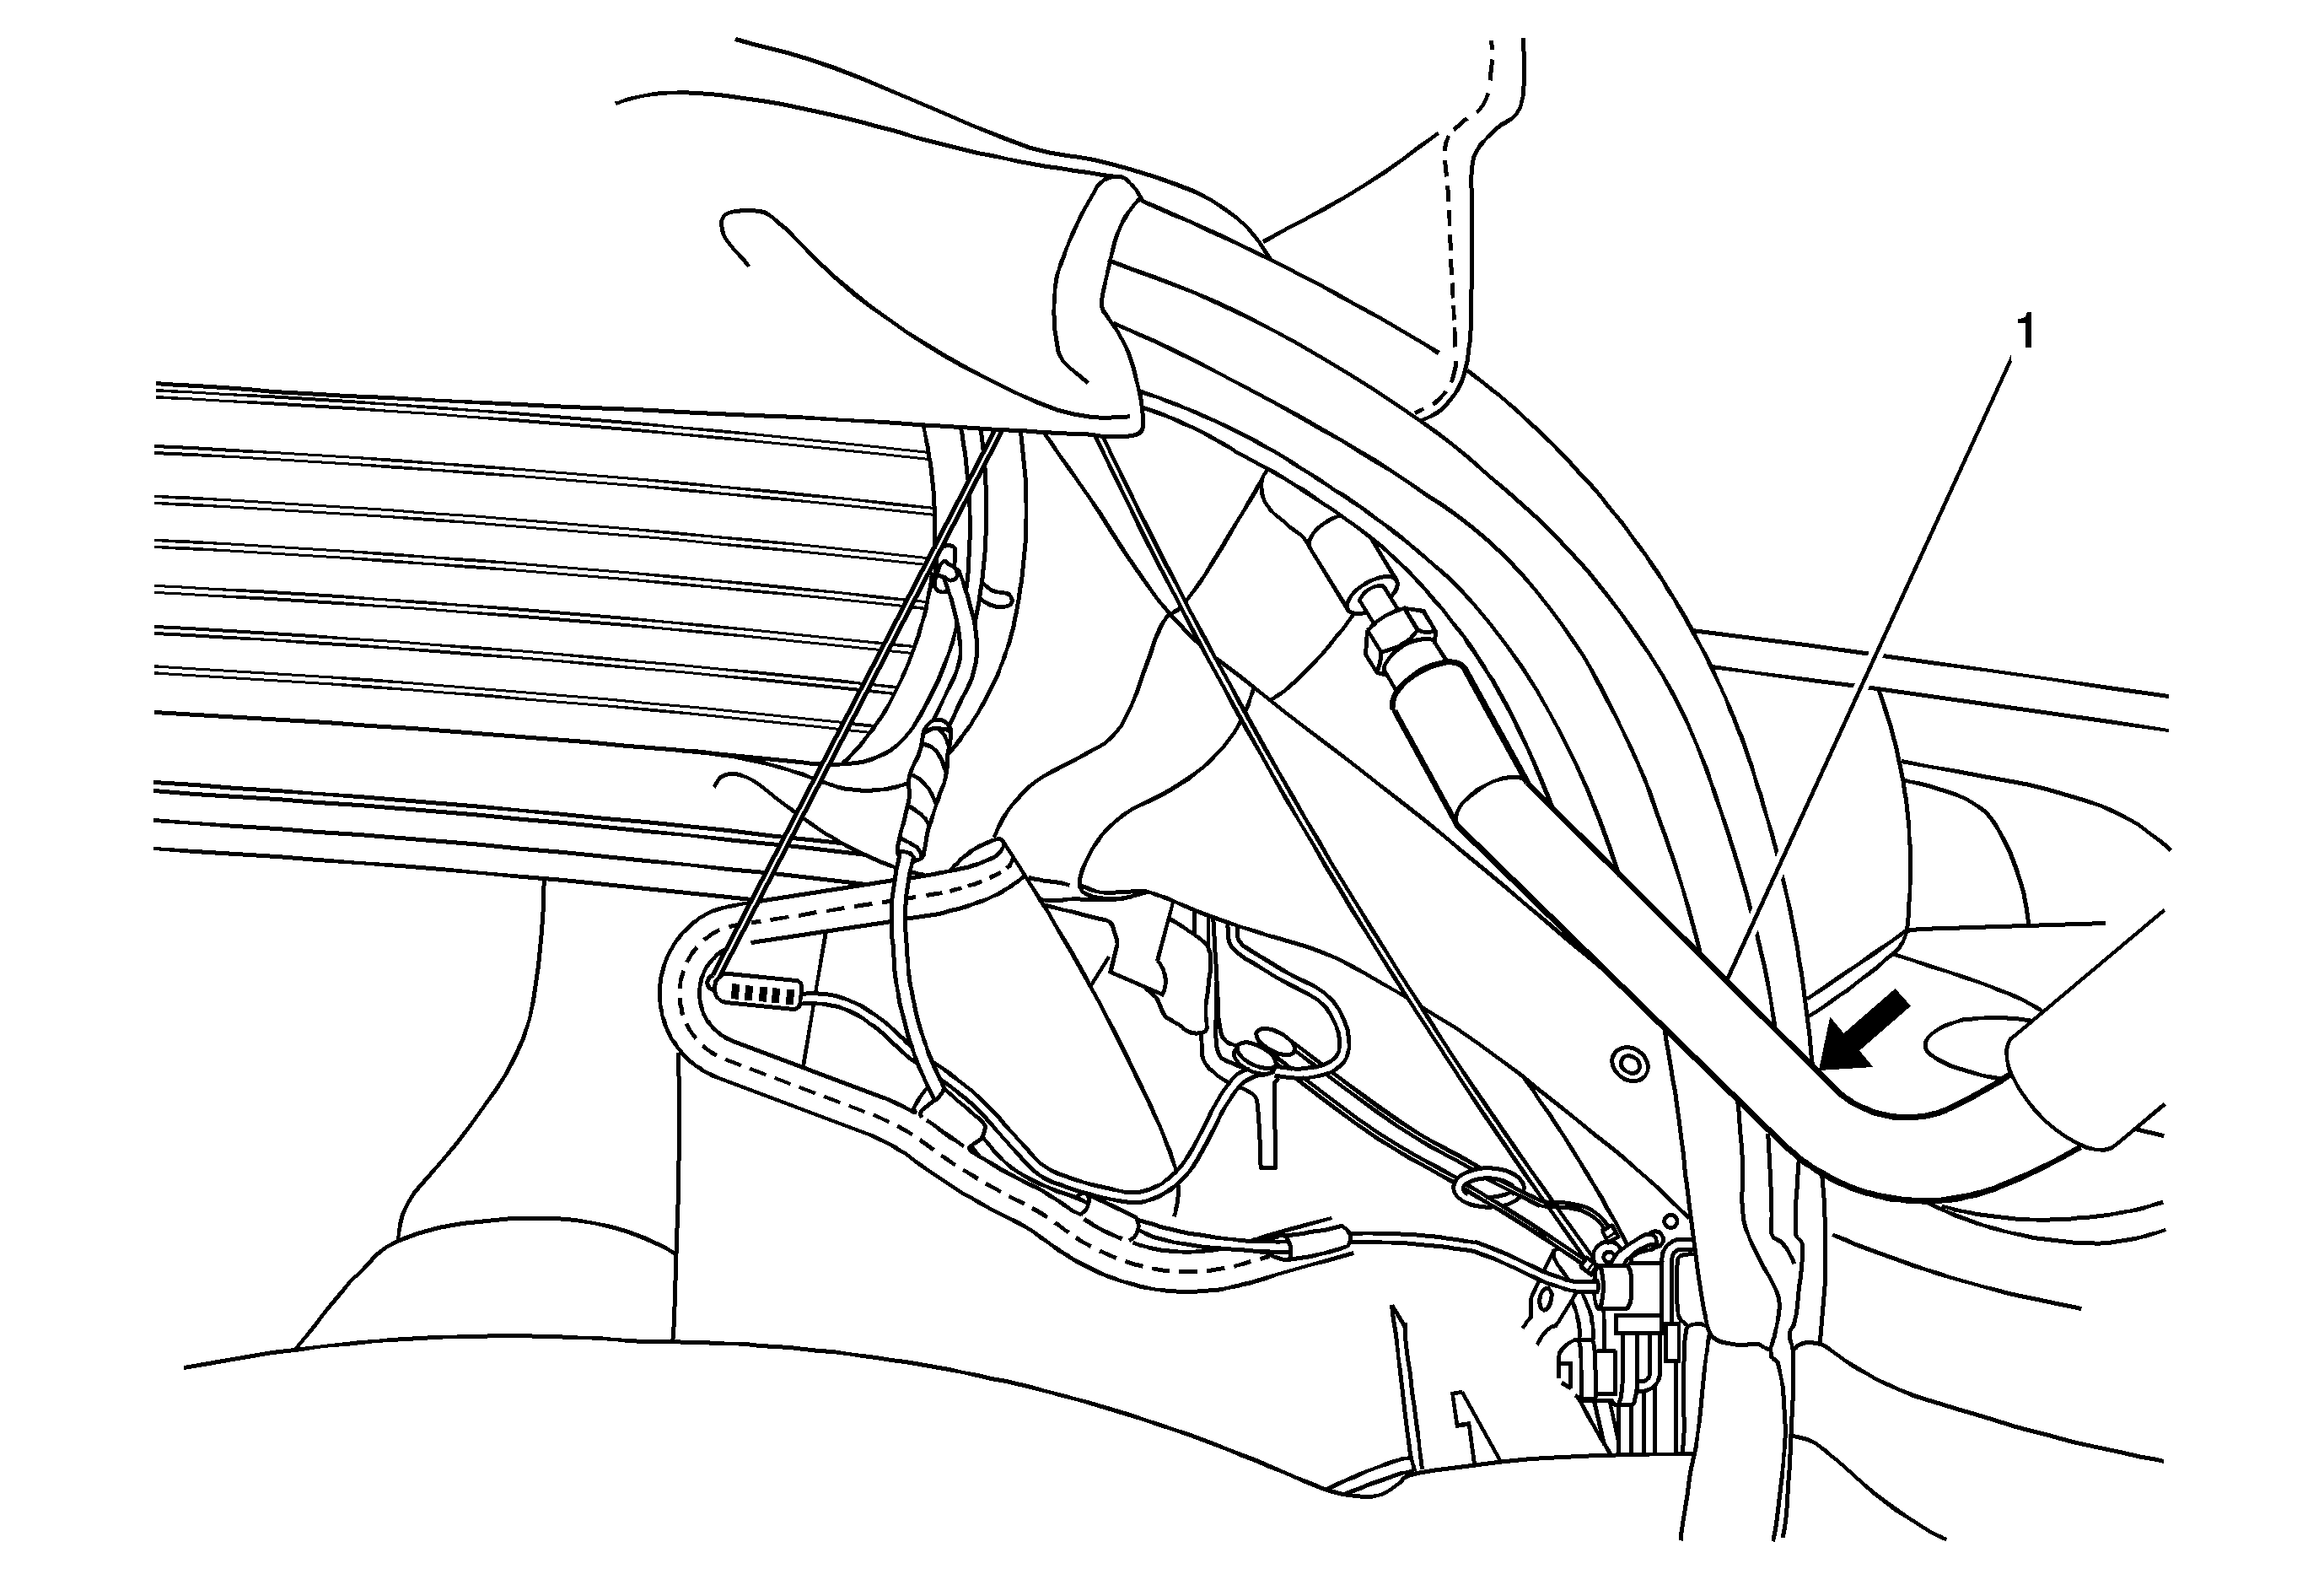
- Disconnect the folding top rear counterbalance arm spring clips and set the arm (1) aside.
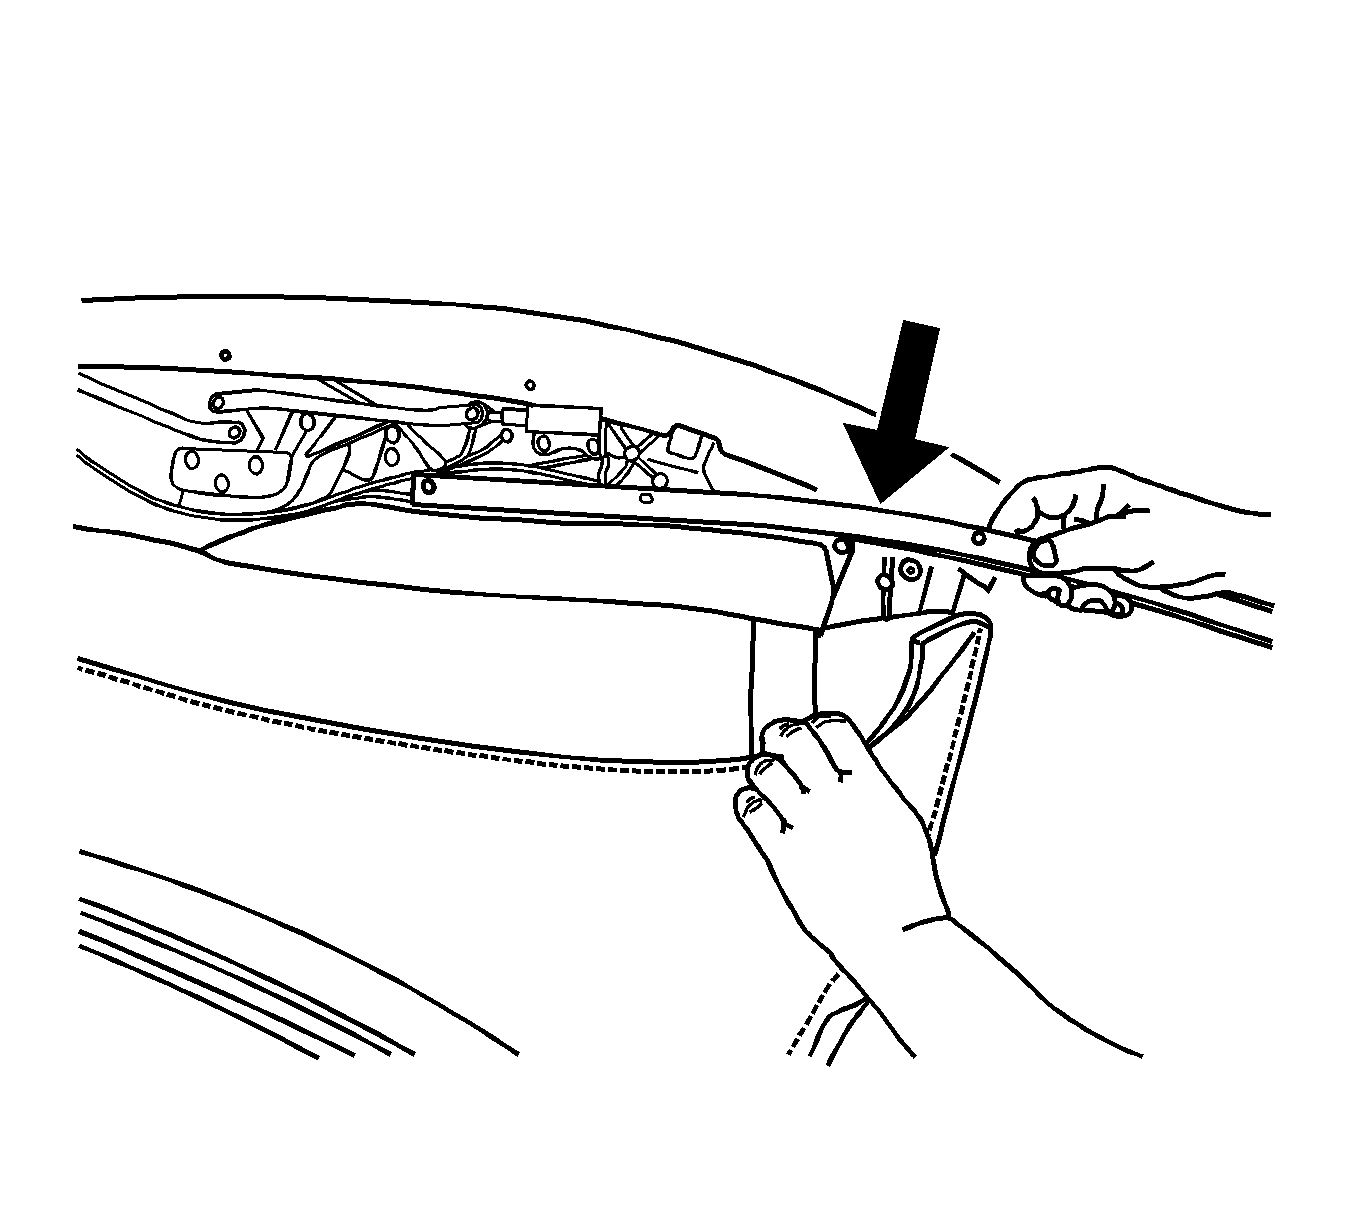
- Remove the three headliner retaining screws (1) and remove the retainer (2) from the right and left sides.
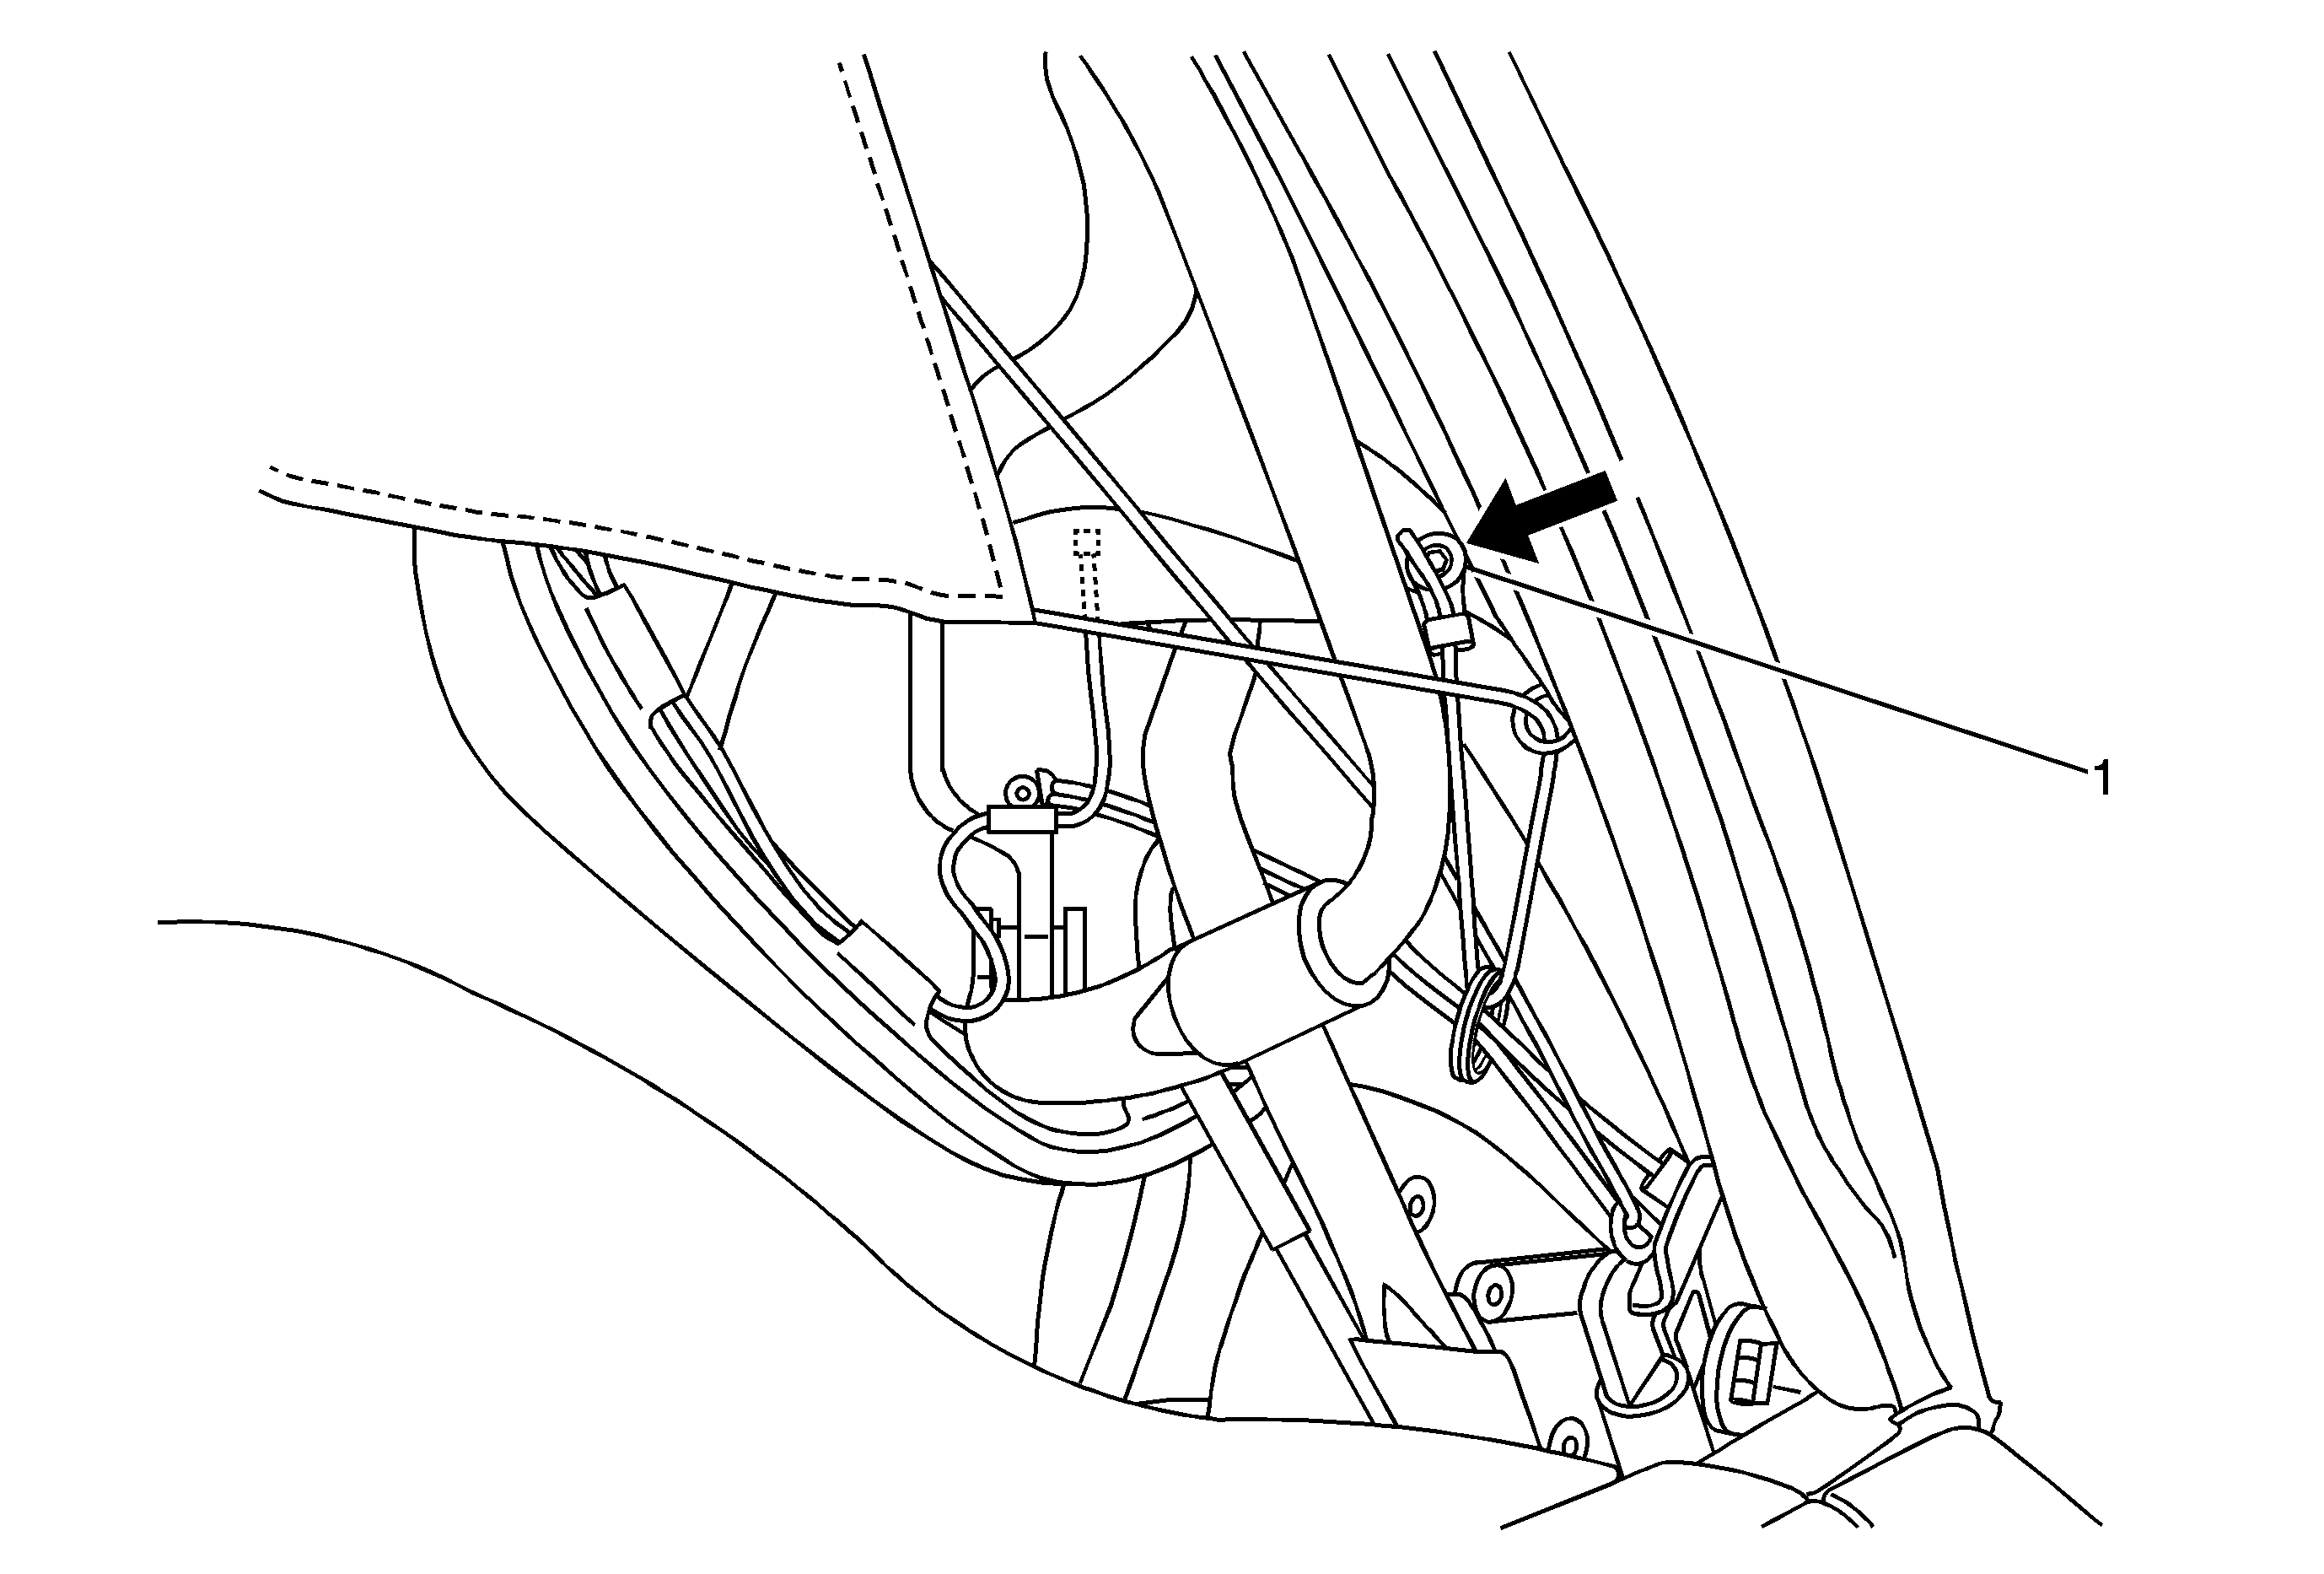
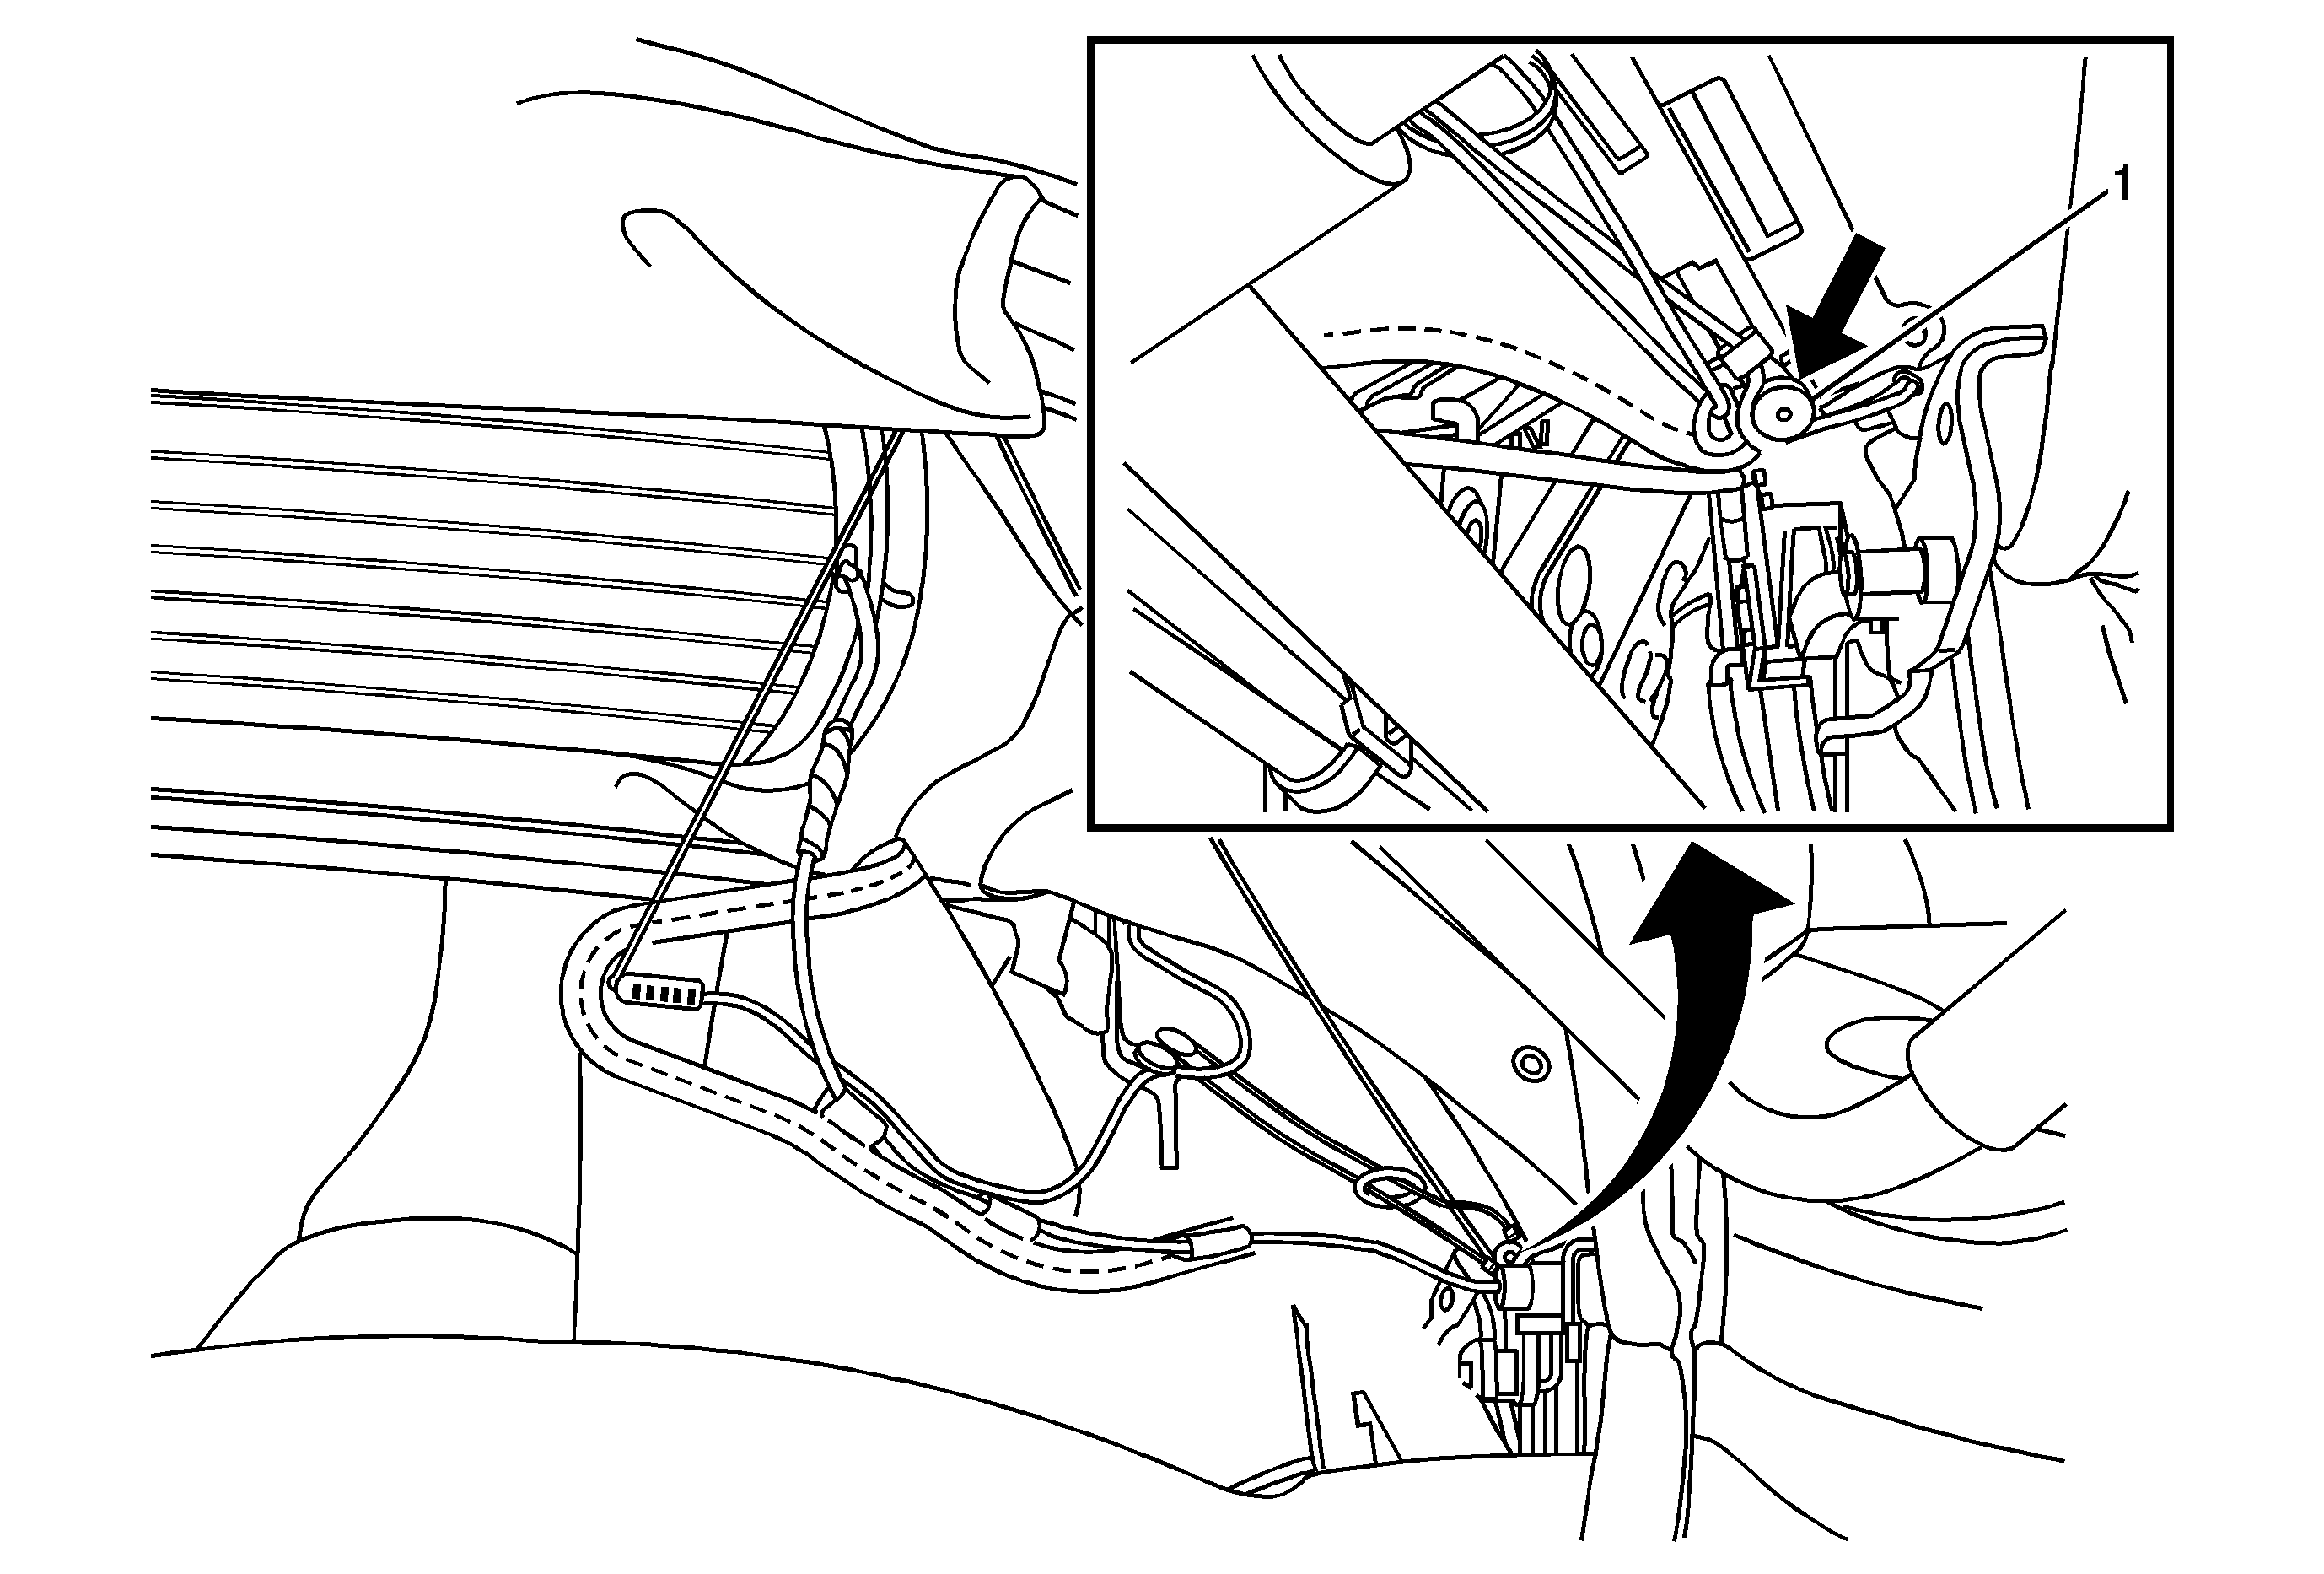
- Drill out the rivet (1) that holds the D-ring and metal P-clip from the right and left side.
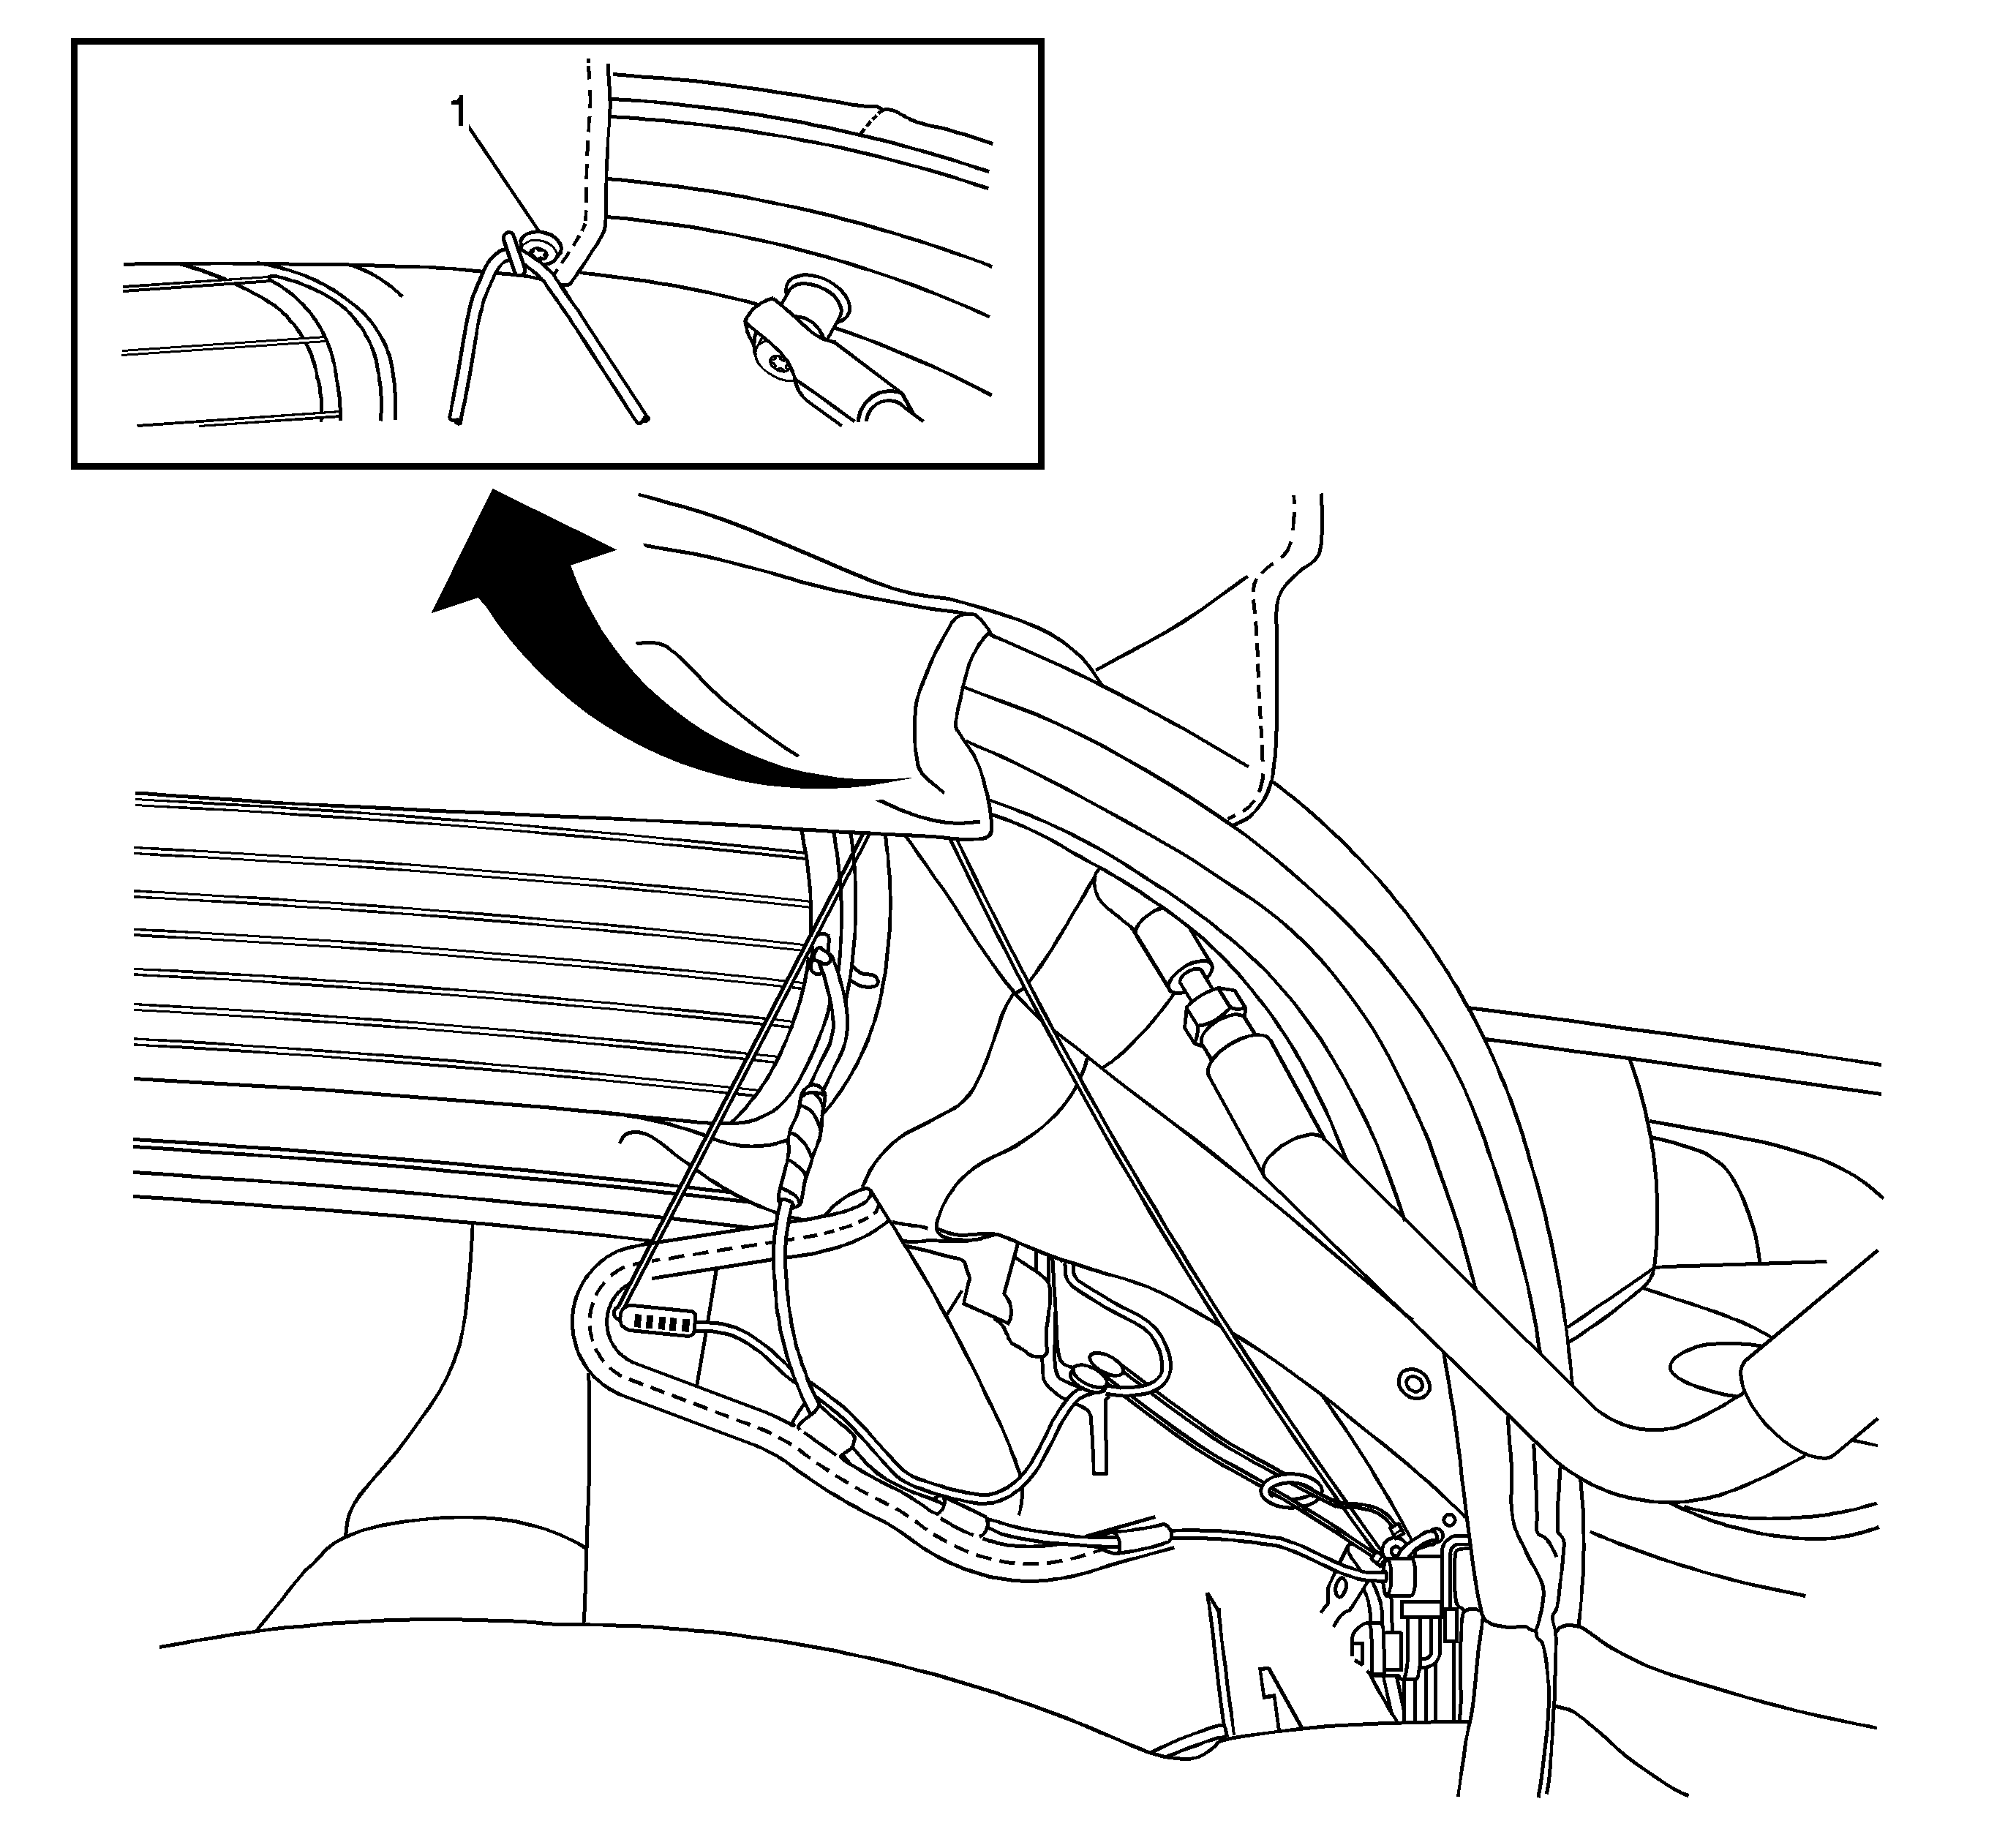
- Remove the screw (1) from the D-ring on the number 5 bow.
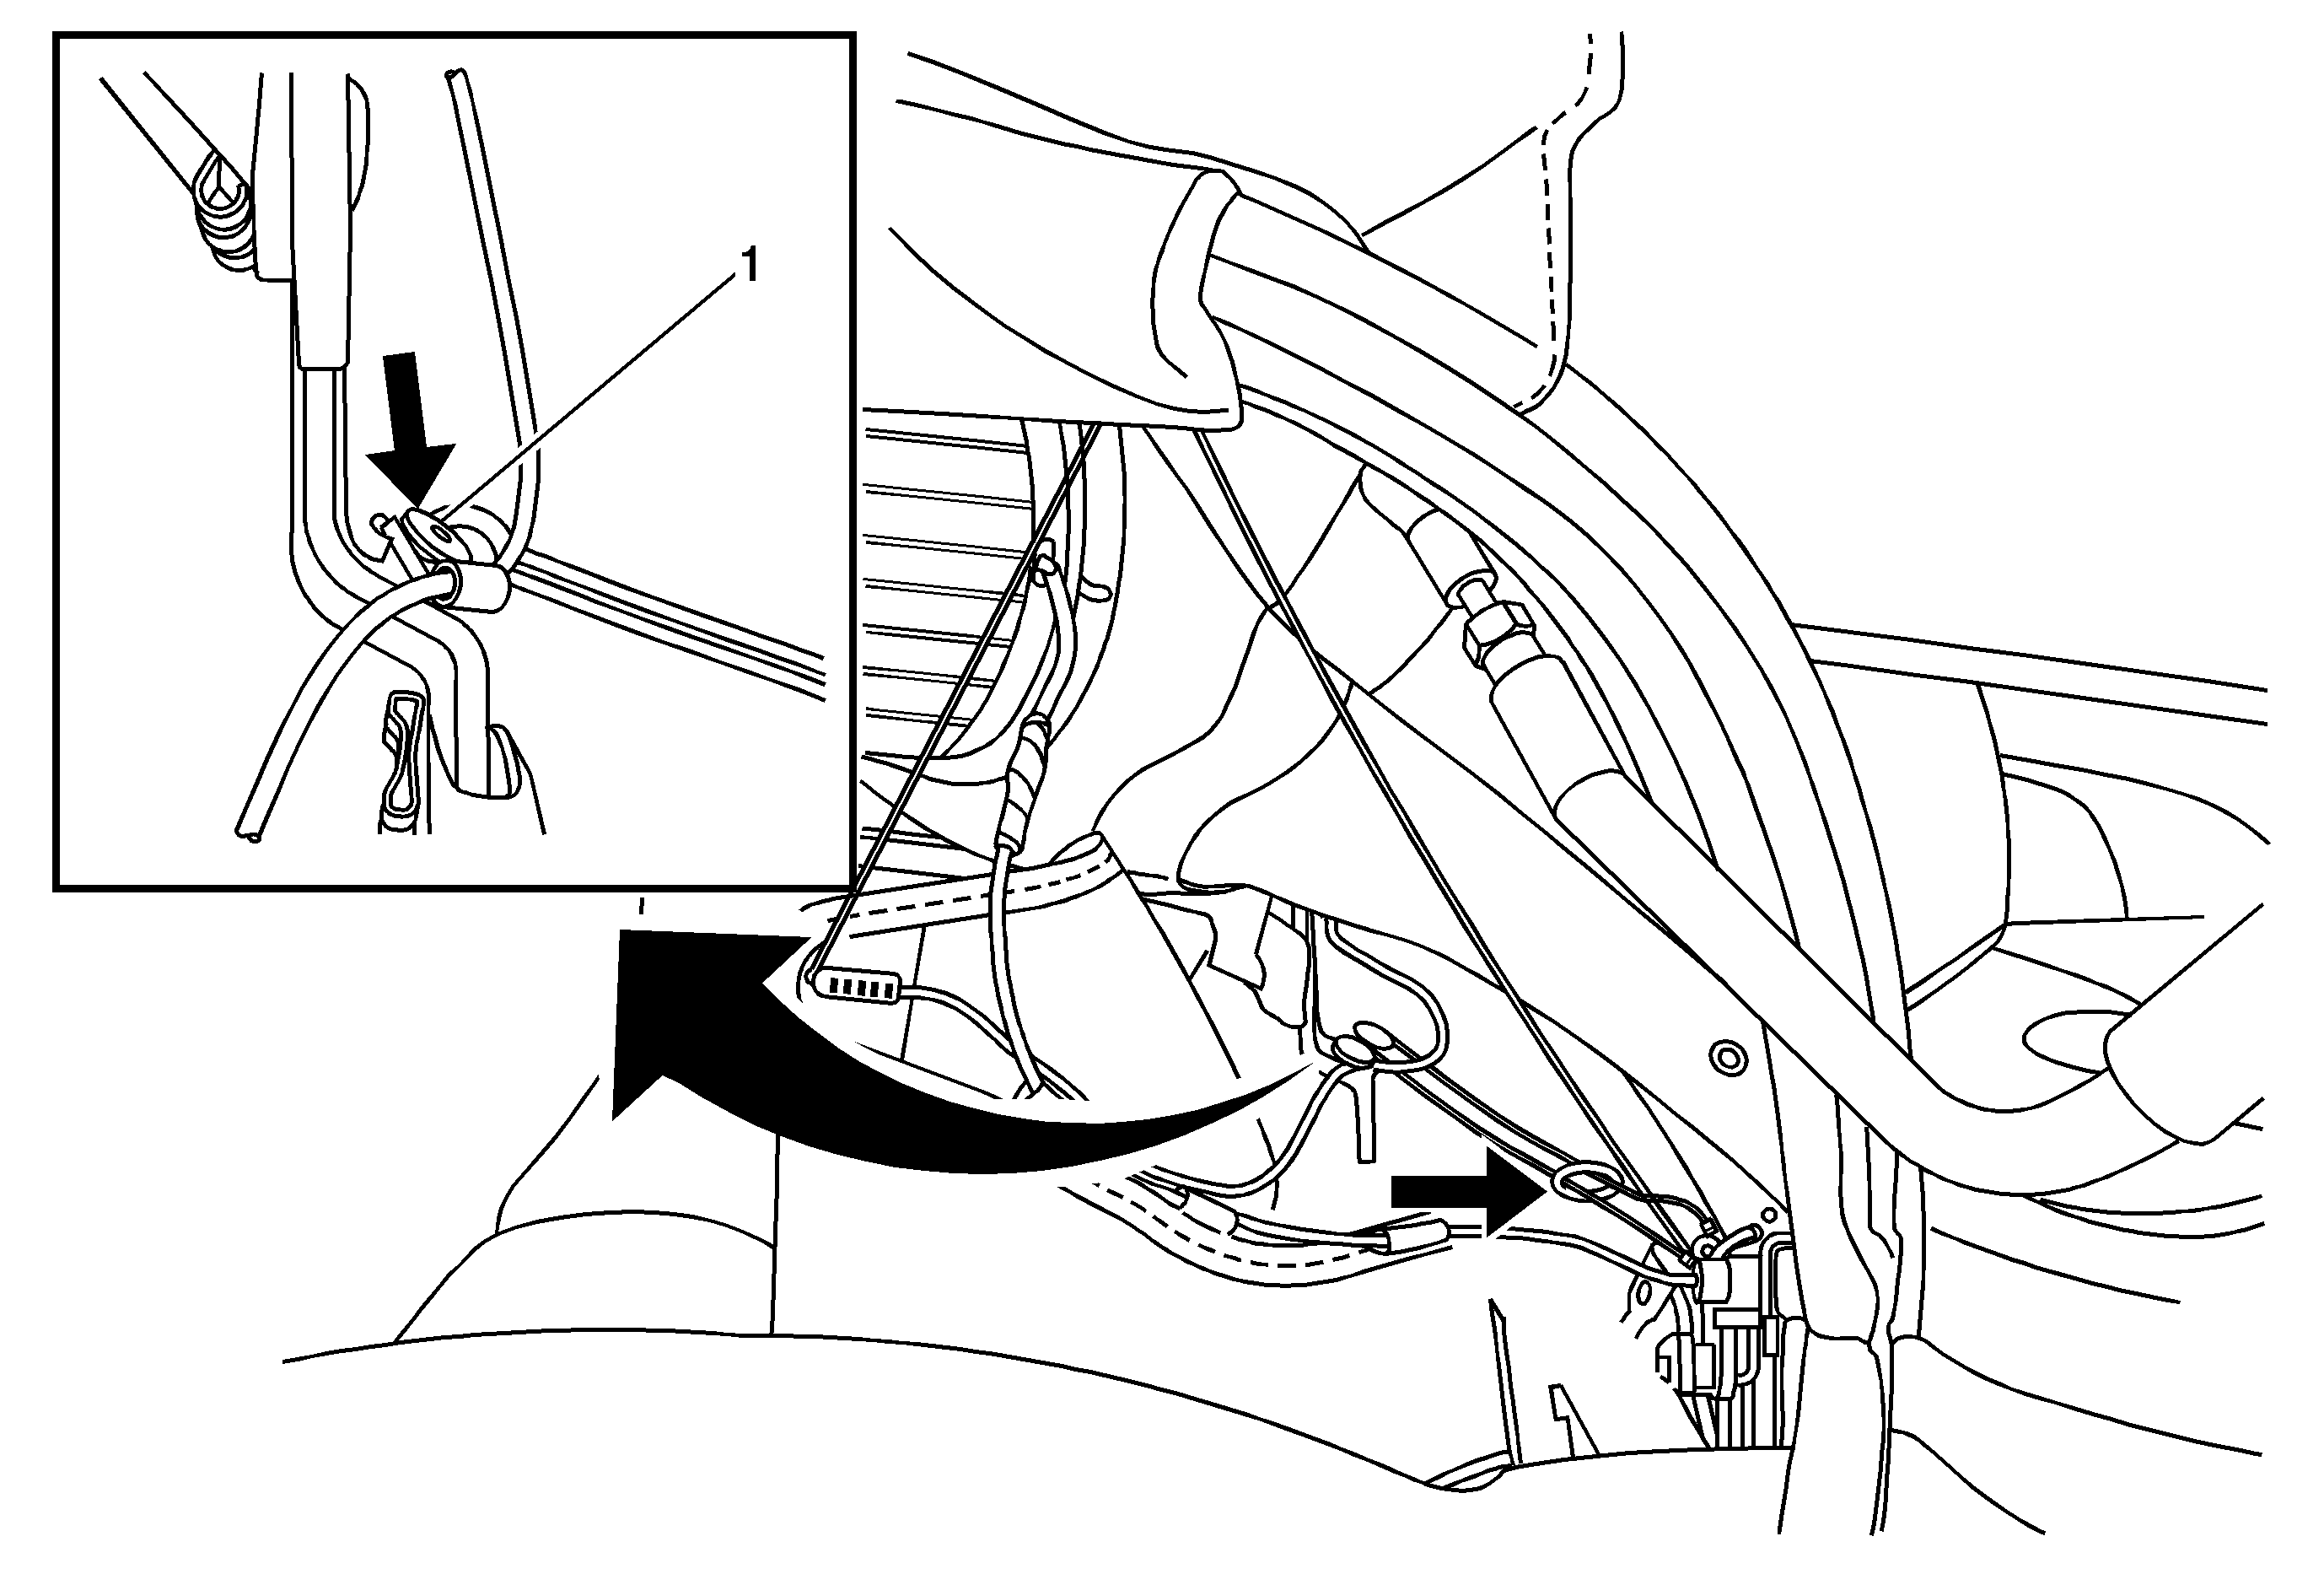
- Remove the screw (1) holding the D-ring and the string end from the lower corners.
- Remove the screw (1) from the end of the string under the convertible top.
- Disconnect the rear defroster wires.
- Remove the headliner by sliding it through the #2, #3 and #4 roof bows. Slide the material simultaneous
- To install the headliner slide the material into the #2, #3, and #4 bows. Slide the material simultaneously within the bows to avoid binding.
- Install the headliner material into the headliner retainer brackets (2).
- Position the bracket (2) and the headliner to the rear side rail.
- Install the screws (1) to secure the bracket and headliner to the rear side rail.
- Install the screw (1) that attaches the end of the string from the headliner to the convertible top linkage. Note that this is the string with only a retainer at the end.
- Coming from the headliner, attach the first D-ring (1) to the #5 bow.
- Attach the second D-ring and the end of the string (1) to the convertible top linkage.
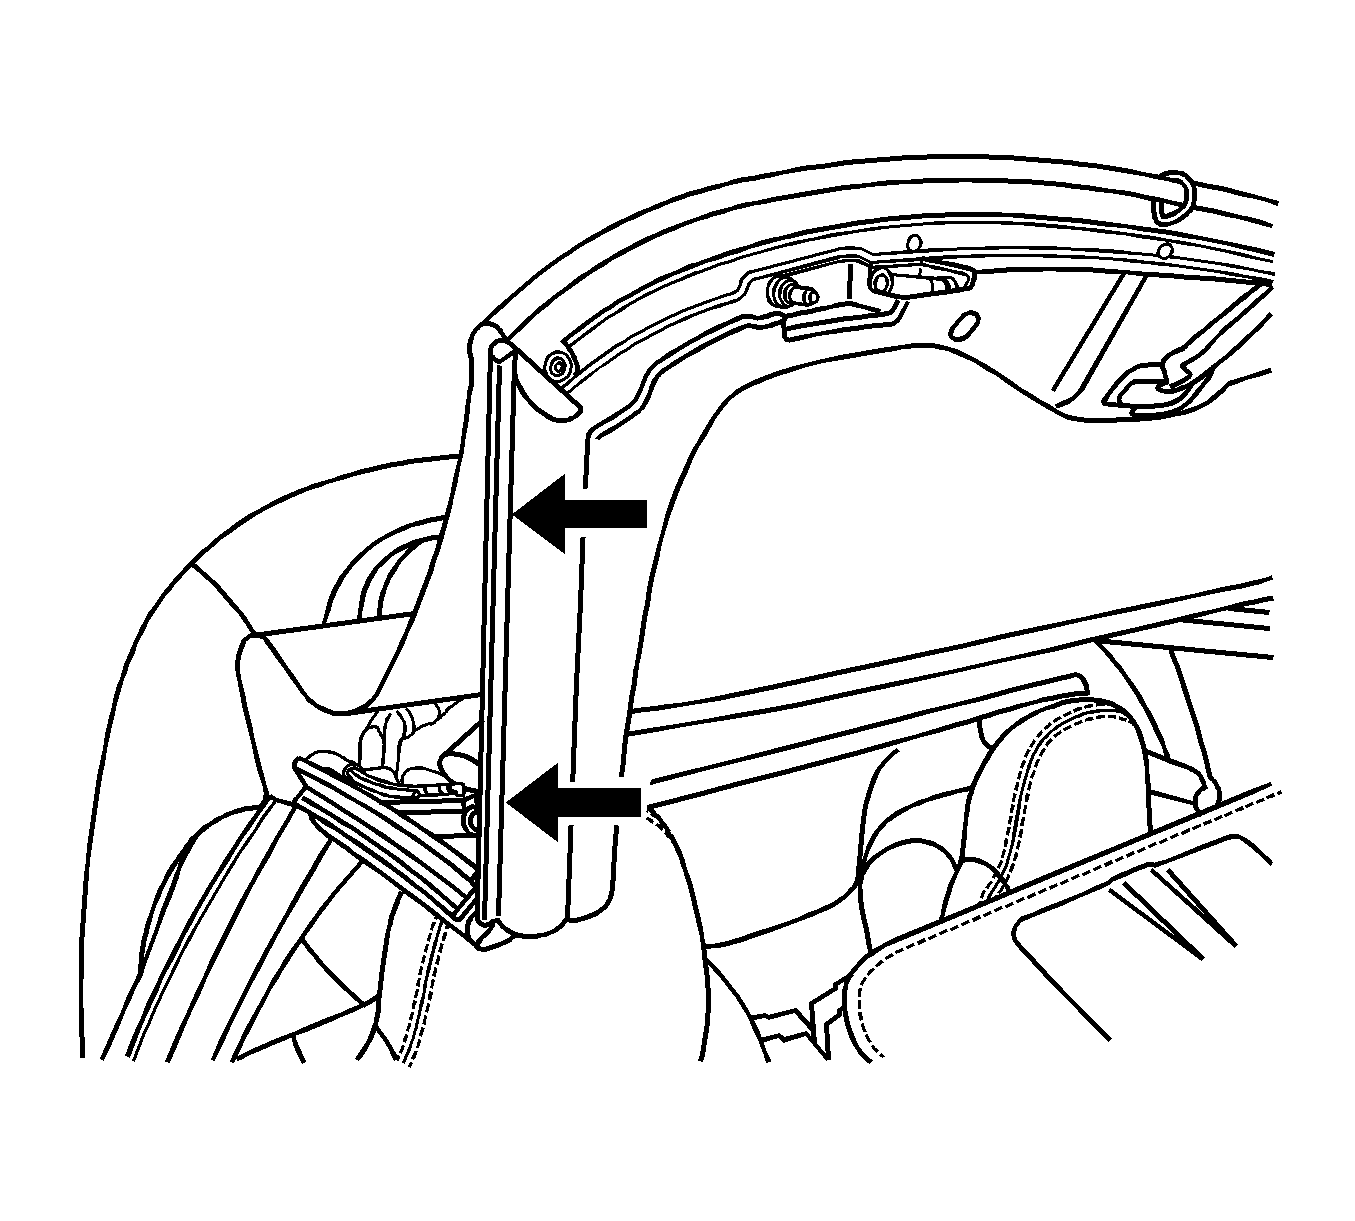
- Grab the third D-ring and slide the metal ring over the string (refer to the LOWER arrow in the illustration above).
- Attach the third D-ring and the P-clip to the convertible top linkage using a rivet (1).
- Install the folding top rear counterbalance arms (1) and spring clips.
- Put the string end from the anti-glare cover through the metal ring and attach the end (1).
- Install the folding top position switch and screw (1) if equipped and the interior trim to the top of the "B pillar.
- Install the headliner retainer and five screws to the #1 bow.
- Install the screw (1) in each corner of the headliner.
- Fold the top cover over the #1 bow and install the top cover compression seal panel retainer and screws (1).
- Install the front retainer and weatherstrip on both sides.
- Manually place top in closed position. Observe headliner as top header approaches header. If headliner strings are binding or stretching, stop. Check string for proper routing.
Important: Protect the rear compartment from drill shavings in the next step.

Tighten
Tighten to 2 N·m (18 lb in).

Tighten
Tighten to 2 N·m (18 lb in).

Tighten
Tighten to 2 N·m (18 lb in).

Tighten
Tighten to 2 N·m (18 lb in).


Important: Note orientation of the P-clip and D-ring. They must be in this position.
Important: If the P-clip is not on the new headliner string, carefully remove it from the old headliner string and install it on the new headliner string.


Tighten
Tighten to 2 N·m (18 lb in).

Tighten
Tighten to 8N·m (70 lb in).

Tighten
Tighten to 2 N·m (18 lb in).

Tighten
Tighten to 2 N·m (18 lb in).

Tighten
Tighten to 2 N·m (18 lb in).

Tighten
Tighten to 3 N·m (29 lb in).
Parts Information
Part Number | Description |
|---|---|
19181260 | Push Nut (4 per vehicle) |
19181261 | Aluminum Pin (2 per vehicle) |
19181262 | Aluminum Pin (2 per vehicle) |
Warranty Information
For vehicles repaired under warranty, use:
Labor Operation | Description | Labor Time |
|---|---|---|
B3580 | Headliner Assembly, Folding Top - Replace | Use Published Labor Operation Time |
