Caution: If the HUD image is too bright, or too high in your field
of view, it may take you more time to see things you need to see when it is dark
outside. Be sure to keep the HUD image dim and placed low in your field
of view.
For vehicles with the Head-Up Display (HUD), you can see some of the driver
information that appears on the instrument panel cluster.
The information may be displayed in English or metric units and appears as an
image focused out toward the front of the vehicle. The HUD consists of the following
information:
| • | High-Beam Indicator Symbol |
| • | Manual Paddle Shift Gear Indicator (If Equipped) |
| | These displays
on the HUD are for use when using the manual paddle shift controls to shift the transmission.
See "Manual Paddle Shift" in
Automatic Transmission Operation. |
| | This light is used for performance driving to
indicate that the vehicle's best performance level has been reached to shift the transmission
into the next higher gear. An arrow pointing up will light up on the display just
prior to reaching the engine fuel cut-off mode. This cut-off is about 6,500 RPM for
the LS3 engine, 6,600 RPM for the LS9 & ZR1 engines and 7,000 RPM for the LS7
engine. |
| • | Engine Coolant Temperature Gage |
| • | Transmission Fluid Temperature Gage, (Automatic Transmission Vehicles
Only) |
| • | Engine Oil Temperature Gage |
| • | Engine Oil Pressure Gage |
| • | Boost Gage (If Equipped) |
| • | Audio Functions, Street Mode Only |
| • | Navigation, Only with Navigation Radio, Turn-by-Turn Guidance |
There are three HUD modes that can be viewed in the HUD display. Press the MODE
button to scroll through these modes in the following order:
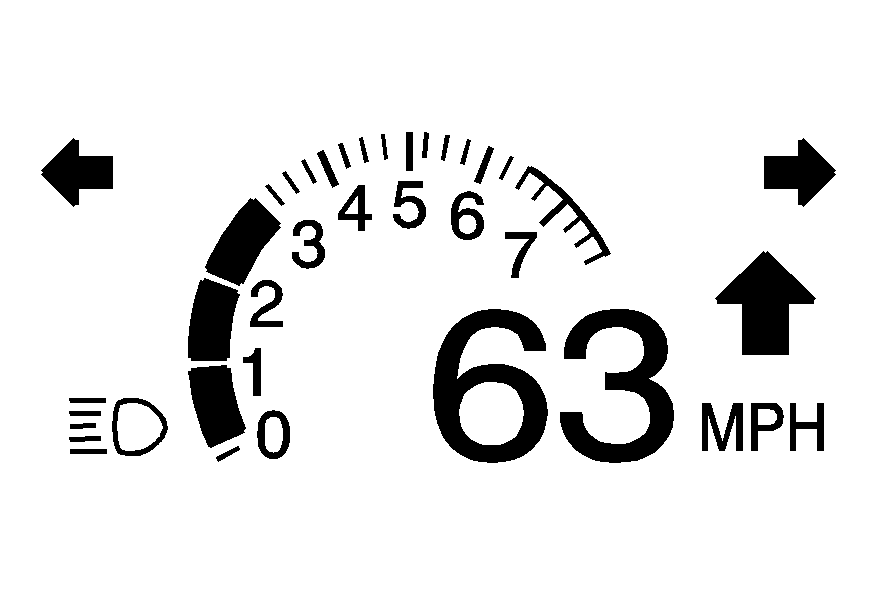
Street Mode supports audio and navigation functions with your choice of tachometer
settings.
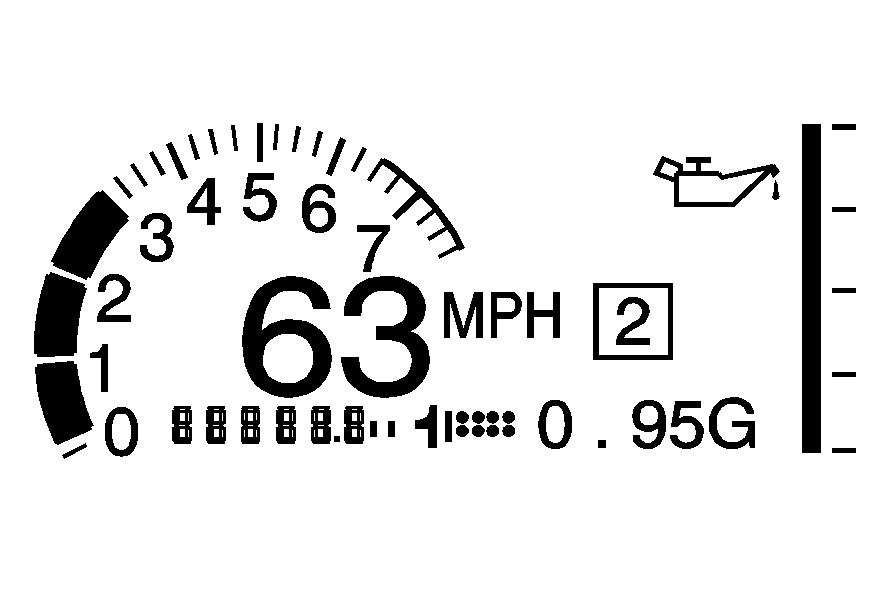
Track Mode 1 supports the G-Force gage and minor gages with a circular tachometer.
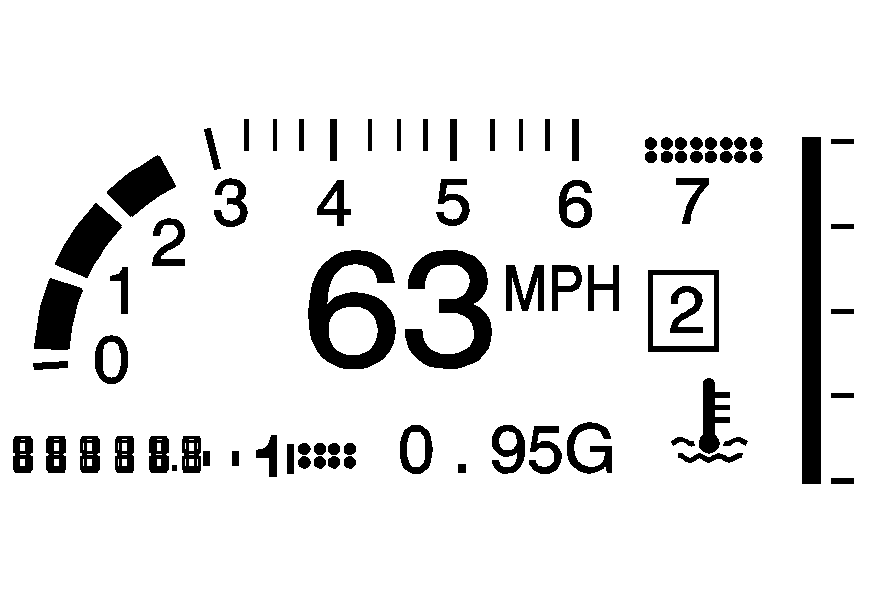
Track Mode 2 supports G-Force gages, boost gage w/ZR1, and minor
gages with a linear tachometer.
When the desired HUD display has been selected, release the MODE button.
Within each mode, the display, can be further customized by pressing the PAGE
button. Pressing this button in each mode will turn off and on the following:
| • | Street Mode -- No tachometer, circular tachometer, and linear tachometer. |
| • | Track Modes 1 and 2 -- No minor gage, coolant temperature, transmission
oil temperature, engine oil temperature, engine oil pressure, and boost gage. |
| | While in Track Mode 1 or 2, the maximum G value achieved during the current
ignition cycle can be displayed by pressing and holding the PAGE button. The maximum
G display will be shown until the PAGE button is released. The maximum G value display
will be identical to the normal G value display, except the maximum G gage digits
(X.XX G) and corresponding G gage bar will overwrite the current G value. |
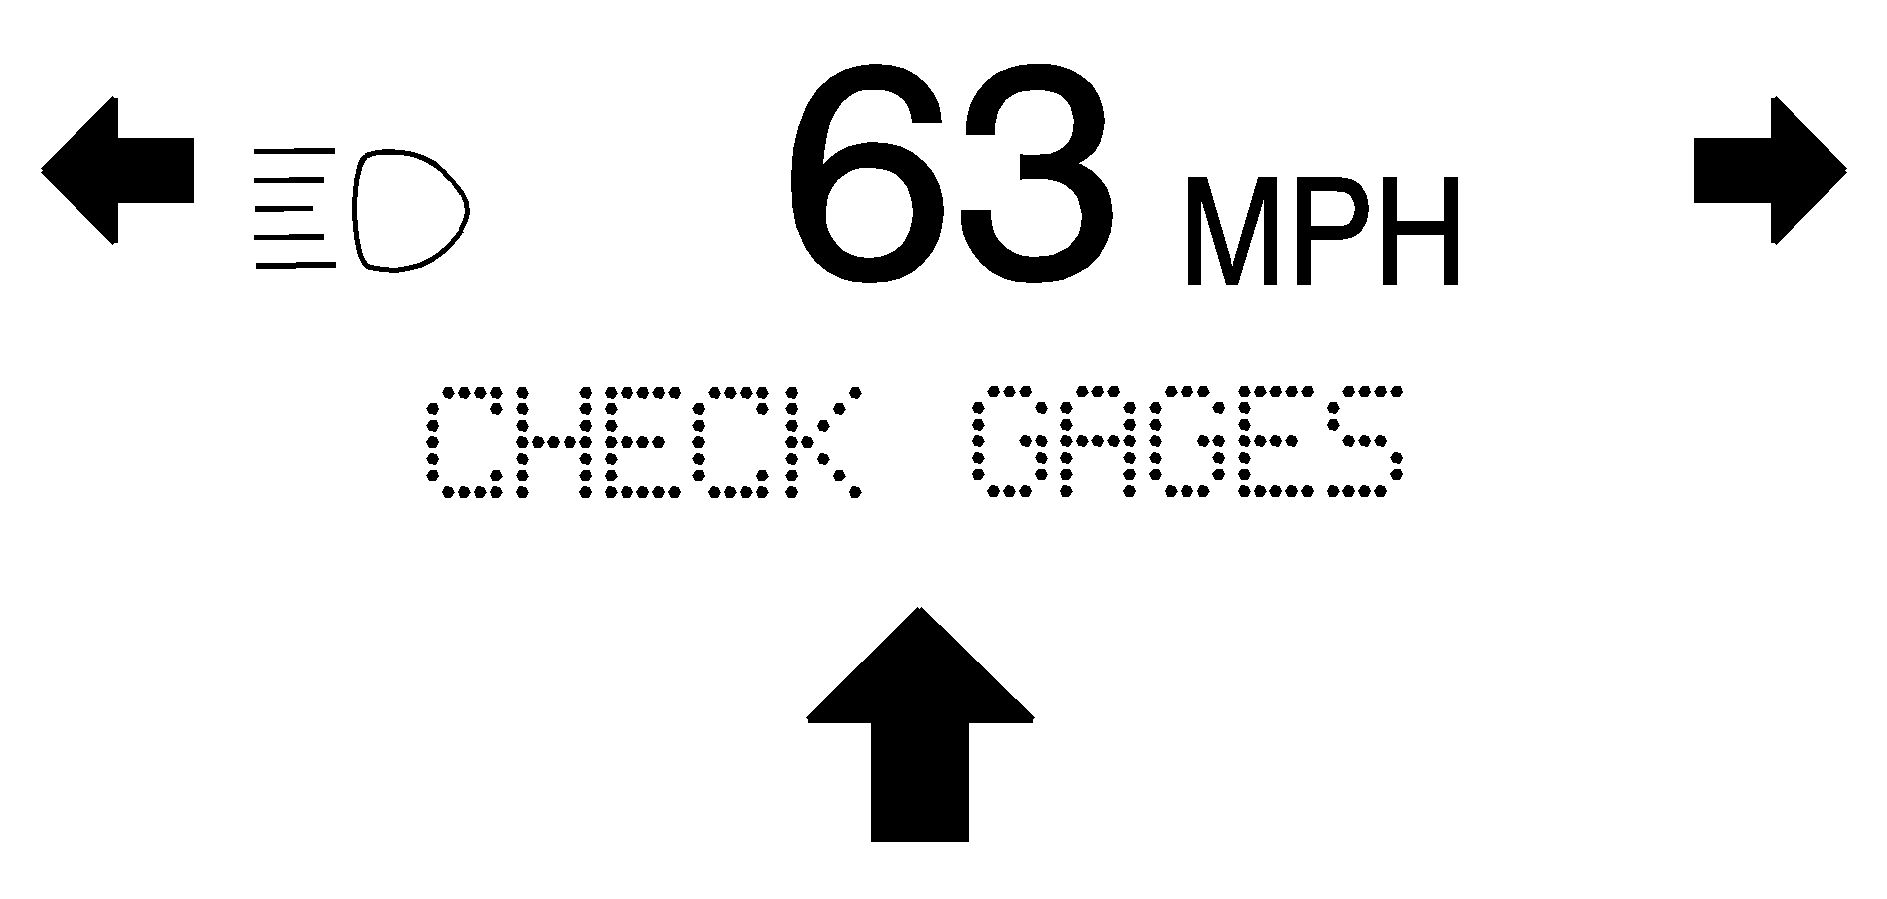
Be sure to continue scanning the displays, controls and driving environment
just as you would in a vehicle without HUD. If you never look at the instrument panel
cluster, you may miss something important, such as a warning light. Under important
warning conditions, the CHECK GAGES warning will illuminate in the HUD. View your
Driver Information Center (DIC) for more information.
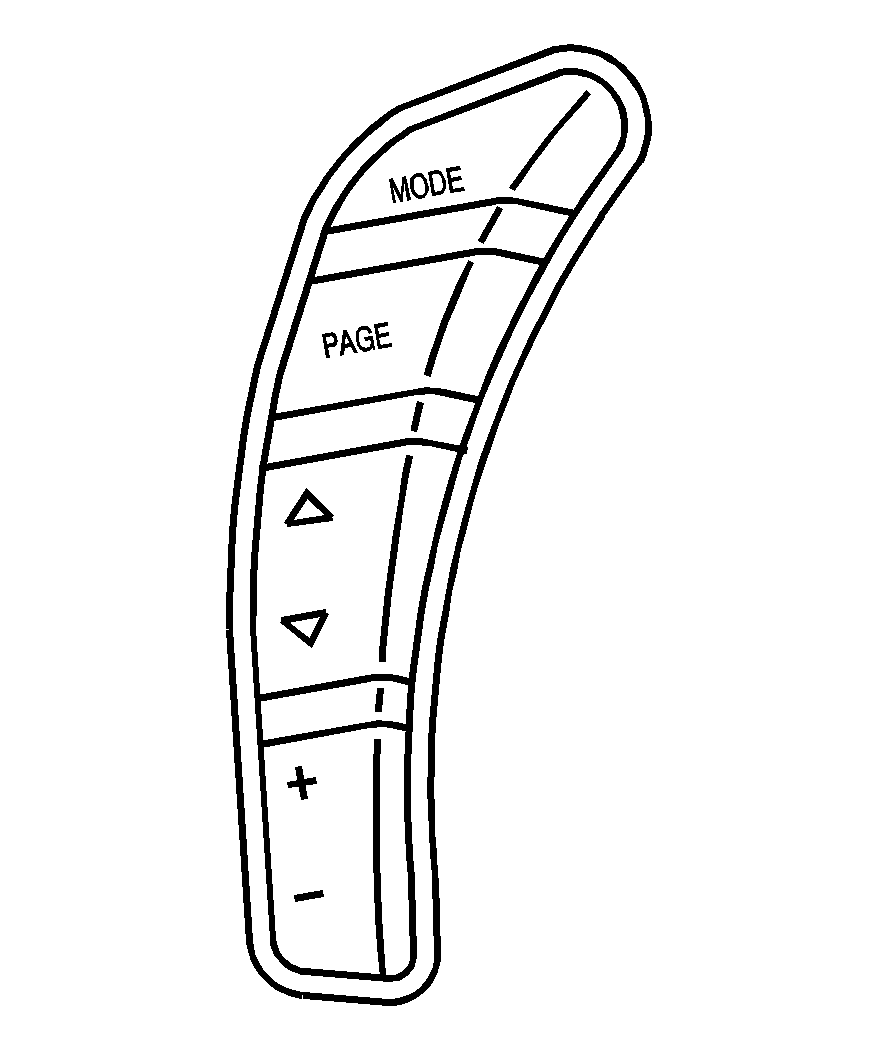
The HUD controls are located to the left of the steering wheel.
To adjust the HUD so it can be seen properly, do the following:
- Start the engine and press the HUD dimmer control all the way up by pressing
the (+) button.
The brightness of the HUD image is determined by the light
conditions in the direction the vehicle is facing and where you have the HUD dimmer
control set. If you are facing a dark object or a heavily shaded area, the HUD may
anticipate that you are entering a dark area and may begin to dim.
It is possible for sunlight to enter the HUD making it difficult to see the
image. The display will return to normal when the sunlight is no longer entering
the HUD.
- Adjust the seat to a comfortable driving position. If your seat position
changes, the HUD may need to be re-adjusted.
- Press the up or down arrows to center the HUD image in your view.
The HUD image can only be adjusted up and down, not side-to-side.
- Press the dimmer control downward until the HUD image is no brighter than
necessary.
To turn HUD off, press and hold the (-) button until the HUD display turns
off.
If the sun comes out or it becomes cloudy, the HUD brightness may need to be
adjusted again using the dimmer control. Polarized sunglasses could make the HUD image
harder to see.
The HUD information can be displayed in one of six languages including English,
Spanish, French, German, Italian or Japanese. The speedometer can be displayed in
either English or Metric units.
To change the language and unit selections, see "OPTION" under
DIC Operation and Displays.
Clean the inside of the windshield as needed to remove any dirt or film that
reduces the sharpness or clarity of the HUD image.
To clean the HUD, spray household glass cleaner on a soft, clean cloth. Wipe
the HUD lens gently, then dry it. Do not spray cleaner directly on the lens because
the cleaner could leak into the unit.
If the ignition is on and the HUD image cannot be seen, check to see if:
| • | Something is covering the HUD unit. |
| • | The HUD dimmer control is adjusted properly. |
| • | The HUD image is adjusted to the proper height. |
| • | Ambient light is low, in the direction the vehicle is facing. |
Keep in mind that the windshield is part of the HUD system. See
Windshield Replacement.


