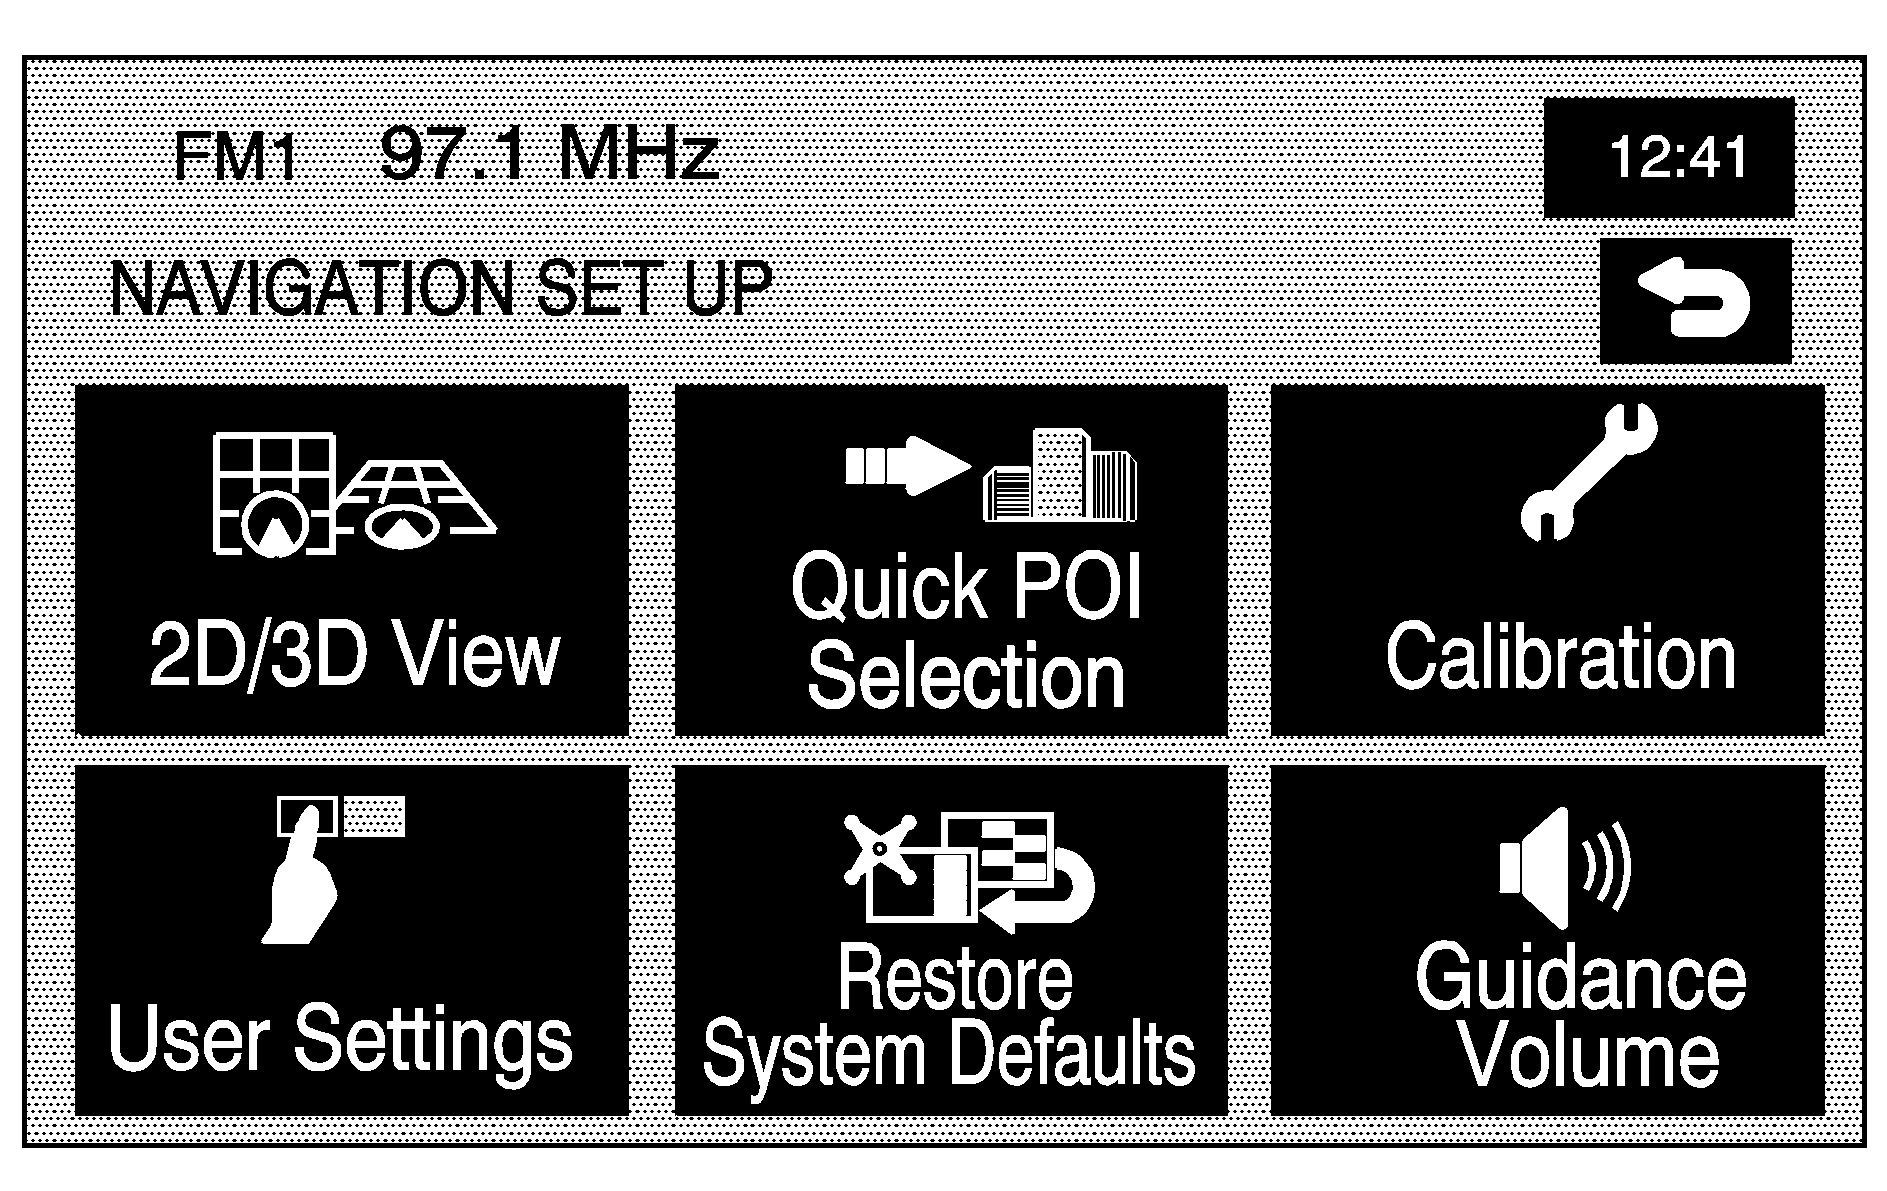
Select the MENU screen button to access the NAV. MENU screen.
Navigation Set Up: Touch this screen button from the NAV. MENU screen to access the NAVIGATION SET UP screen. Several system options are available for adjustment.Two-Dimensional/Three-Dimensional (2D/3D) View
2D/3D View: Touch this screen button from the NAVIGATION SET UP screen. This feature lets you change the view of the map between a 2-dimensional and 3-dimensional view.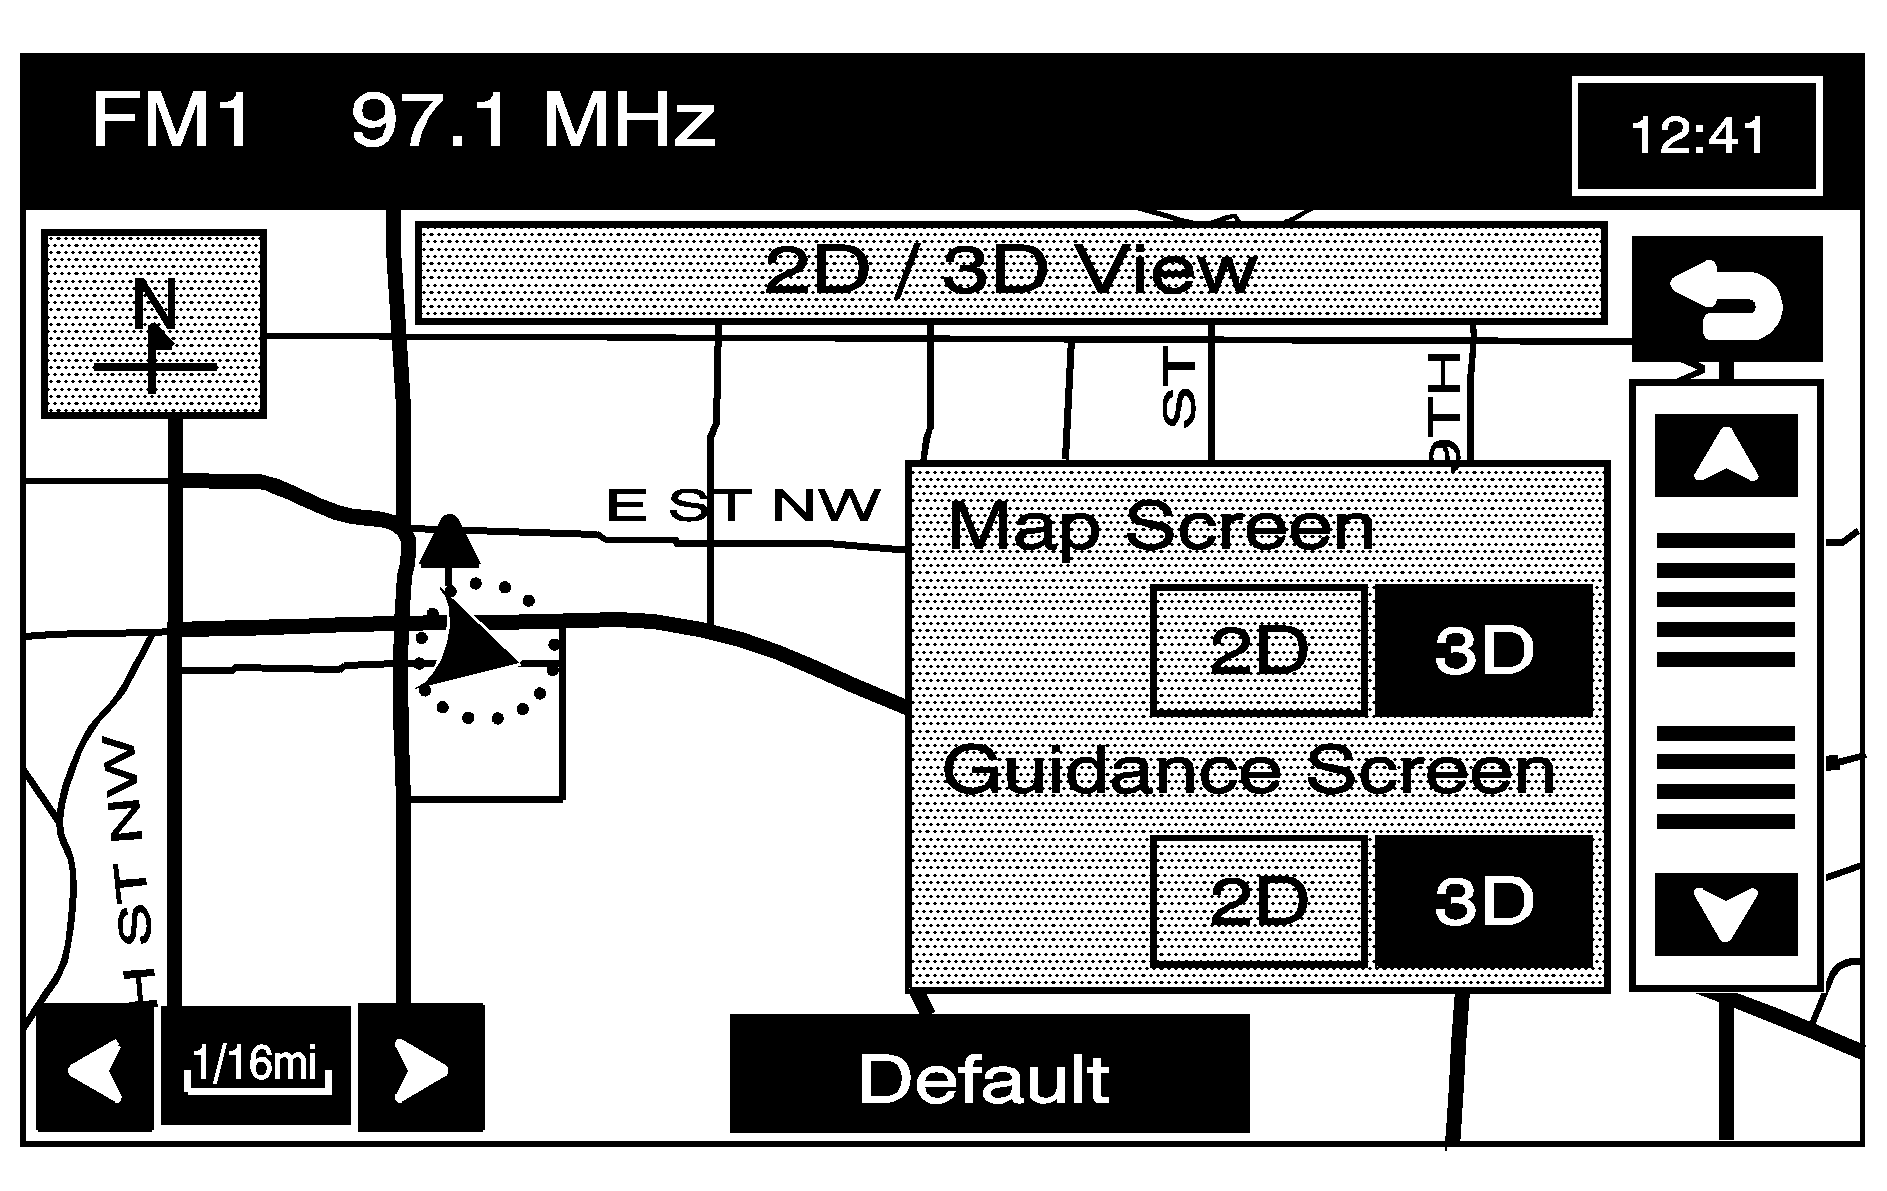
Map Screen 2D/3D: Changes the view of all map screens.
Guidance Screen 2D/3D: Changes the view of the map screen while driving during route guidance.
/ (Scroll Arrows): Select the up or down arrows to tilt the view of the map screen.
(Back): Select to save the changes.
Default: Press to cancel your changes and go back to the default settings (2D and 2D).
Quick POI Selection
Quick POI Selection: This feature lets you select the POI categories you want available on the Quick POI (Q-POI) screen.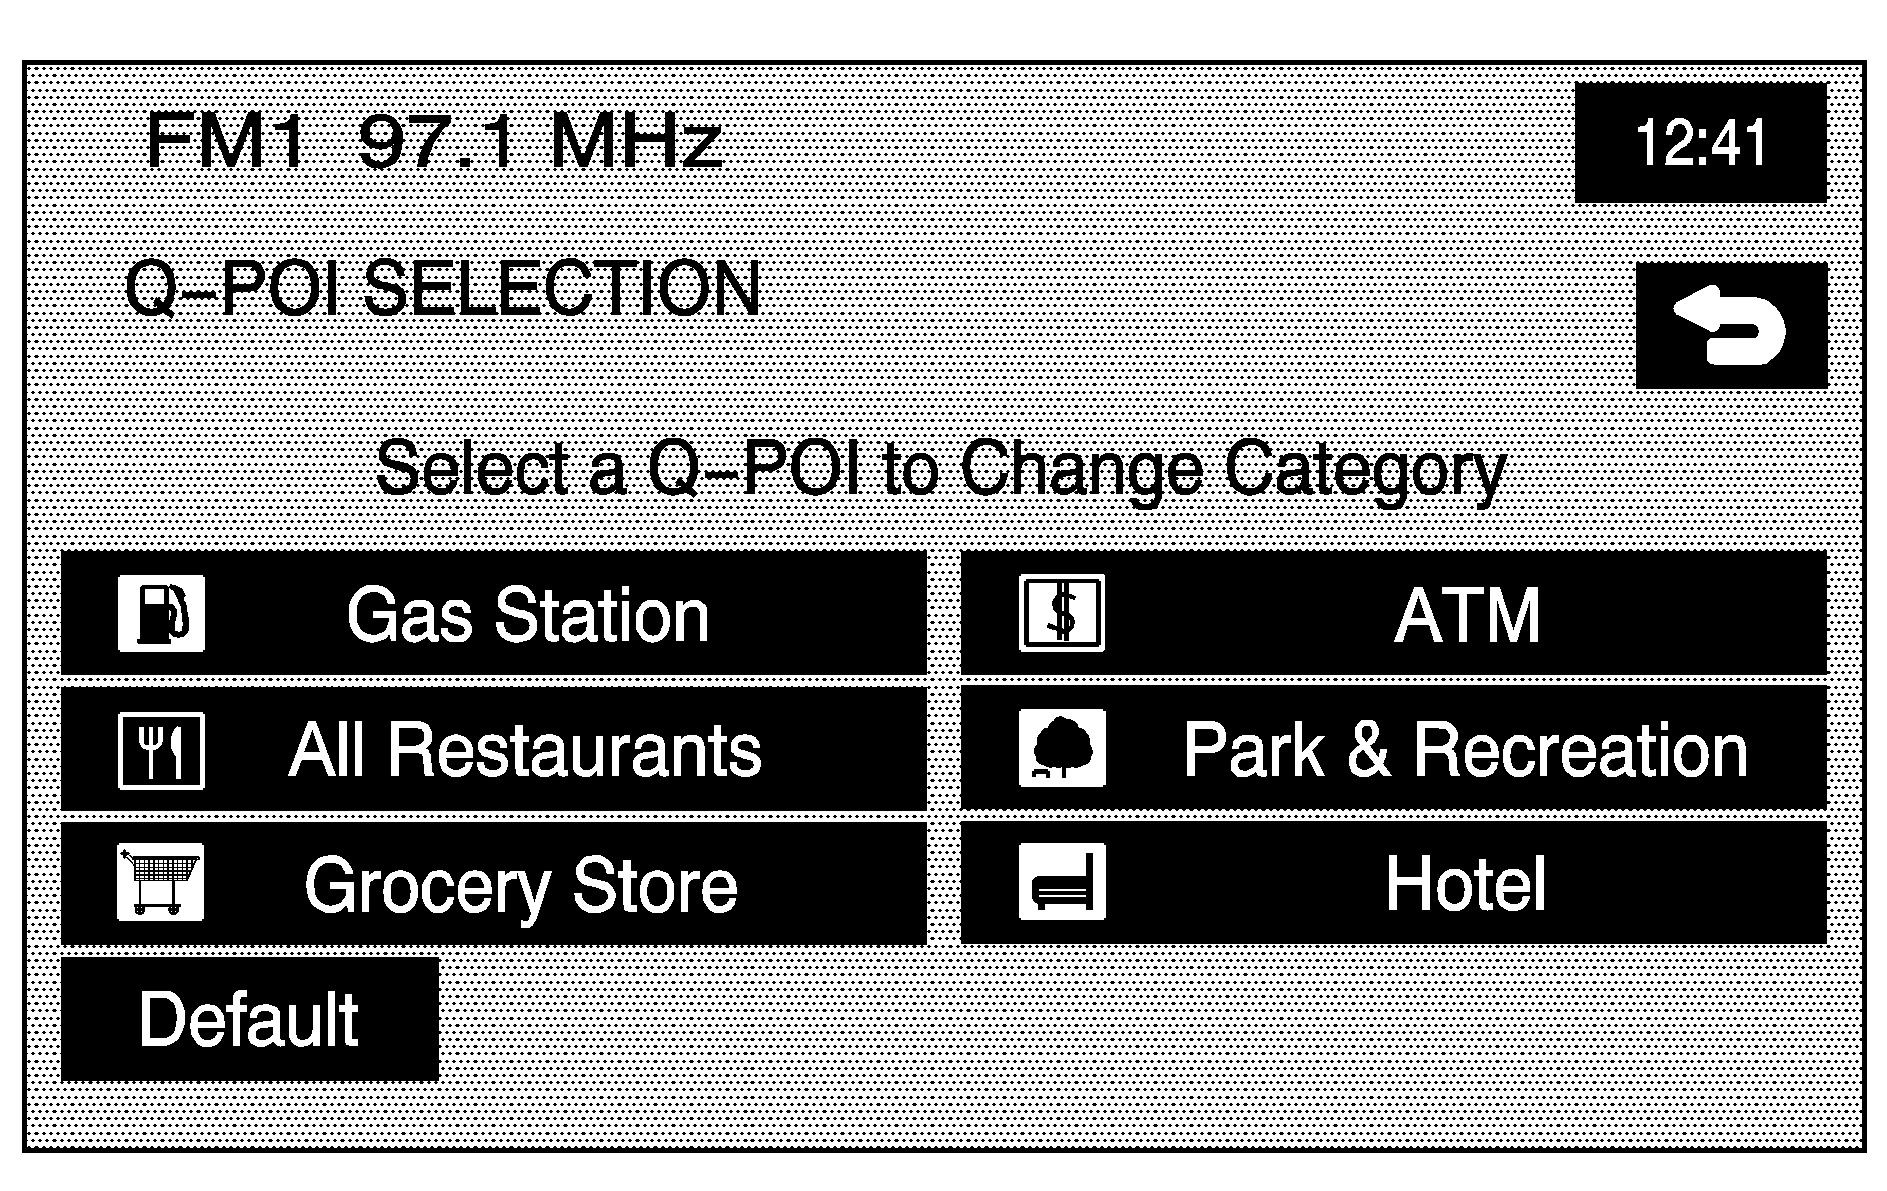
To replace the default POI categories on the Quick POI (Q-POI) screen:
- Select the Quick POI Selection screen button from the NAVIGATION SET UP menu. This screen displays the list of POI categories.
- Select the POI category that you would like to change. The category to change displays with the list of categories to select from.
- Select a different POI category. The POI category icon to change is replaced with the new POI category icon at the top of the screen. This POI is now available on the Q-POI screen.
Select the All Category List screen button to display all categories and sub-categories.
Quick POI
Once categories have been selected on the Q-POI SELECTION screen, the POI categories are now available on the Quick POI screen. From this screen you can select the POI icons that you would like to display on the map screen. You can either select a POI for a final destination or as a waypoint. The Quick POI screen is available when the scale is ½ mile (1 km) or less.
To use the QUICK POI screen, select the POI screen button from the map screen.
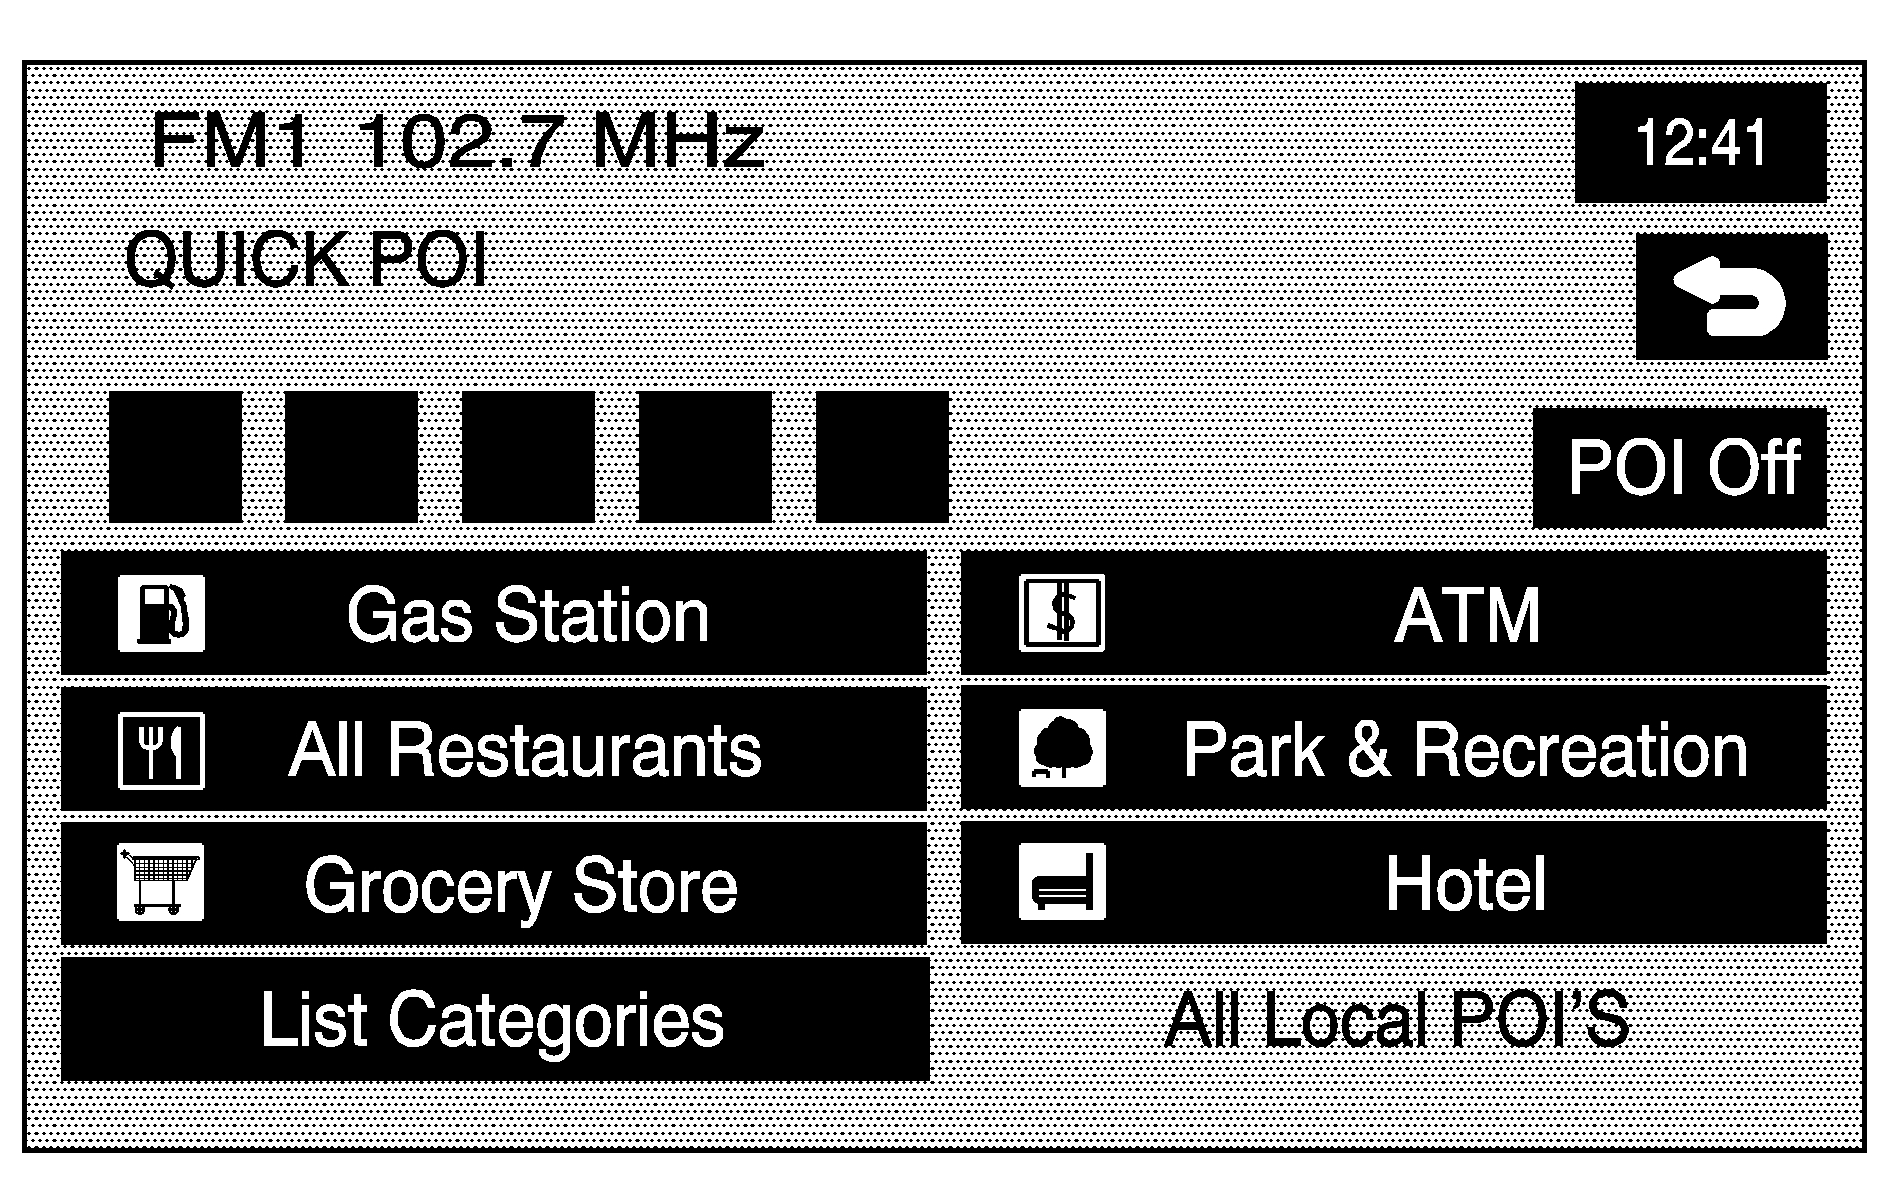
The POI categories that were selected on the Q-POI SELECTION screen display.
To have the POI icons appear on the map screen, select the POI category. The POI category icon displays at the top of the screen.
List Categories: Select this screen button to display more categories to select from.All Local POIs
- Select this screen button to select a POI as a destination. A list of all of the local POIs within a 5 mi. (8 km) radius of your vehicle's current position will display. This list is generated from the POI categories that have been selected and appear at the top of the QUICK POI screen.
- Select the POI. The map screen displays with the scroll symbol around the selected POI. The name and the POI information will also display on the map screen.
- Select the (destination) symbol screen button.
- Select the Guide screen button.
Use the Sort by Dist. (distance), Icon, Name, or Route screen buttons. Use the up and down scroll arrow screen buttons to scroll through the list.
See "Getting Started on Your Route" for more information.
Show: Select this screen button to display the map screen.
Delete: To delete a category, do one of the following:
| • | To delete the last added POI category, select the Delete screen button. |
| • | To delete a specific POI category, select that POI category from the list. |
Calibration
Calibration: Touch this screen button from the NAVIGATION SET UP screen. This feature lets you recalibrate the navigation system.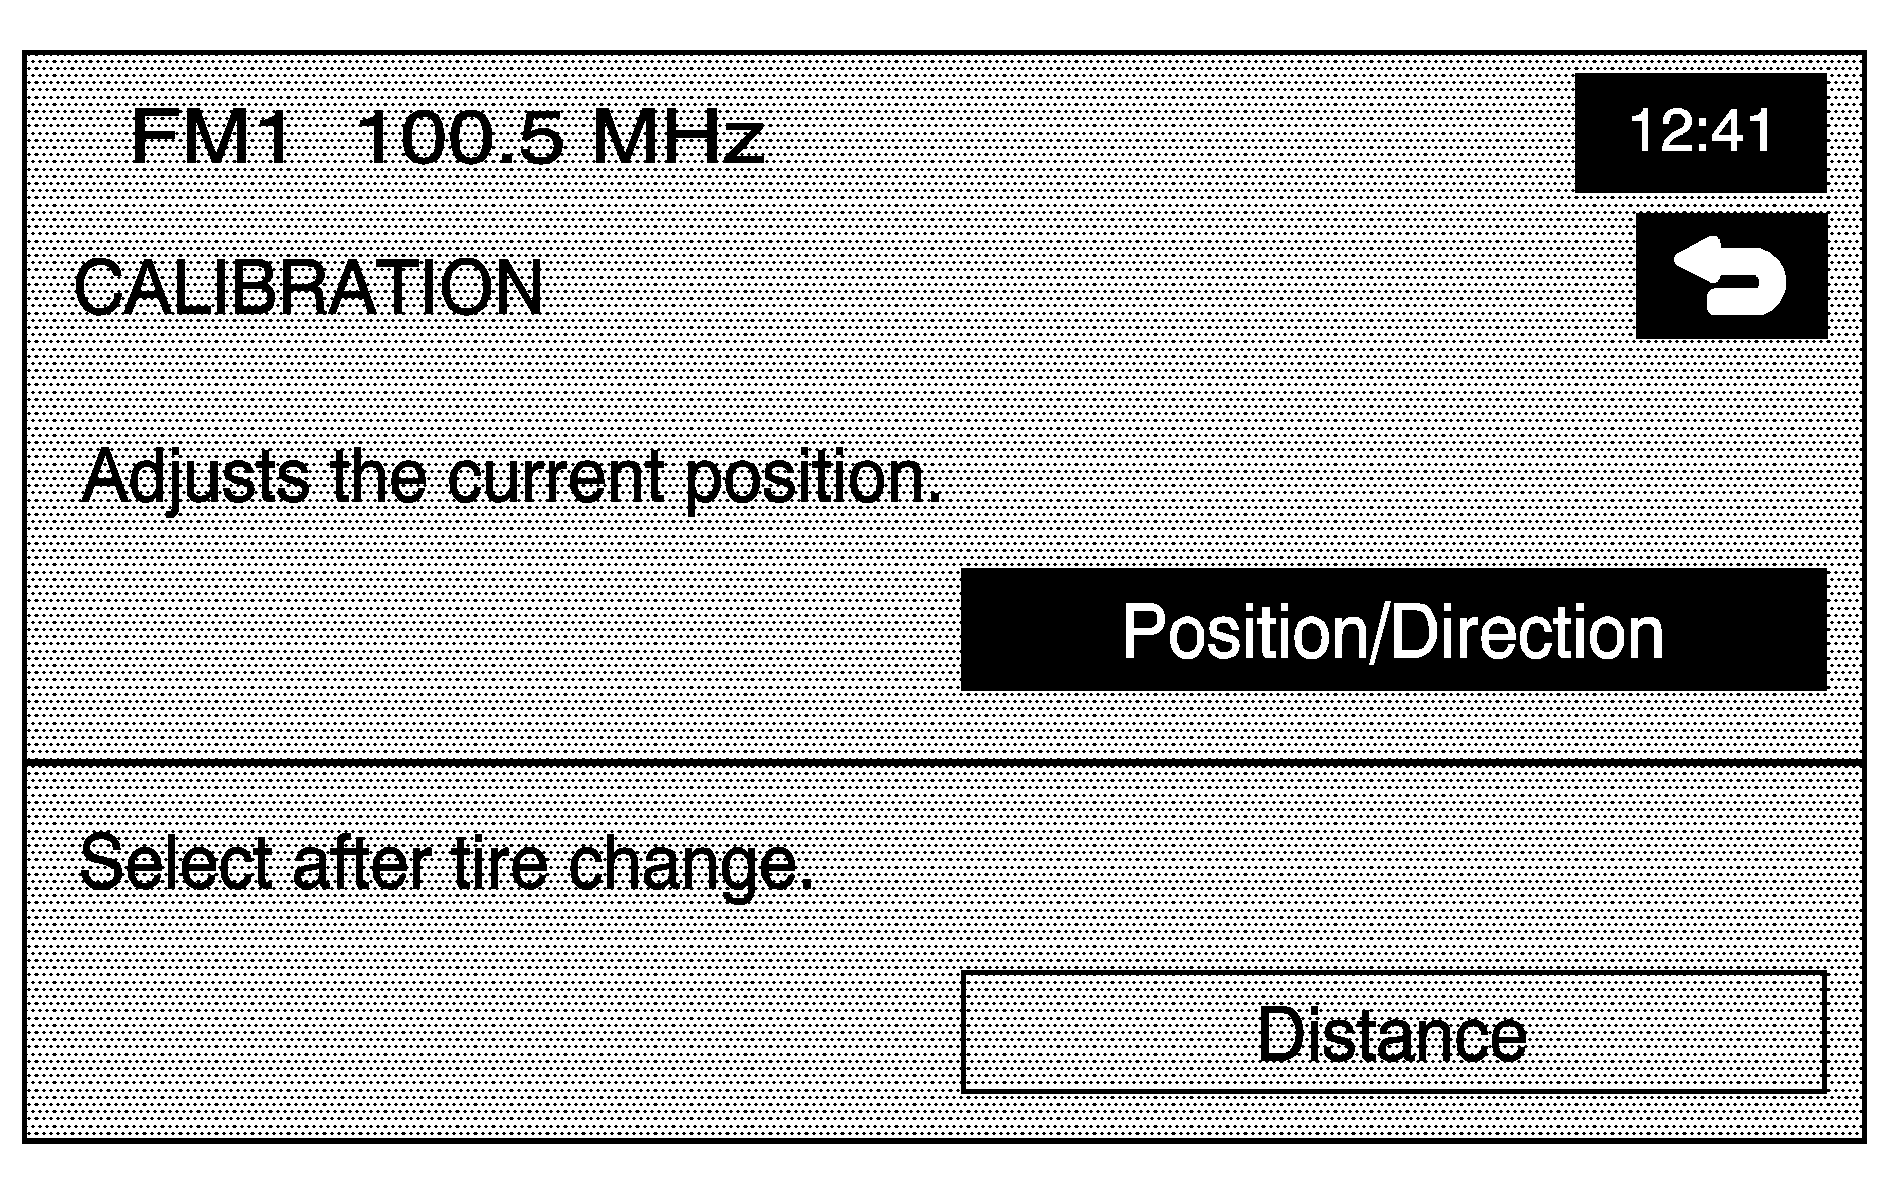
The Calibration screen, lets the adjustment of your vehicle's position or the vehicle speed signal.
To correct the position of your vehicle on the map (for example, if your vehicle has been shipped) or to change to the current position.
- Select the Position/Direction screen button.
- To change the vehicle's position, touch the map screen.
- Touch the OK screen button once the vehicle is in the current position.
- To change the direction of your vehicle, press either arrow screen button to turn the vehicle to the correct direction.
- Once the vehicle is facing the correct direction, select the OK screen button.
The map screen displays with the vehicle's current position.
Use the zoom in/out function to view the direction of the desired area.
Pressing/holding and dragging on the map activates fast scrolling. Press/touch once on the area where the current position mark should be moved.
If a route had already been set, the map screen displays, select Guide to change your route to the vehicle's new position.
Once the process of changing the vehicle's current position is complete, the map screen displays with rotate arrow screen buttons around the vehicle.
See Problems with Route Guidance for more information.
If there are tire pressure differences or a spare tire is installed, the system automatically re-calibrates the system but it may take longer. To calibrate the vehicle speed signal, touch the Distance screen button. See Vehicle Positioning for more information.
User Settings
User Settings: Touch this screen button from the NAVIGATION SET UP screen. This feature allows several route options to be turned on or off.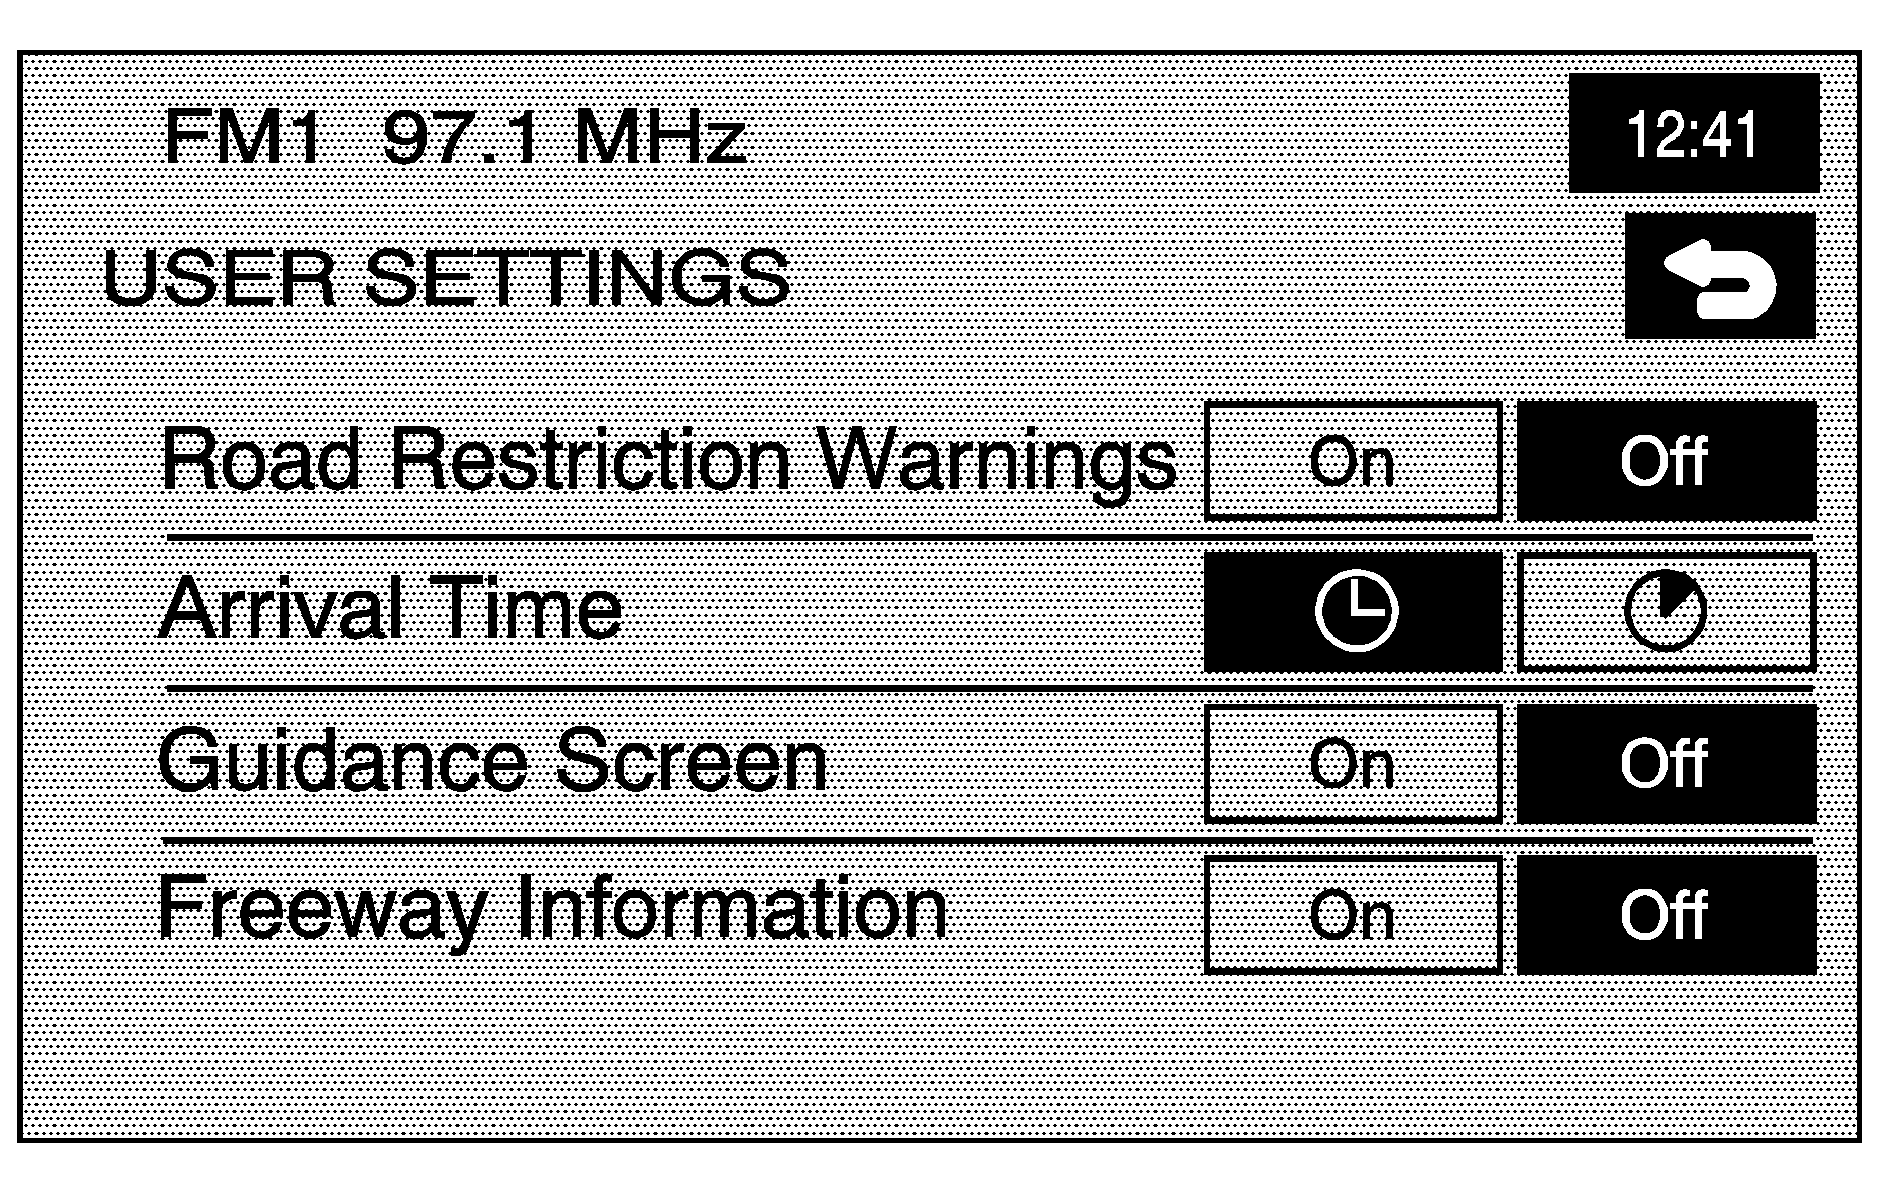
From this screen, adjust the following:
Road Restriction Warnings: Instructs the system to notify you when the current route has traffic restrictions.Arrival Time (Time of Arrival): Displays the estimated time of arrival to the destination.
Arrival Time (Time to Destination): Displays the amount of drive time estimated to arrive at the destination.
Guidance Screen: Turns the guidance screen on and off.
Freeway Information: Displays freeway exit information. This is only available on freeways during route guidance.
Restore System Defaults
Restore System Defaults: Select this feature from the NAVIGATION SET UP screen to change all adjustable system settings to factory defaults.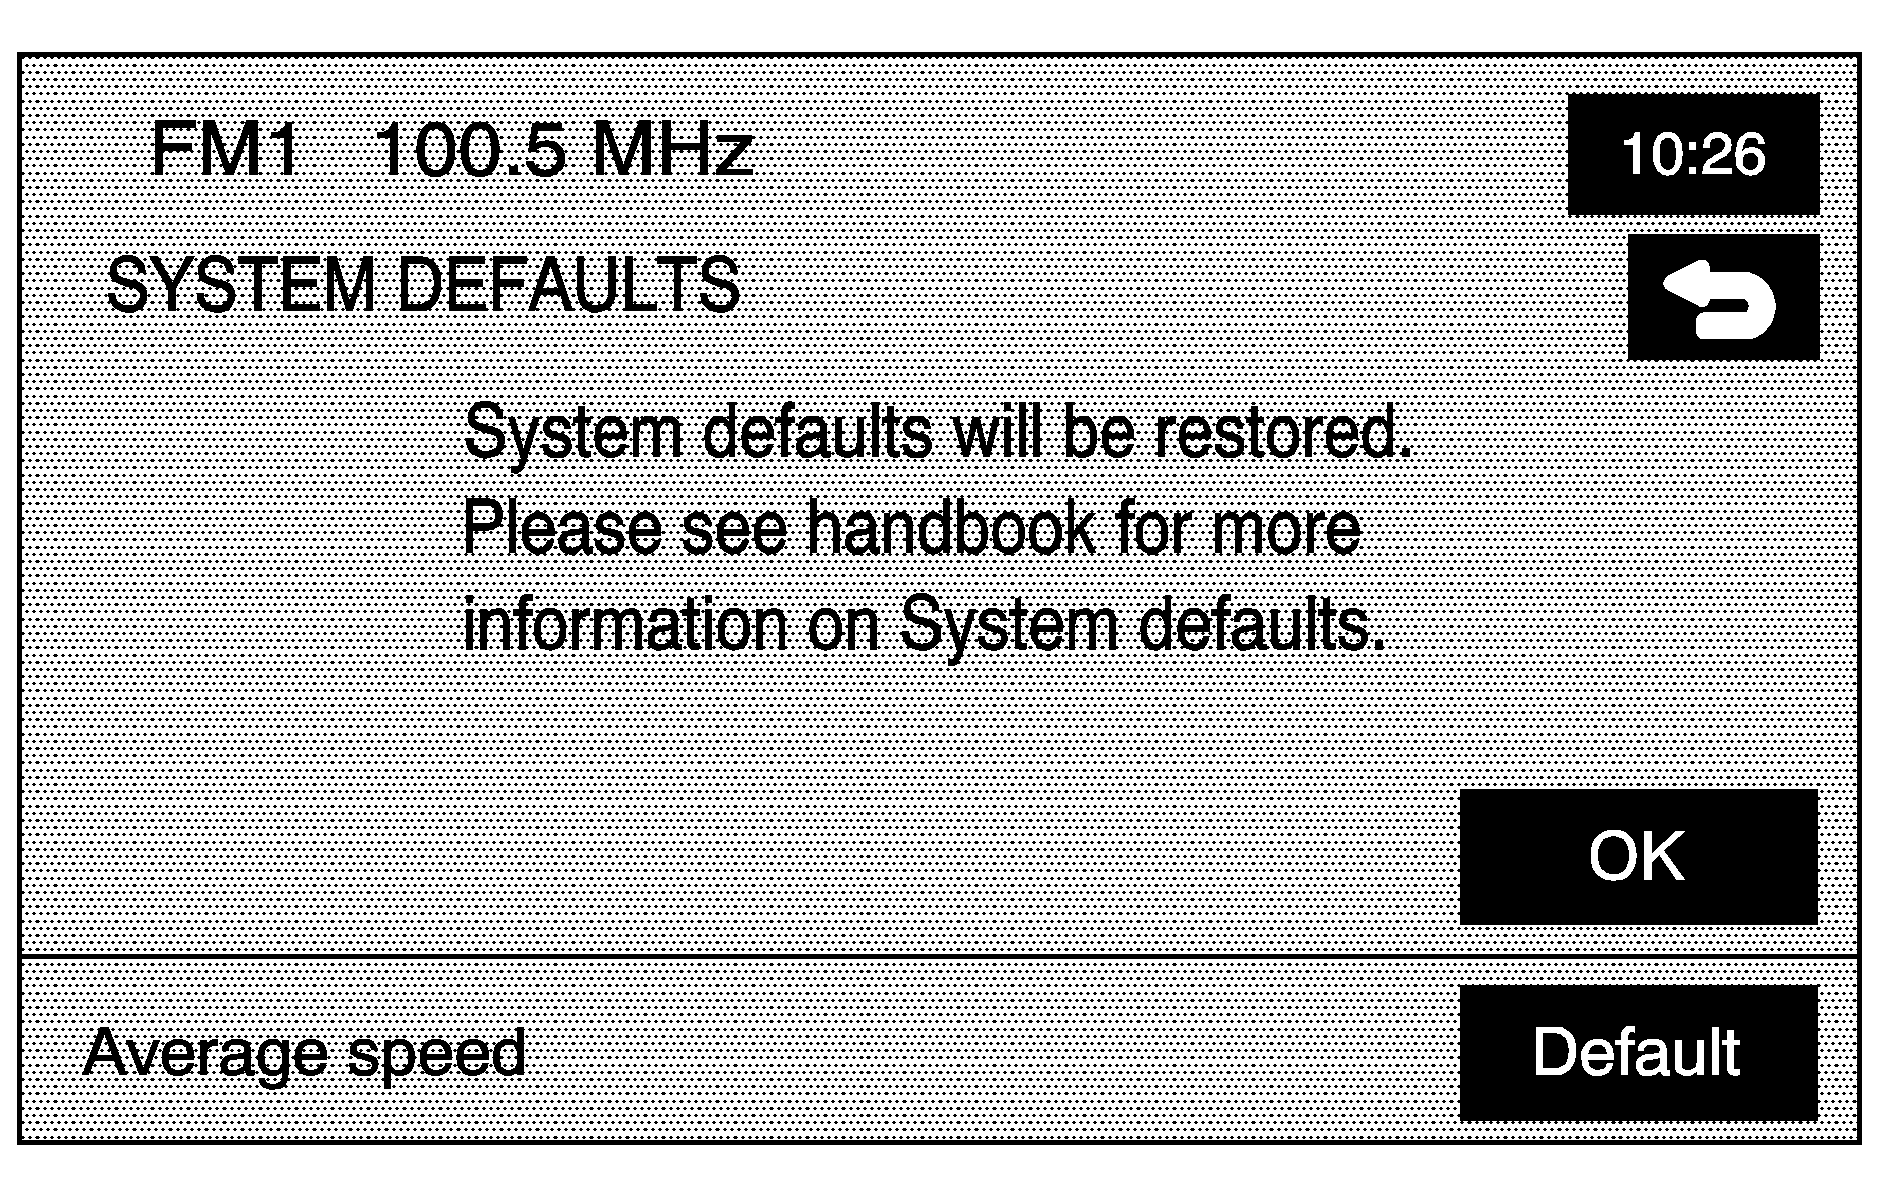
OK: Select this screen button to restore the system defaults.
Average Speed Default: Select this option to set the average speed to default. The system monitors the speed on different roads and updates the vehicle's average speed. This average speed is used to calculate the time it takes to reach the destination when a route is set.
Guidance Volume
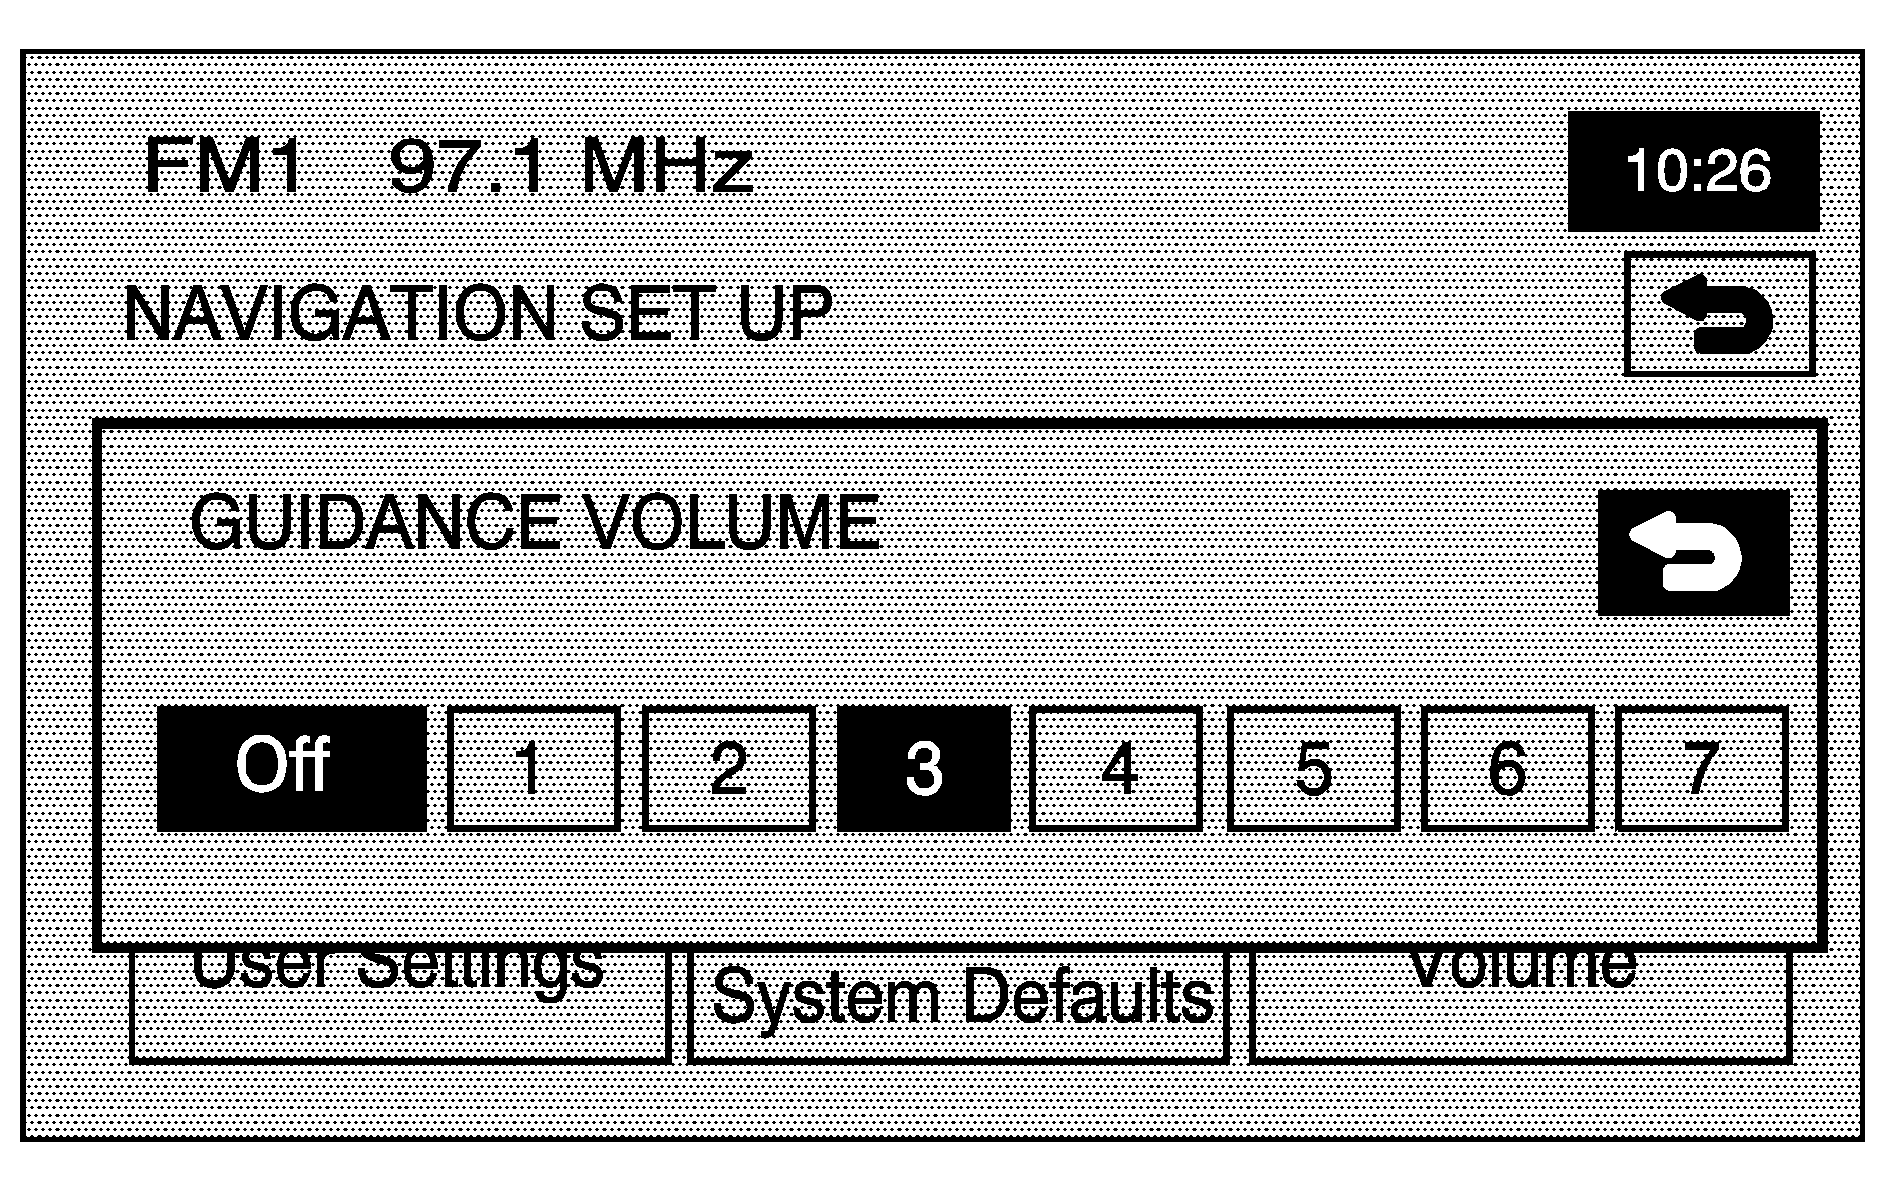
Guidance Volume: This feature lets you adjust the volume of voice guidance prompts. Select Off to turn voice guidance prompts off.