Shock Absorber Replacement With F55
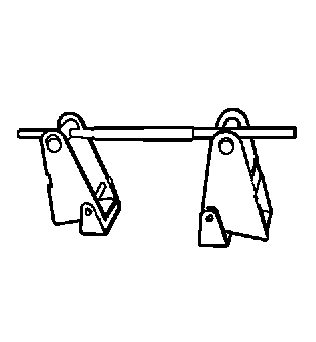
Special Tools
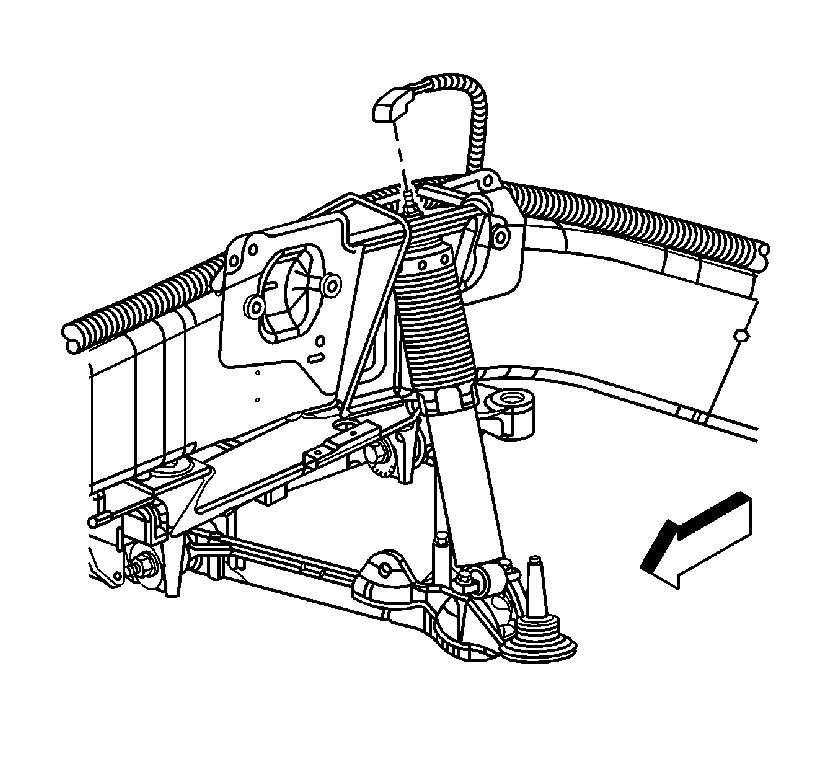
Removal Procedure
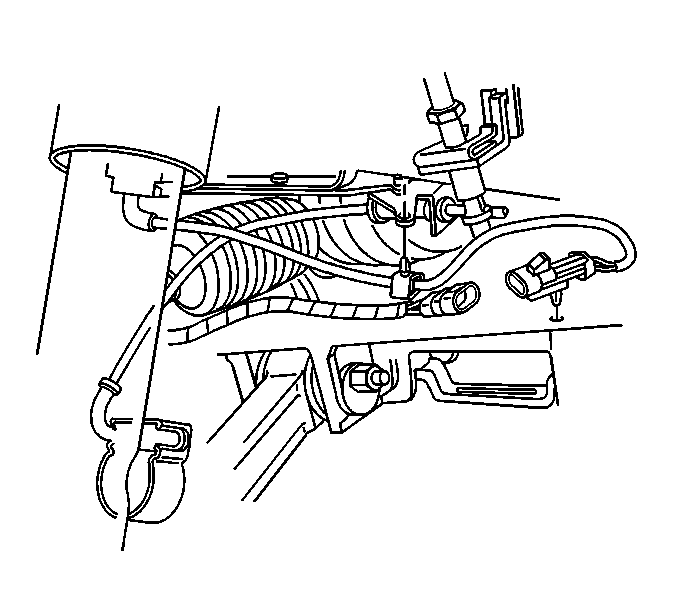
- Disconnect the front shock ESC harness connector.
- Raise and support the vehicle. Refer to
Lifting and Jacking the Vehicle.
- Remove the tire and wheel assembly. Refer to
Tire and Wheel Removal and Installation.
Note: The ESC connector seals to the upper shock shaft. If the upper shock shaft is damaged, the shock will need replacement.
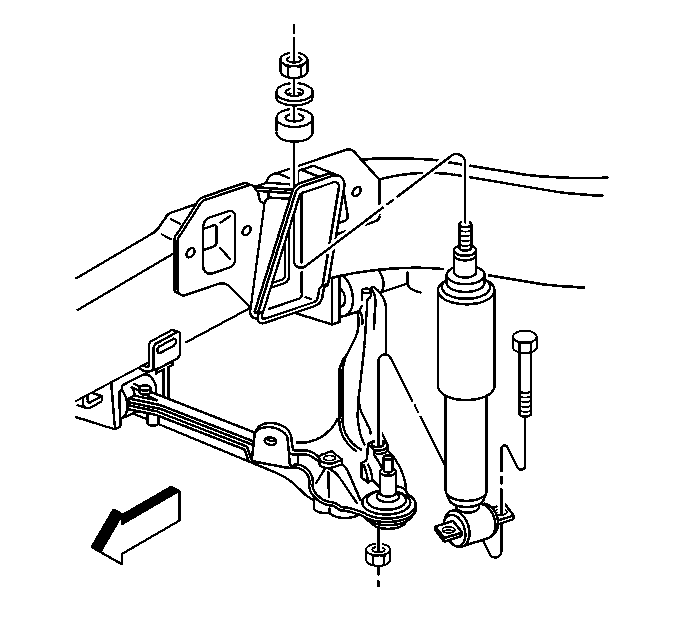
- Using only hand tools, remove the upper mounting nut, insulator retainer and insulator.
- Remove the shock absorber lower mounting bolts and nuts.
- Using a pry bar, compress the shock absorber from the bottom upward.
- While the shock is in the compressed position, install the
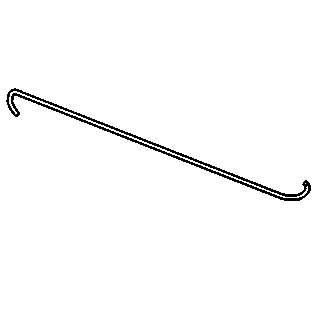
J 43822 .
- Remove the shock absorber from the vehicle.
- Remove the
J 43822 from the shock absorber.
- Remove the insulator and insulator retainer from the shock absorber.
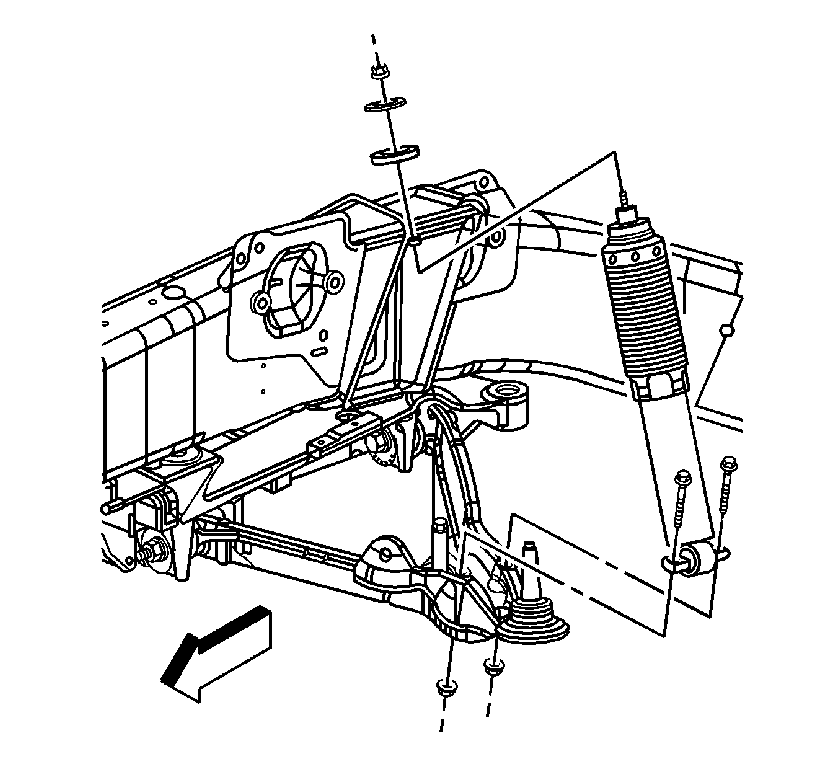
Installation Procedure
- Install the
J 43822 to the shock absorber.
- Install the insulator and insulator retainer to the shock absorber.
- Position the shock absorber between the upper shock support and lower control arm.
Caution: Refer to Fastener Caution in the Preface section.
- Install the insulator, insulator retainer and nut to the upper shock shaft and tighten to 26 N·m (19 lb ft).
- Remove the
J 43822 from the shock absorber.
- Using the
J 33432-A , compress the coil spring.
- Raise the lower control arm to the shock absorber lower mounting and install the bolts and nuts and tighten to
28 N·m (21 lb ft).
- Remove the
J 33432-A from the coil spring.
- Install the tire and wheel assembly. Refer to
Tire and Wheel Removal and Installation.
- Lower the vehicle.
- Connect the ESC harness connector. Check the connection by lightly pulling upwards on the connector.
Shock Absorber Replacement w/o F55
Special Tools
Removal Procedure
- Raise and support the vehicle. Refer to
Lifting and Jacking the Vehicle.
- Remove the tire and wheel assembly. Refer to
Tire and Wheel Removal and Installation.
- Disconnect the electronic suspension control electrical connector from the shock, if equipped.
- Remove the upper mounting nut, insulator retainer, and insulator.
- Remove the shock absorber lower mounting bolts and nuts.
- Remove the shock absorber from the upper shock tower and the vehicle.
- Remove the insulator and retainer from shock absorber.
- For vehicles equipped with heavy duty shocks (FE3) perform the following steps.
| | Note: During this procedure, use care not to scratch the transverse spring.
|
| 8.2. | Using a pry bar compress the shock absorber from the bottom upward. |
| 8.3. | Install the
J 43822 to the shock absorber while the shock is compressed. |
| 8.4. | Remove the shock absorber from the shock tower and the vehicle. |
| 8.5. | Remove
J 43822 from the shock absorber. |
Installation Procedure
- Install the retainer and insulator to the shock absorber.
- Install the shock absorber to the upper shock tower.
Caution: Refer to Fastener Caution in the Preface section.
- Install the upper insulator, retainer, and nut.
Tighten
Tighten the shock absorber upper mounting nut to 26 N·m (19 lb ft).
- Install the shock absorber lower mounting bolts and nuts.
Tighten
Tighten the shock absorber lower mounting nuts to 28 N·m (21 lb ft).
- Connect the electronic suspension control electrical connector to the shock, if equipped.
- Remove
J 33432-A from the spring.
- Install the tire and wheel assembly. Refer to
Tire and Wheel Removal and Installation.
- Lower the vehicle.
- For vehicles equipped with heavy duty shocks (FE3) perform the following steps.
| 9.1. | Install the
J 43822 to the shock absorber. |
| 9.2. | Install the shock absorber into the vehicle. |
| 9.3. | Install the upper insulator, retainer, and nut. |
Tighten
Tighten the shock absorber upper mounting nut to 26 N·m (19 lb ft).
| 9.4. | Remove
J 43822 from the shock absorber. |
| 9.5. | Install
J 33432-A to the spring and compress. |
| 9.6. | Raise the lower control arm and install the shock absorber lower mounting bolts and nuts. |
Tighten
Tighten the shock absorber lower mounting nuts to 28 N·m (21 lb ft).
