For 1990-2009 cars only
Differential Carrier Cover and Seal Replacement - Left Side for Chevrolet Corvette 2009
Differential Carrier Cover and Seal Replacement - Left Side W/O RPO KNR
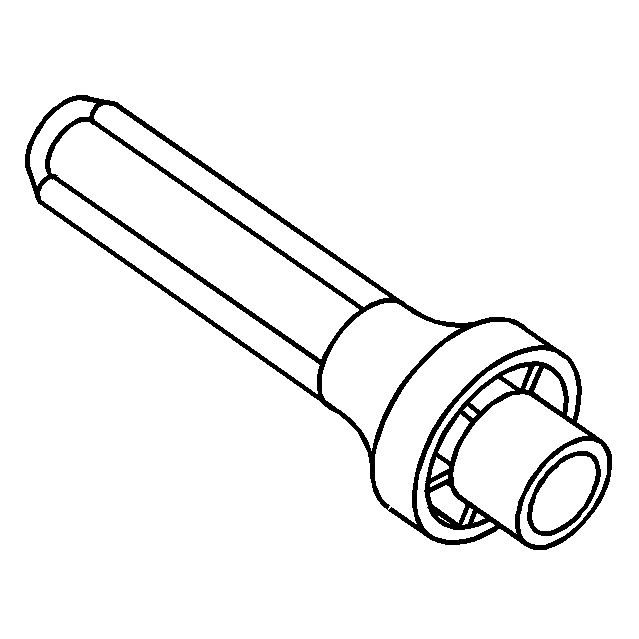
Special Tools
J 46405 Output Shaft Seal Installer
Removal Procedure
- Raise and suitably support the vehicle. Refer to Lifting and Jacking the Vehicle.
- Remove the LH rear tire and wheel assembly. Refer to Tire and Wheel Removal and Installation.
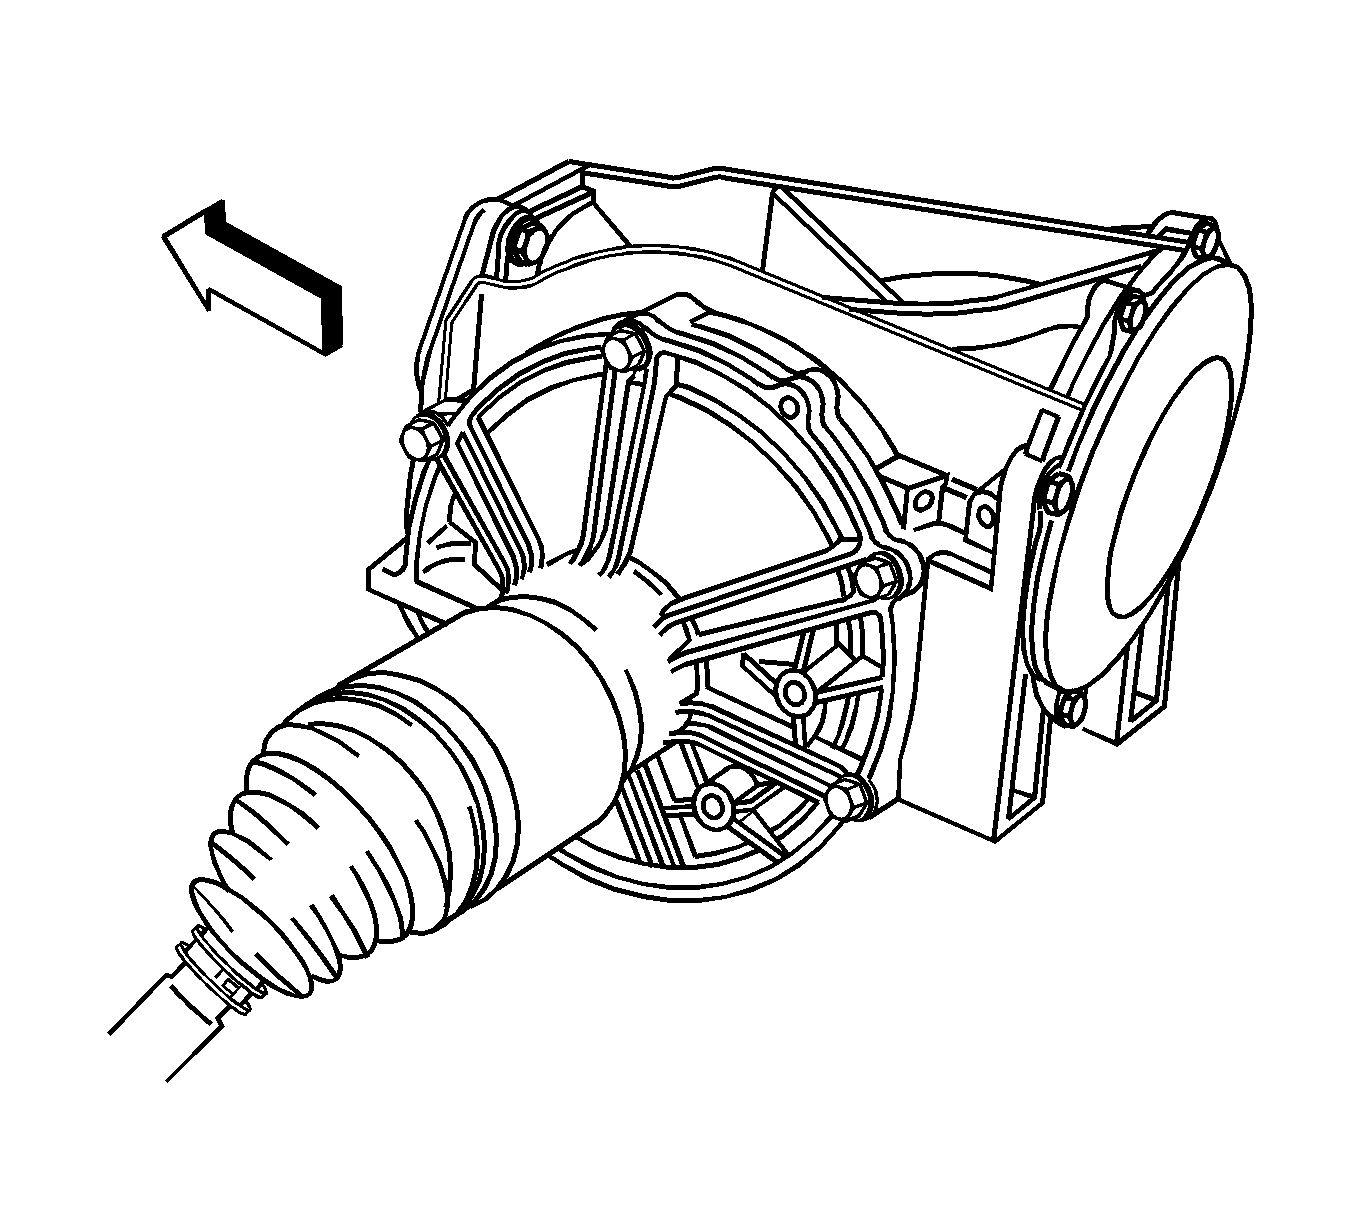
- Remove the LH wheel drive shaft. Refer to Wheel Drive Shaft Replacement.
- Remove the LH muffler assembly. Refer to Exhaust Muffler Replacement - Left Side.
- Drain the fluid from the differential. Refer to Rear Axle Lubricant Replacement.
- Support the differential and remove the left differential mount.
- Clean any dirt or debris from around the differential cover.
- Remove the bolts (2) retaining the differential cover (3) and push out the dowel pin.
- Remove the differential cover from the differential.
- Remove and discard the O-ring seal (4) and the axle seal (1) from the differential side cover.
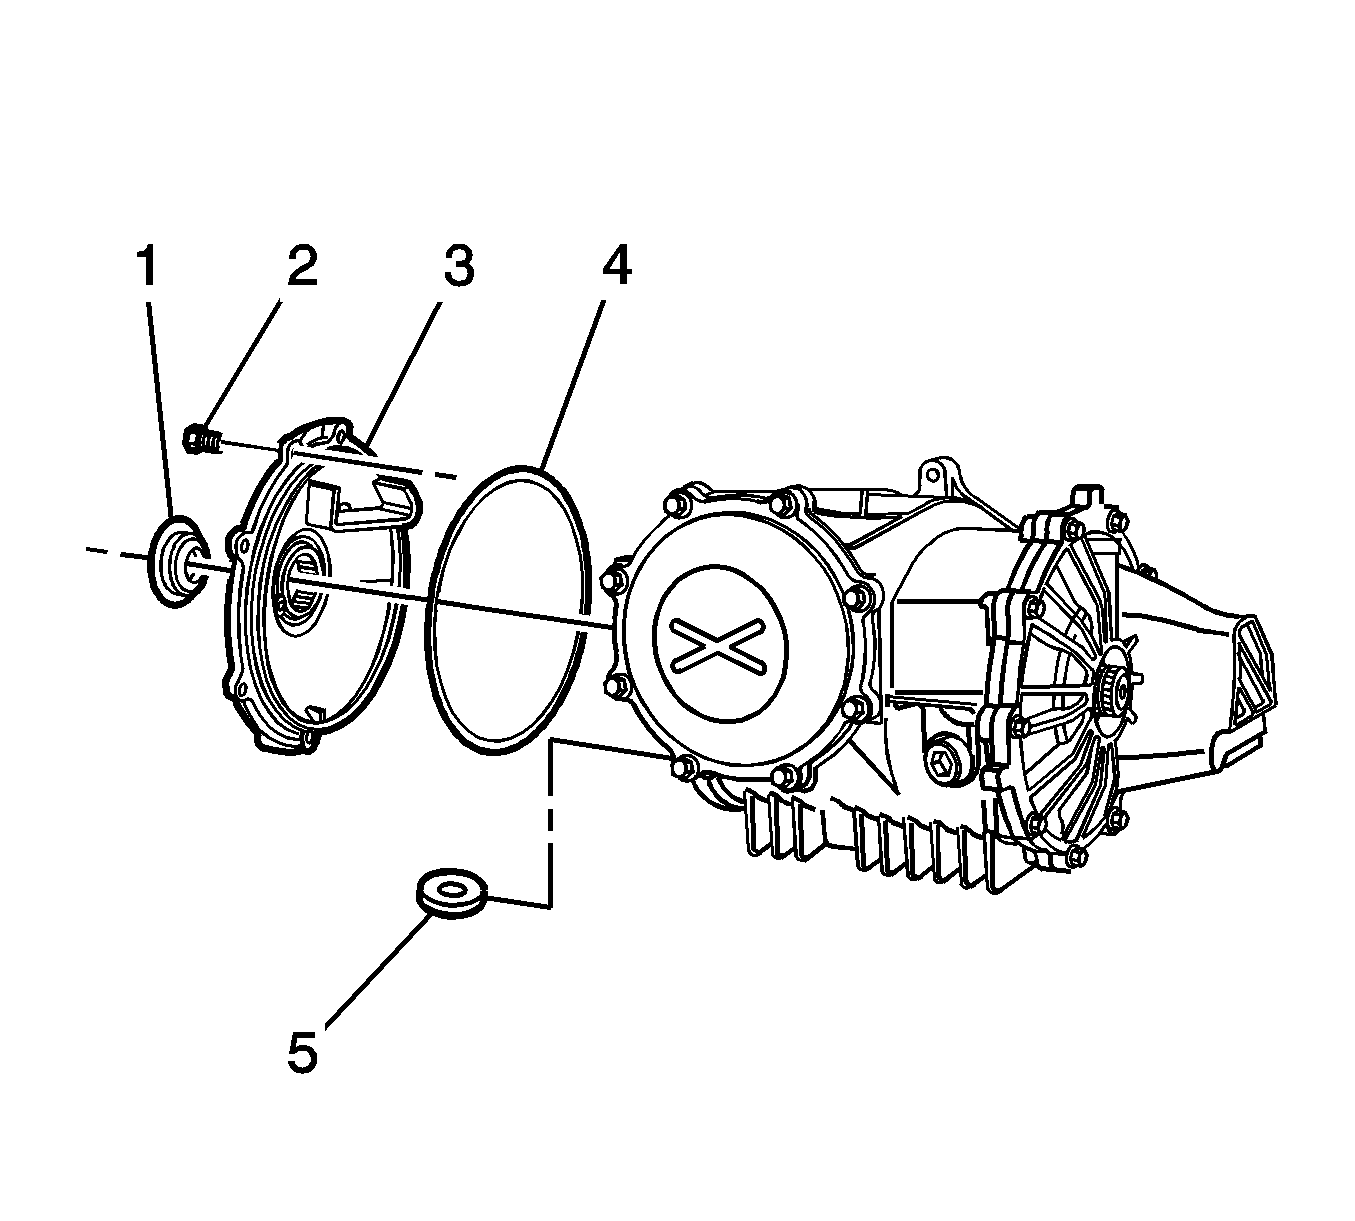
Note: Ensure that the magnet (5) that resides at the bottom of the differential case is not discarded.
Installation Procedure
- Clean the O-ring sealing surface on the differential cover and the differential housing.
- Install a new O-ring seal (4) to the differential cover (3).
- Install the differential cover to the differential.
- Install the dowel pin and the differential cover retaining bolts (2).
- Tighten the bolt retaining the left differential mount.
- Install the axle seal into the differential cover using J 46405 .
- Fill the differential with the proper fluids and to the proper level. Refer to Rear Axle Lubricant Replacement.
- Install the LH muffler assembly. Refer to Exhaust Muffler Replacement - Left Side.
- Install the LH wheel drive shaft. Refer to Wheel Drive Shaft Replacement.
- Install the LH rear tire and wheel assembly. Refer to Tire and Wheel Removal and Installation.
- Lower the vehicle.
Caution: Refer to Fastener Caution in the Preface section.
Tighten
Tighten the differential cover bolts to 28 N·m (20 lb ft).
Tighten
Tighten the differential mount bolt to 50 N·m (37 lb ft).
Differential Carrier Cover and Seal Replacement - Left Side With RPO KNR
Removal Procedure
- Raise and suitably support the vehicle. Refer to Lifting and Jacking the Vehicle.
- Remove the LH rear tire and wheel assembly. Refer to Tire and Wheel Removal and Installation.
- Remove the LH wheel drive shaft. Refer to Wheel Drive Shaft Replacement.
- Remove the LH muffler assembly. Refer to Exhaust Muffler Replacement - Left Side.
- Drain the fluid from the differential. Refer to Rear Axle Lubricant Replacement.
- Clean any dirt or debris from around the differential cover (left).
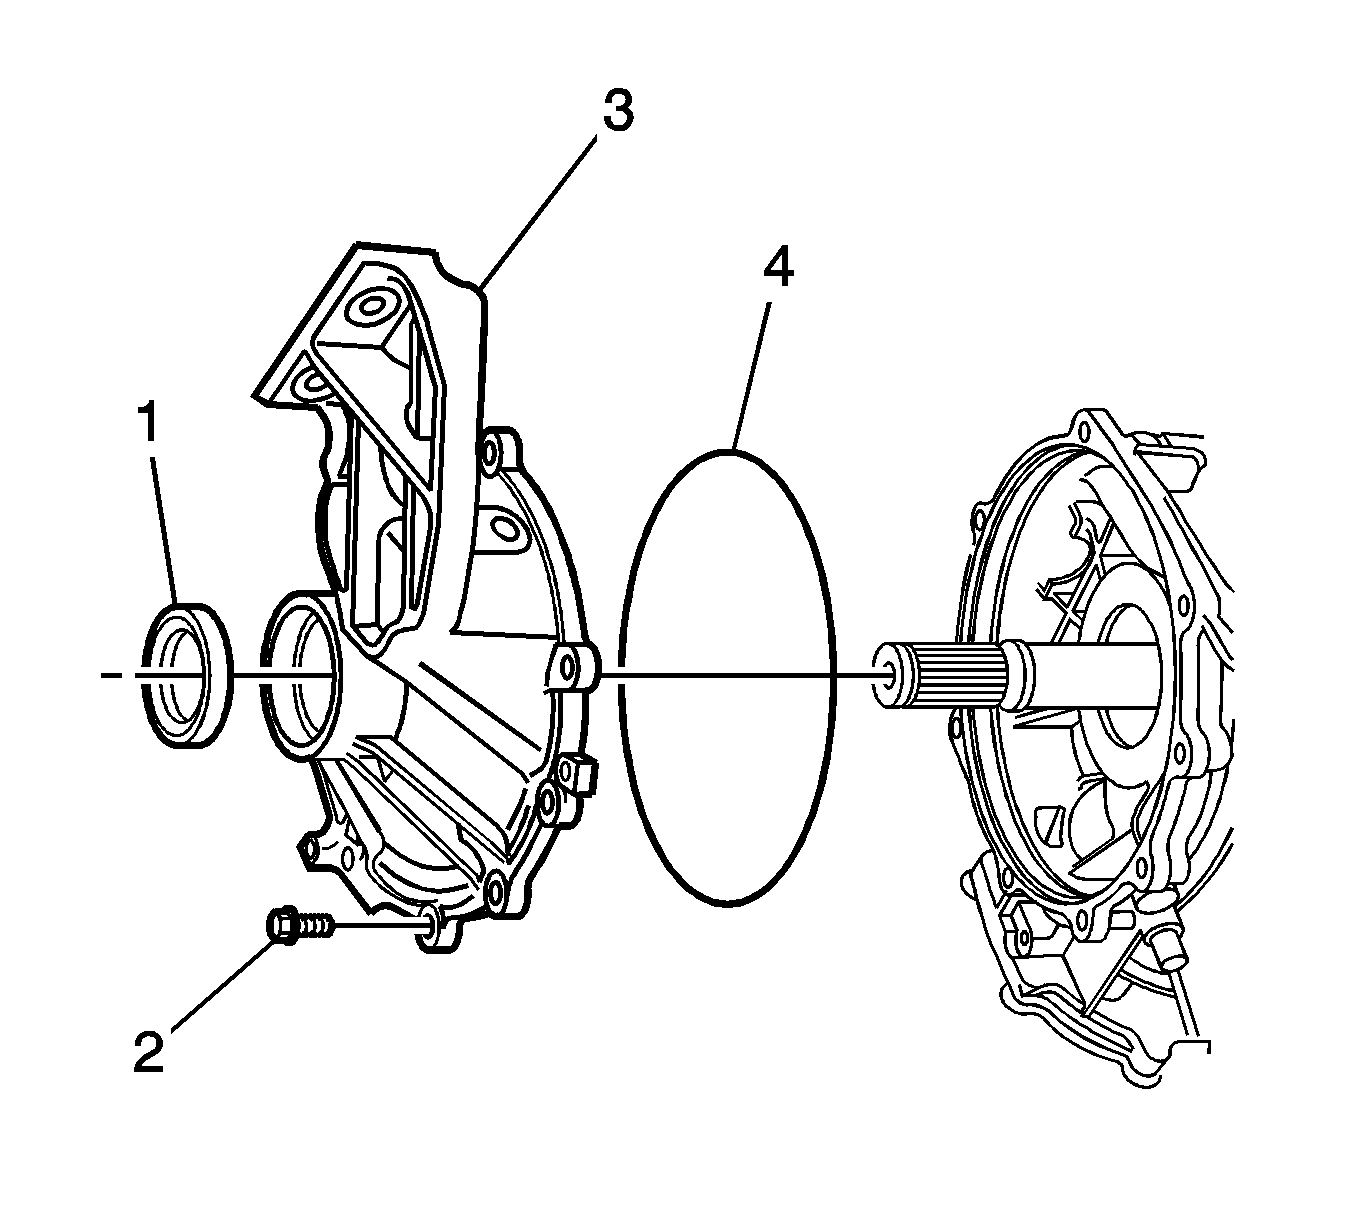
- Remove the drive axle seal (1).
- Remove the bolts (2) retaining the differential cover.
- Remove the differential cover from the differential (3).
- Remove and discard the O-ring seal (4) from the differential side cover.
Installation Procedure
- Clean the O-ring sealing surface on the differential cover and the differential housing.
- Install a new O-ring seal (4) to the differential cover.
- Install the rear drive axle seal (1).
- Install the differential cover (3) assembly to the differential.
- Tighten the nut retaining the transmission to the transmission LH mounting stud.
- Fill the differential with the proper fluids and to the proper level. Refer to Rear Axle Lubricant Replacement.
- Install the LH muffler assembly. Refer to Exhaust Muffler Replacement - Left Side.
- Install the LH wheel drive shaft. Refer to Wheel Drive Shaft Replacement.
- Install the LH rear tire and wheel assembly. Refer to Tire and Wheel Removal and Installation.
- Lower the vehicle.
Caution: Refer to Fastener Caution in the Preface section.
Tighten
Tighten the differential to transmission nut to 25 N·m (18 lb ft).
