For 1990-2009 cars only
Special Tools
J 39400-A Halogen Leak Detector
Removal Procedure
- Recover the refrigerant from the A/C system. Refer to Refrigerant Recovery and Recharging.
- Raise and support the vehicle. Refer to Lifting and Jacking the Vehicle.
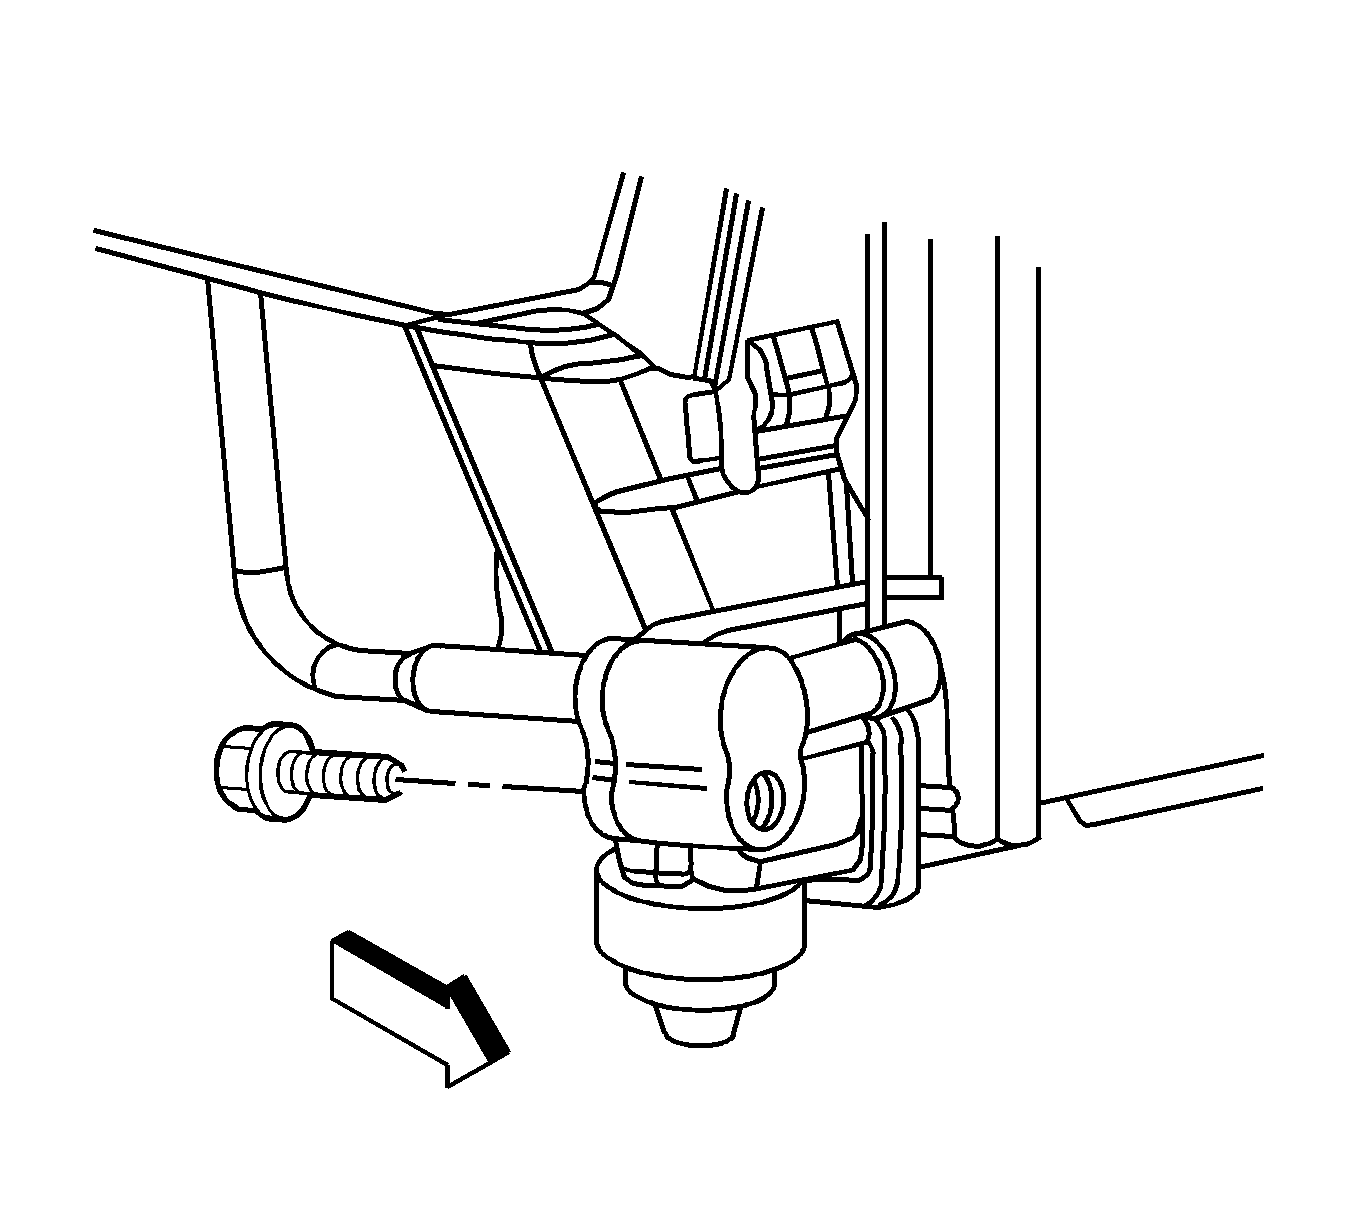
- Remove the front evaporator inlet line to A/C condenser bolt.
- Disconnect the front evaporator inlet line from the A/C condenser.
- Cap or tape off the A/C condenser port.
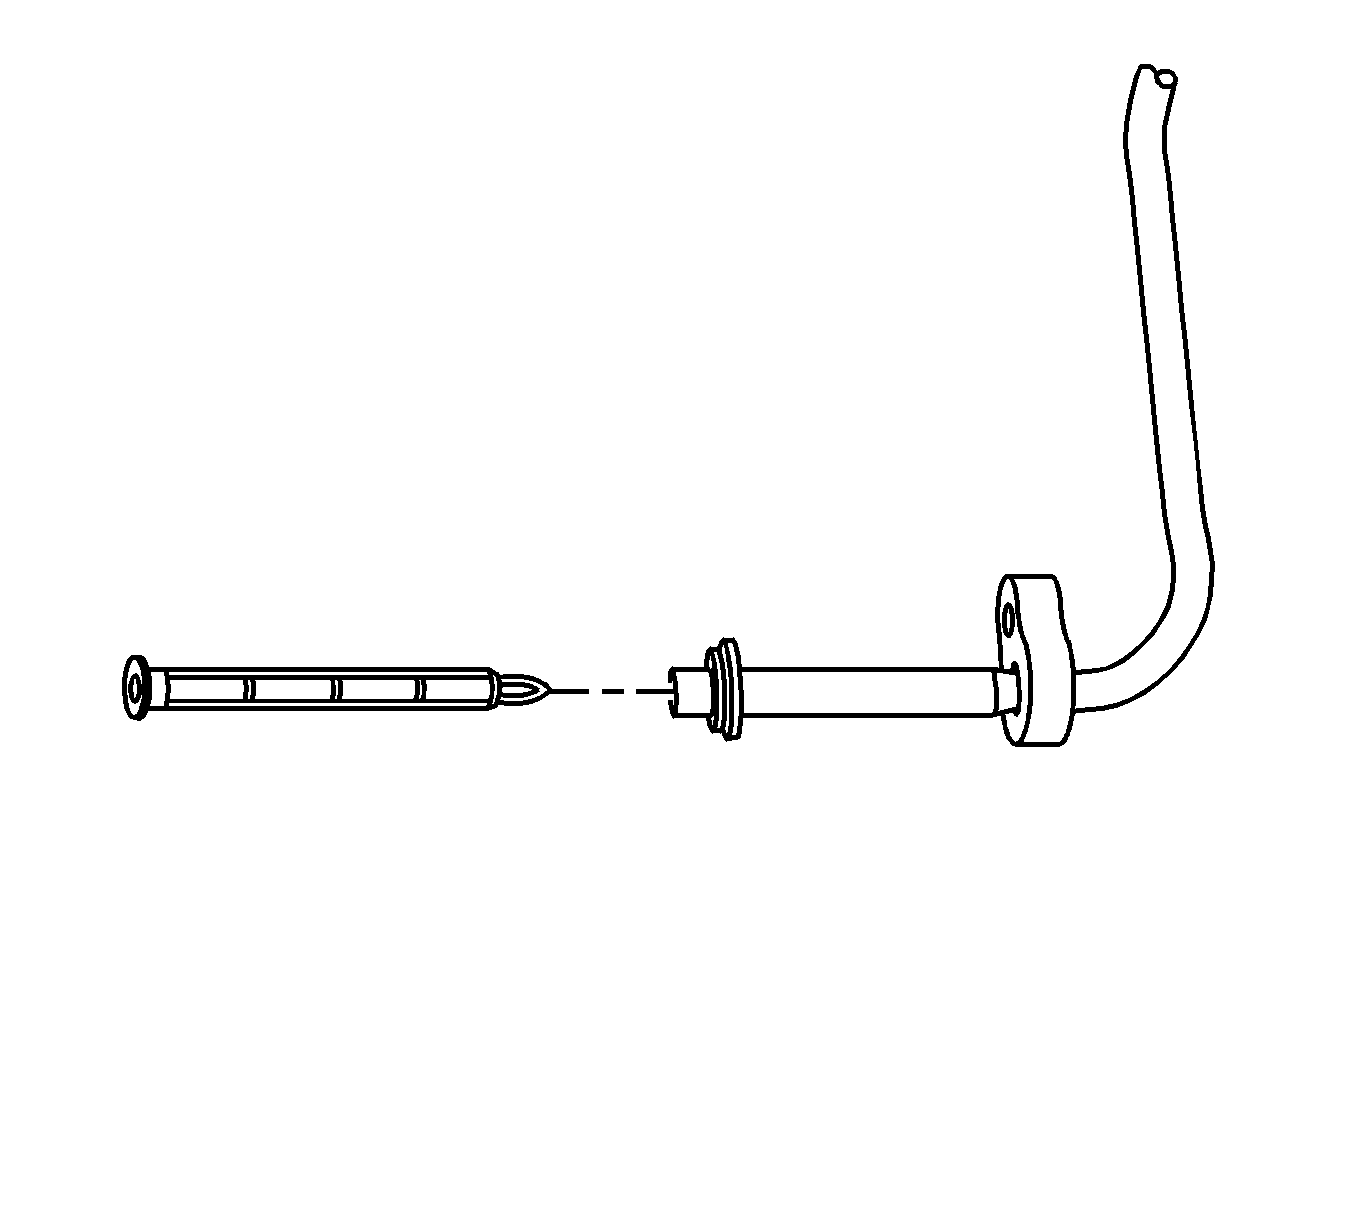
- Remove A/C refrigerant filter from the front evaporator inlet line.
- Remove and discard the seal washer from the front evaporator inlet line.
- Cap or tape off the front evaporator inlet line.
Note: Immediately cap or tape the open A/C components immediately in order to prevent contamination.


Installation Procedure
- Remove the cap or the tape from the front evaporator inlet line.
- Install a new seal washer to the front evaporator inlet line. Refer to Sealing Washer Replacement.
- Install the A/C refrigerant filter to the front evaporator inlet line.
- Remove the cap or tape from the A/C condenser.
- Connect the front evaporator inlet line to the condenser.
- Install the front evaporator inlet line to condenser bolt and tighten to 16 N·m (12 lb ft).
- Lower the vehicle.
- Evacuate and recharge the A/C system. Refer to Refrigerant Recovery and Recharging.
- Leak test the fittings of the component using J 39400-A Halogen Leak Detector .


Caution: Refer to Fastener Caution in the Preface section.
