For 1990-2009 cars only
Special Tools
J 42058 Frame Adapter Clamp
Removal Procedure
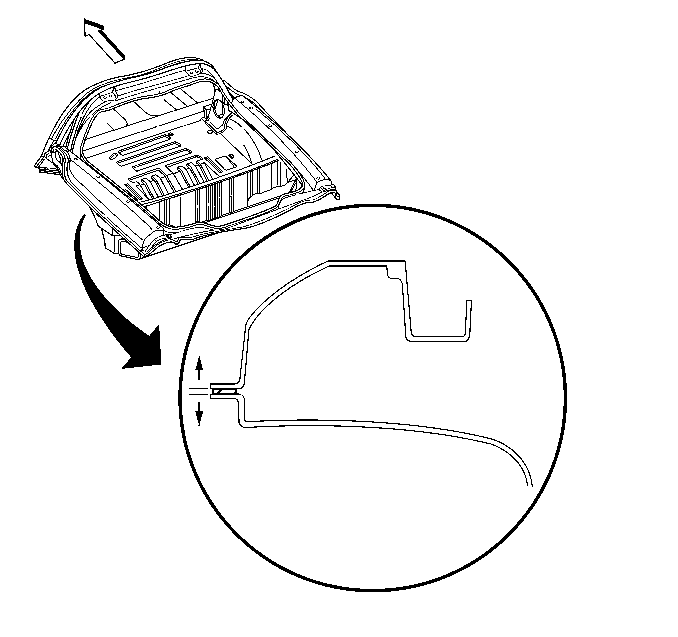
The rear compartment frame is made of sheet molded compound (SMC), and is bonded to the rear structure with structural adhesive.
- Disable the SIR system. Refer to SIR Disabling and Enabling.
- Disconnect the negative battery cable. Refer to Battery Negative Cable Disconnection and Connection.
- Remove all related panels and components.
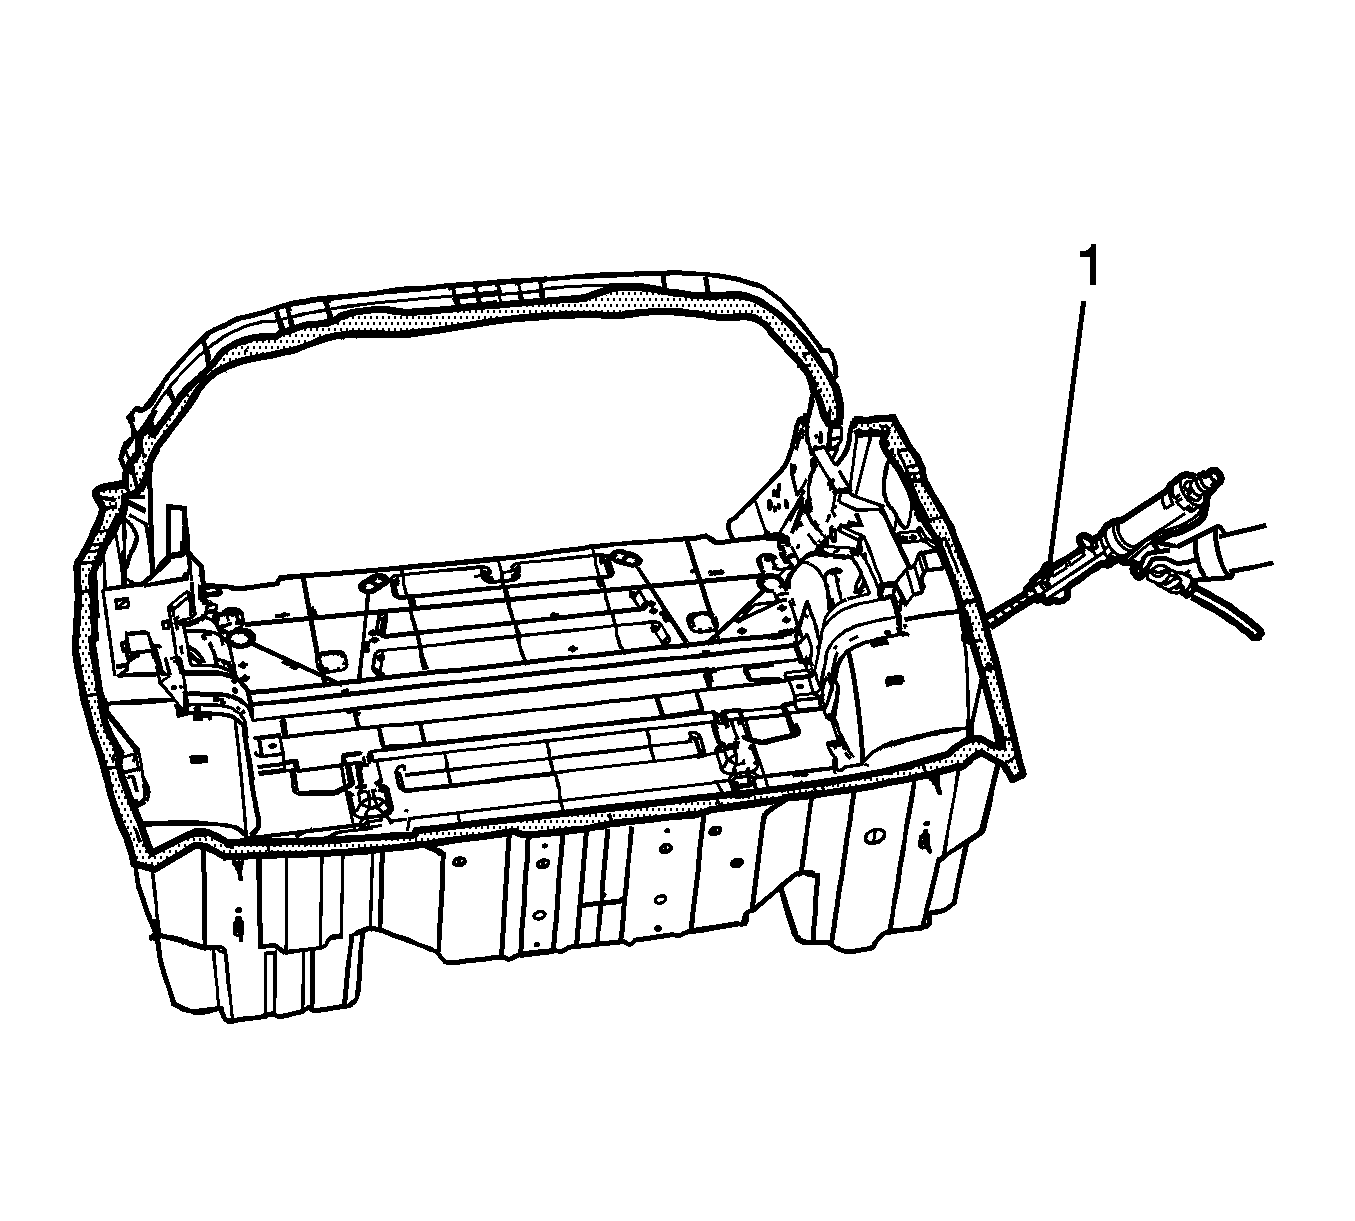
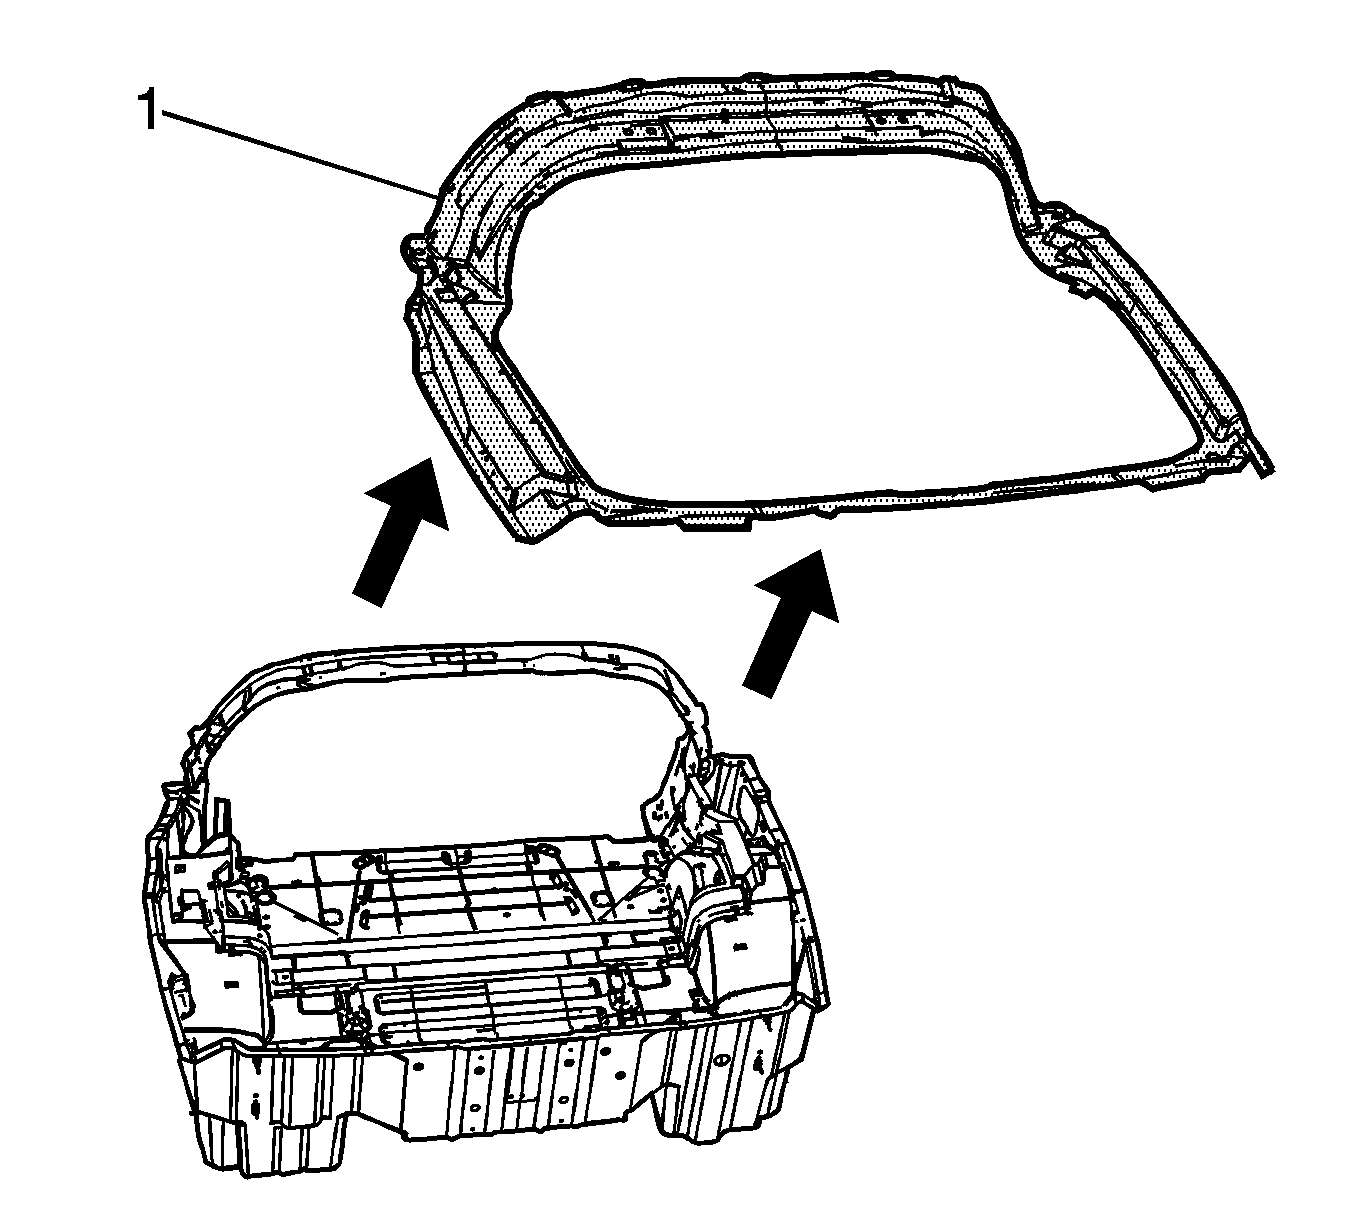
- Remove the rear compartment frame by applying heat, and pry to detach the adhesive along the bonding surface.
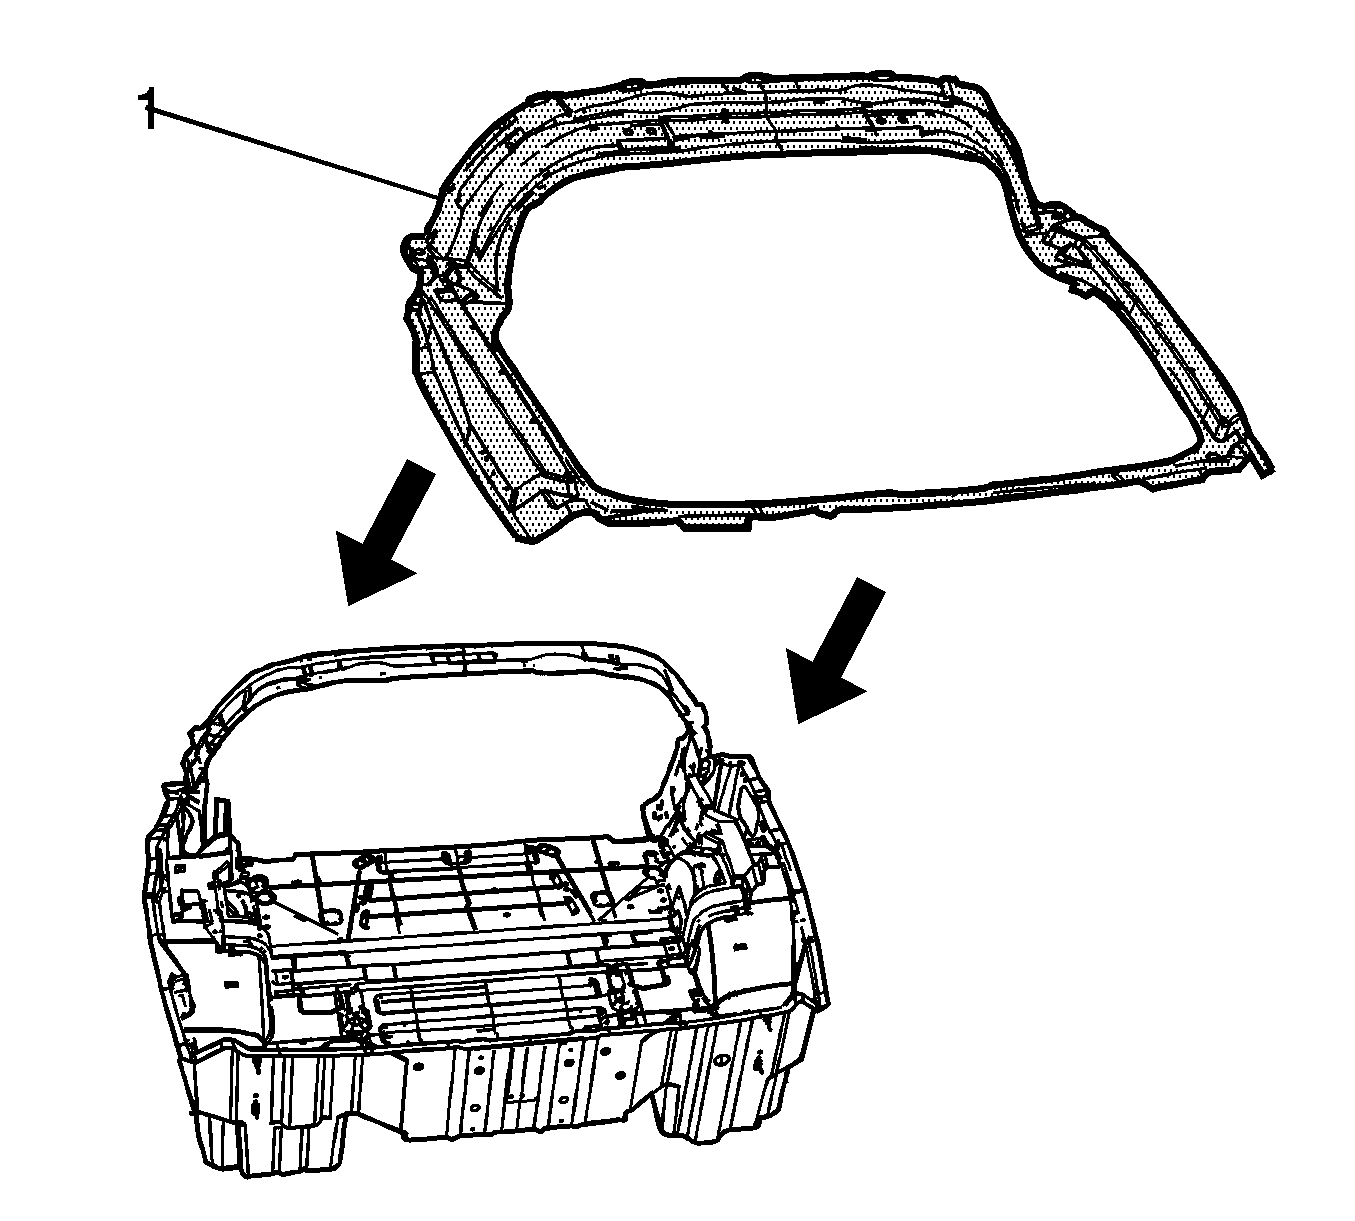
- Remove the rear compartment frame (1).
- Note the location of the adhesive and remove all remaining loose adhesive.
- Inspect the rear structure and frame rails for damage.
- Repair as much of the damage as possible to the factory specifications.
- Use J 42058 to secure the vehicle if pulling and straightening is required.
Warning: Refer to Approved Equipment for Collision Repair Warning in the Preface section.
Installation Procedure
- Before applying the adhesive, dry fit the rear compartment frame for proper fit and alignment.
- Clean and prepare all bonding mating surfaces according to the adhesive manufacturer's recommendations.
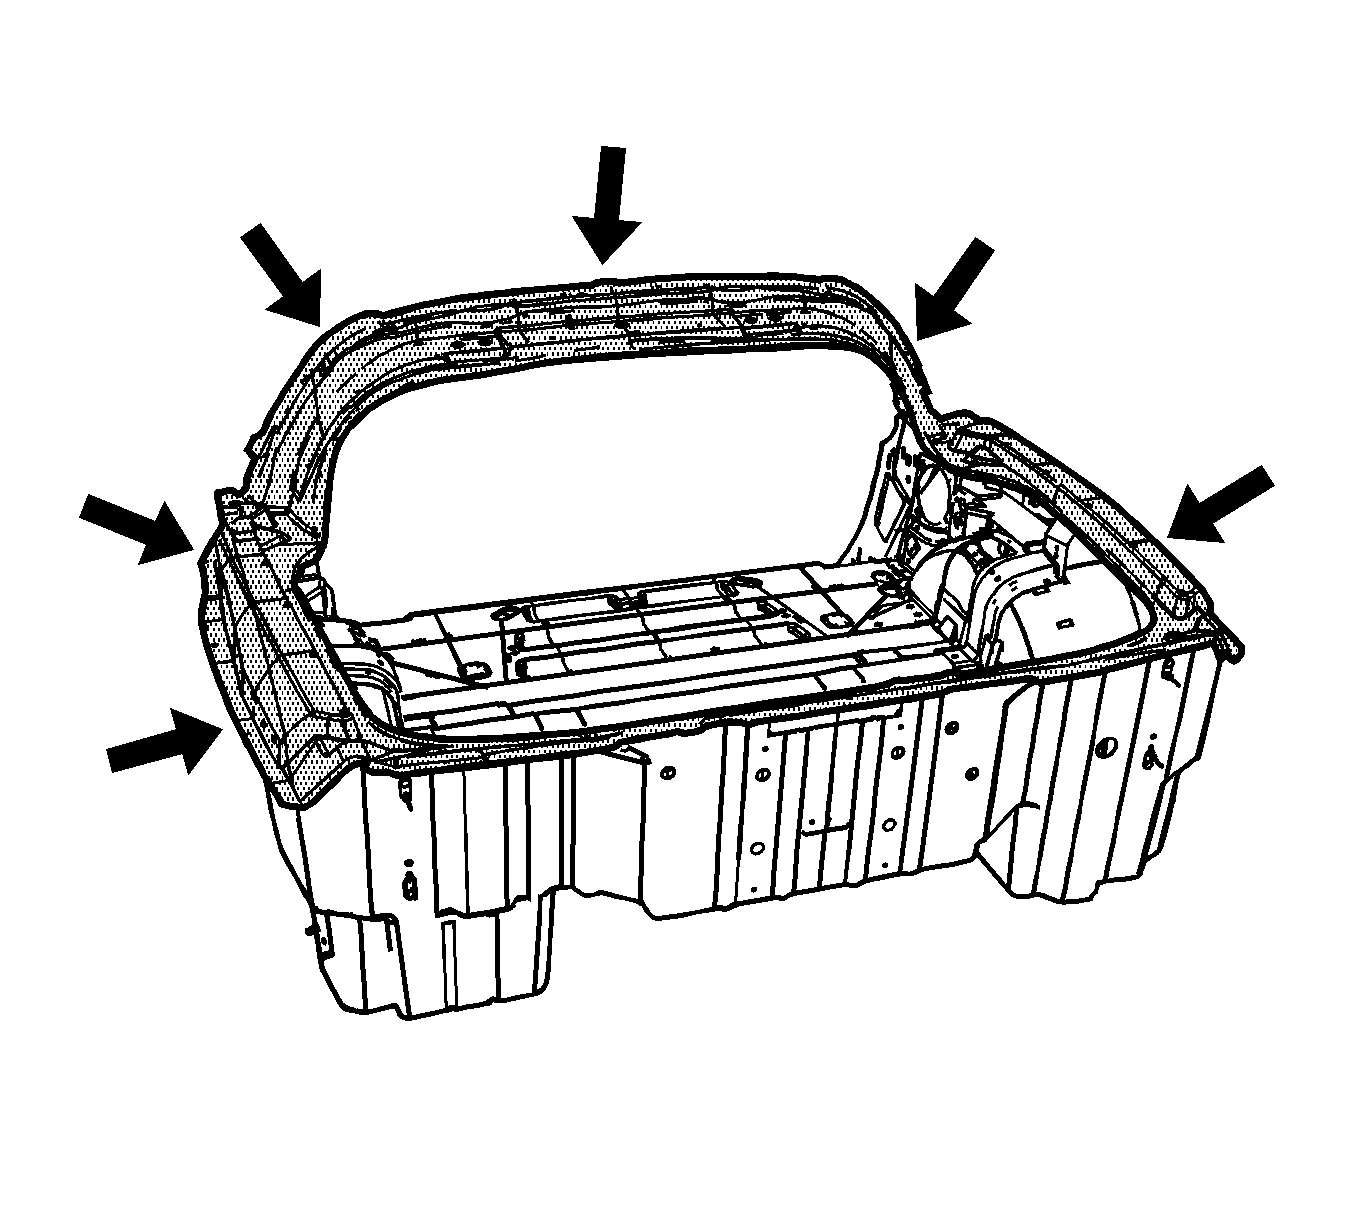
- Apply a consistent bead of structural adhesive (1) 10 mm (3/8 in) in diameter to the rear structure in order to mate with the rear compartment frame. Refer to Sheet Molded Compound (SMC) Panel Bonding.
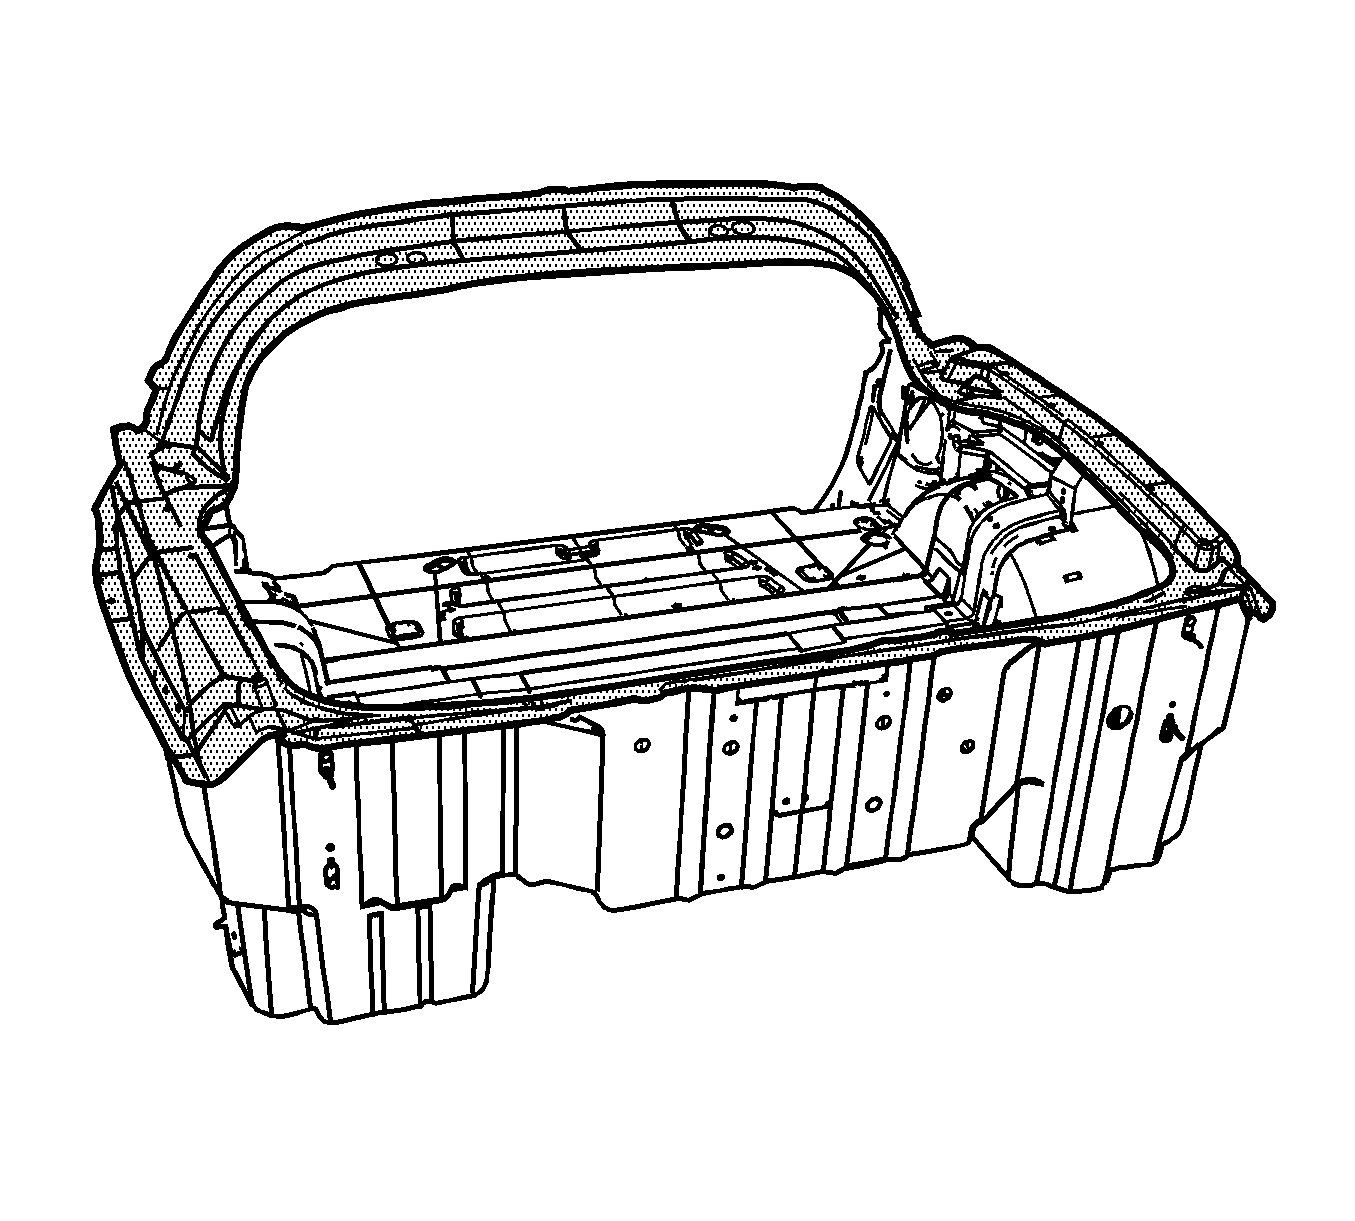
- Install the rear compartment frame (1).
- Apply pressure to the rear compartment frame to set the adhesive.
- Clamp or mechanically fasten the rear compartment frame into place.
- Remove any excess adhesive.
- Install all related panels and components.
- Connect the negative battery cable. Refer to Battery Negative Cable Disconnection and Connection.
- Enable the SIR system. Refer to SIR Disabling and Enabling.
Note: Shims may be necessary to achieve proper panel alignment.
