For 1990-2009 cars only
Lateral Link Replacement Front
Removal Procedure
- Raise and suitably support the vehicle. Refer to Lifting and Jacking the Vehicle .
- Remove the rear wheels.
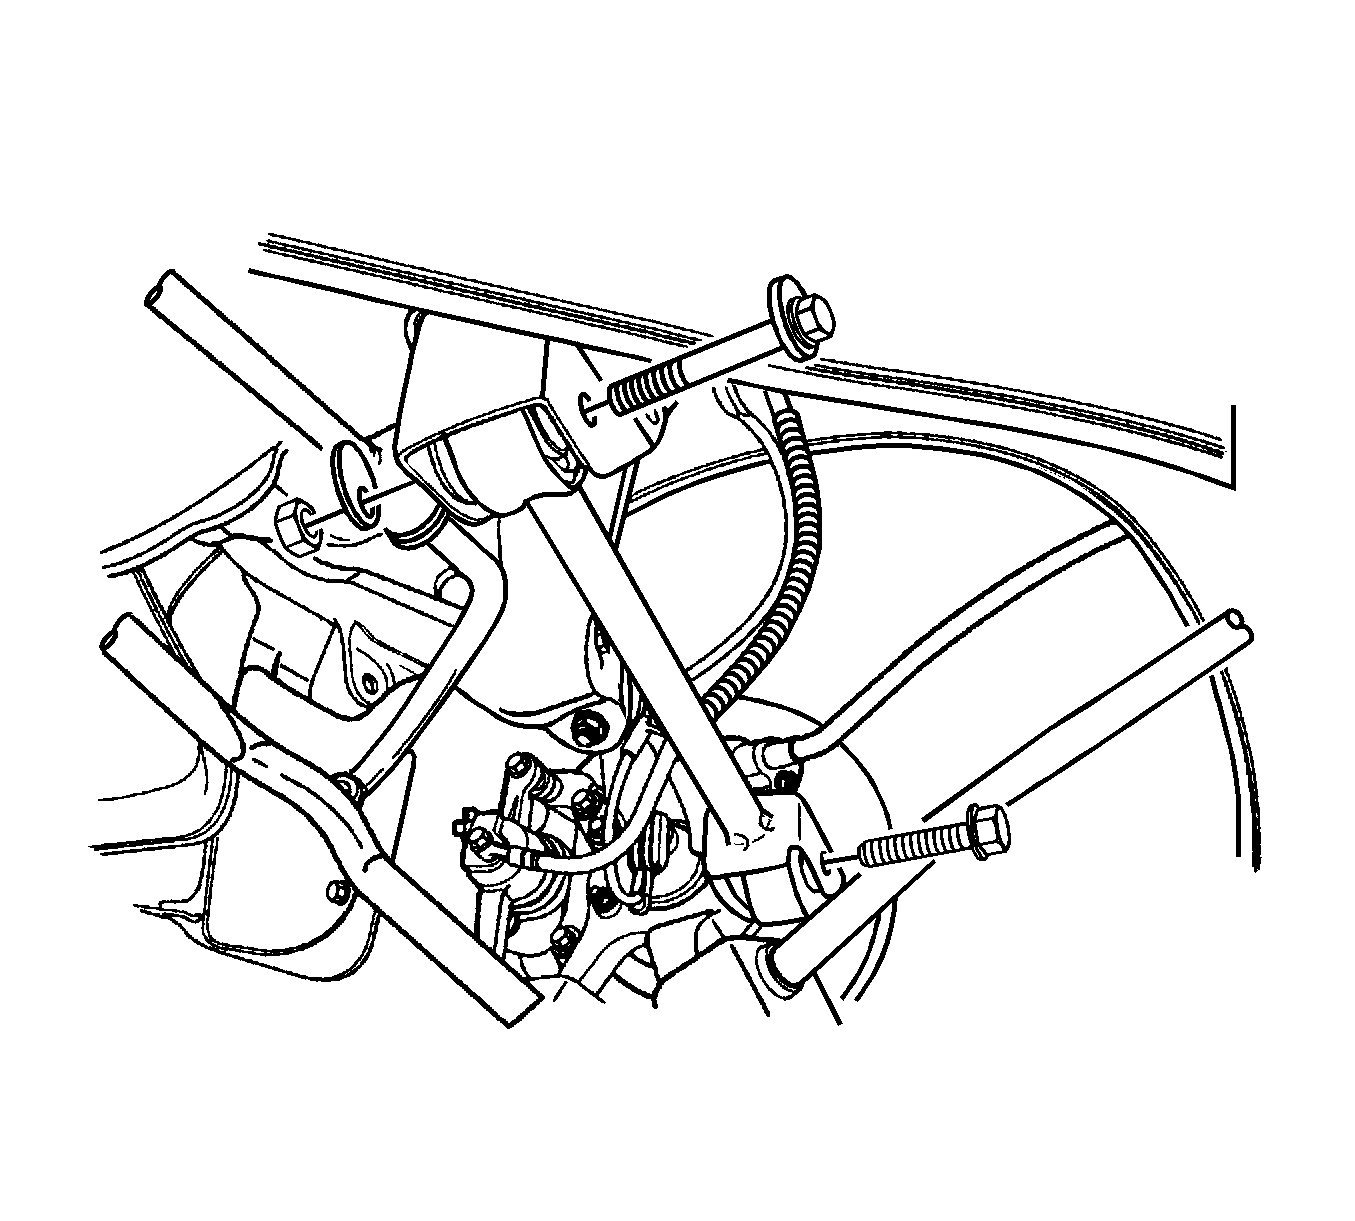
- Remove the rear parallel link bolt-to-knuckle and the bolt-to-rear crossmember.
- Remove the rear parallel link.

Installation Procedure
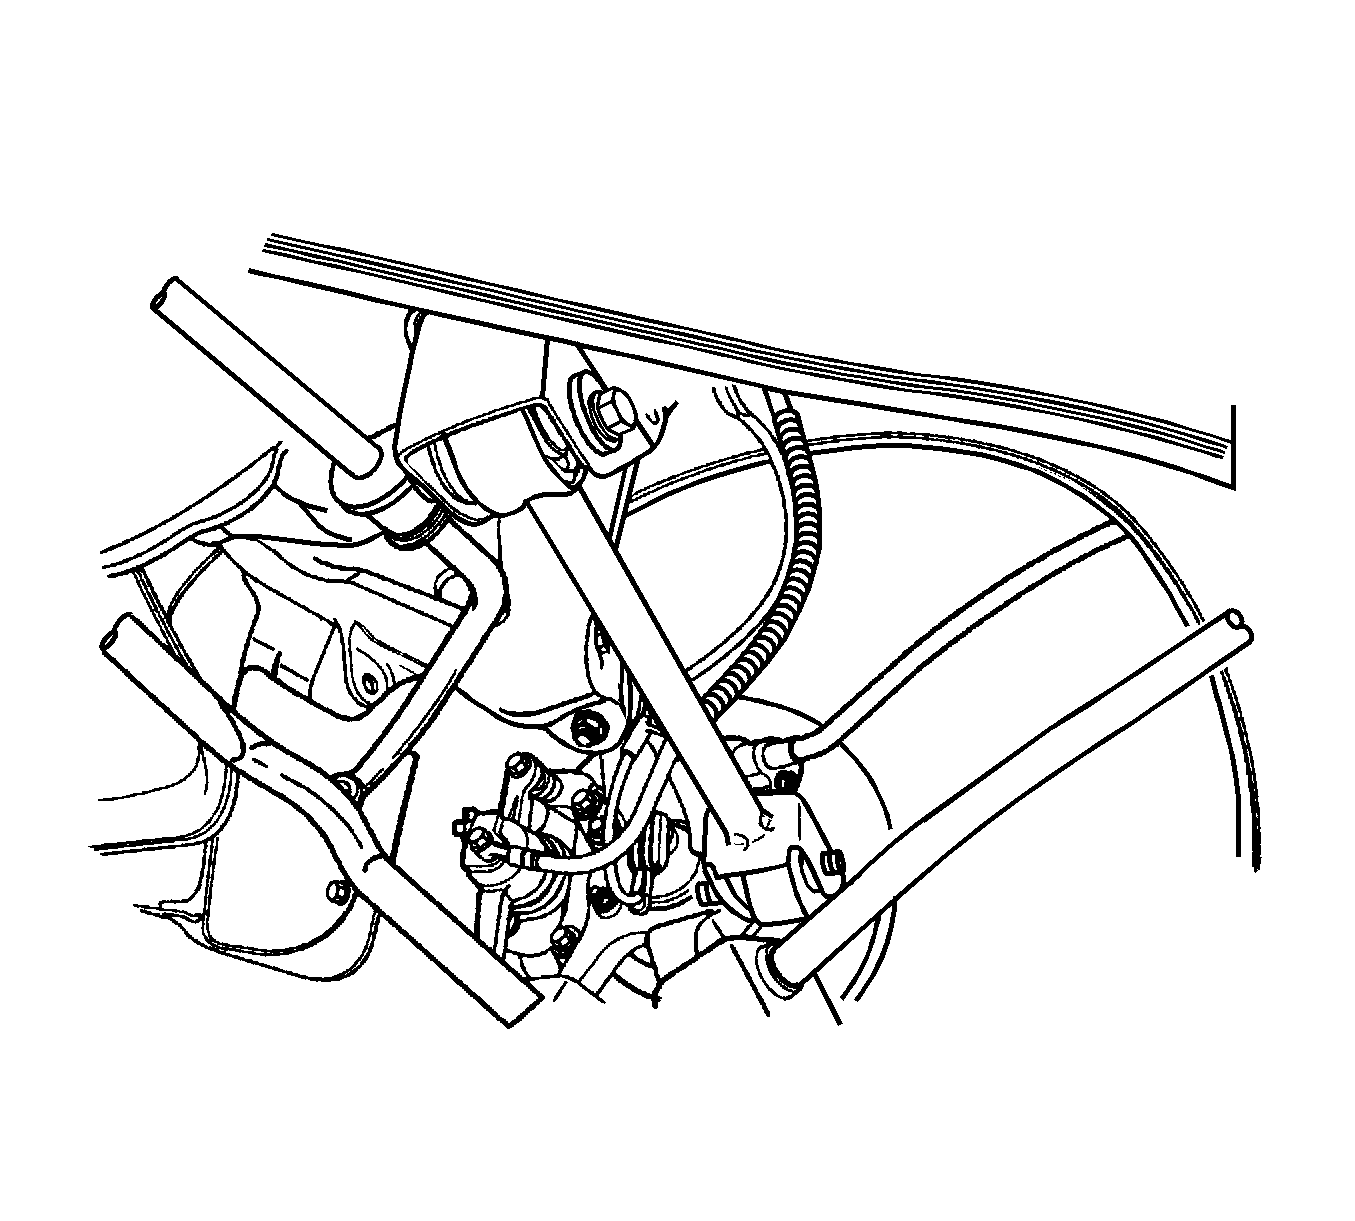
- Install the front parallel link bolt-to-knuckle and the cam bolt-to-rear crossmember.
- Adjust the rear toe, if needed. Refer to Rear Toe Adjustment .
- Tighten the front parallel link cam bolt-to-crossmember.
Notice: Refer to Fastener Notice in the Preface section.

Tighten
Tighten the front parallel link bolt-to-knuckle to 110 N·m (81 lb ft).
Tighten
Tighten the cam bolt to 80 N·m (59 lb ft).
Lateral Link Replacement Rear
Removal Procedure
- Raise and suitably support the vehicle. Refer to Lifting and Jacking the Vehicle .
- Remove the rear wheels.
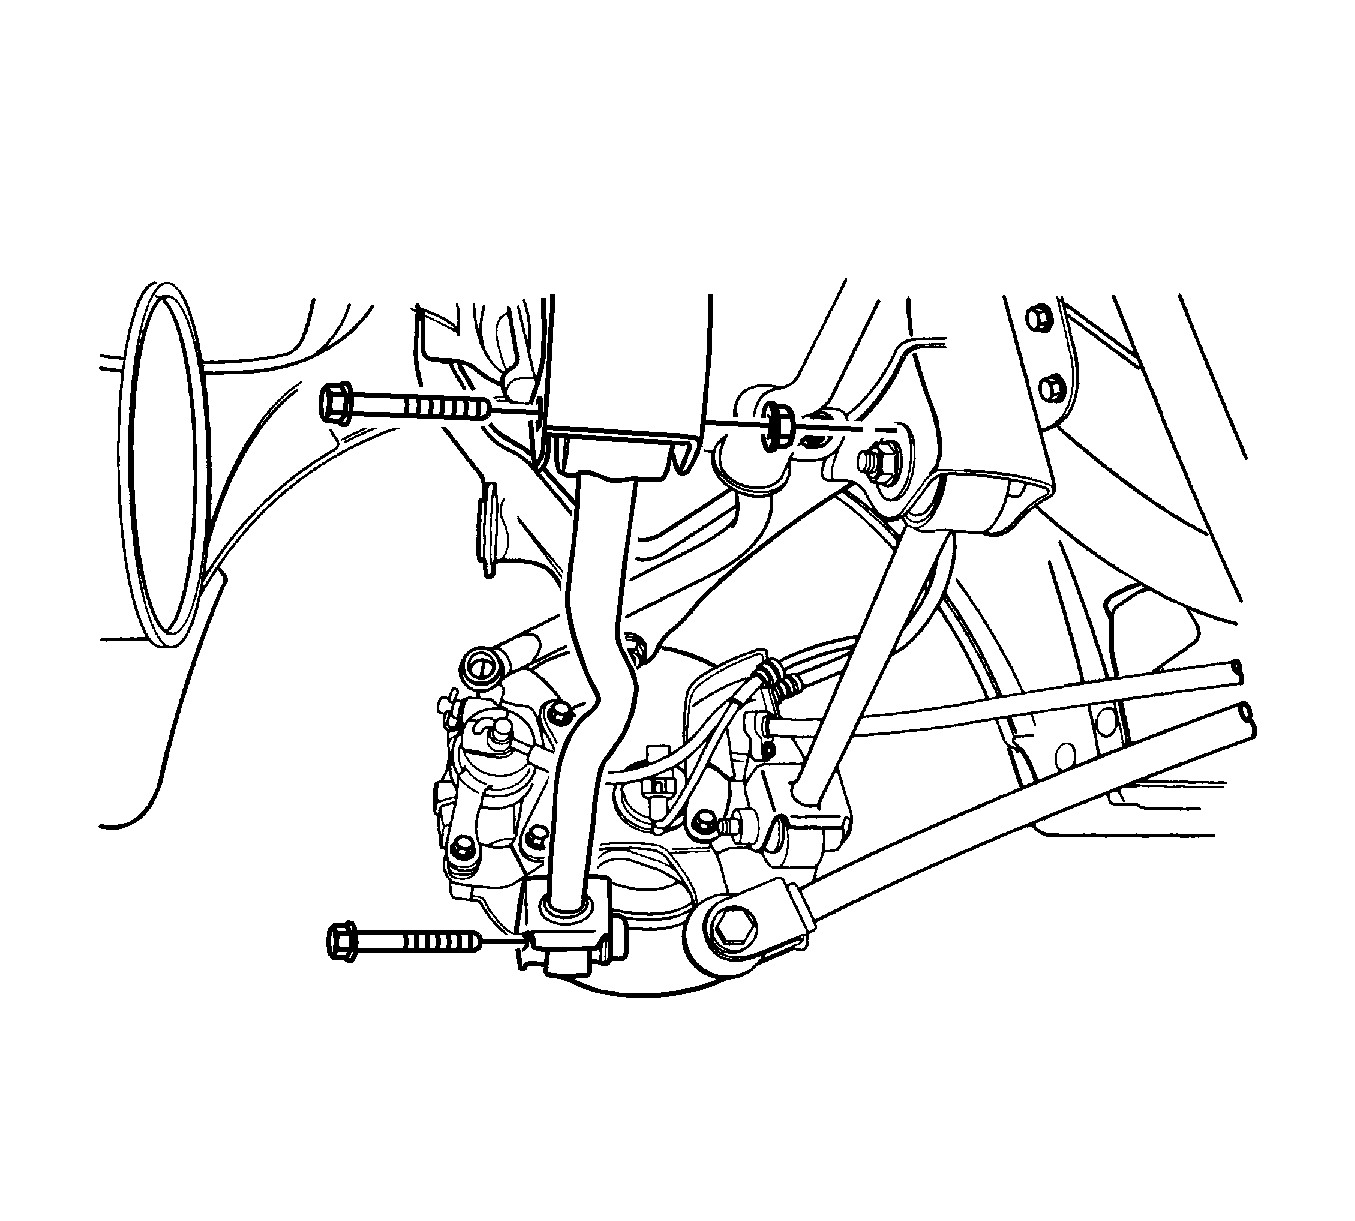
- Remove the rear parallel link.
- Remove the stabilizer shaft-to-stabilizer link nut.

Installation Procedure

Notice: Refer to Fastener Notice in the Preface section.
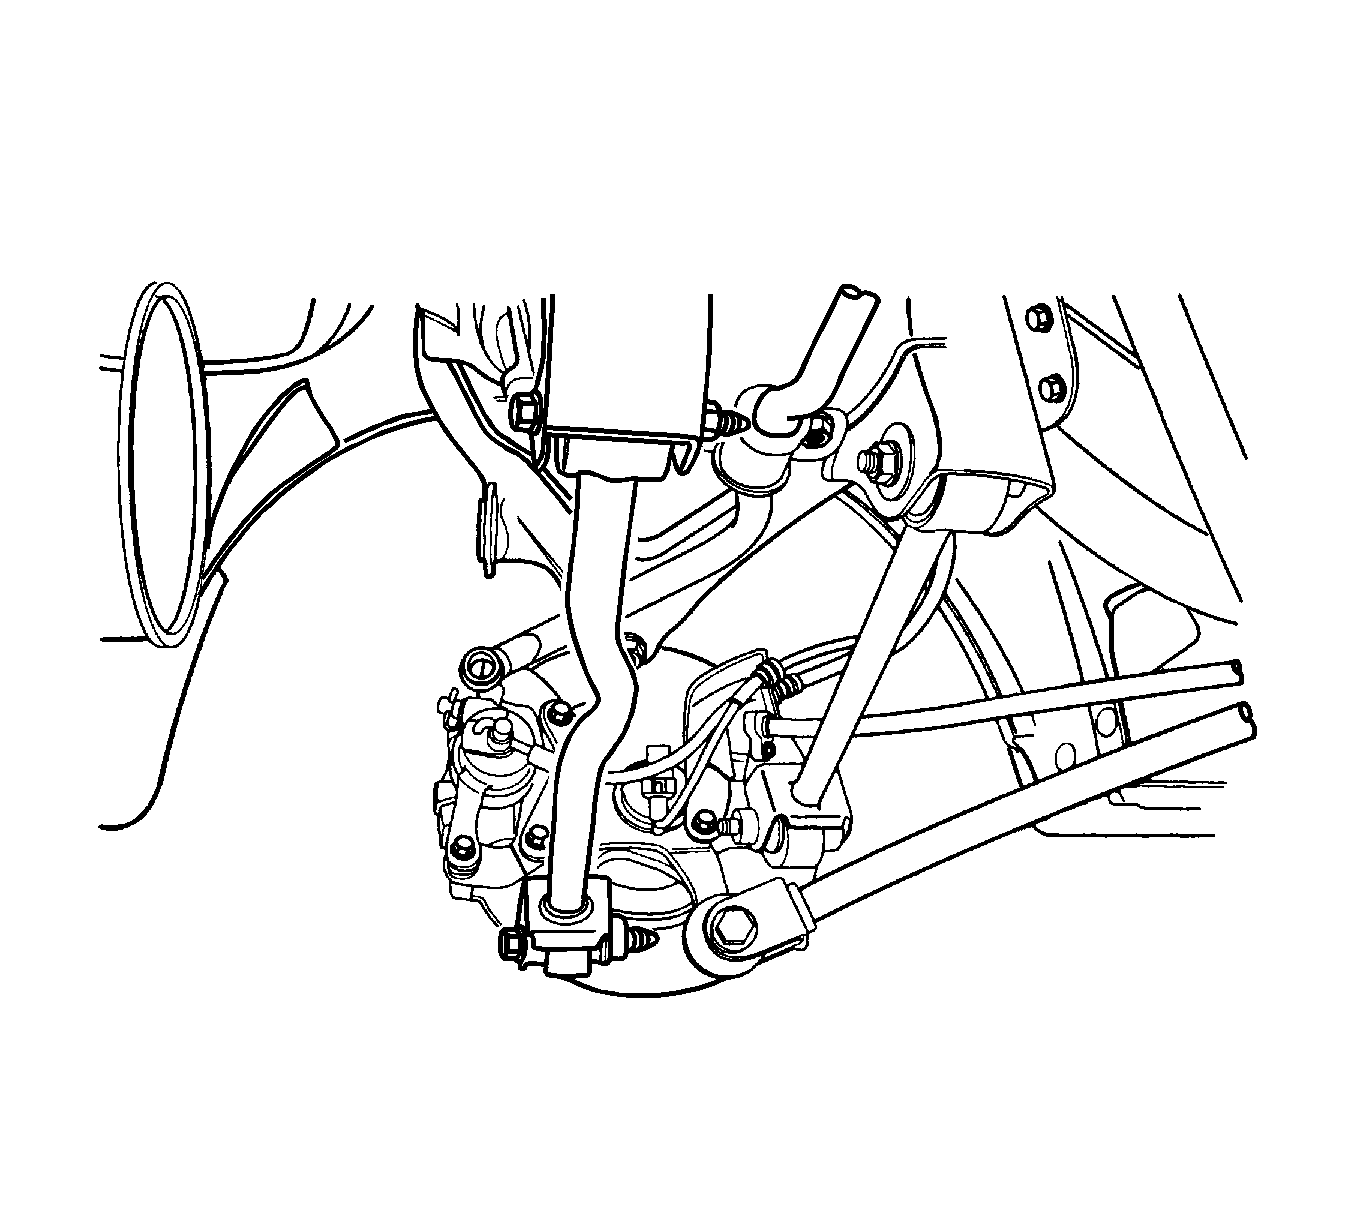
Install the rear parallel link with bolt-to-knuckle and the bolt-to-rear crossmember.
Tighten
Tighten the rear parallel link bolt-to-knuckle and the bolt-to-crossmember to 110 N·m (81 lb ft).
