Air Conditioning Condenser Replacement Diesel Engine
Removal Procedure
- Disconnect the negative battery cable.
- Discharge and recover the refrigerant. Refer to Refrigerant Recovery and Recharging .
- Remove the radiator. Refer to Radiator Replacement .
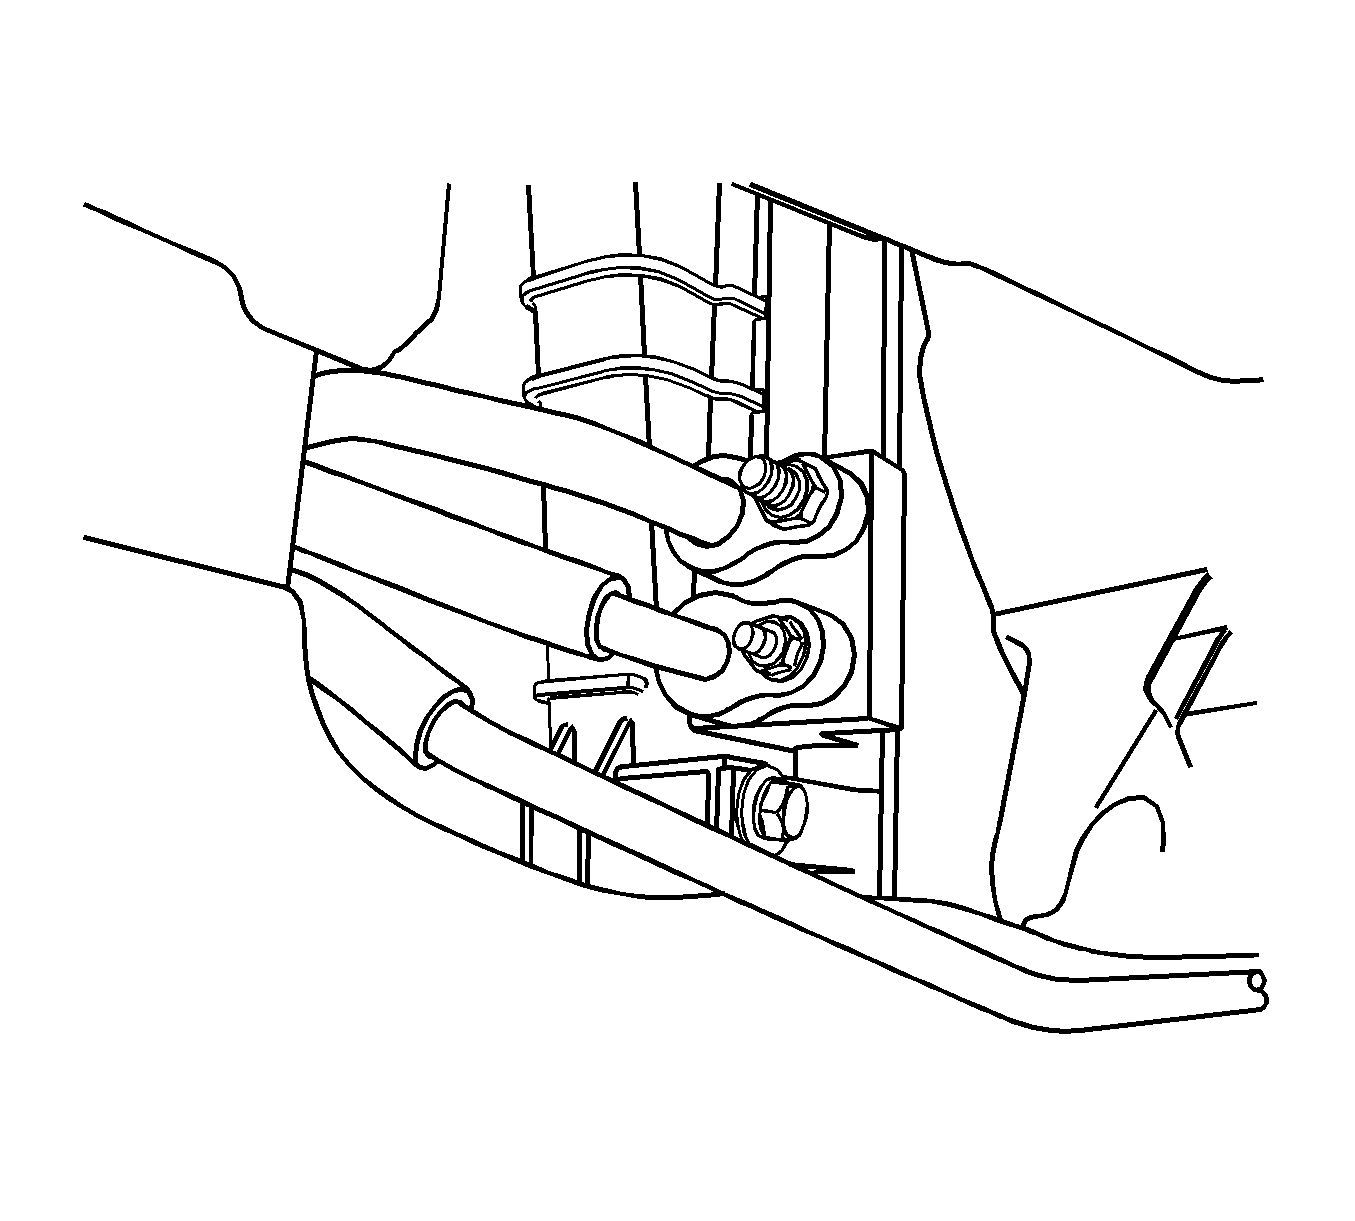
- Remove the discharge hose connecting block-to-condenser retaining nuts.
- Remove the hose from the condenser.
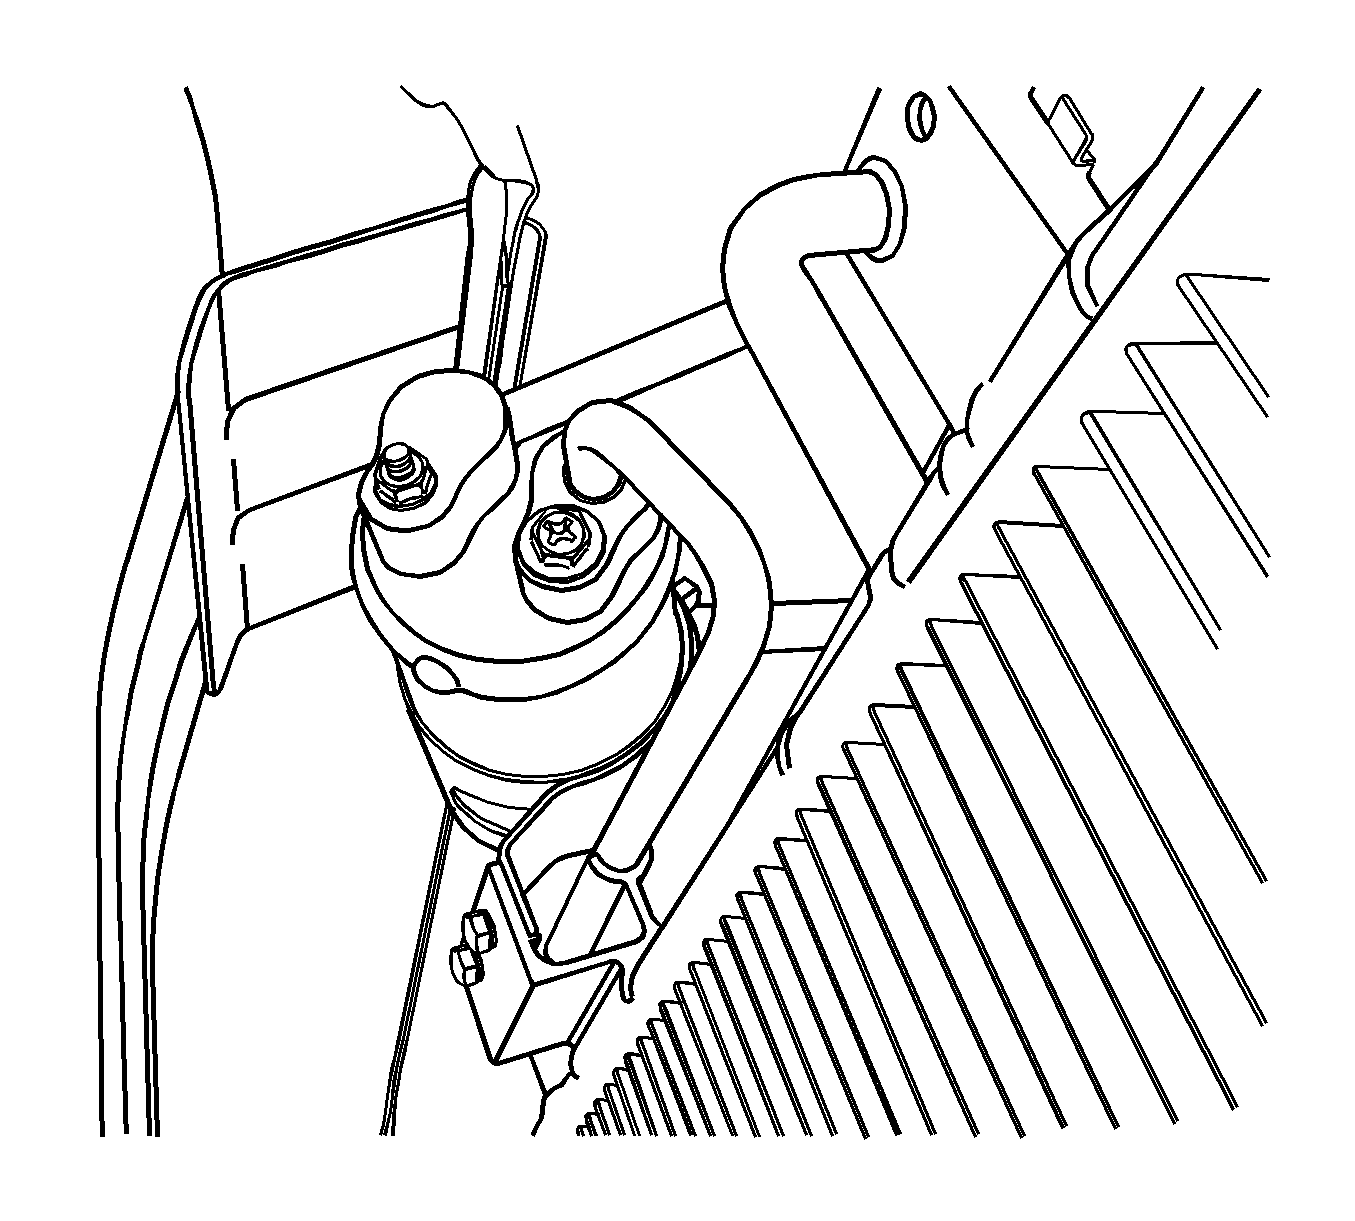
- Remove the high-pressure pipe-to-receiver-dryer connecting block nut.
- Remove the engine cooling fan on the condenser. Refer to Engine Cooling Fan Replacement .
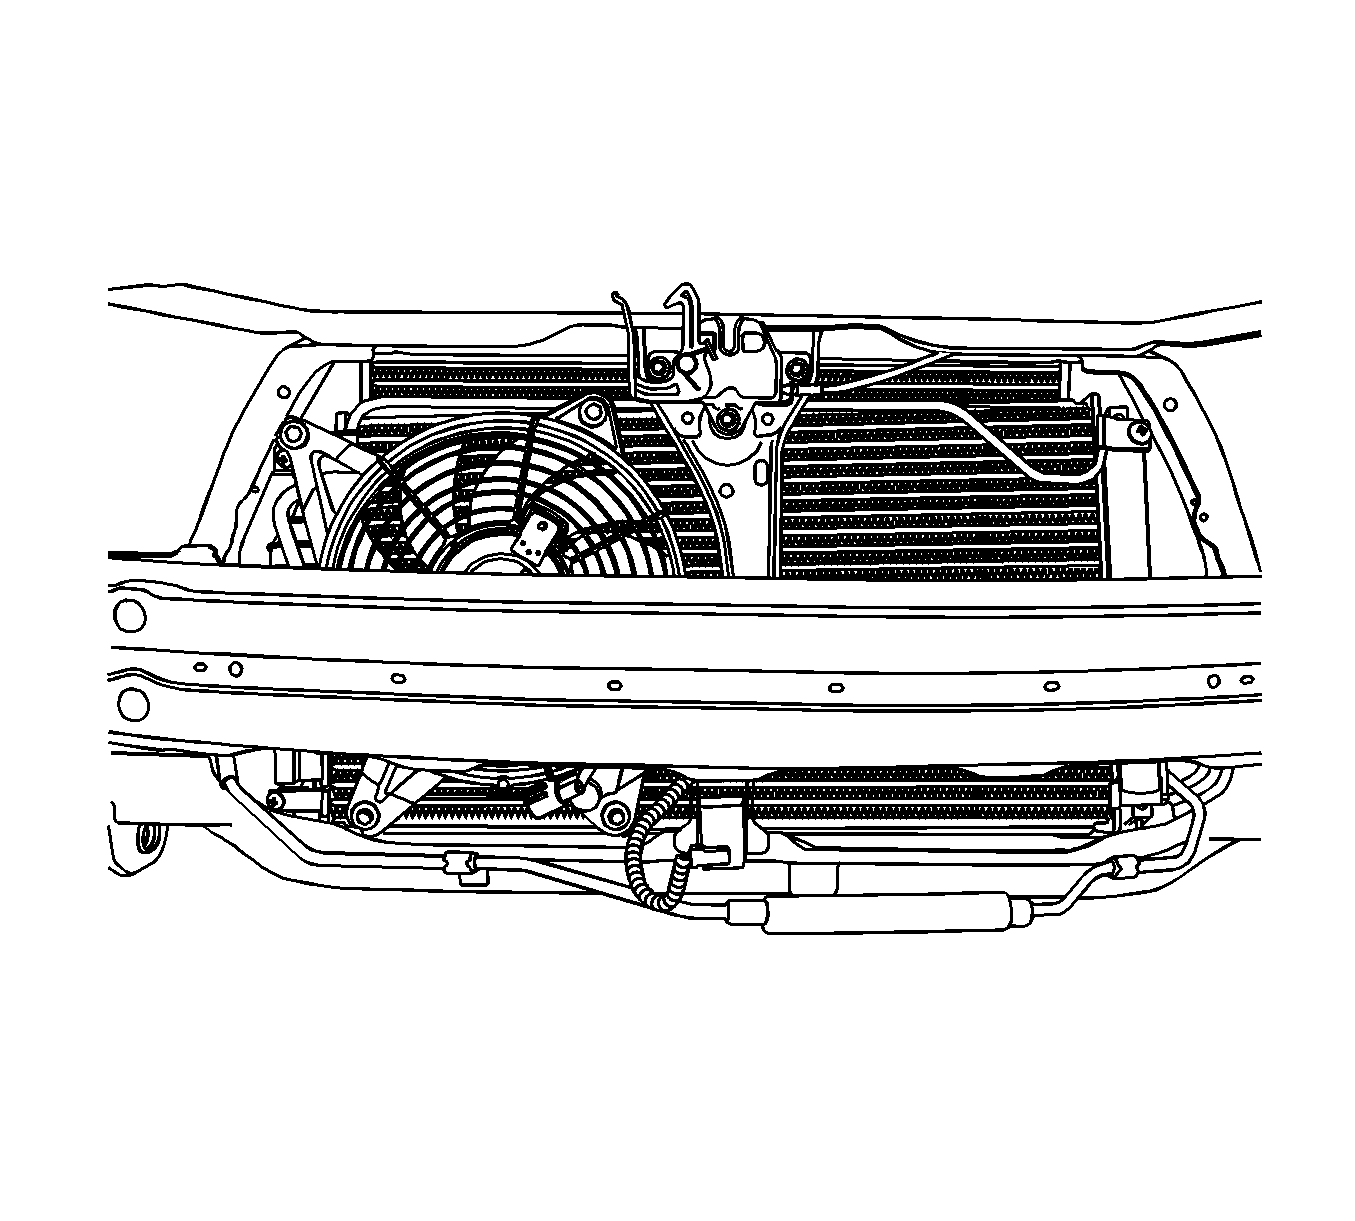
- Remove the upper condenser mount nuts.
- Tilt the condenser to the rear, away from the radiator mount support.
- Lift the condenser up and out of the engine compartment.
- Cap all the open lines and the fittings to prevent contamination.
Caution: Refer to Battery Disconnect Caution in the Preface section.
Installation Procedure
- Make sure the condenser rubber mounts are in place.
- Install the condenser into the vehicle. The lower mount shock protectors must fit into the holes provided.
- Move the condenser forward into the radiator support mount holes.
- Install the upper condenser mount nuts and the washers.
- Install a new O-ring onto the high-pressure pipe mounting block fitting on the receiver-dryer.
- Install the high-pressure pipe into the receiver-dryer.
- Install the high-pressure pipe-to-receiver-dryer connecting block nut.
- Install a new O-ring onto the discharge hose connecting block fitting.
- Install the discharge hose fitting into the condenser.
- Install the discharge hose connecting block-to-condenser retaining nut at the condenser connecting block.
- Install the radiator. Refer to Radiator Replacement .
- Evacuate and recharge the A/C system. Refer to Refrigerant Recovery and Recharging .
- Connect the negative battery cable.
- Operate the HVAC control to verify the proper function of the heating and cooling systems.

Notice: Refer to Fastener Notice in the Preface section.
Tighten
Tighten the upper condenser mount nuts to 8.5 N·m (75 lb in).

Tighten
Tighten the high-pressure pipe-to-receiver-dryer connecting block nut to 10 N·m (89 lb in).
Tighten
Tighten the discharge hose connecting block-to-condenser nut to 16 N·m (12 lb ft).
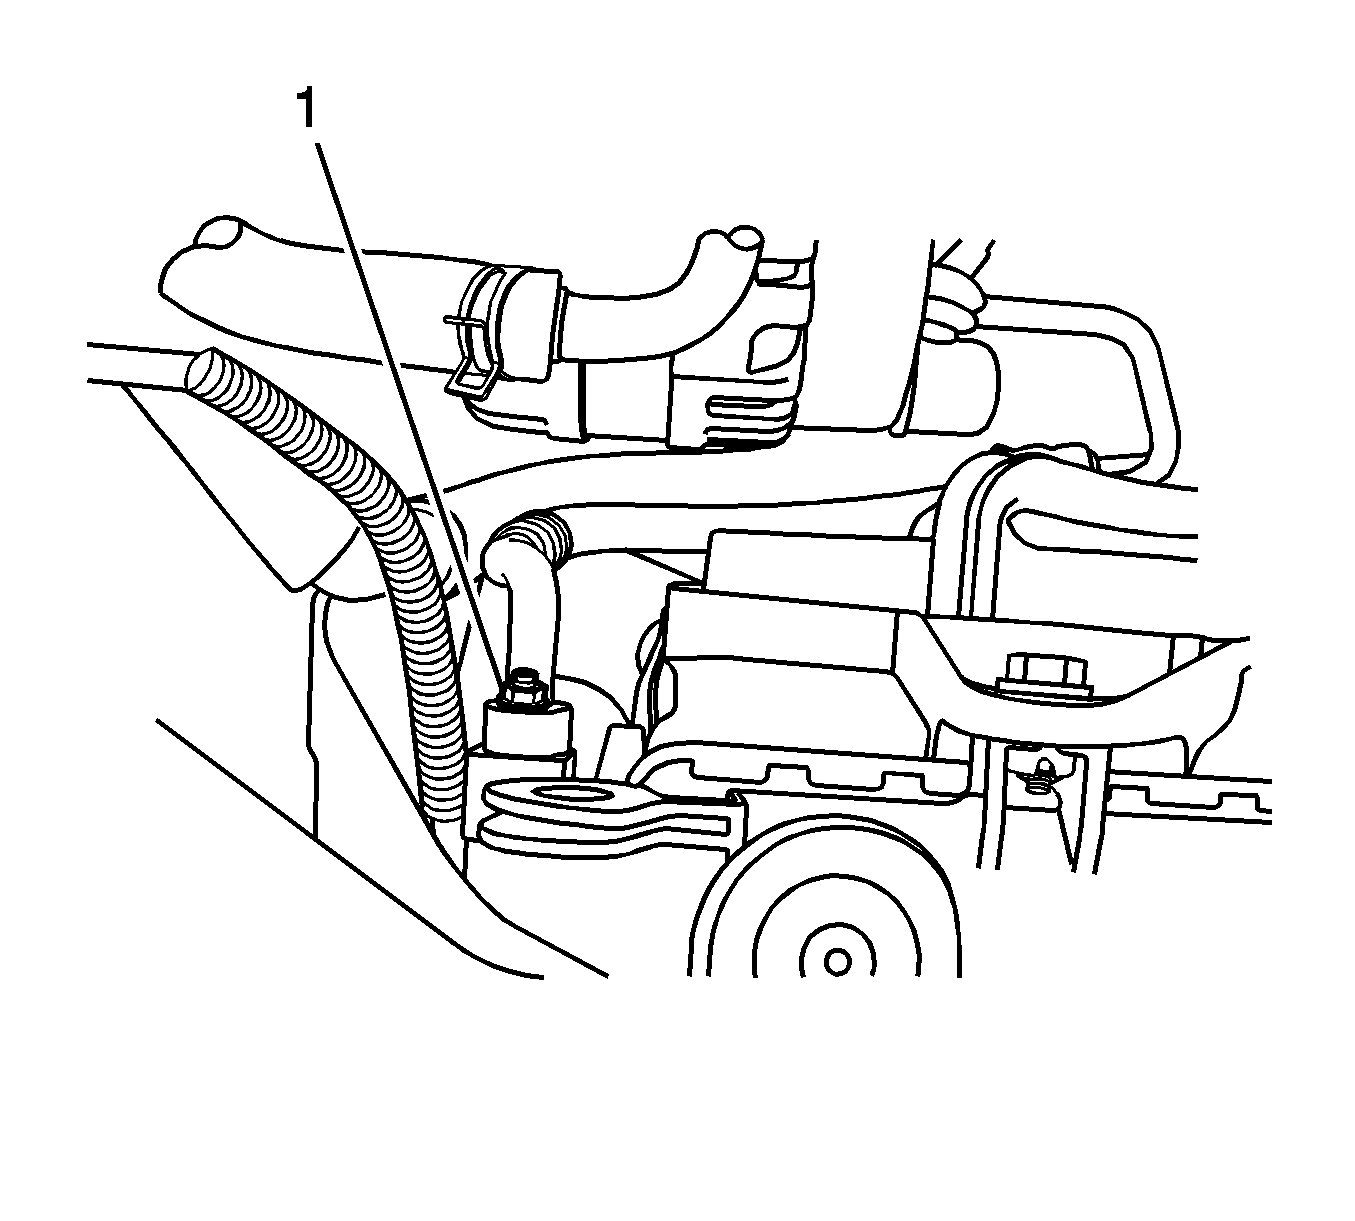
Tighten
Tighten the liquid pipe nut to 15 N·m (11 lb ft).
Air Conditioning Condenser Replacement Gasoline Engine
Removal Procedure
- Disconnect the negative battery cable.
- Discharge and recover the refrigerant. Refer to Refrigerant Recovery and Recharging .
- Remove the radiator. Refer to Radiator Replacement .
- Remove the discharge hose connecting block-to-condenser retaining nut.
- Remove the hose from the condenser.
- Remove the high-pressure pipe-to-receiver-dryer connecting block nut.
- Remove the pipe from the receiver-dryer.
- Remove the upper condenser mount nuts.
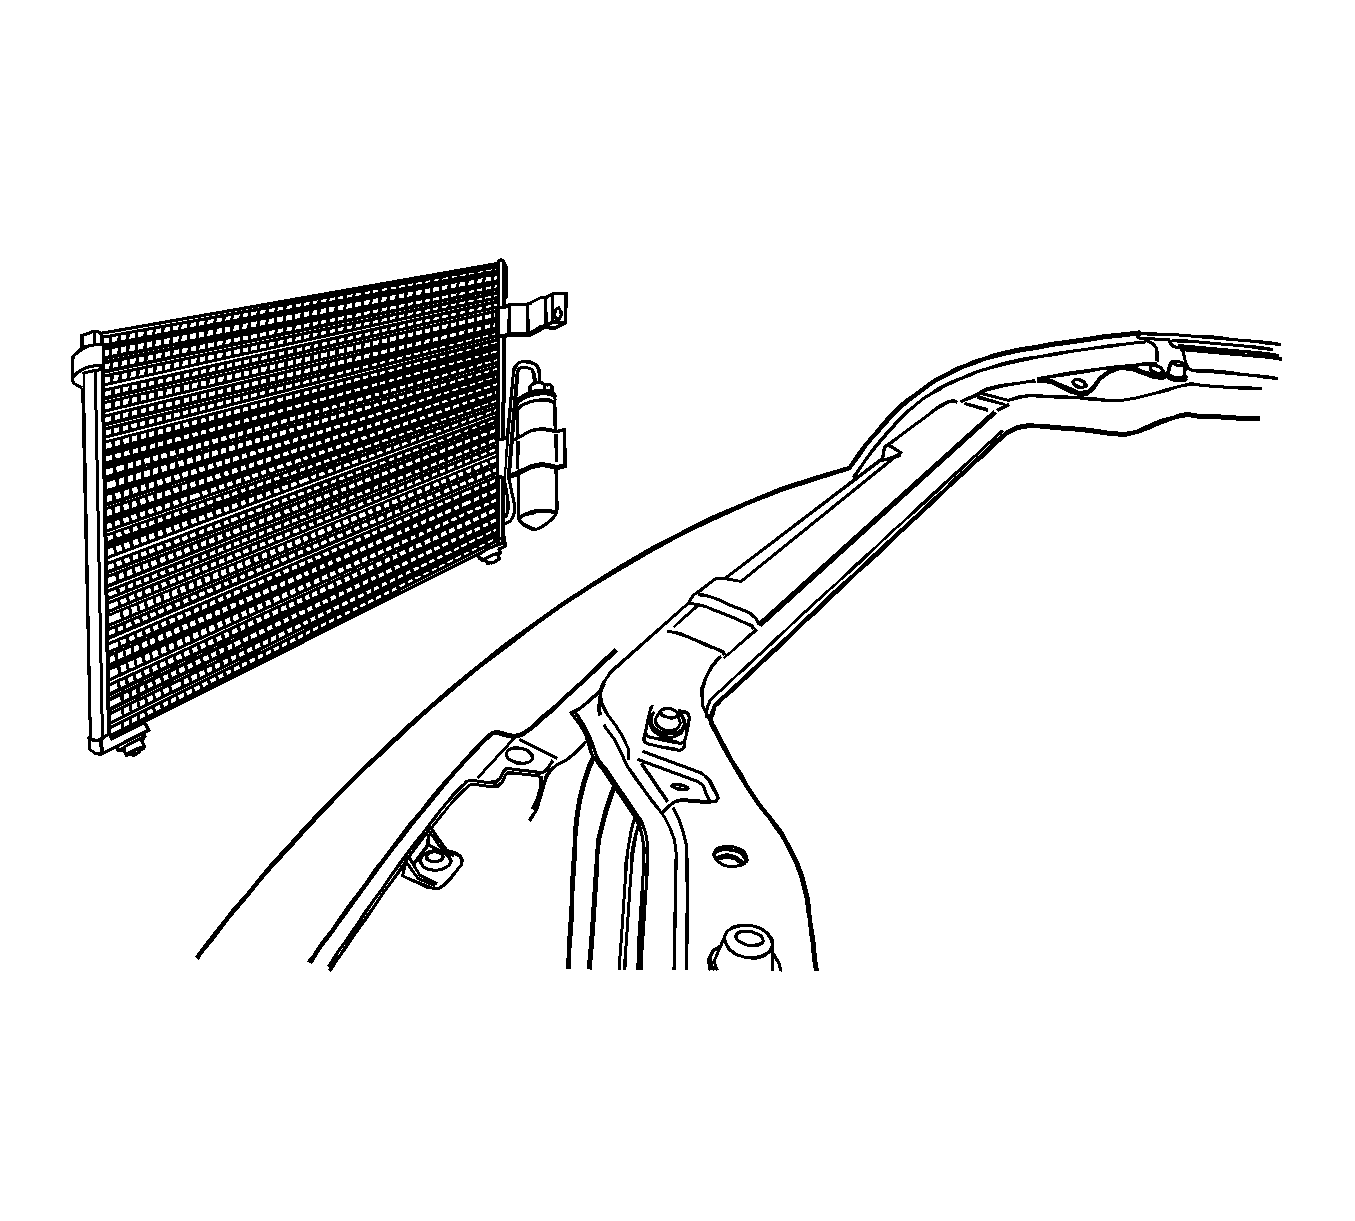
- Tilt the condenser to the rear, away from the radiator mount support.
- Lift the condenser up and out of the engine compartment.
- Cap all the open lines and the fittings to prevent contamination.
Caution: Refer to Battery Disconnect Caution in the Preface section.


Installation Procedure
- Make sure the condenser rubber mounts are in place.
- Install the condenser into the vehicle. The lower mount shock protectors must fit into the holes provided.
- Move the condenser forward into the radiator support mount holes.
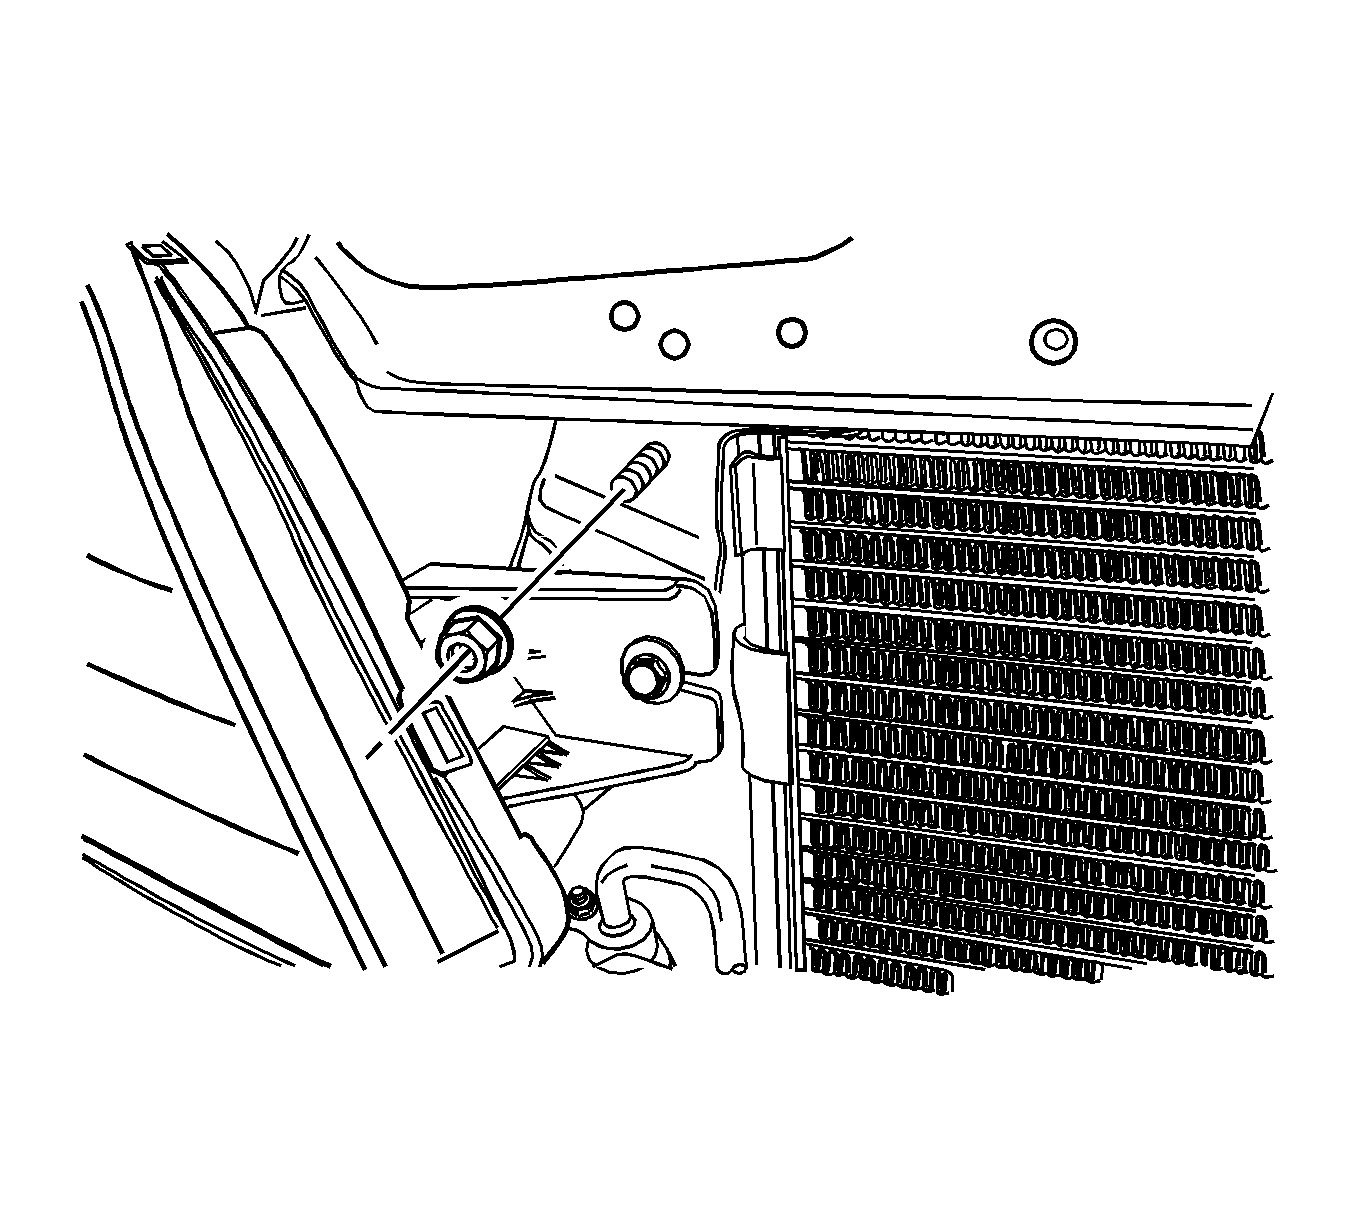
- Install the upper condenser mount nuts and the washers.
- Install a new O-ring onto the high-pressure pipe mounting block fitting on the receiver-dryer.
- Install the high-pressure pipe into the receiver-dryer.
- Install the high-pressure pipe-to-receiver-dryer connecting block nut.
- Install a new O-ring onto the discharge hose connecting block fitting.
- Install the discharge hose fitting into the condenser.
- Install the discharge hose connecting block-to-condenser retaining nut at the condenser connecting block.
- Install the radiator. Refer to Radiator Replacement .
- Evacuate and recharge the A/C system. Refer to Refrigerant Recovery and Recharging .
- Connect the negative battery cable.
- Operate the HVAC control to verify the proper function of the heating and cooling systems.
Notice: Refer to Fastener Notice in the Preface section.
Tighten
Tighten the upper condenser mount nuts to 8.5 N·m (75 lb in).

Tighten
Tighten the high-pressure pipe-to-receiver-dryer connecting block nut to 10 N·m (89 lb in).

Tighten
Tighten the discharge hose connecting block-to-condenser nut to 16 N·m (12 lb ft).
