Removal Procedure
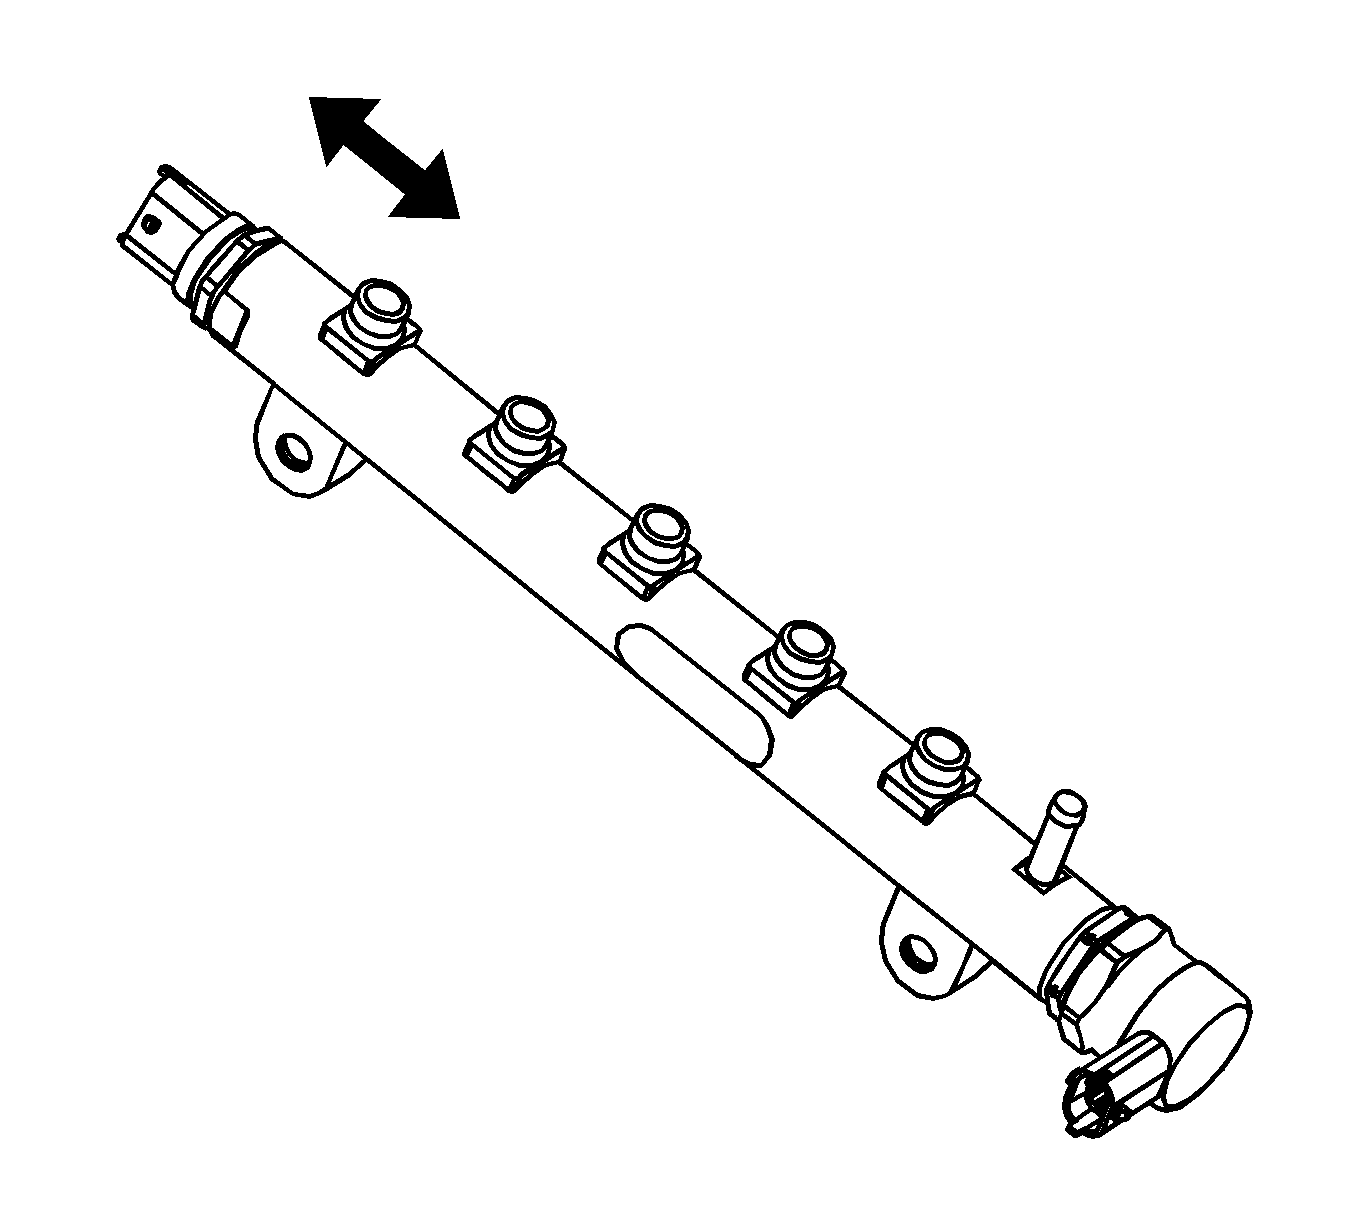
- Remove the fuel rail assembly. Refer to Fuel Injection Fuel Rail Assembly Replacement .
- Clean the interface area of the rail regulator using proper degreasing materials and compressed air for drying.
- Loosen the pressure regulator using a commercial wrench WAF30. Grasp it by hand and pull it out while simultaneously turning it counterclockwise.
Caution: Refer to Gasoline/Gasoline Vapors Caution in the Preface section.

Important: Cleaning material must not penetrate the electric connector.
Installation Procedure
- Inspect and clean the threads and the sealing surface of the fuel rail.
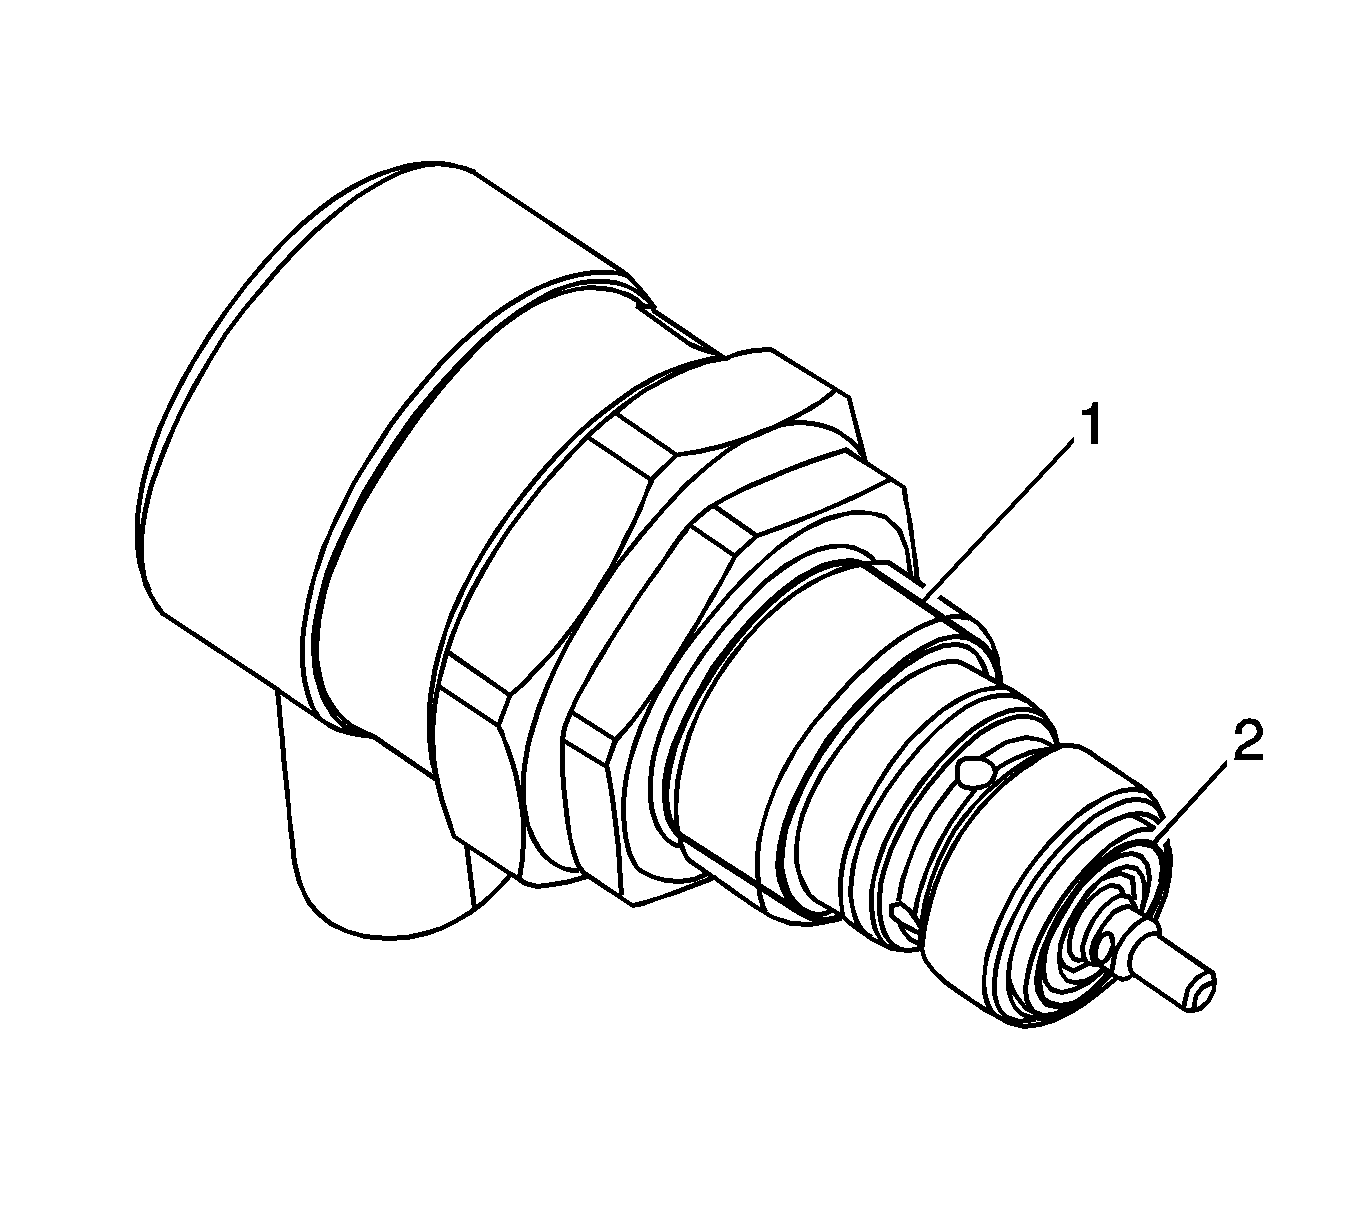
- Inspect and clean the threads (1) and bite edge (2) of the common rail regulator.
- Lubricate the O-rings with fuel.
- Install the common rail regulator using a commercial wrench WAF30 counteracting with a wrench WAF35 at the hexagon of the housing.
- Prime the fuel system. Refer to Fuel System Priming .

Notice:
• Use care when servicing the fuel system components, especially
the fuel injector electrical connectors, the fuel injector tips, and
the injector O-rings. Plug the inlet and the outlet ports of the fuel rail
in order to prevent contamination. • Do not use compressed air to clean the fuel rail assembly as this
may damage the fuel rail components. • Do not immerse the fuel rail assembly in a solvent bath in order
to prevent damage to the fuel rail assembly.
Important: The common rail regulator and O-ring must not be reused.

Notice: Refer to Fastener Notice in the Preface section.
Tighten
Tighten the common rail regulator to 60 N·m (44.3 lb ft) and turn the regulator 90 degrees in the opposite direction and then tighten to 85 N·m (62.7 lb ft).
