Removal Procedure
- Remove the front fascia. Refer to Front Bumper Fascia Replacement in Bumpers.
- Drain the coolant. Refer to Cooling System Draining and Filling .
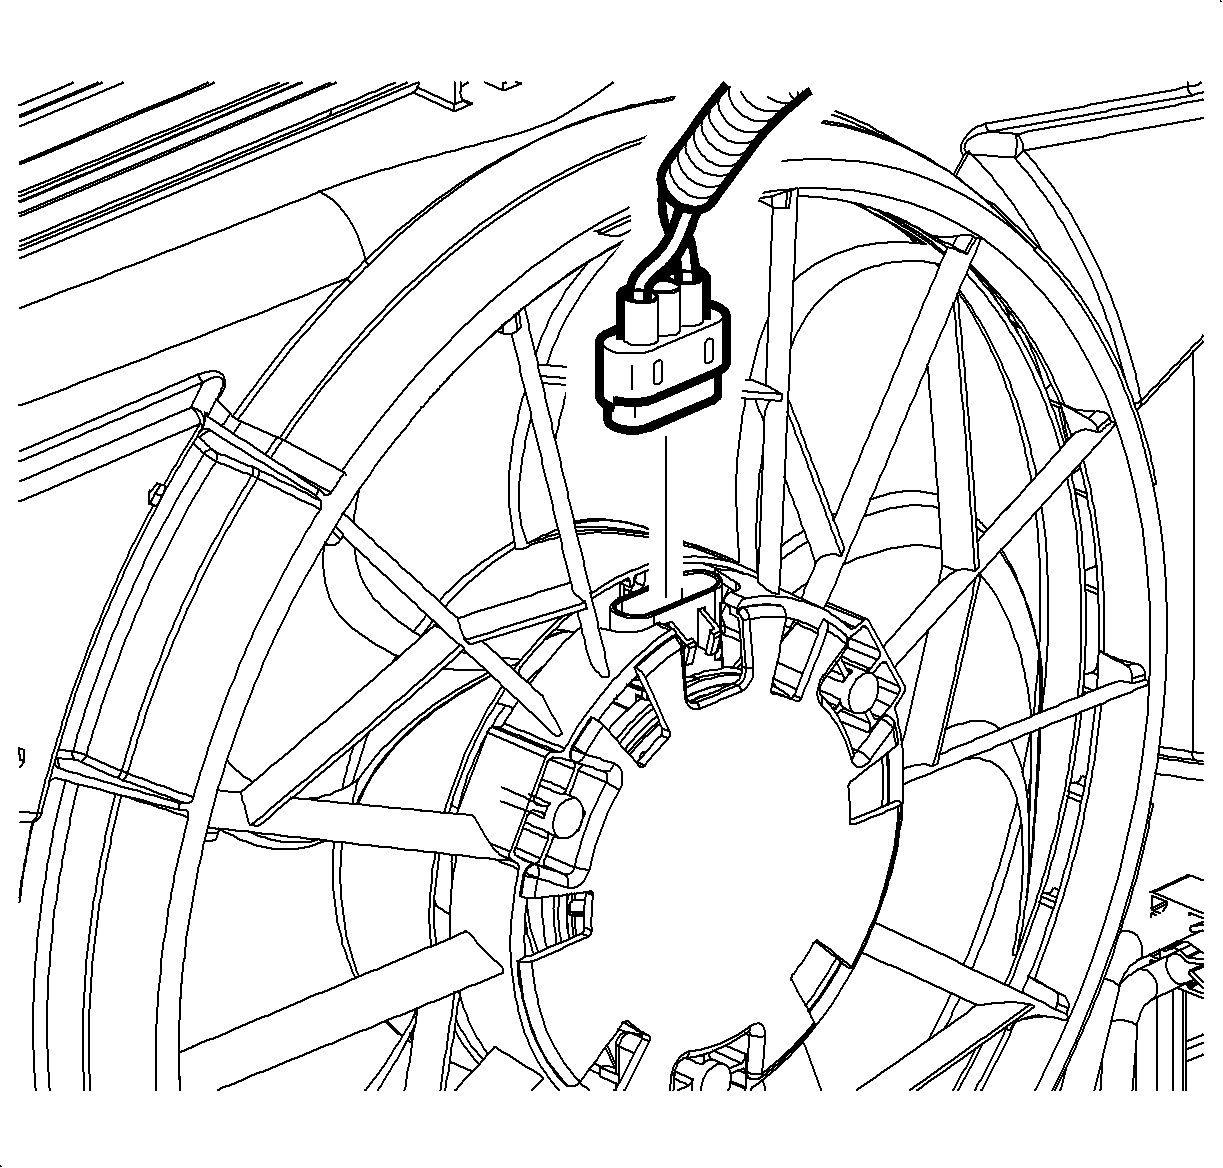
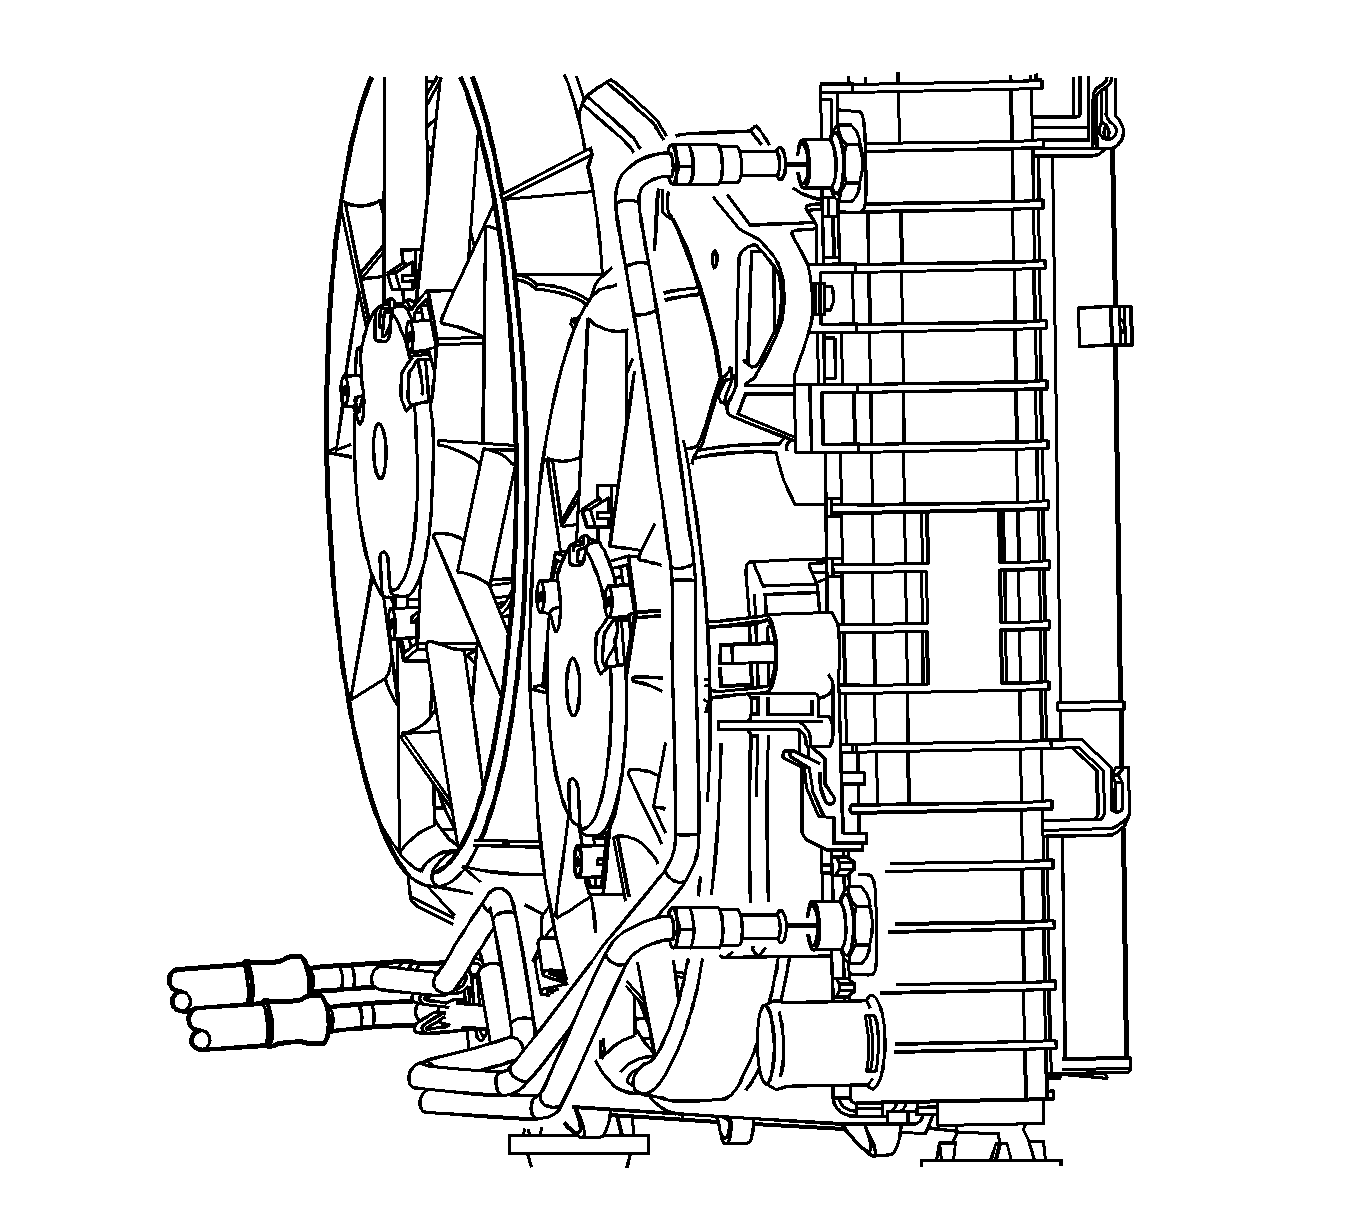
- Disconnect the electrical connectors from the fan motors.
- Unclip the wire harness from the fan assembly.
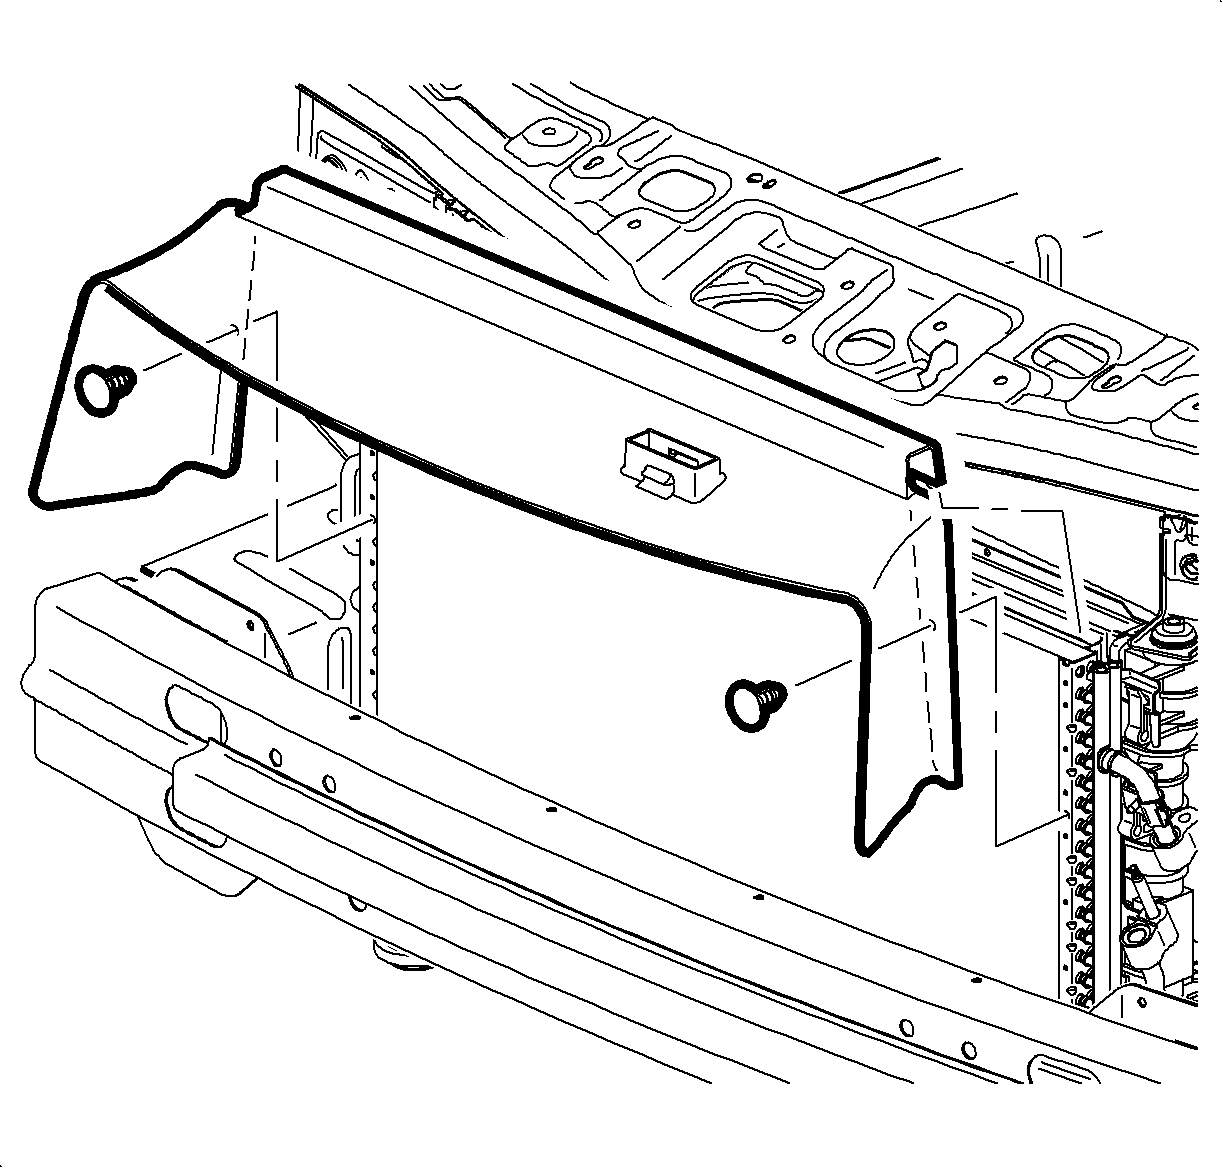
- Remove the condenser radiator fan module (CRFM) closeout panel retainers from the condenser.
- Remove the CRFM closeout panel from the condenser.
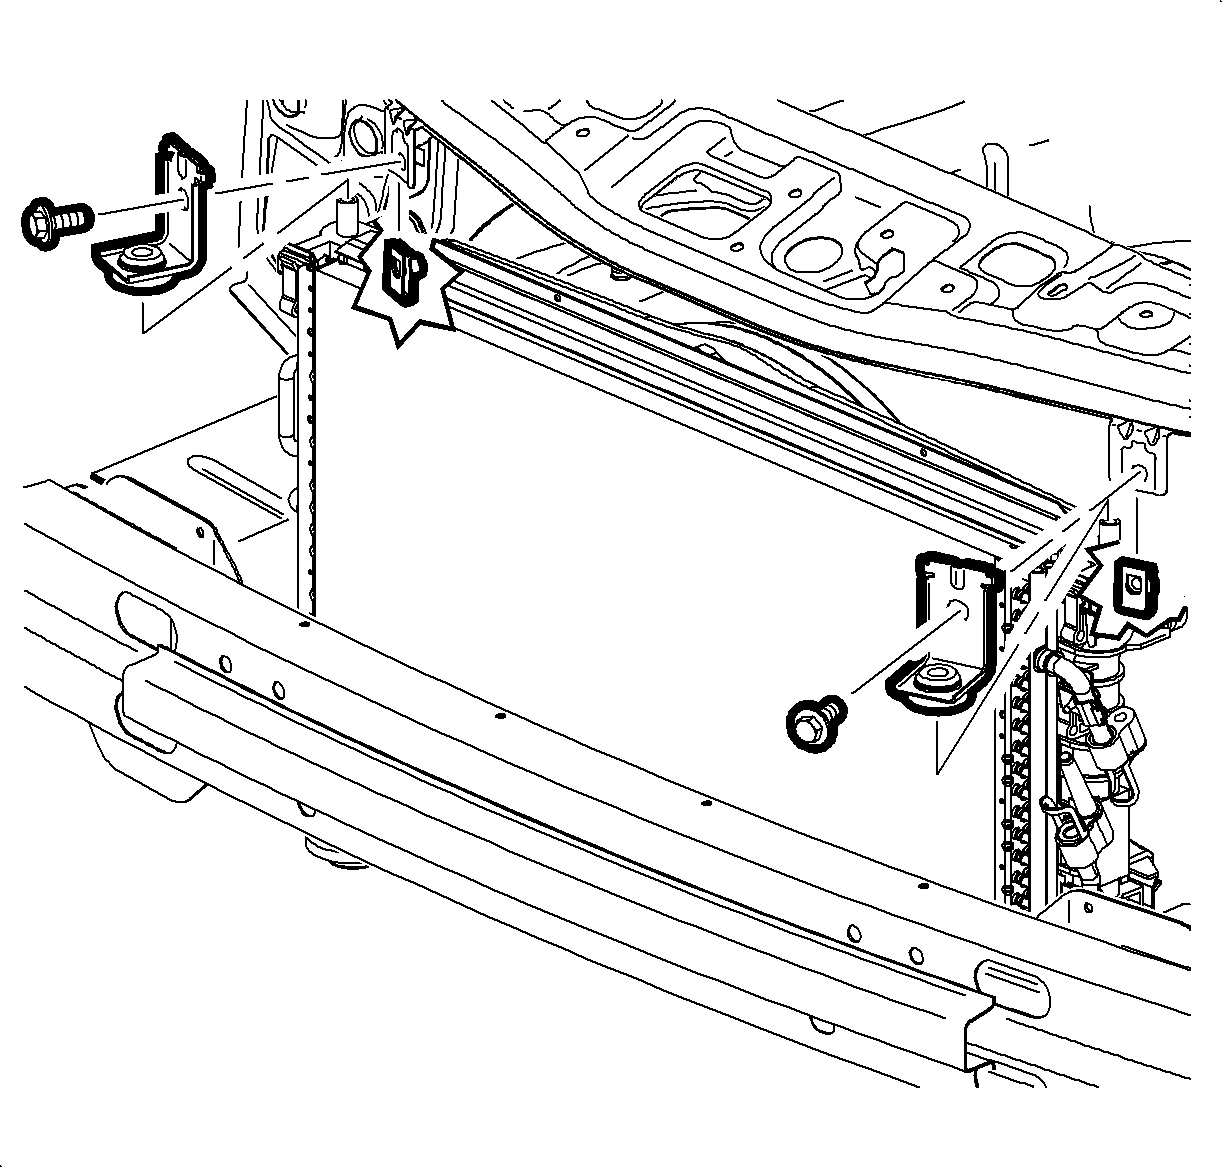
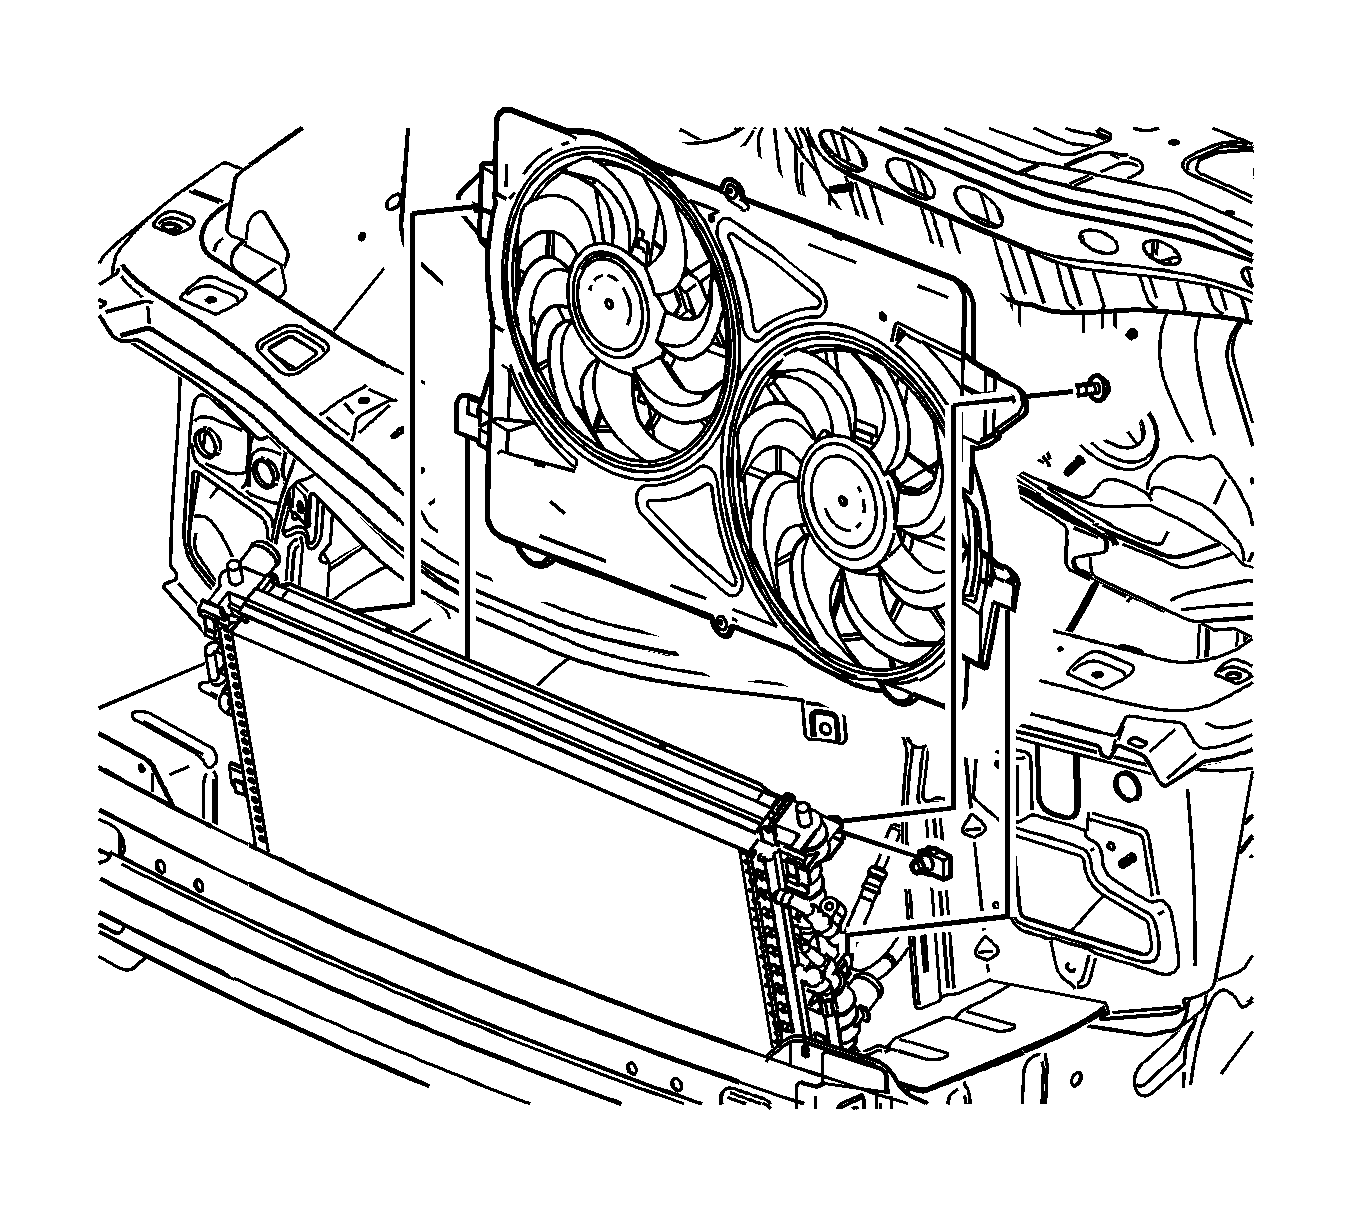
- Remove the CRFM mounting bracket bolts from the radiator support.
- Remove the CRFM mounting brackets from the radiator support.
- Remove the radiator inlet hose clamp from the radiator.
- Remove the radiator inlet hose from the radiator.
- Disconnect the upper transmission cooler line from the radiator.
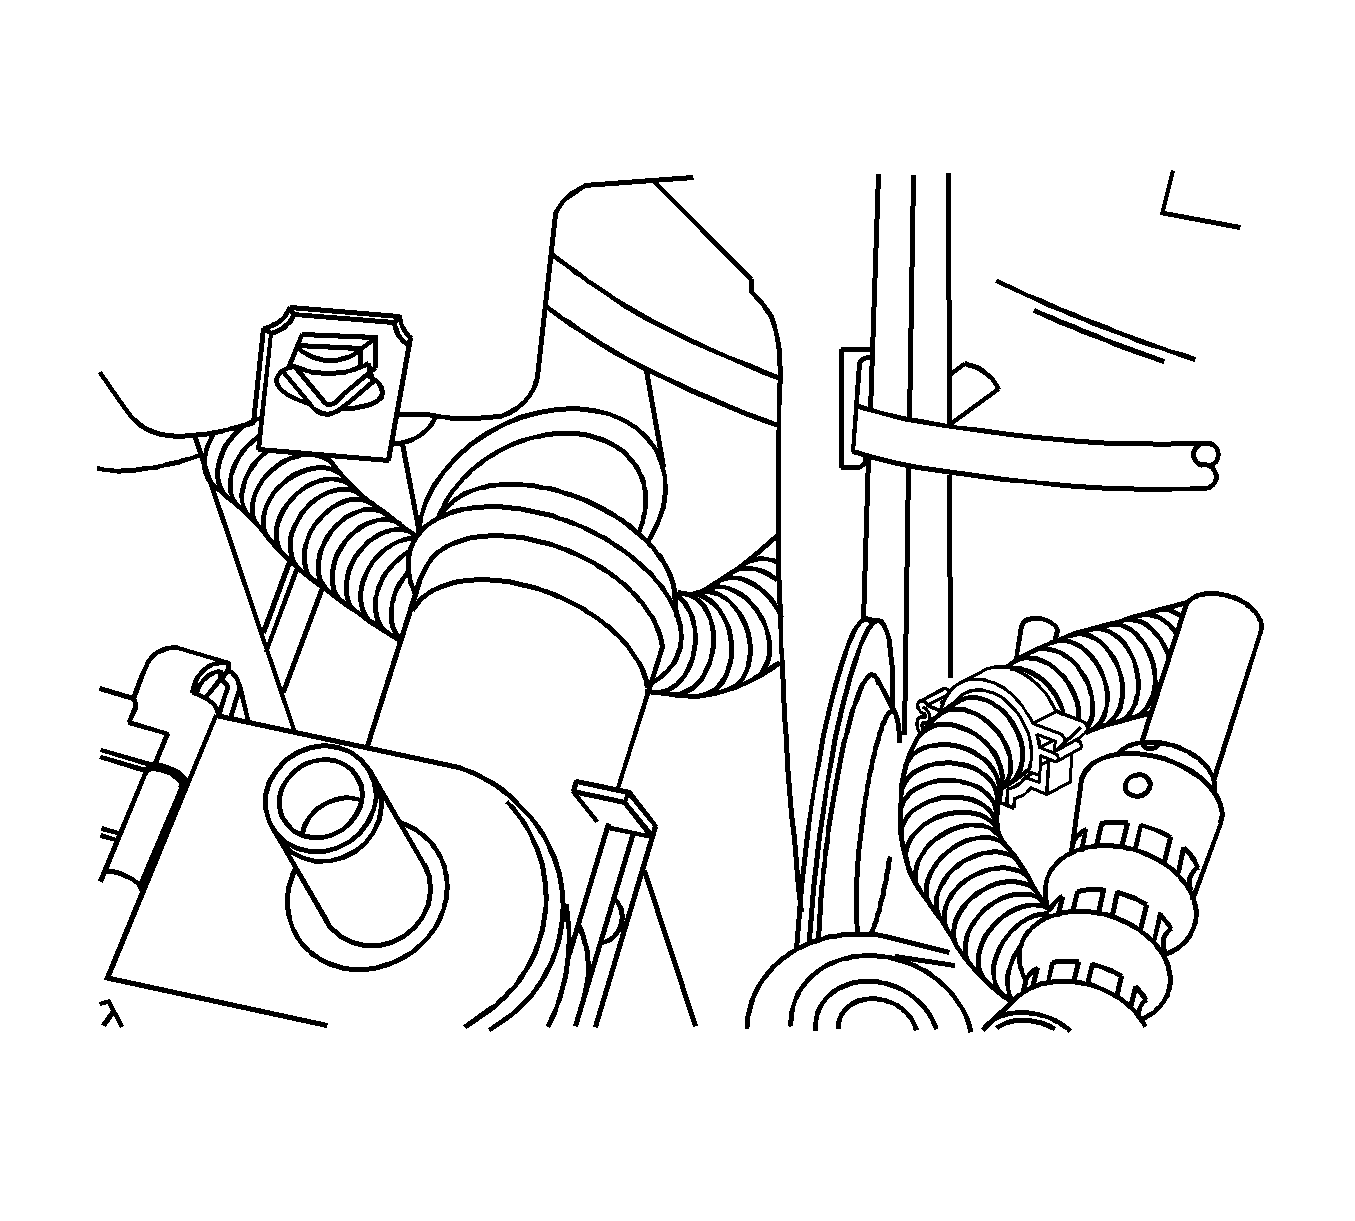
- Unclip the transmission cooler lines from the fan assembly.
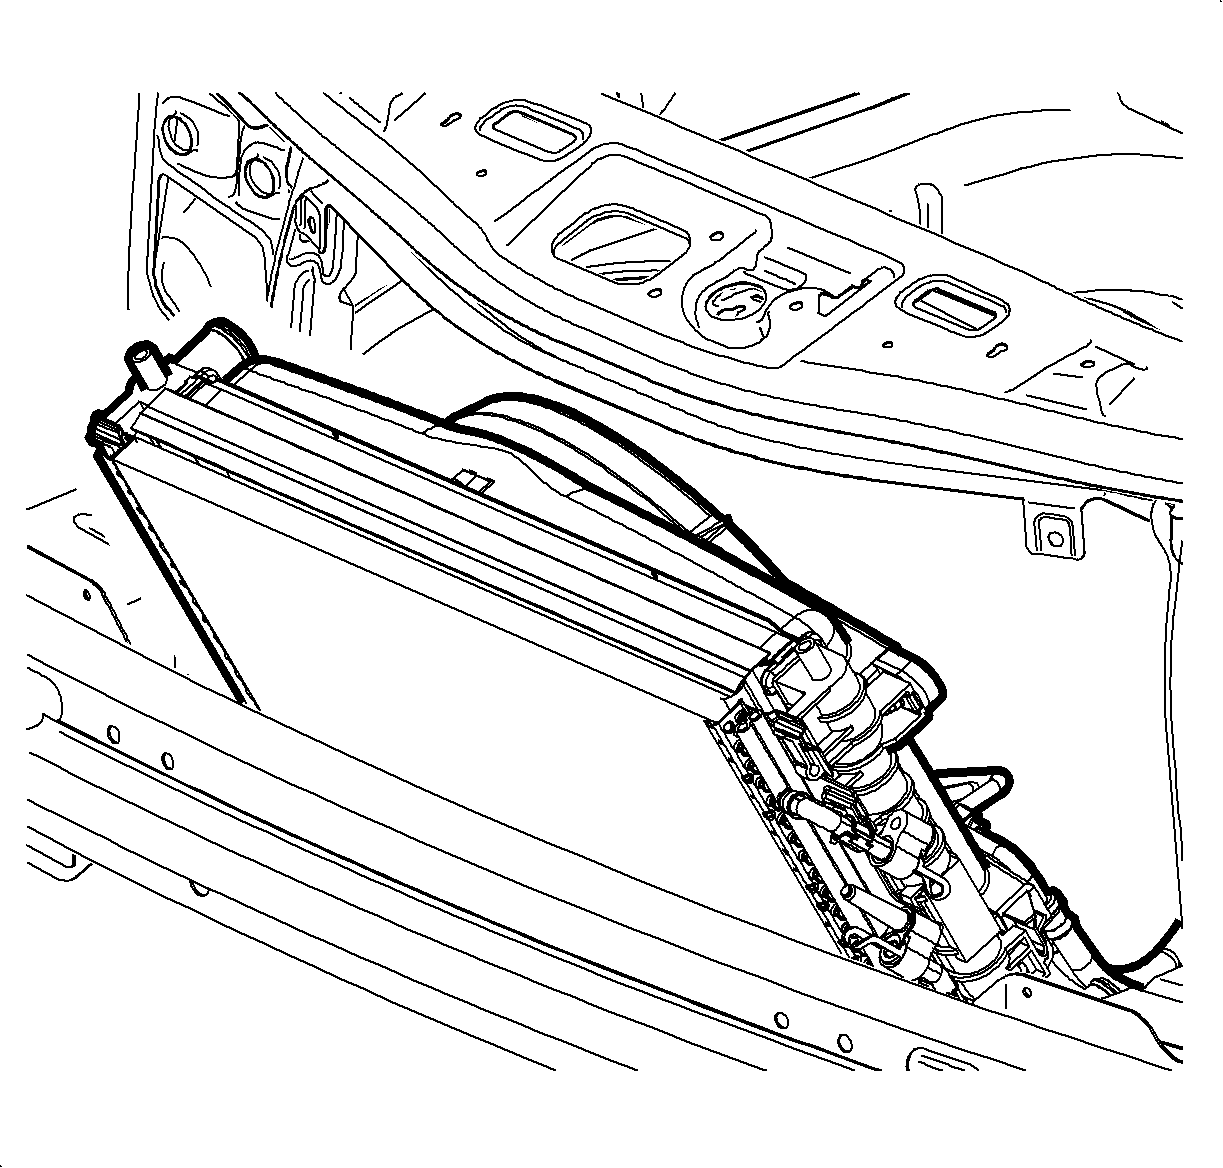
- Lift the CRFM assembly from the lower mounts and carefully move the bottom of the assembly rearward while tilting the top forward.
- Remove the fan assembly bolts from the radiator.
- Remove the fan assembly from the radiator.
Installation Procedure
- Install the fan assembly to the radiator by guiding the lower tabs into the corresponding hooks on the radiator.
- Install the fan assembly bolts to the radiator.
- Position the CRFM assembly onto the lower mounts.
- Install the radiator inlet hose to the radiator.
- Install the radiator inlet hose clamp to the radiator.
- Clip the transmission cooler lines to the fan assembly.
- Connect the upper transmission cooler line to the radiator.
- Install the CRFM mounting brackets to the radiator support.
- Install the CRFM mounting bracket bolts to the radiator support.
- Install the CRFM closeout panel to the condenser.
- Install the CRFM closeout panel retainers to the condenser.
- Clip the transmission cooler lines to the fan assembly.
- Clip the engine wire harness to fan assembly.
- Install the electrical connectors to the fan motors.
- Install the front fascia. Refer to Front Bumper Fascia Replacement in Bumpers.
- Fill the cooling system. Refer to Cooling System Draining and Filling .

Notice: Use the correct fastener in the correct location. Replacement fasteners must be the correct part number for that application. Fasteners requiring replacement or fasteners requiring the use of thread locking compound or sealant are identified in the service procedure. Do not use paints, lubricants, or corrosion inhibitors on fasteners or fastener joint surfaces unless specified. These coatings affect fastener torque and joint clamping force and may damage the fastener. Use the correct tightening sequence and specifications when installing fasteners in order to avoid damage to parts and systems.
Tighten
Tighten the bolts to 8 N·m (71 lb in).


Tighten
Tighten the bolts to 8 N·m (71 lb in).


Notice: The compressor hose must maintain a minimum clearance of 20 mm (0.8 in) from the exhaust gas recirculation (EGR) pipe. If this minimum clearance is not maintained, damage to the compressor hose may result.
