Draining Procedure
Caution: In order to avoid personal injury, do not remove the cap or open
the cooling system drains from a hot system. Allow the system to cool first.

Important: A 7.6 liter (8 qt) coolant container will be needed.
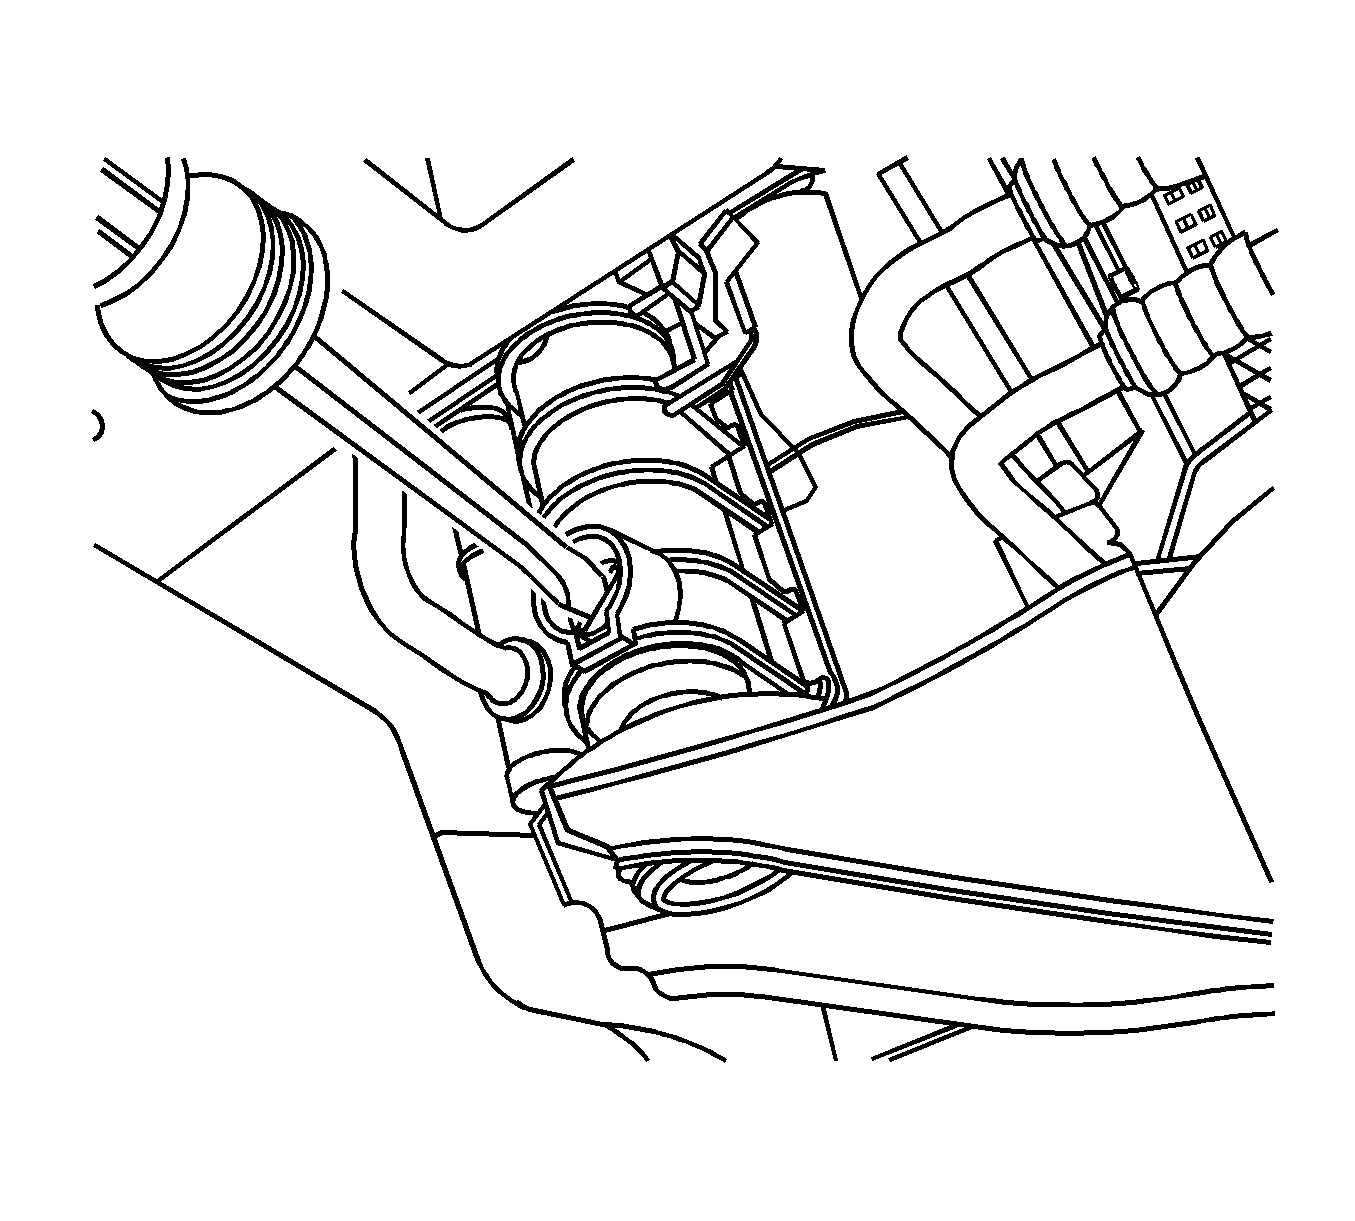
- Place the coolant container under the radiator drain valve located at the bottom
of the left radiator end tank.
- Using a flat-bladed screwdriver, open the drain valve to start the flow
of coolant. Coolant will drain slowly until the surge tank cap is removed.

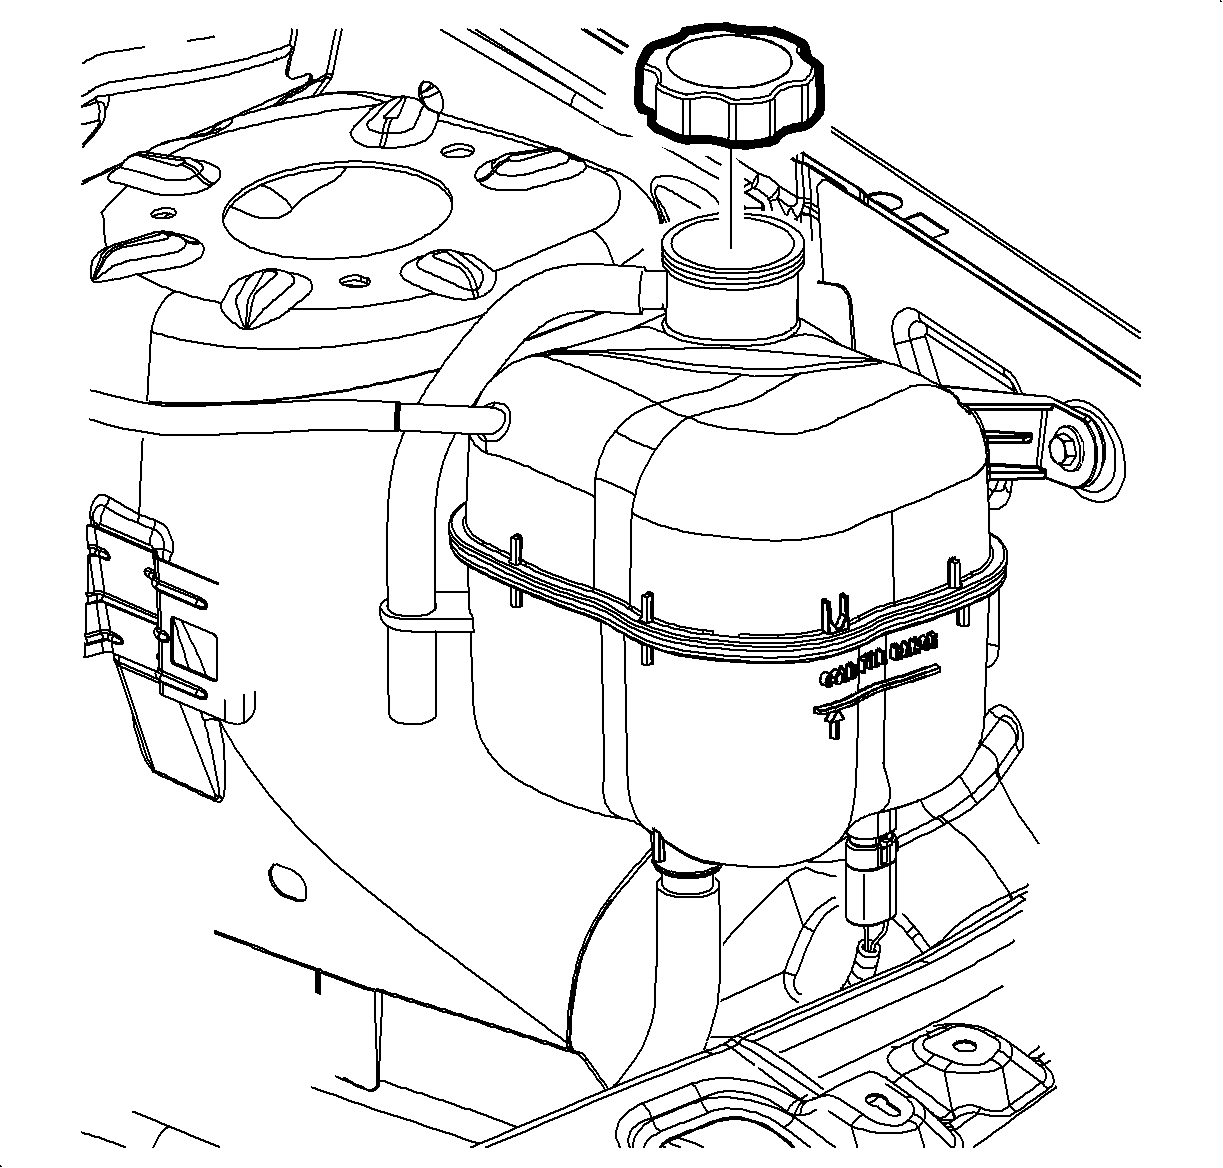
- Remove the surge tank cap from the surge
tank. Allow the coolant to drain from the system.
Filling Procedure
Important: When the radiator is drained, a minimum of 5 liters (5.28 qts) of coolant is
typically drained from the cooling system. During the fill procedure, a minimum of
5 liters (5.28 qts) of coolant should be added to the cooling system before the vehicle
is returned to the customer.
There are evacuate and fill tools available on the market for cooling systems,
such as the AIRLIFT™ or equivalent. These tools will reduce the time required
to fill the cooling system, but thermal cycling will still be necessary to top off
the system.

- Using
a flat-bladed screwdriver, close the drain valve on the left radiator end tank.
- Open the air bleed screw on the water pump tower.
Notice: All entrapped air must be purged from the powertrain cooling system before the
final coolant level can be determined. Proper coolant level is critical to avoid engine
damage.
Important: The vehicle must be level when filling the cooling system.
- Slowly add a mixture of 50/50 DEX-COOL antifreeze and clean water to the surge
tank. Refer to
Approximate Fluid Capacities
in
General Information for cooling system capacity.
| 3.1. | As the system begins to fill, watch for coolant at the water pump tower. |
| 3.2. | As coolant begins to seep from the air bleed, close the air bleed screw. |
| 3.3. | Once the bleed screw is closed, continue to add coolant until a minimum
of 5 liters (5.28 qts) is added to the cooling system. |
- If the surge tank fills before a minimum of 5 liters (5.28 qts) of coolant
is added, lifting the right side of the vehicle may help force the trapped air toward
the air bleed.
| 4.1. | Using a floor jack, raise the right front corner of the vehicle so that
the tire is approximately 75 mm (3 in) off the floor. Refer to
Lifting and Jacking the Vehicle
in General Information for the approved lifting
points. |
| 4.2. | Open the air bleed screw. |
| 4.3. | Allow a few seconds for air to purge and close the air bleed screw. |
| 4.4. | Add the remainder of the initial 5 liters (5.28 qts) of coolant. |
- If the remainder of the initial 5 liters (5.28 qts) of coolant
cannot be added, thermal cycle the engine.
| 5.1. | Install the surge tank cap. |
| 5.2. | Run the engine and cycle the vehicle from idle to 3,000 RPM in
30 second intervals until the engine cooling fans comes ON. The engine cooling
fans turn ON at approximately 102°C (216°F). Repeat this process twice before
the vehicle is turned OFF. |
| 5.3. | Allow the vehicle to cool before adding the remainder of the initial 5
liters (5.28 qts) of coolant. |
- Run the engine and cycle the vehicle from idle to 3,000 RPM in
30 second intervals until the engine cooling fans come ON.
- Return the engine to idle, idle for 30 seconds then turn the engine
OFF.
- Allow the vehicle to cool.
- Add coolant to the surge tank until the level is approximately 25 mm
(1 in) above the top of the Cold Fill Range at the surge tank seam.
- Install the surge tank cap.


