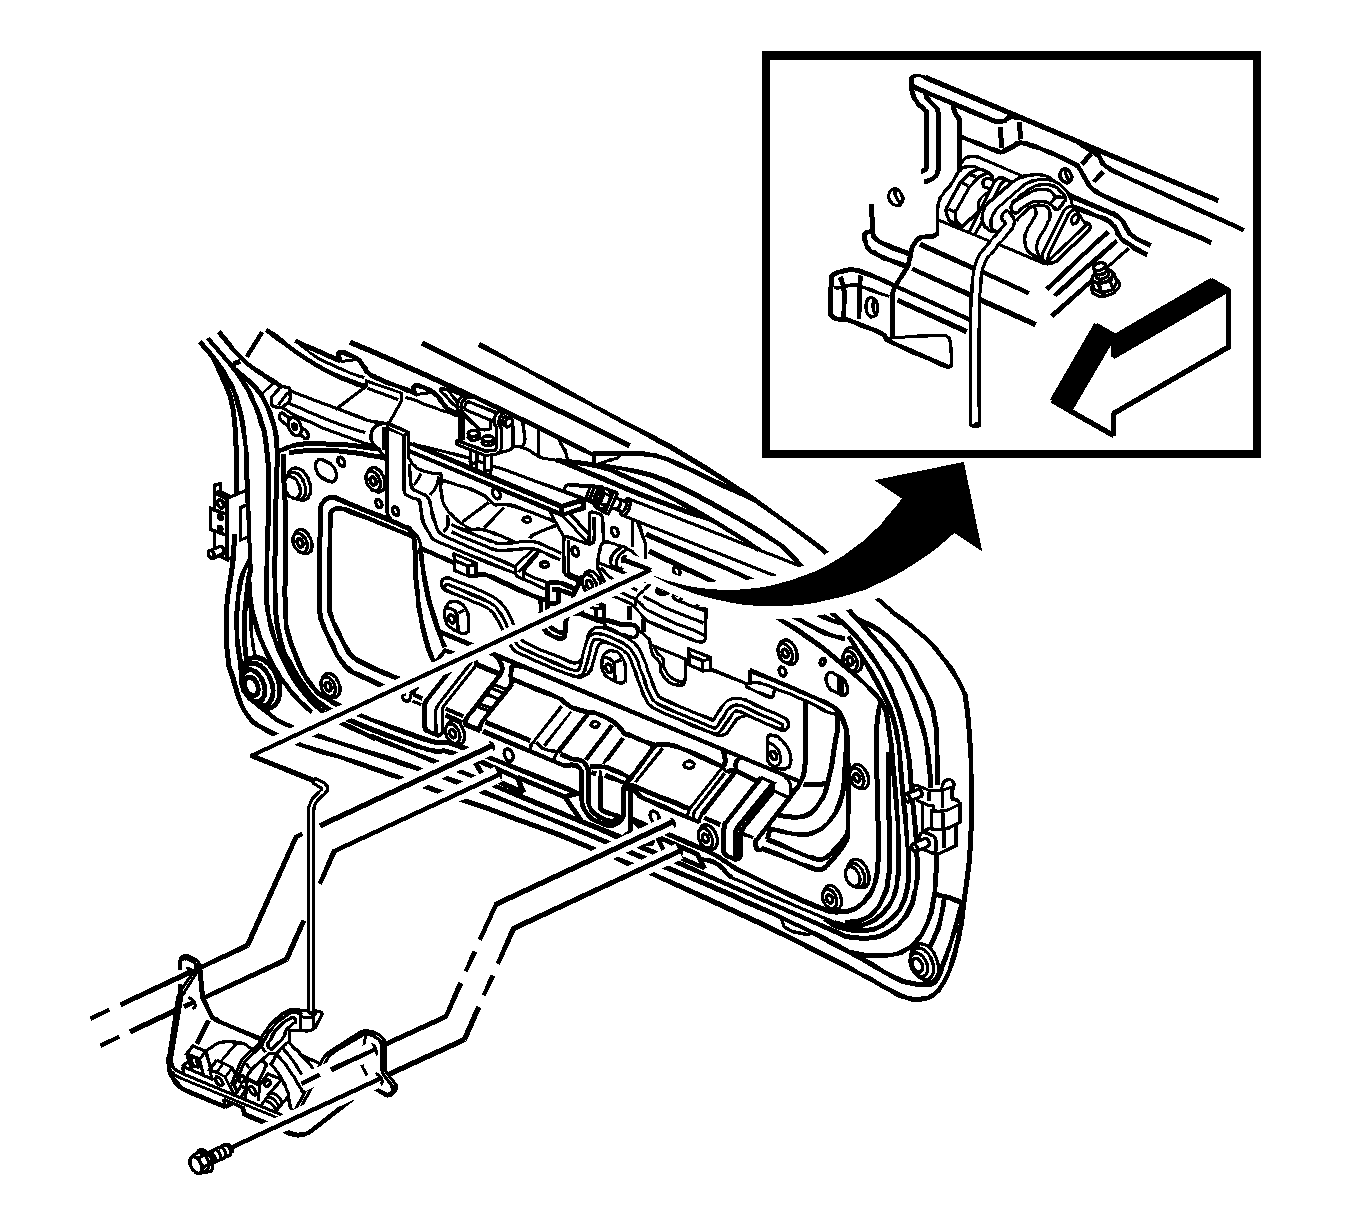
For 1990-2009 cars only
Removal Procedure
- Open the liftgate.
- Remove the liftgate trim panel. Refer to Liftgate Trim Panel Replacement .
- Disconnect the electrical connector from the liftgate latch.
- Remove the outside handle rod from the outside handle.
- Remove the bell crank bolts.
- Remove the bell crank by sliding the latch to crank rod out of the bell crank.
- Remove the latch bolts.
- Remove the latch from the liftgate.

Installation Procedure
- Position the latch to the liftgate.
- Install the bolts to the liftgate latch.
- Install the crank by sliding the latch to crank rod into the crank.
- Install the crank bolts.
- Install the outside handle rod to the latch and the outside handle.
- Inspect the function of the latch by performing the following:
- Connect the electrical connector to the liftgate latch.
- Install the liftgate trim panel. Refer to Liftgate Trim Panel Replacement .
- Close the liftgate.

Notice: Refer to Fastener Notice in the Preface section.
Tighten
Tighten the liftgate latch bolts to 10 N·m (89 lb in).
Tighten
Tighten the crank bolts to 12 N·m (9 lb ft).
| 6.1. | Reset the liftgate latch by inserting a screwdriver into the mouth of the latch. |
| 6.2. | Pull the outside handle. |
