For 1990-2009 cars only
Removal Procedure
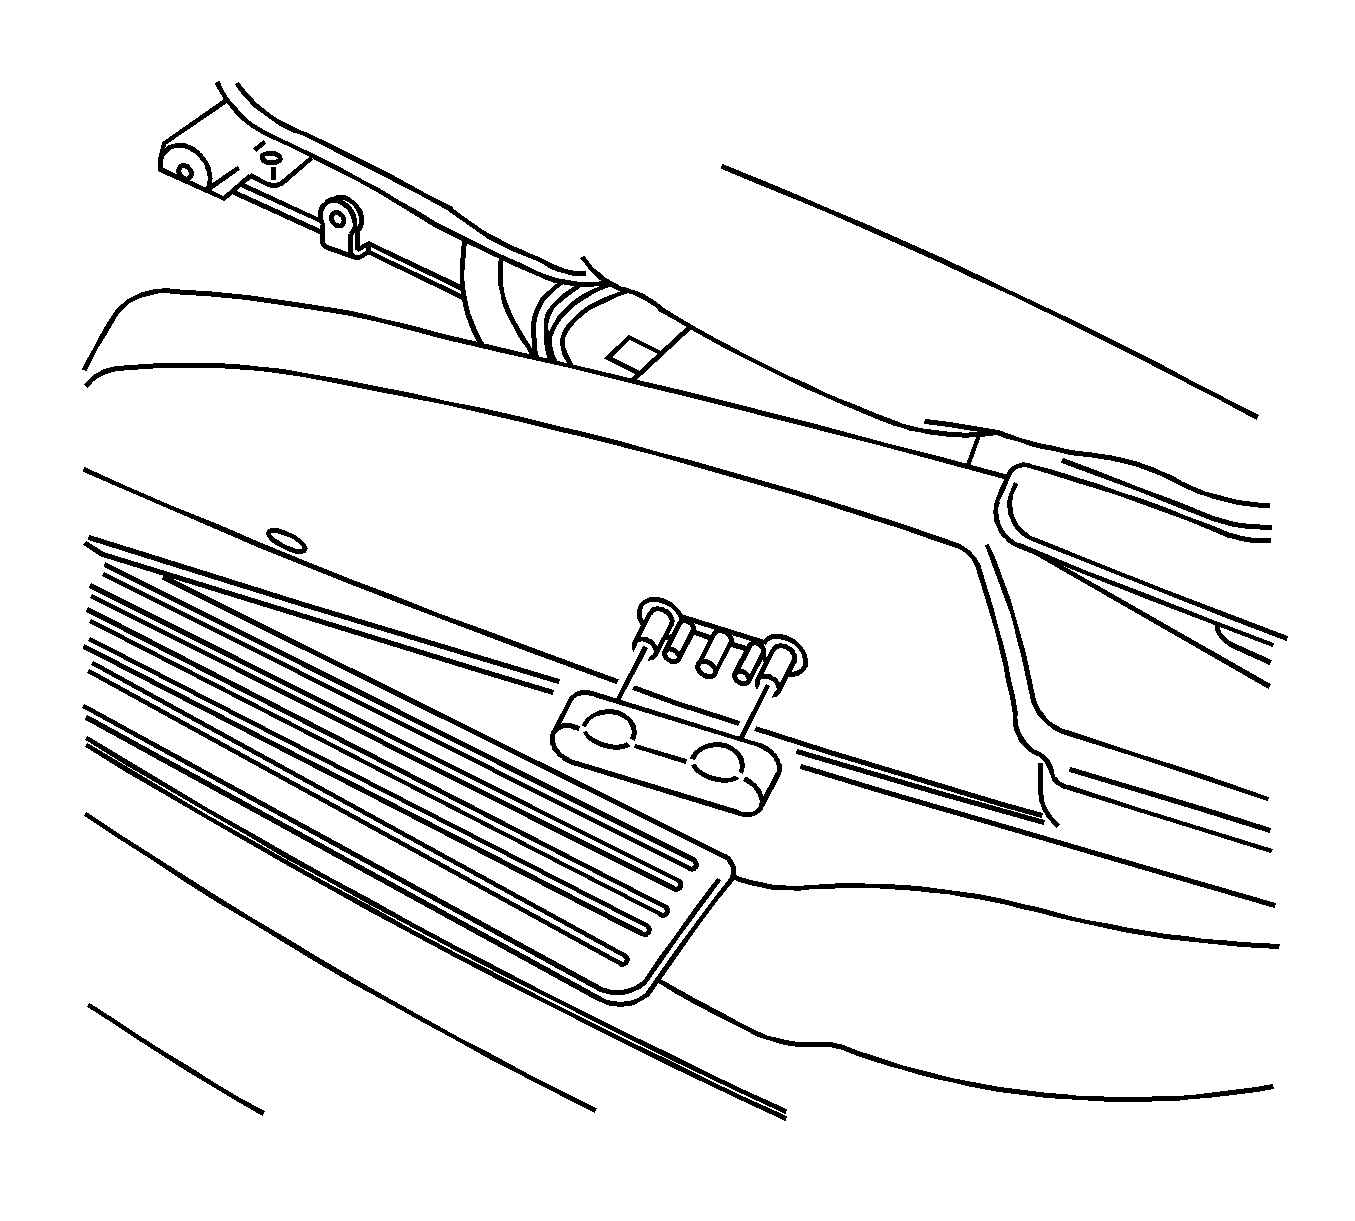
- Remove the seat switch bezel.
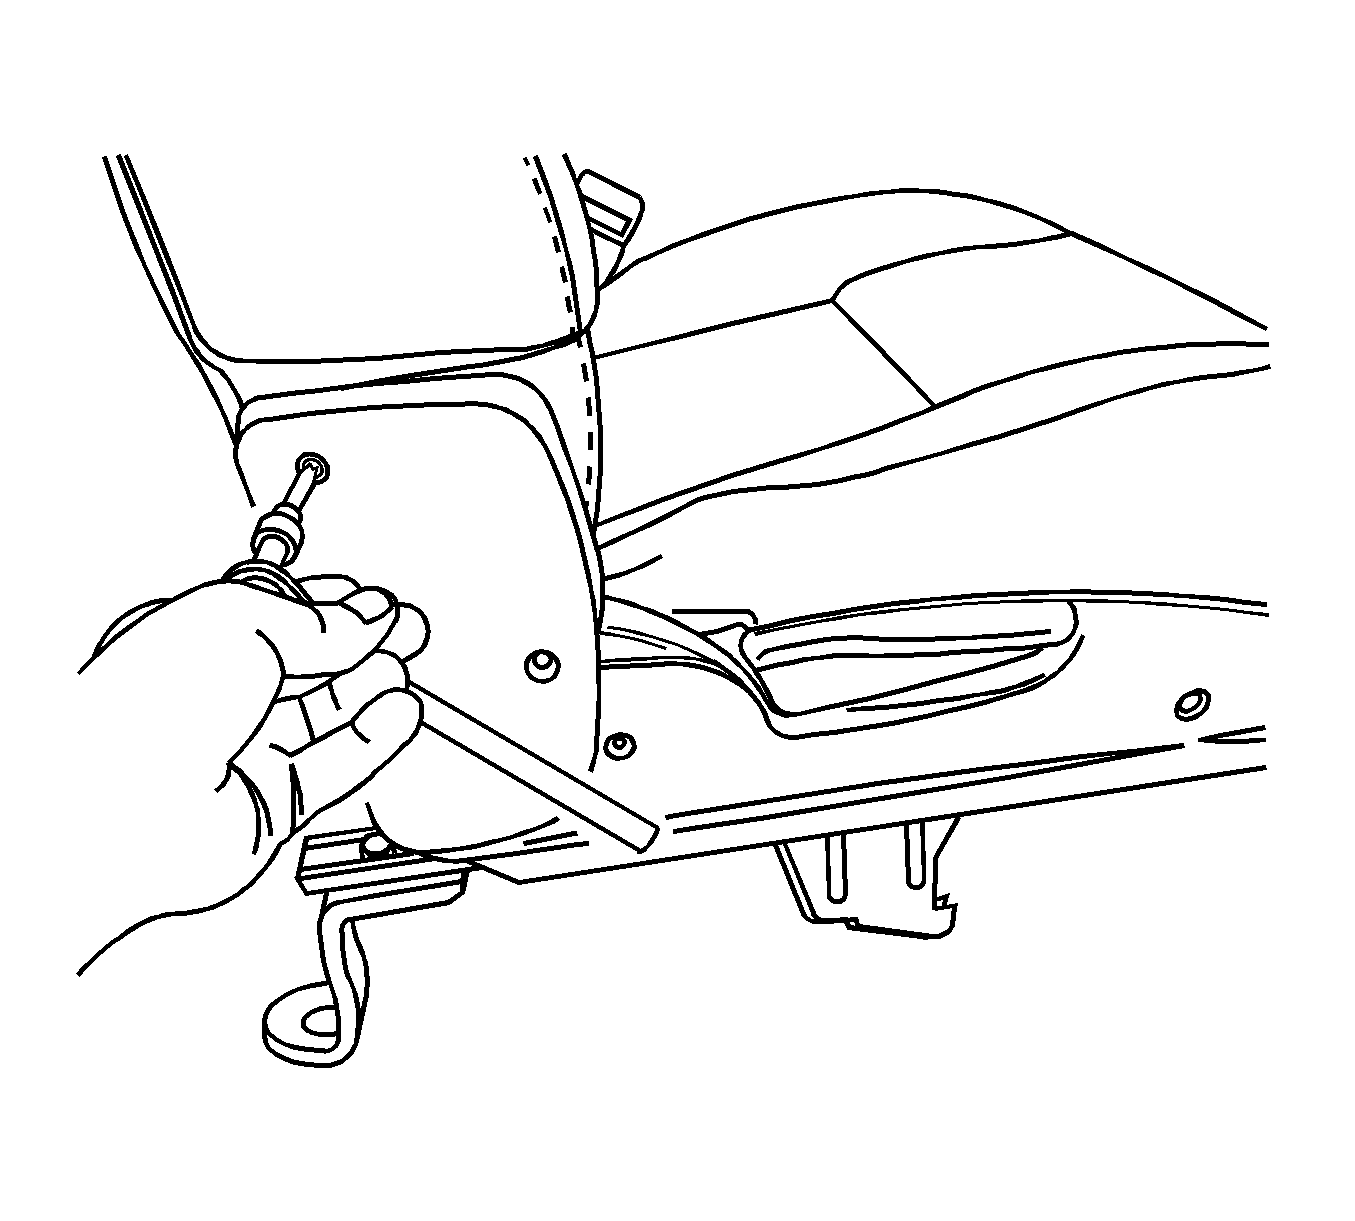
- Remove the outer trim panel screws from the seat back recliner.
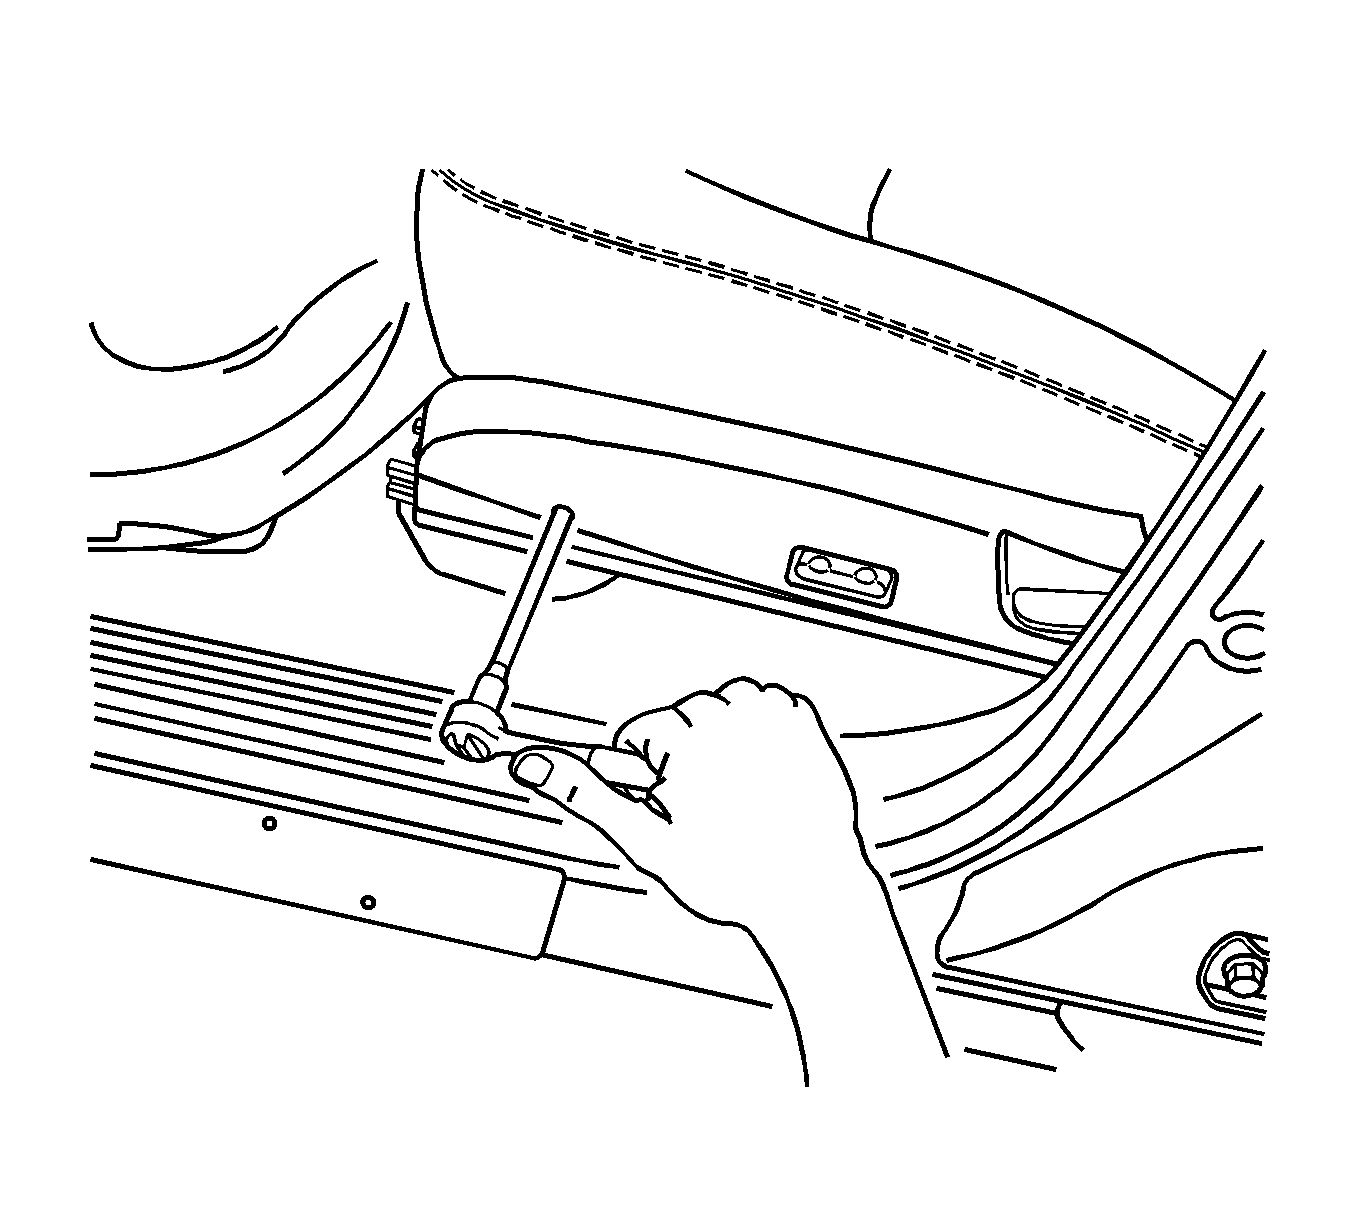
- Remove the screws from the seat cushion outer trim panel.
- Remove the outer trim panel.
- Remove the inner trim panel screws from the seat back.
- Remove the inner trim panel.
- On vehicles with heated seats, disconnect the electrical connector from the seat heater module.
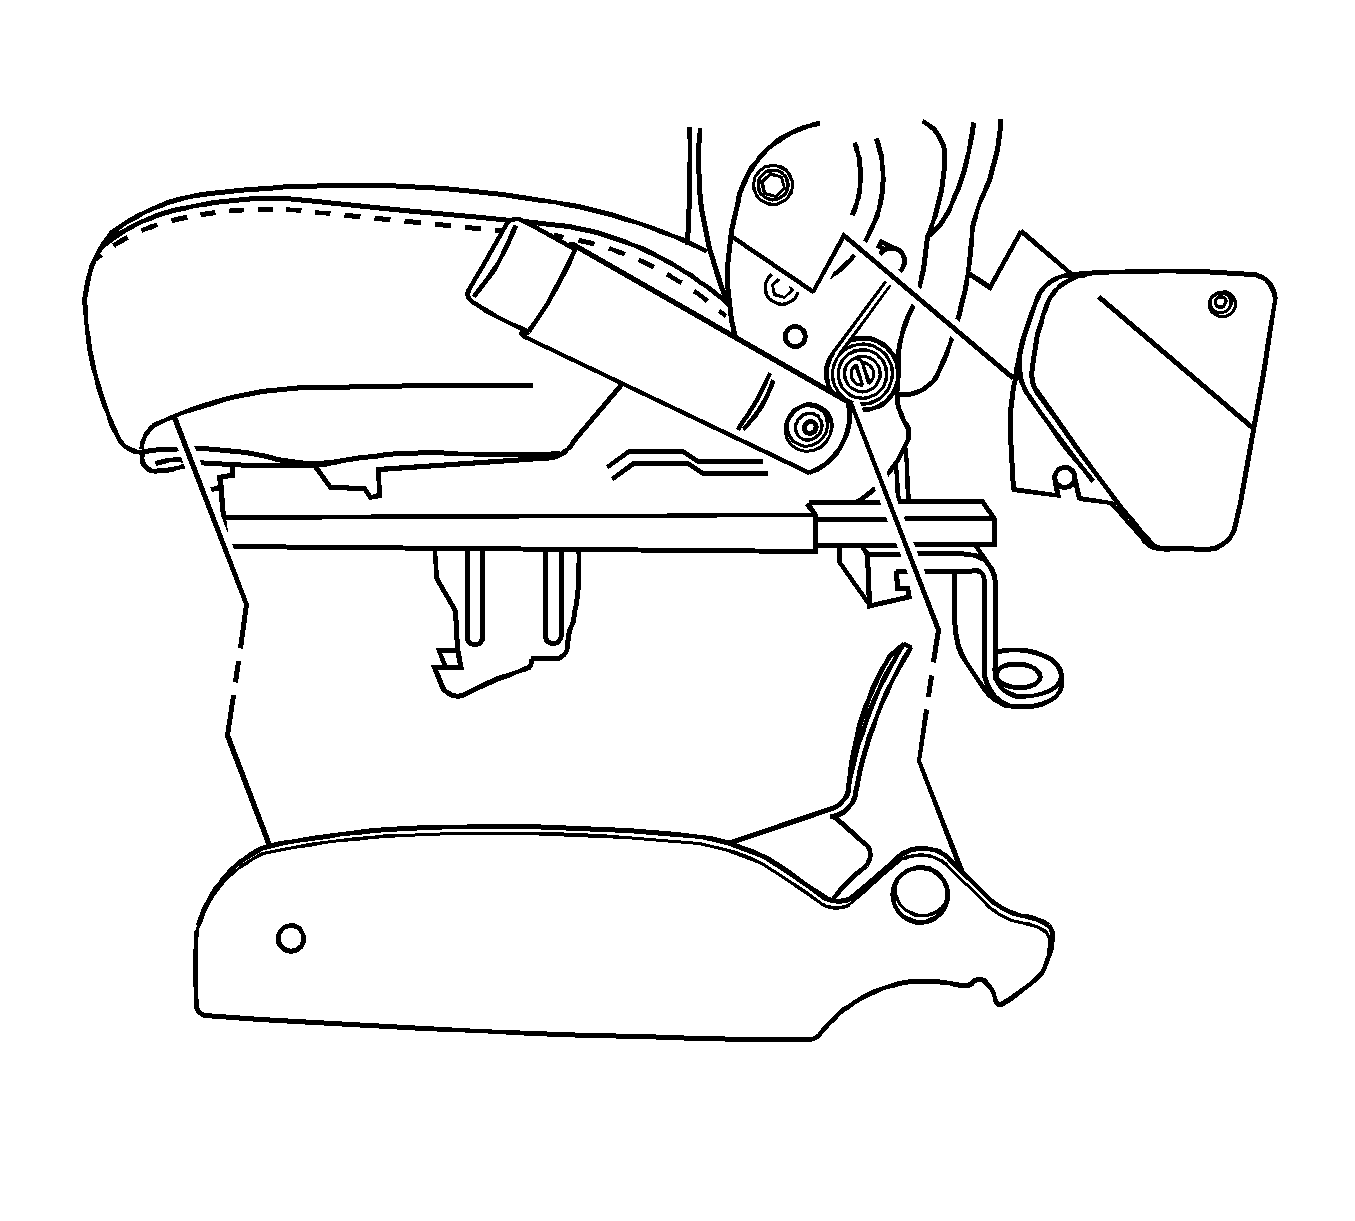
- Remove the rear seat back assembly from between the seat recliners.
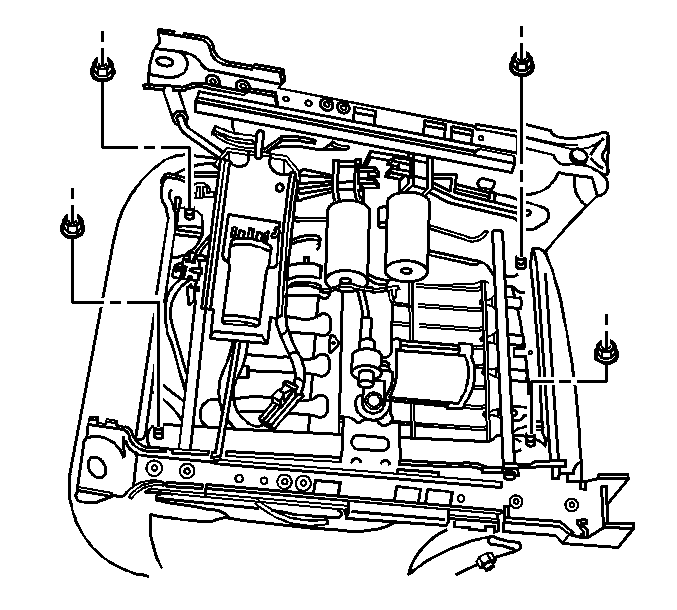
- Remove the seat cushion frame bolts.
- Remove the seat cushion frame assembly from between the adjusters.
- Remove the bolt from the seat belt buckle. Remove the buckle.
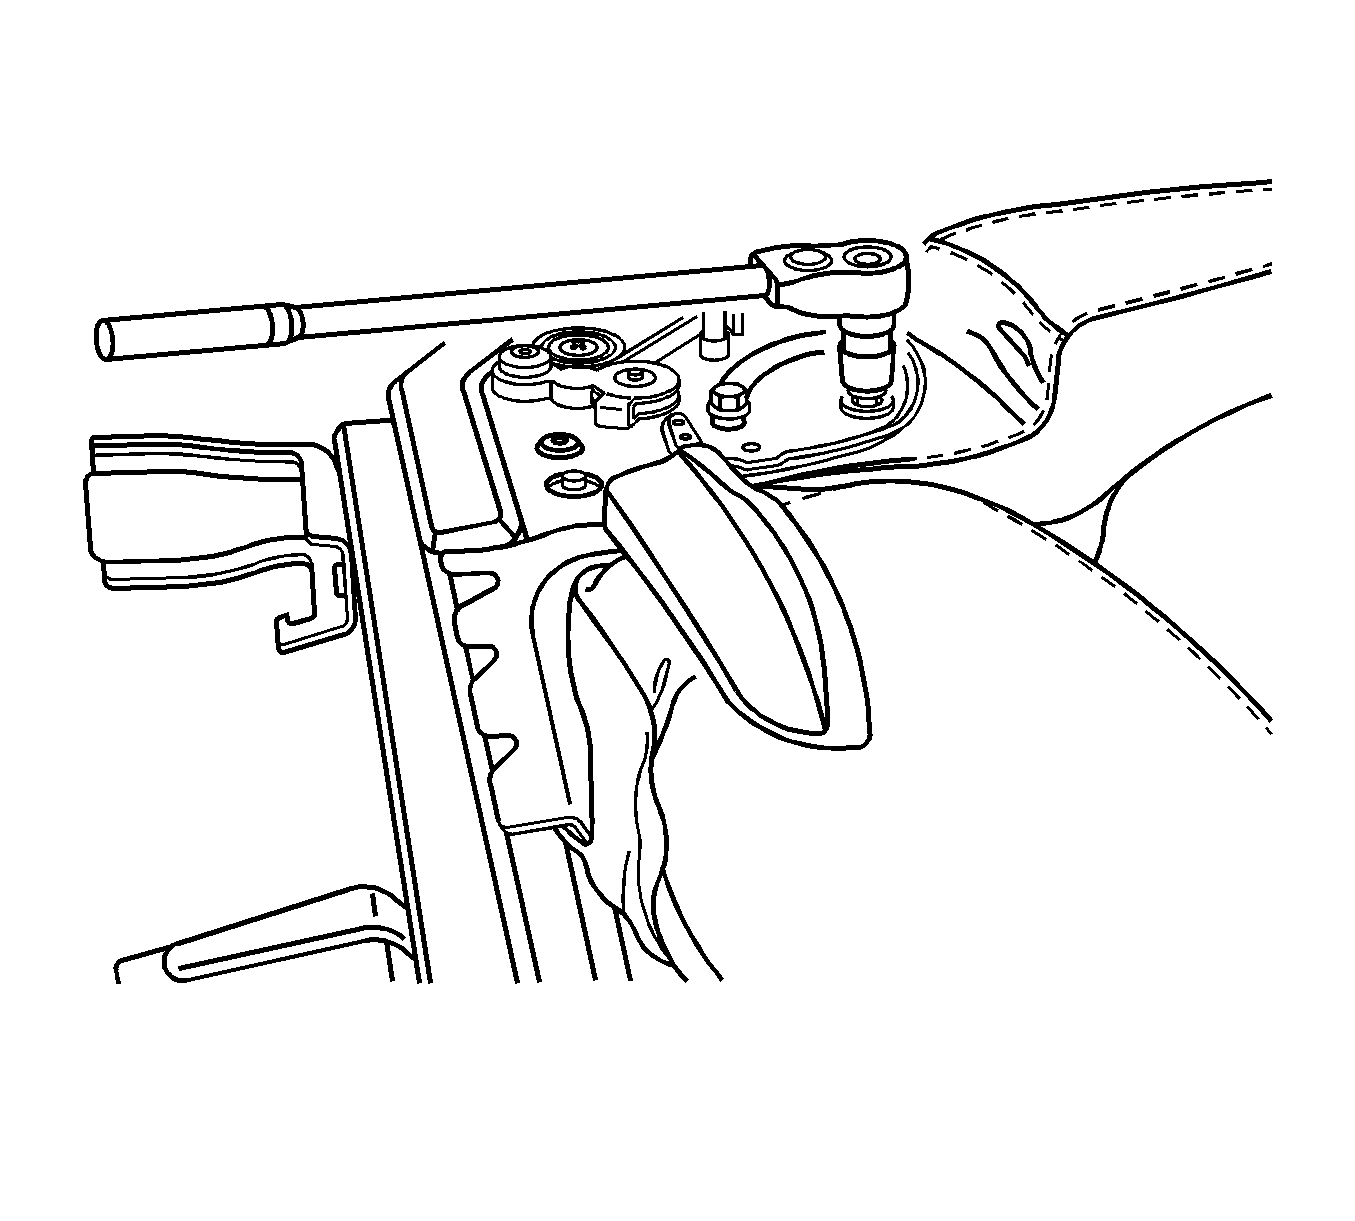
- Remove the shoulder belt quick disconnect bolt from the seat adjuster.
- Remove the quick disconnect from the seat.
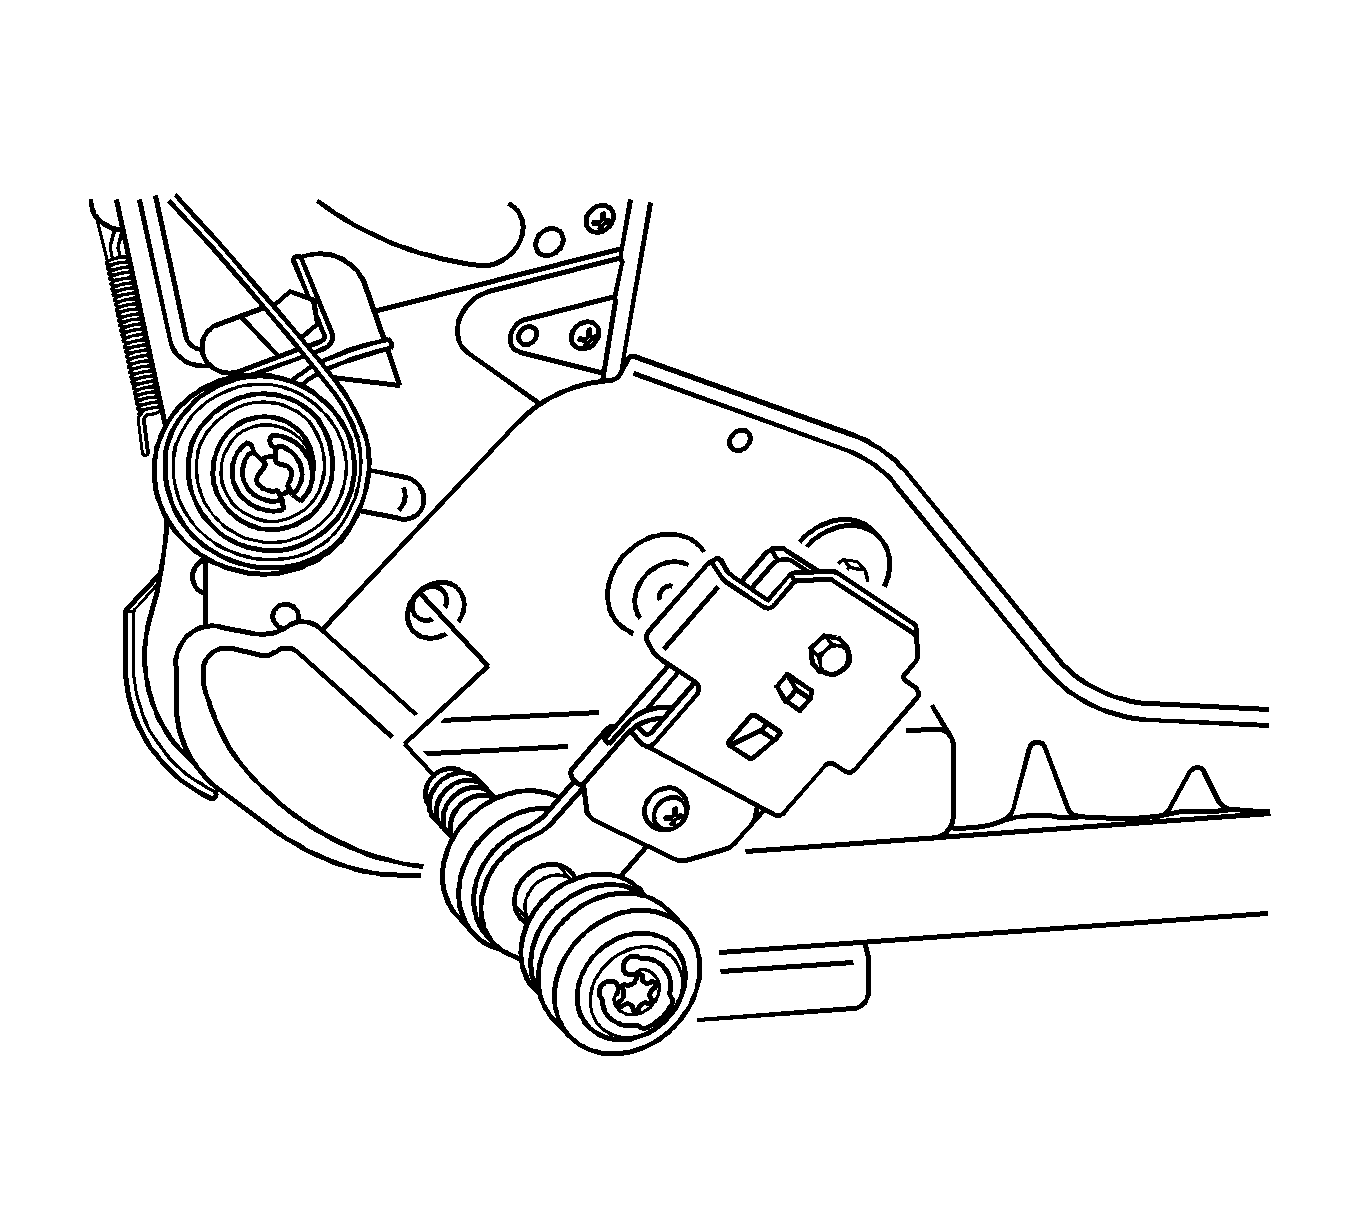
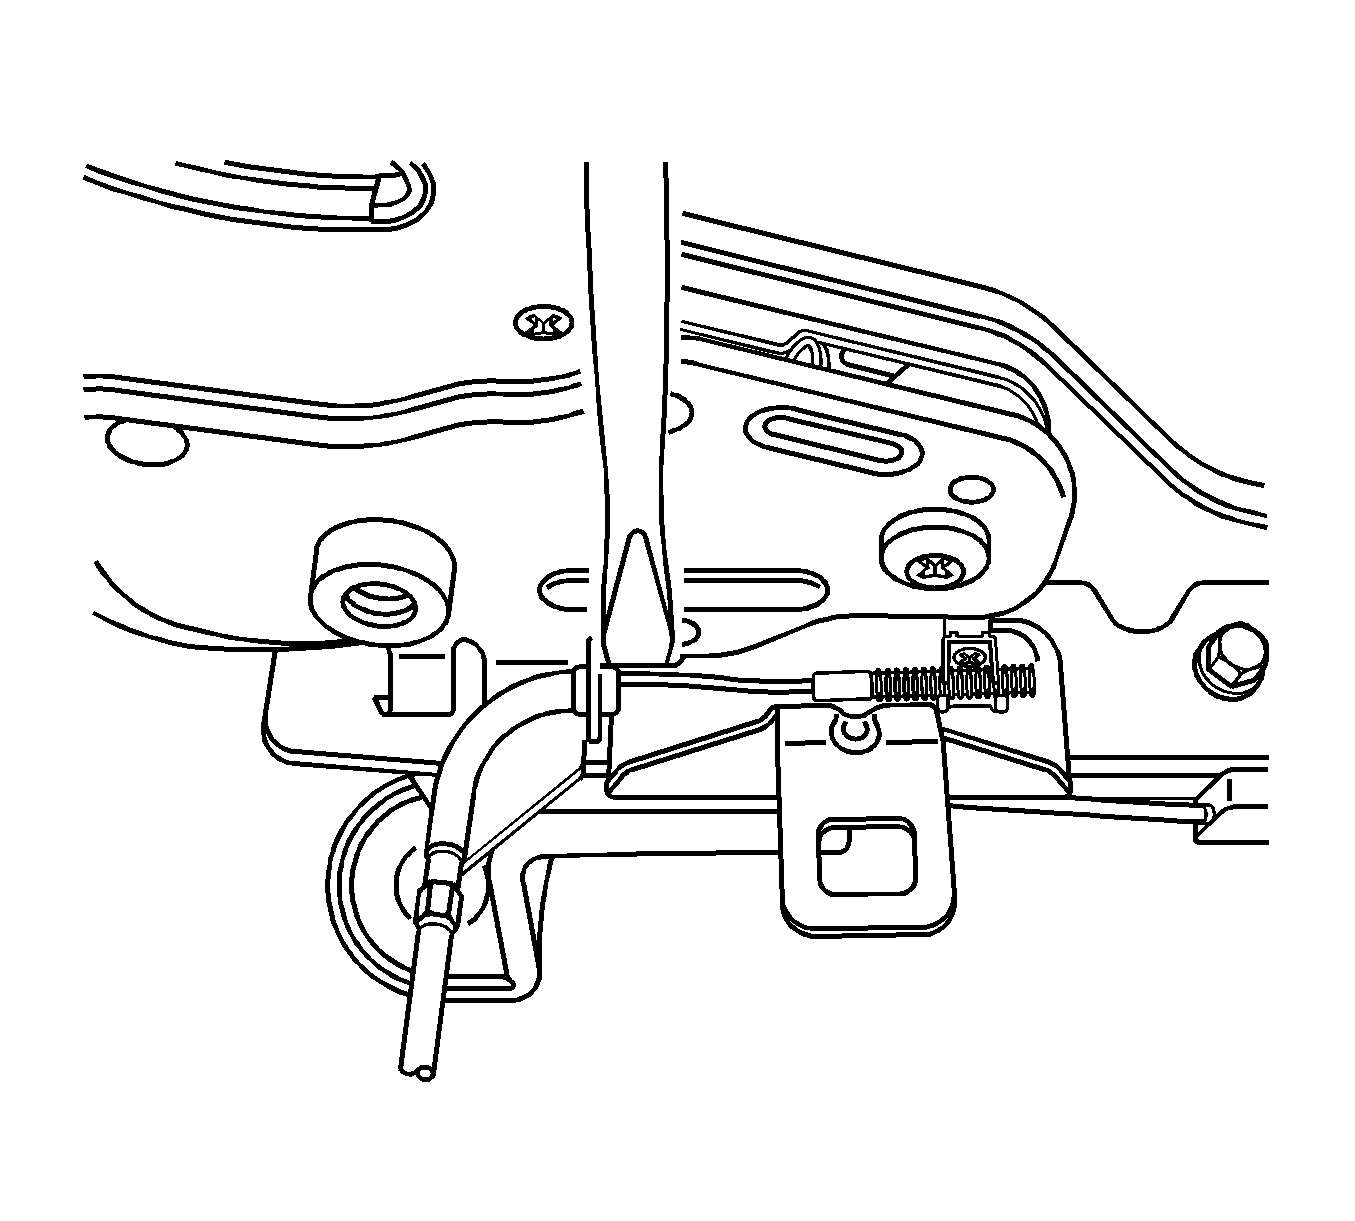
- Use a flat-bladed tool to remove the recliner cable from the seat frame.
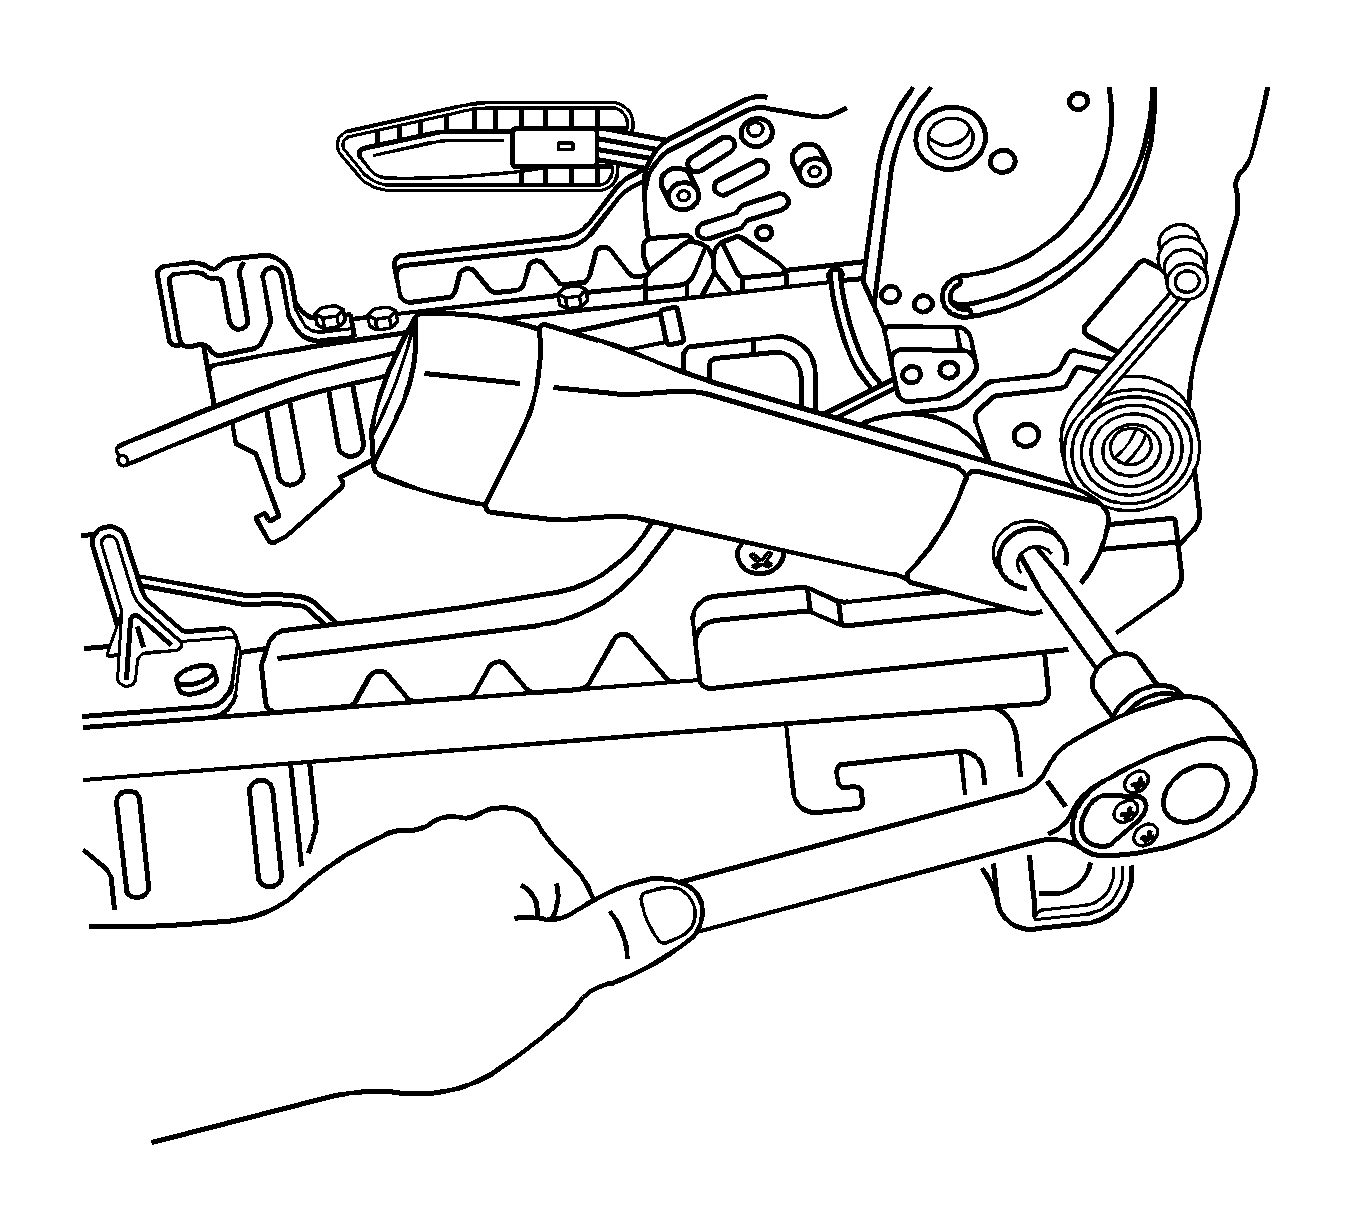
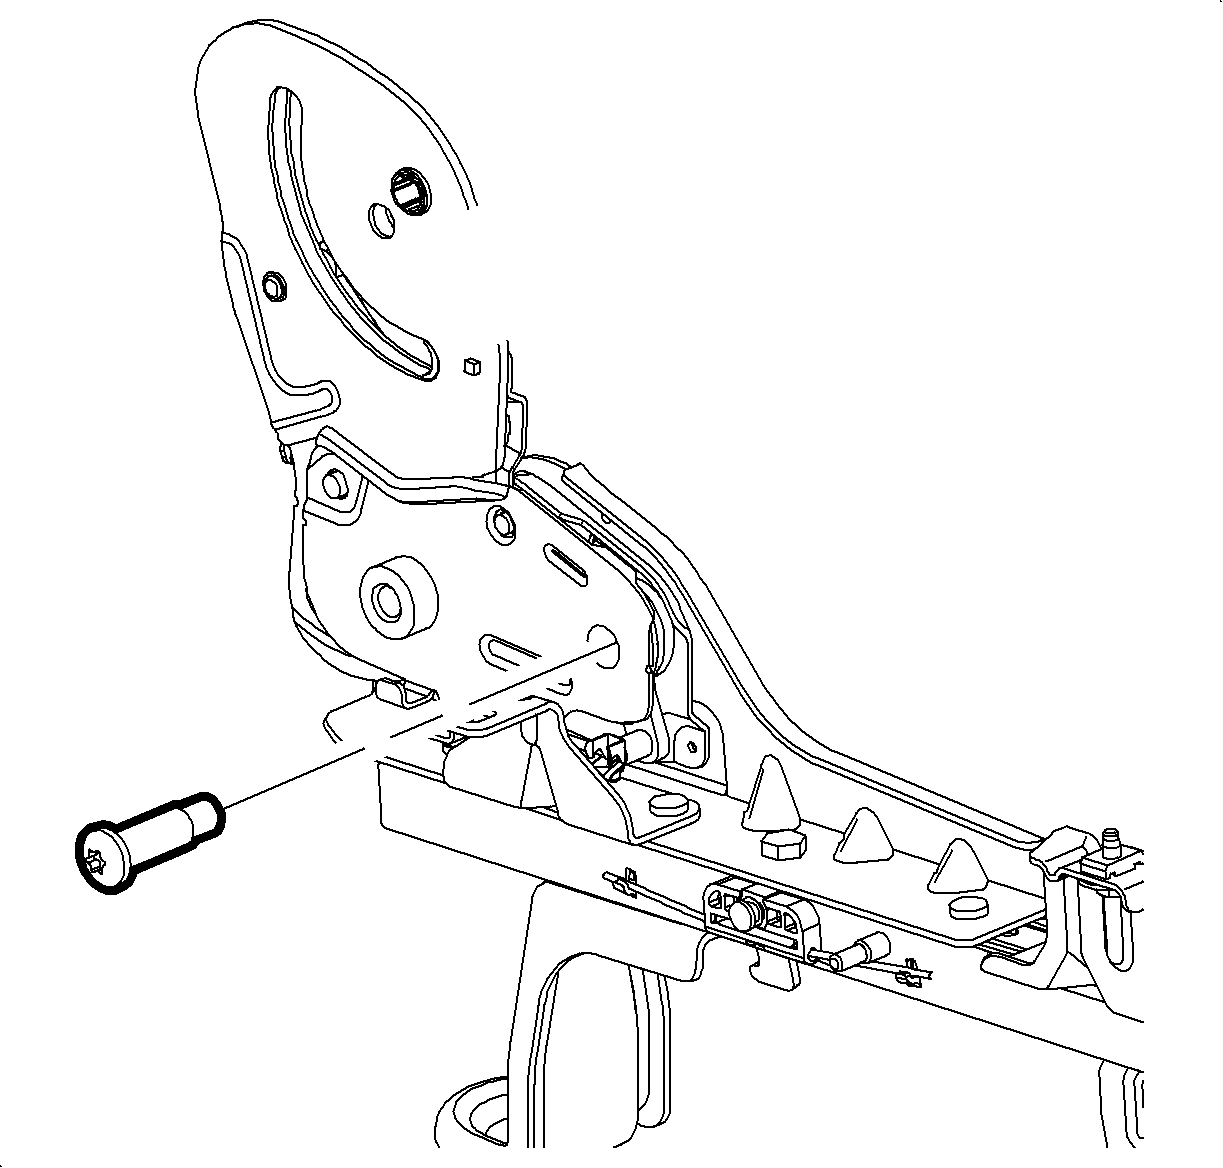
- Remove the recliner bolts on both sides of the seats.
- Separate the recliners from both sides of the adjusters.
- Replace the power adjusters as an assembly.
Installation Procedure
- Install both recliners to the seat adjuster. Secure the recliners with the recliner bolts.
- Position the seat belt buckle and install the bolt to the seat belt buckle.
- Install the shoulder belt quick disconnect bolt.
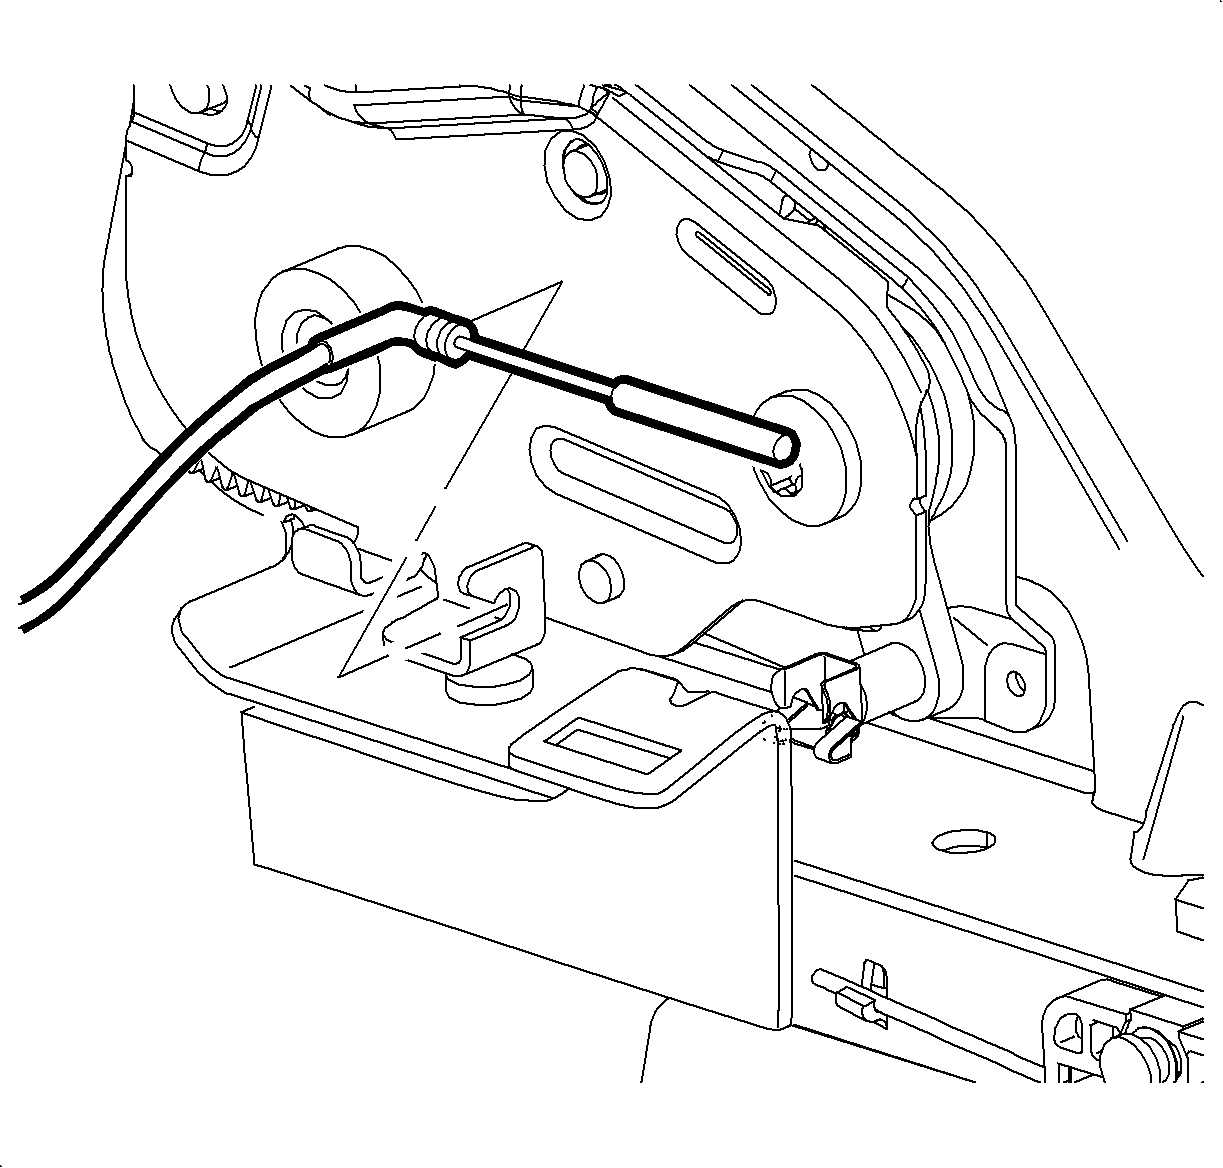
- Snap the recliner cable into the inner recliner mechanism clip.
- Remove the slack in the recliner cable by turning the threaded end of the cable.
- Install the seat cushion frame assembly.
- Install the seat cushion frame bolts.
- Install the recliner cable in the tab on the bottom of the seat cushion frame.
- Install the seat back assembly between the seat recliners. Secure the assembly with the recliner bolts.
- On vehicles with heated seats, route the heated seat wiring harness under the seat cushion and connect the connector to the seat heater module.
- Position the inner trim panels to the inboard and the outboard seat cushions. Secure the panels with the trim panel screws.
- Position the outer trim panel to the seat cushion. Secure with the trim panel screws.
- Install the inboard recliner trim panel.
- Install the outer trim panel.
- Install the front seat to the vehicle. Refer to Front Seat Replacement - Bucket .
- Install the power seat bezel
Notice: Refer to Title not found in the Preface section.

Tighten
Tighten the bolts to 45 N·m (33 lb ft).

Tighten
Tighten the bolts to 45 N·m (33 lb ft).

Tighten
Tighten the bolt to 45 N·m (33 lb ft).

Tighten
Tighten the bolts to 12 N·m (9 lb ft).
Tighten
Tighten the bolts to 70 N·m (52 lb ft).
Tighten
Tighten the screws to 2.5 N·m (22 lb in).

Tighten
Tighten the screws to 2.5 N·m (22 lb in).

Tighten
Tighten the screws to 2.5 N·m (22 lb in).

Tighten
Tighten the screws to 2.5 N·m (22 lb in).

