For 1990-2009 cars only
Removal Procedure
- Raise and support the vehicle. Refer to Lifting and Jacking the Vehicle in General Information.
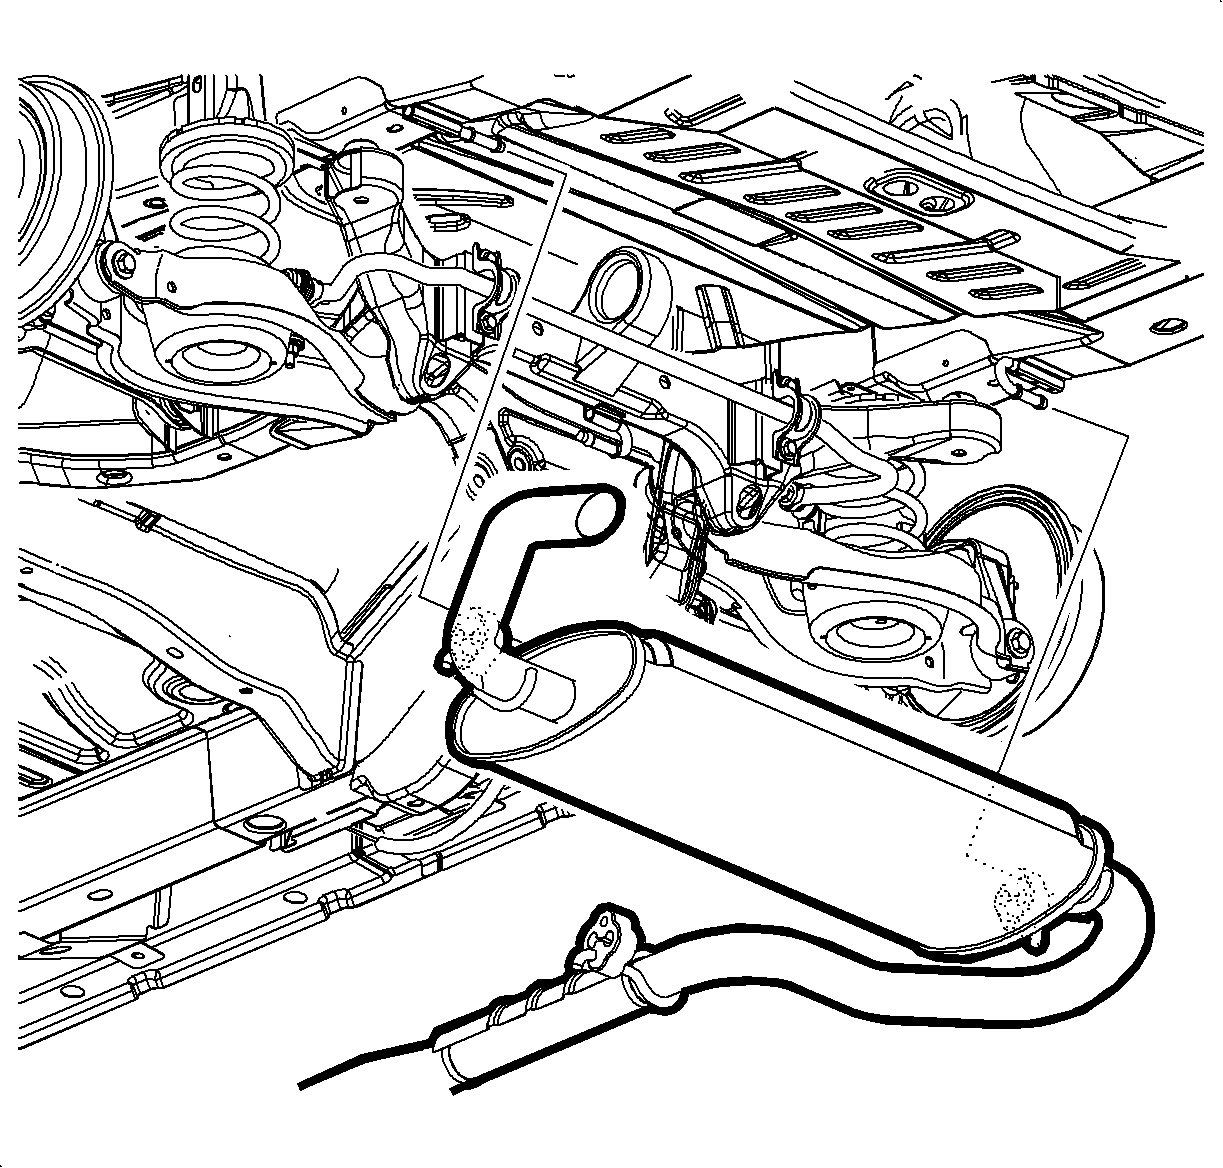
- Disconnect and remove the intermediate exhaust pipe and muffler assembly from the front pipe. Refer to Exhaust System Replacement in Engine Exhaust.
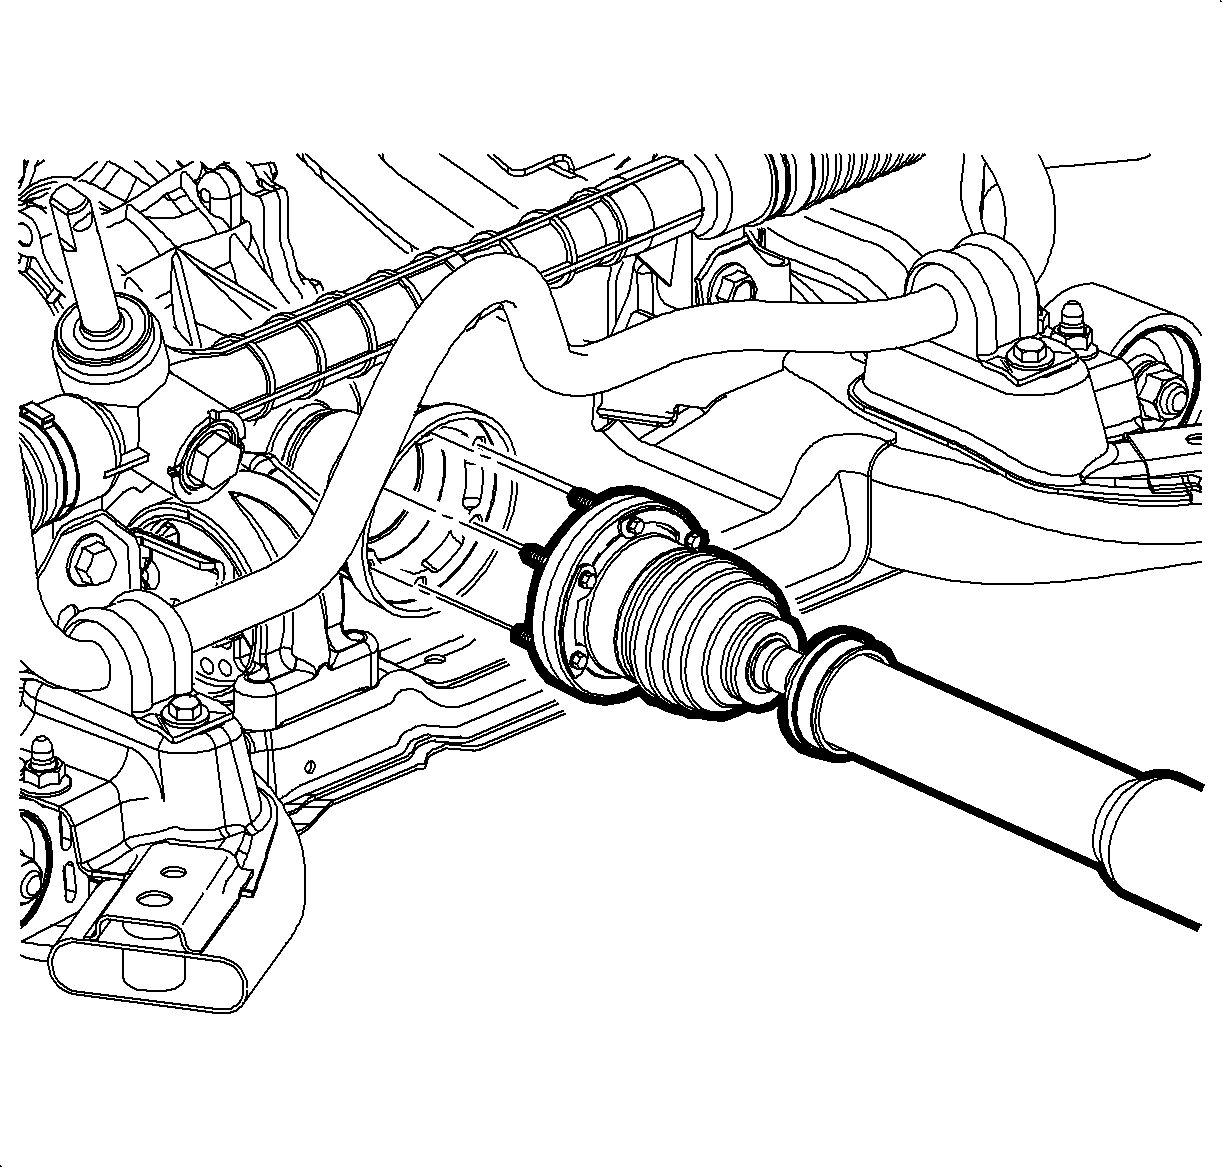
- Remove the rear wheel drive shafts. Refer to Rear Wheel Drive Shaft Replacement in Wheel Drive Shafts.
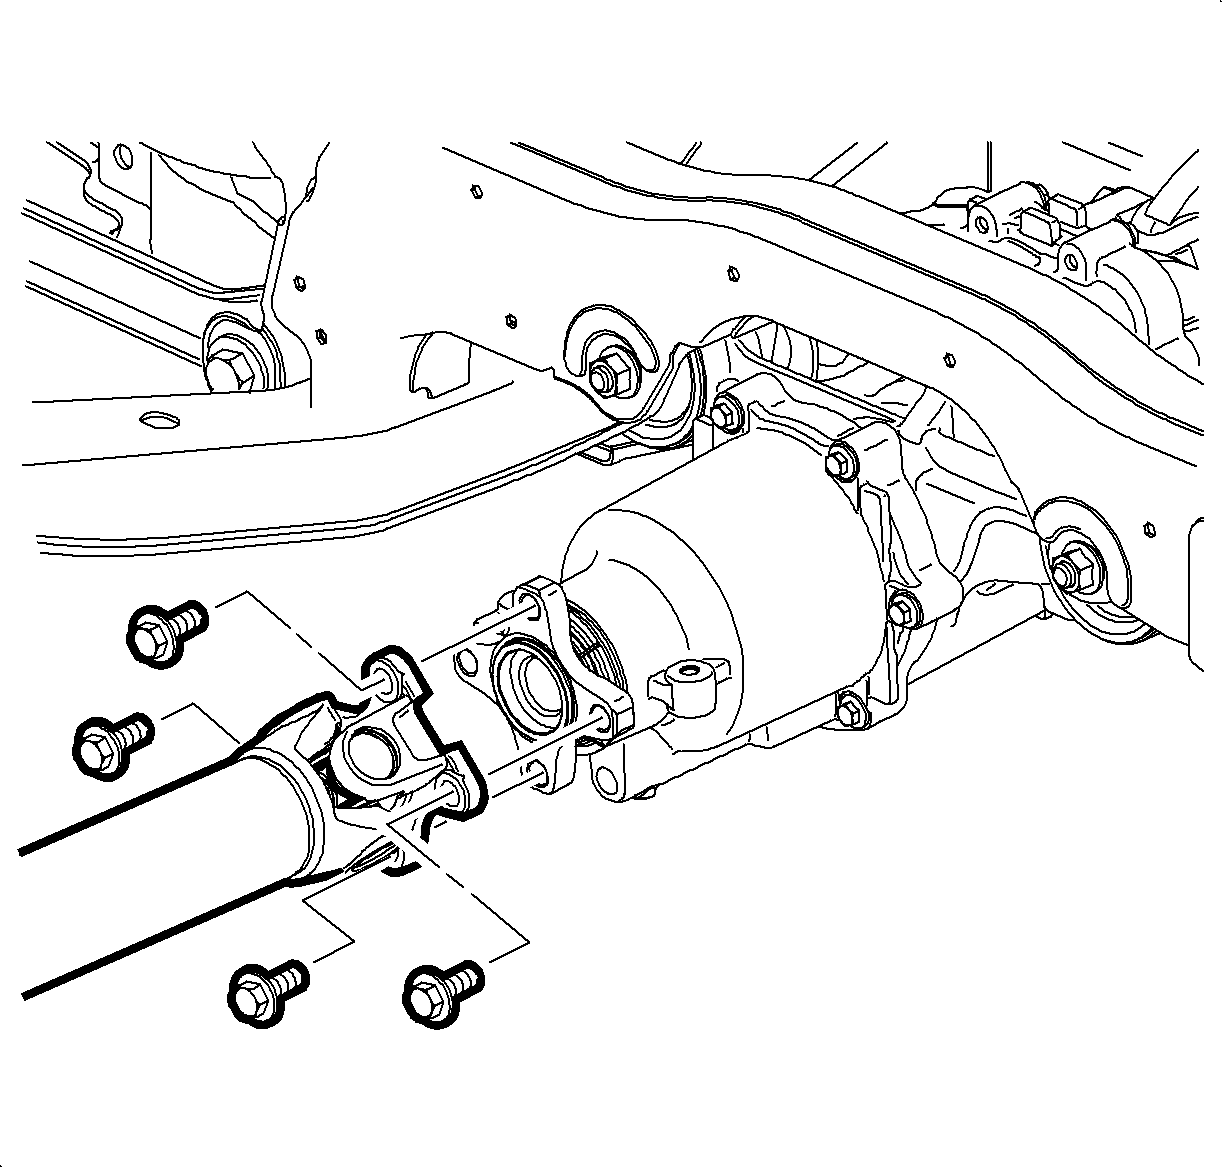
- Reference mark the propeller shaft flange-to-rear drive module (RDM) input flange.
- Place a support stand under the rear of the propeller shaft.
- Remove the propeller shaft flange mounting bolts.
- Reference mark the power take-off unit (PTU) flange-to-propeller shaft constant velocity (CV) joint.
- Place a support stand under the front of the propeller shaft.
- Remove the propeller shaft CV joint mounting bolts.
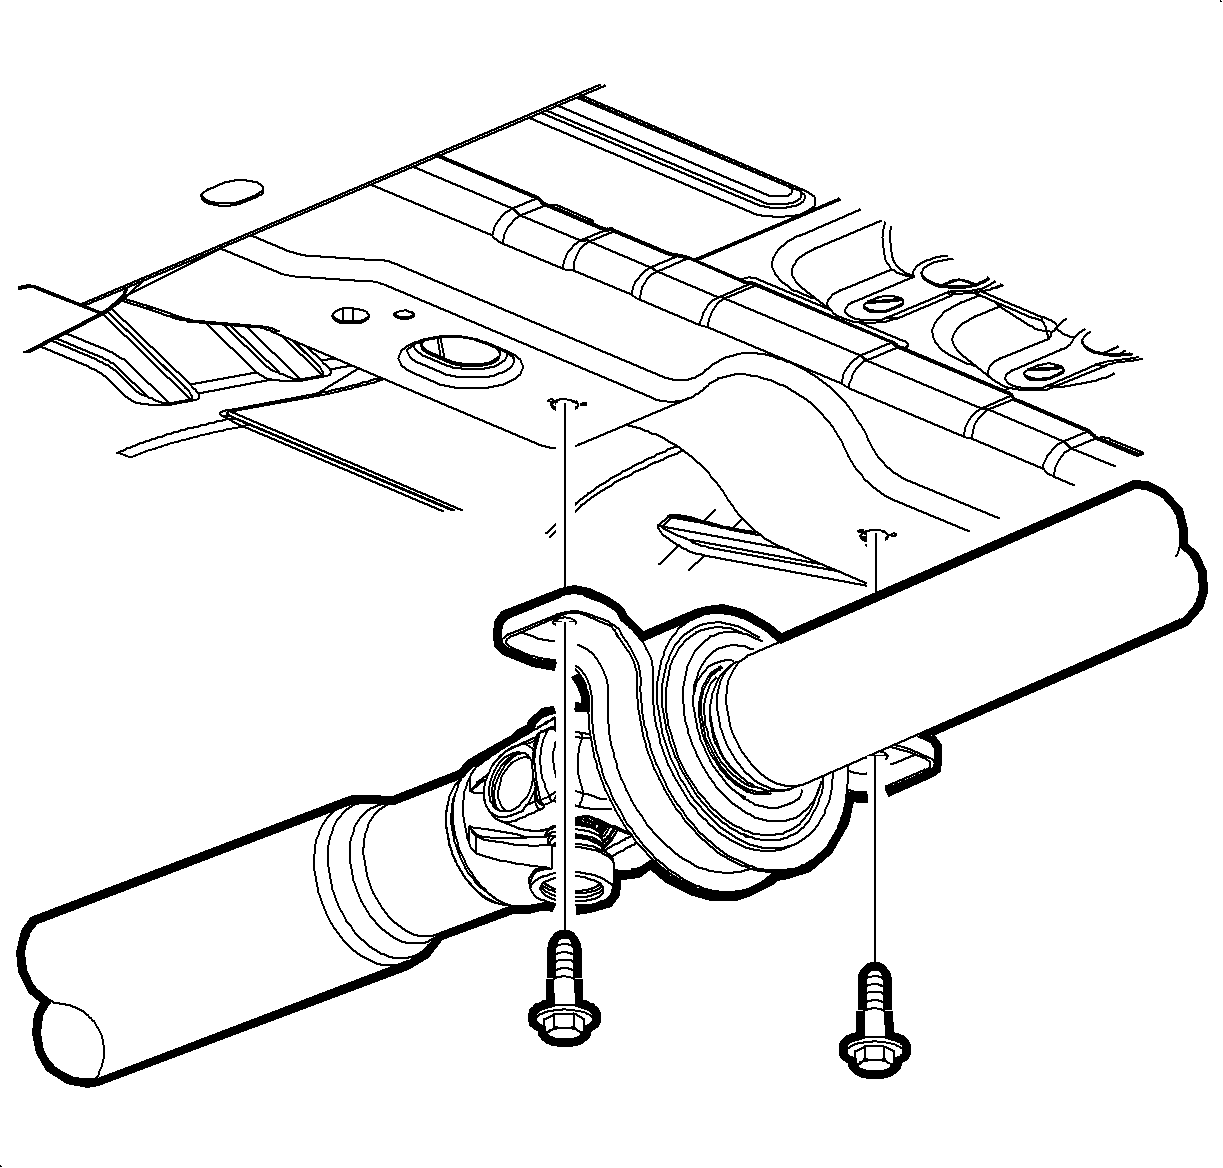
- While supporting the propeller shaft, remove the support bearing mounting bolts from the vehicle underbody.
- Remove the propeller shaft from the vehicle.
- Place a support stand under the RDM and secure the RDM.
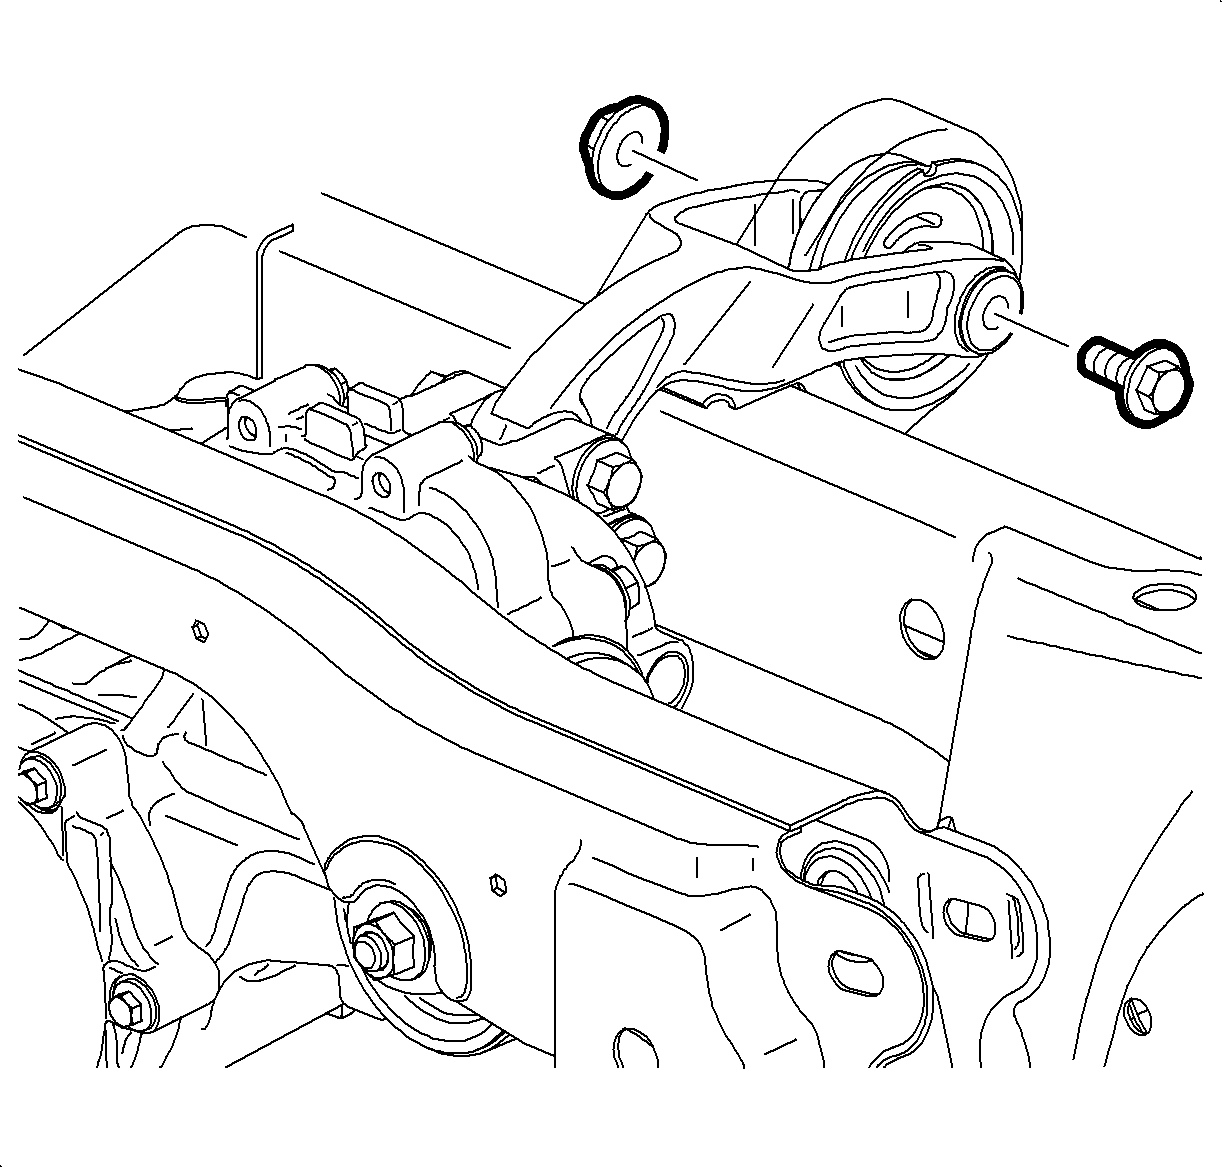
- Remove the RDM support bracket. Refer to Differential Carrier Assembly Mount Replacement .
- Remove the left and right RDM support mounting nuts and discard the nut.
- Remove the left and right RDM mounting bolts.
- Carefully remove the RDM from the vehicle.
Installation Procedure
- With the RDM secured to a support stand, position the RDM to the vehicle.
- Install the left and right RDM mounting bolts to the mounts.
- Hand install NEW bolts to the left and right mounting bolts.
- Install the RDM rear mounting bracket. Refer to Differential Carrier Assembly Mount Replacement .
- Tighten the left and right RDM mounting nuts.
- Position the propeller shaft to the vehicle and support the propeller shaft at the front and rear.
- Install the support bearing to the vehicle.
- Hand install the support bearing bolts.
- Align the reference marks on the propeller shaft CV joint and the PTU output flange.
- Align the reference marks on the propeller shaft flange and the RDM input flange.
- Install the propeller shaft. Refer to Propeller Shaft Replacement in Propeller Shaft.
- Install the rear wheel drive shafts. Refer to Rear Wheel Drive Shaft Replacement in Wheel Drive Shafts.
- Install the muffler and intermediate pipe assembly. Refer to Exhaust System Replacement in Engine Exhaust.
- Lower the vehicle.

Notice: Refer to Fastener Notice in the Preface section.
Tighten
Tighten the nuts to 105 N·m (77 lb ft).


