For 1990-2009 cars only
Tools Required
| • | EN-49010 Flywheel Holding Tool |
| • | J 29113 Balancer and Crank Sprocket Puller |
| • | J 45059 Angle Meter |
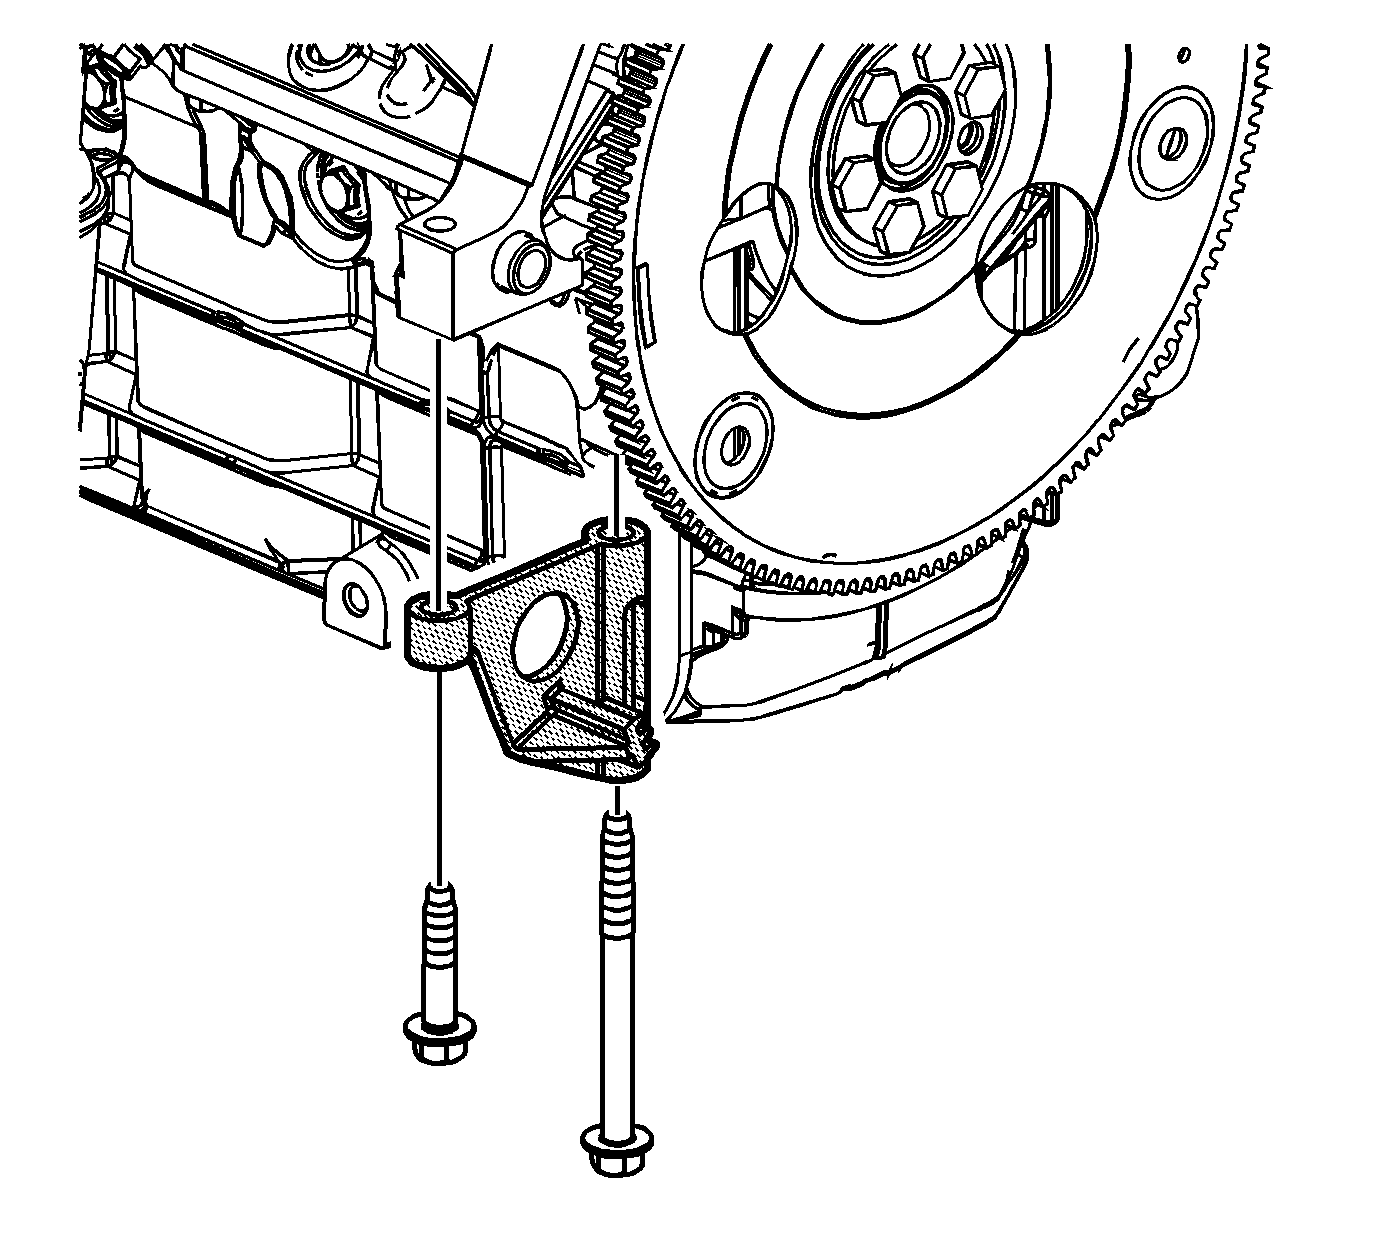
- Install the EN-49010 to the starter mounting holes.
- Apply sealer GM P/N 12378521 (Canadian P/N 88901148) or the equivalent to the keyway of the crankshaft balancer.
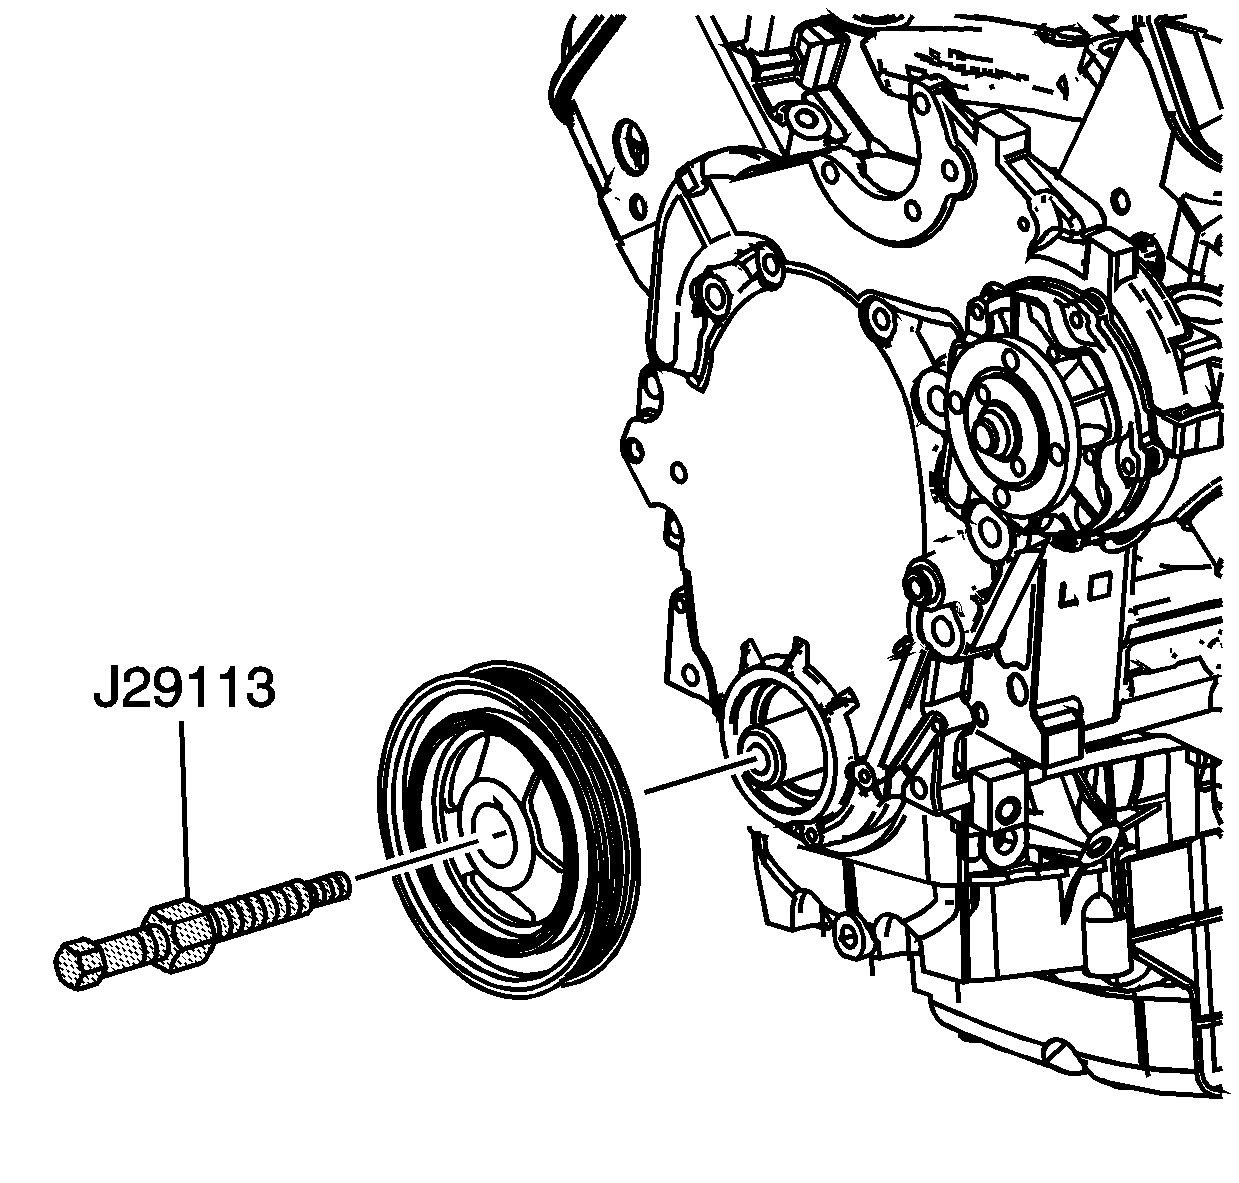
- Place the crankshaft balancer into position over the key in the crankshaft.
- Install the J 29113 onto the crankshaft.
- Rotate the hex nut on the J 29113 to install the crankshaft balancer onto the crankshaft.
- Remove the J 29113 from the crankshaft.
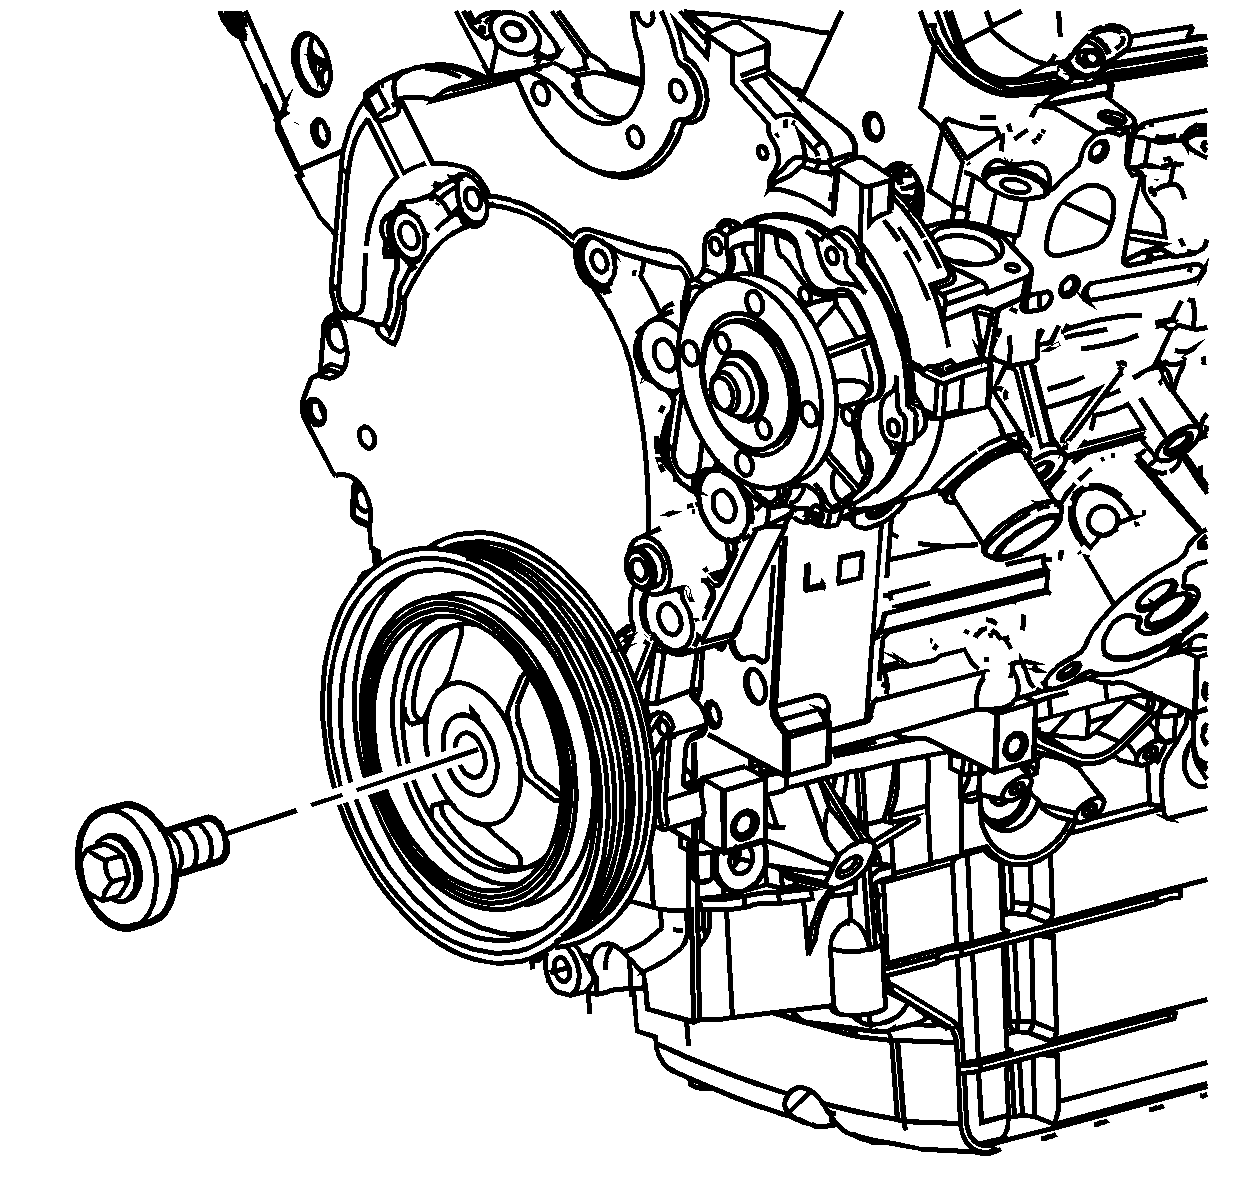
- Install the used crankshaft balancer bolt.
- Remove the used crankshaft balancer bolt.
- Install the NEW crankshaft balancer bolt.
- Tighten the crankshaft balancer bolt a first pass to 125 N·m (92 lb ft).
- Tighten the crankshaft balancer bolt a final pass to 130 degrees using the J 45059 .
- Remove the EN-49010 .


Notice: Do NOT use a power-assisted tool with the special tool in order to remove or install this component. You cannot properly control the alignment of this component using a power-assisted tool, and this can damage the component.
Notice: Refer to Fastener Notice in the Preface section.

Tighten
Tighten the used crankshaft balancer bolt to 125 N·m (92 lb ft).
Tighten
