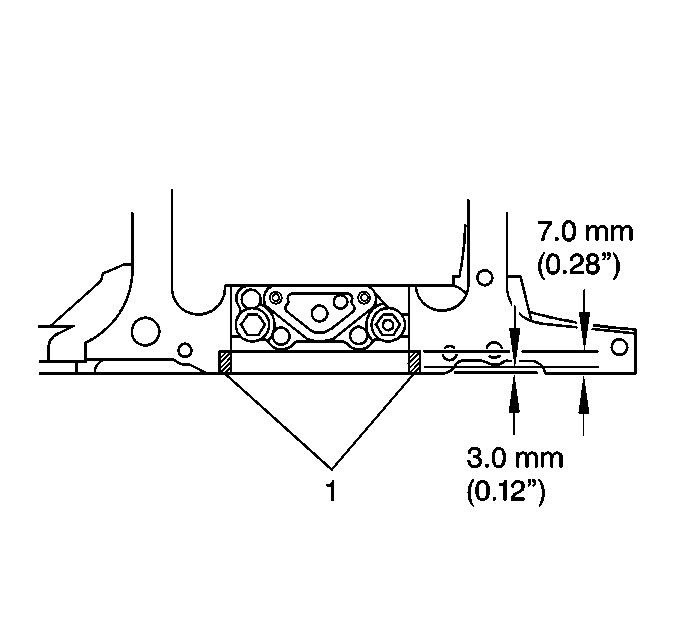
- Apply sealer GM P/N 12378521, (Canadian P/N 88901148) or the equivalent to both sides of the crankshaft rear main bearing cap (1).
- Install the oil pan gasket.
- Install the oil pan.
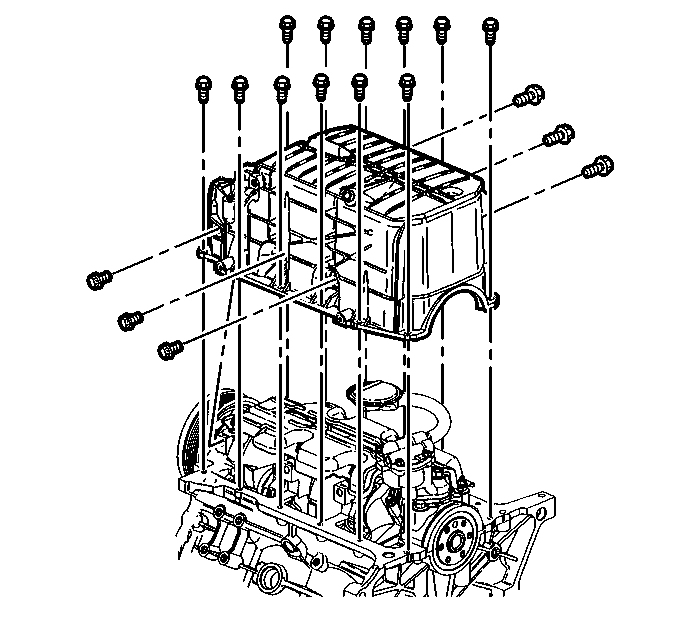
- Install the oil pan bolts.
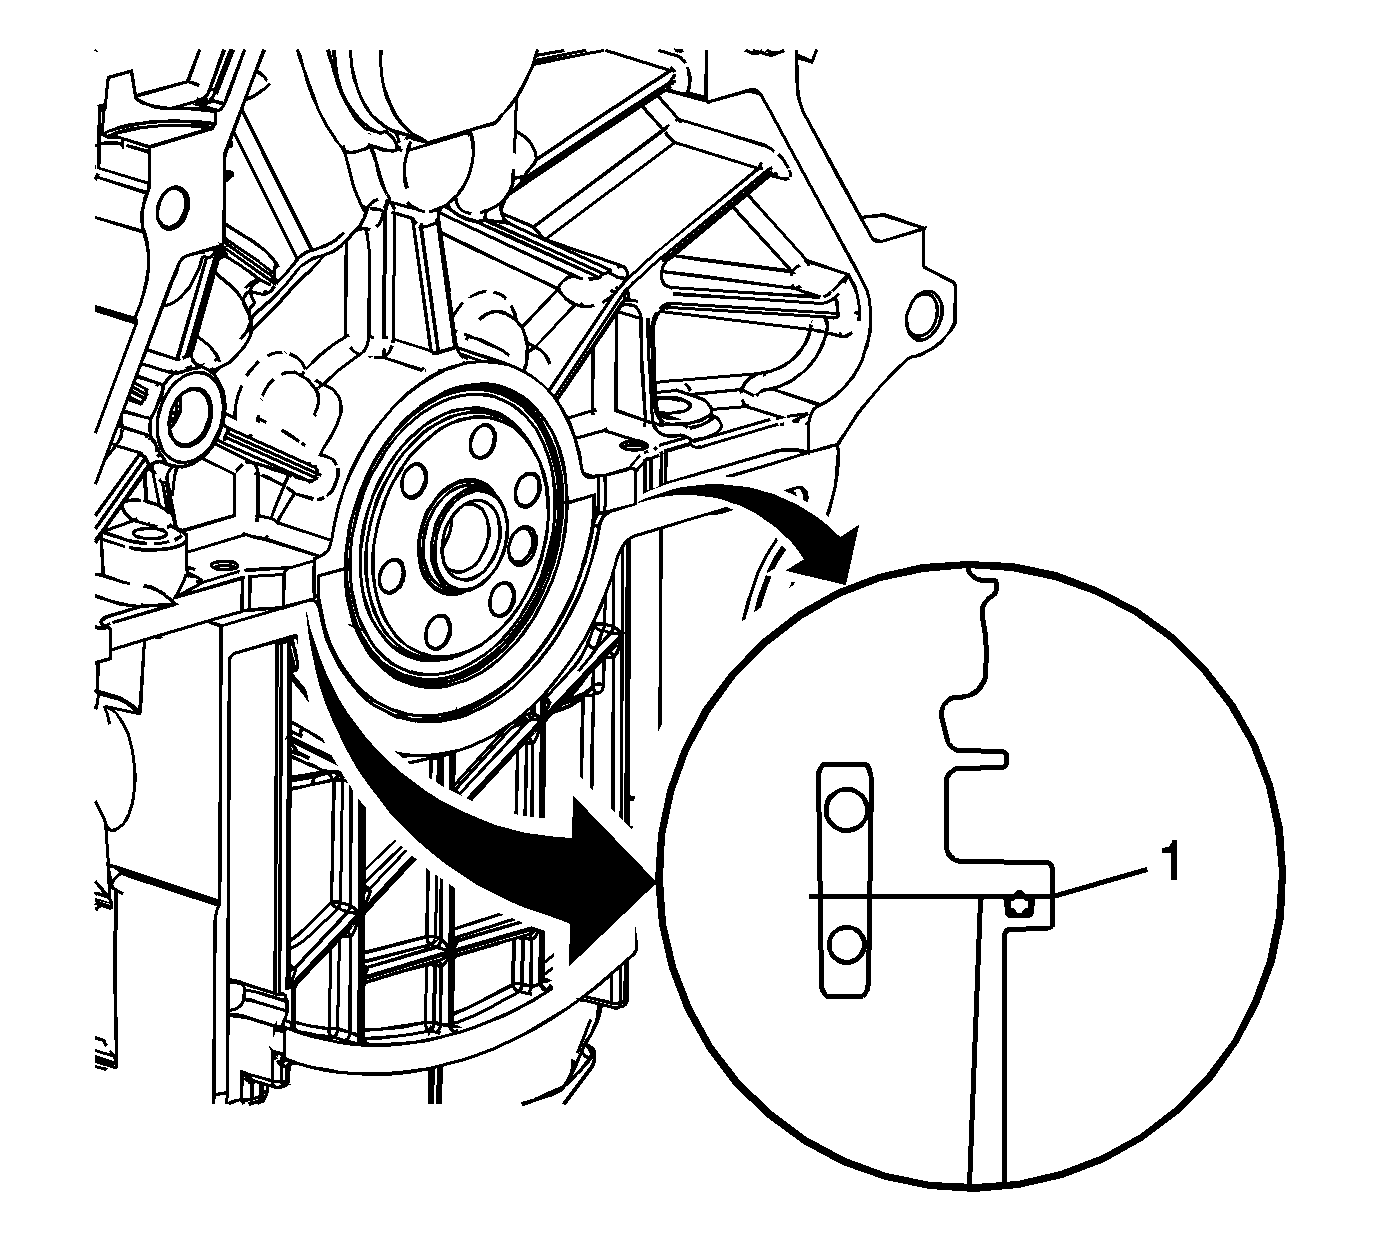
- Prior to tightening bolts, ensure that the oil pan boss sits flush with the engine block boss (1).
- Install the oil pan side bolts.
- After tightening bolts, recheck to ensure that the oil pan boss sits flush with the engine block boss (1).
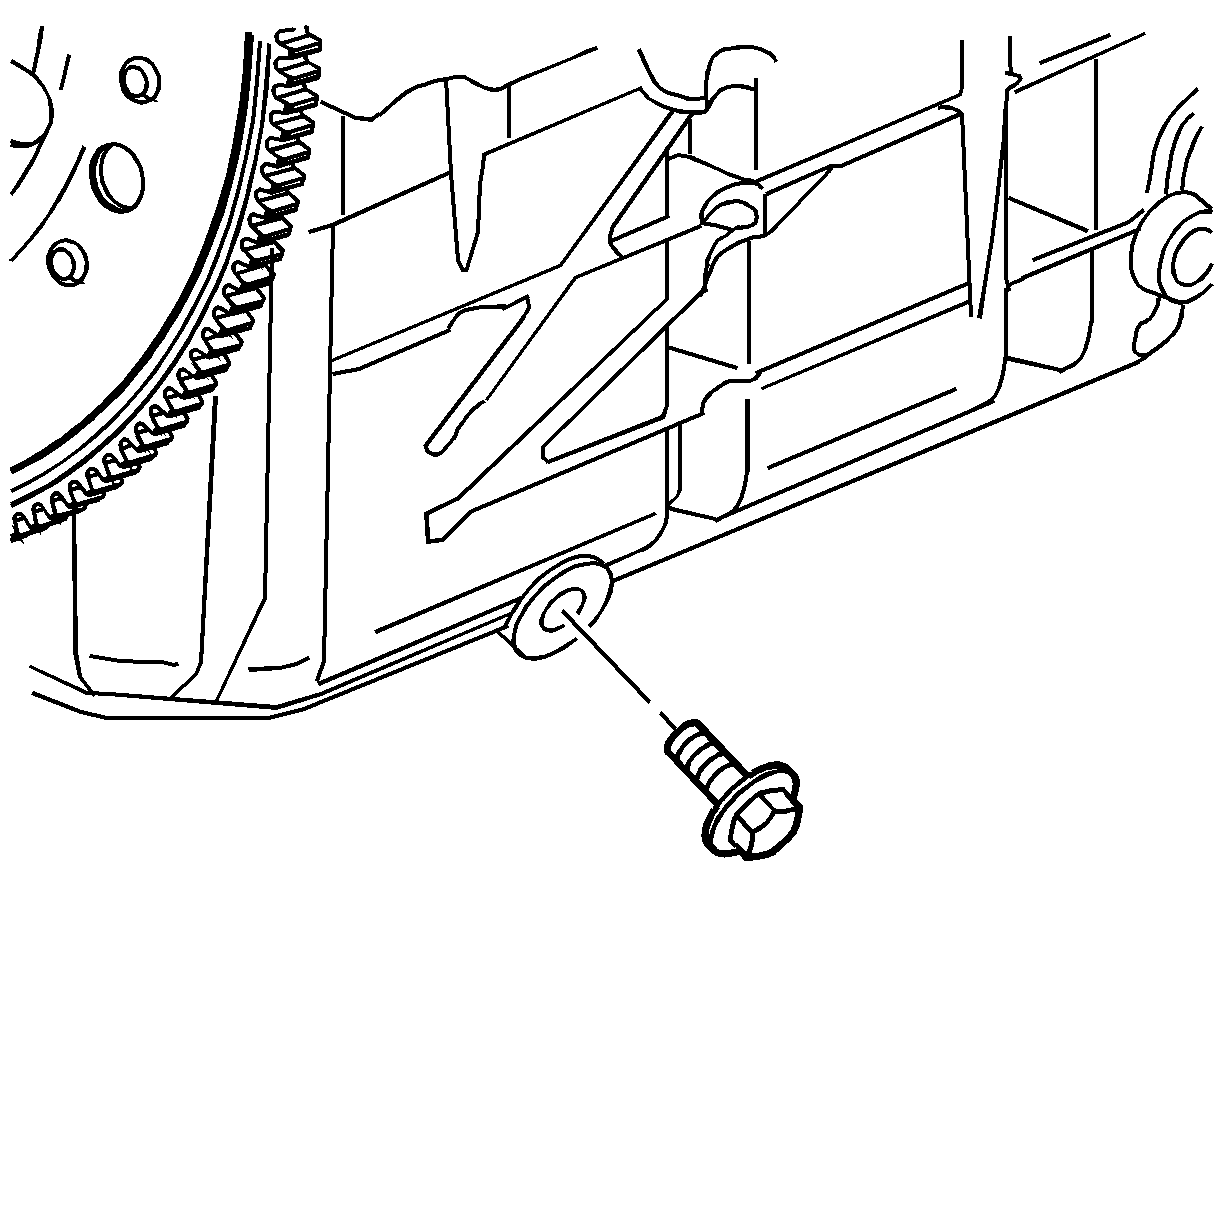
- Install the oil pan drain plug.


Important: Replace the two rear bolts that bolt the oil pan to the engine block, next to the rear main seal, with two NEW bolts (P/N 11515756). Prior to installing the new bolts, apply threadlocker G/M P/N 12345382 (Canadian P/N 10953489) to the threads.

Notice: Use the correct fastener in the correct location. Replacement fasteners must be the correct part number for that application. Fasteners requiring replacement or fasteners requiring the use of thread locking compound or sealant are identified in the service procedure. Do not use paints, lubricants, or corrosion inhibitors on fasteners or fastener joint surfaces unless specified. These coatings affect fastener torque and joint clamping force and may damage the fastener. Use the correct tightening sequence and specifications when installing fasteners in order to avoid damage to parts and systems.
Tighten
Tighten the oil pan bolts to 25 N·m (18 lb ft).

Tighten
Tighten the oil pan side bolts to 50 N·m (37 lb ft).


Tighten
Tighten the oil pan drain to 25 N·m (18 lb ft).
