For 1990-2009 cars only
- It is only necessary to lower the headliner. Only do those steps in the headliner replacement procedure that will lower the headliner enough to gain access to the part. Refer to Headlining Trim Panel Replacement.
- Place the sunroof window in the vent/open position.
- Remove the screws from the motor/actuator.
- Disengage the motor/actuator from the drive cables and module.
- Remove the sunroof window. Refer to Sunroof Window Replacement.
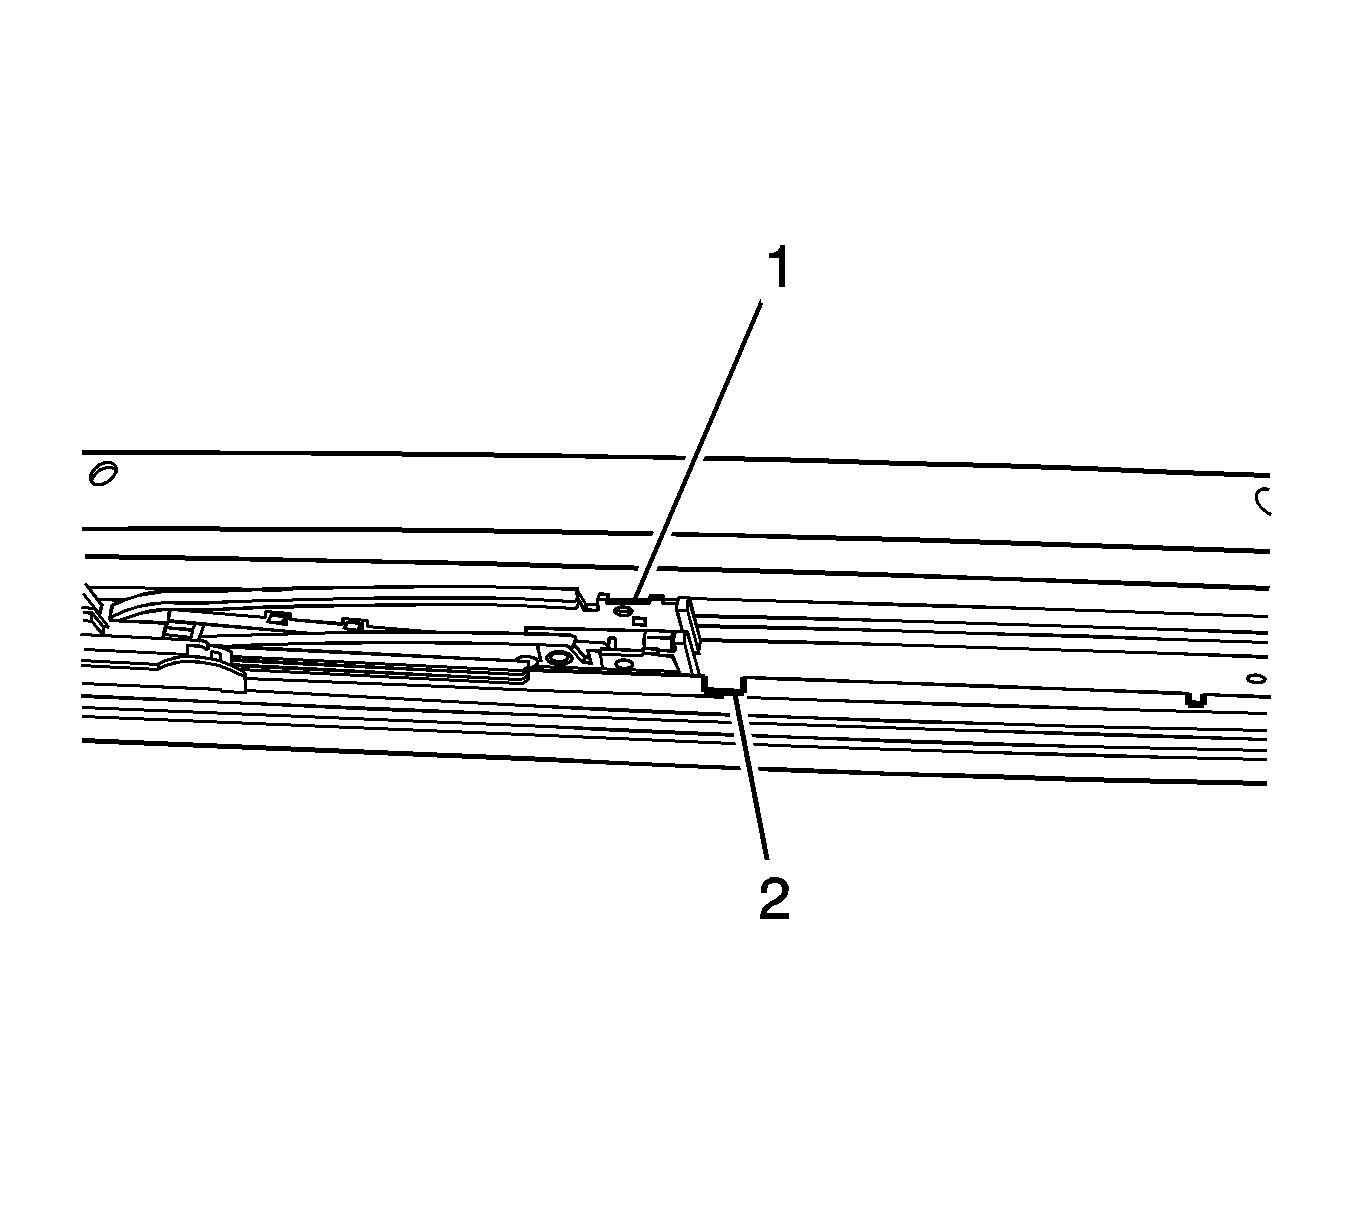
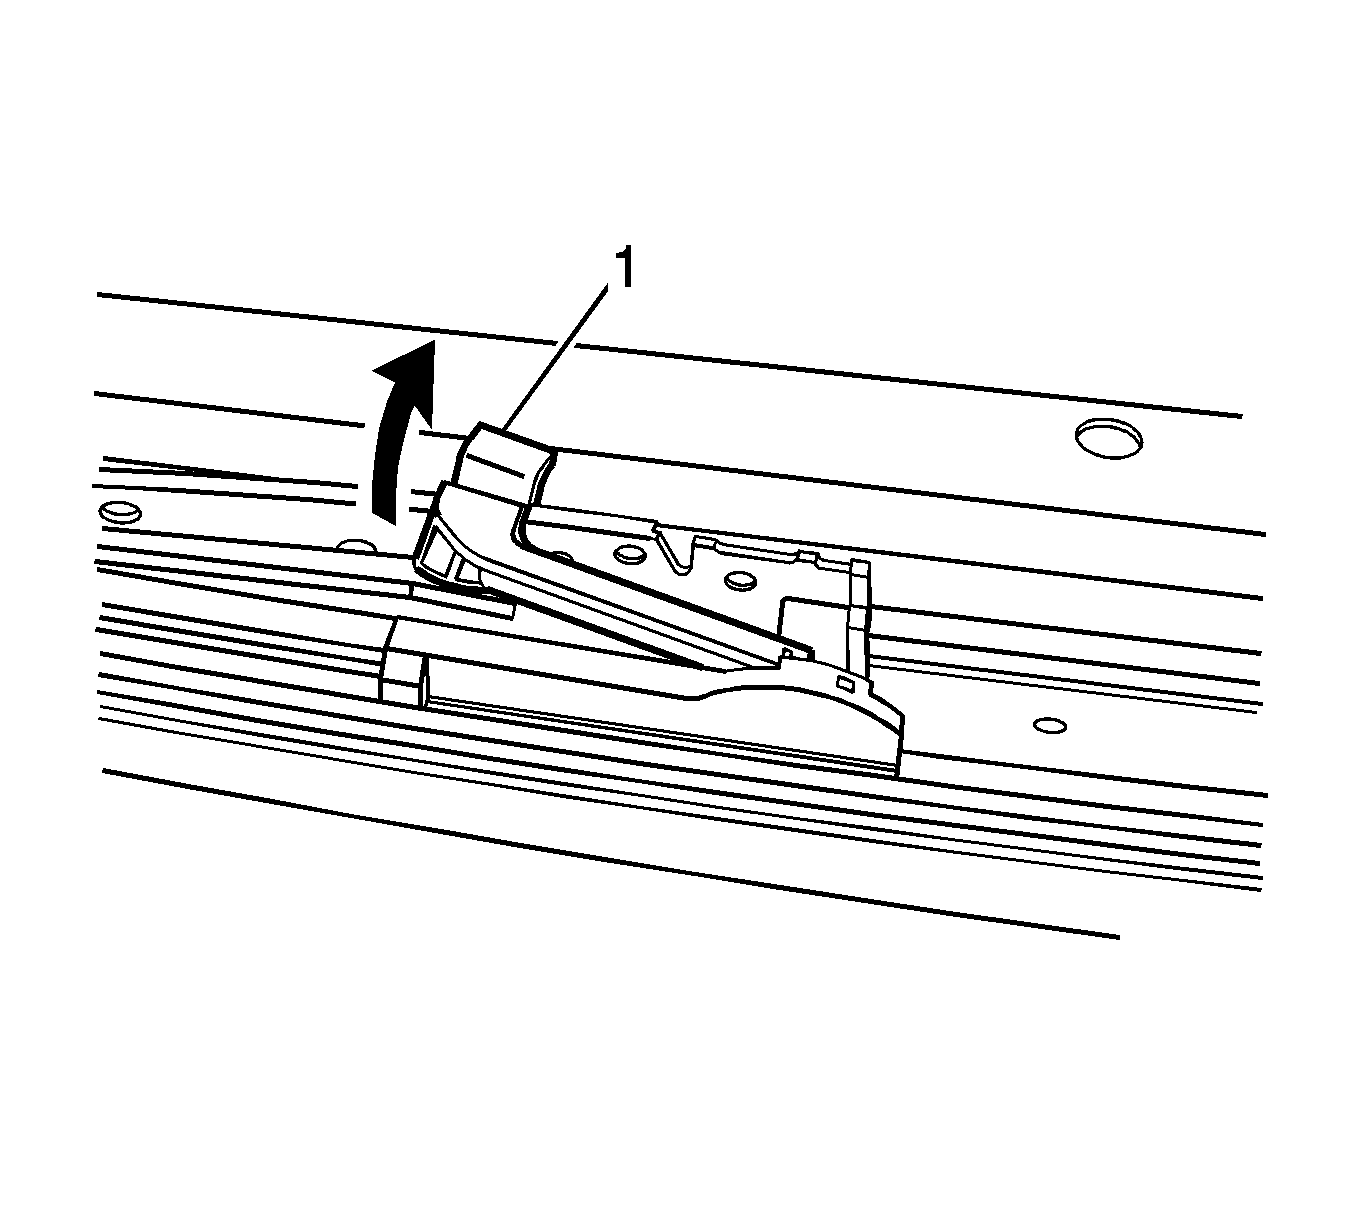
- Sliding the drive cable plates (1) on the left and right forward until the first stop is made (2), this will lock the sliding bracket and release drive cable plate.
- Manually adjust the drive cable plates (1) on the left and right sides, by sliding them forward until contact is made to the guide crimp (timing hard stop).
- Install the sunroof motor/actuator. Refer to Sunroof Motor/Actuator Replacement.
- Install the sunroof window. Refer to Sunroof Window Replacement.
- Ensure the motor/actuator initialization/teach process has been done. Refer to Sunroof Motor/Actuator Initialization/Teach Process.
- Verify the sunroof for proper operation.
- Install the headliner. Refer to Headlining Trim Panel Replacement.
Note: After the motor/actuator has been remove it will be necessary to align the module tracks.


