Rear Seat Operation for Chevrolet Express 2008
Removing the Rear Seat
Disconnect the quick release latch plates for the lap-shoulder belts on the bench seat to be removed.
-
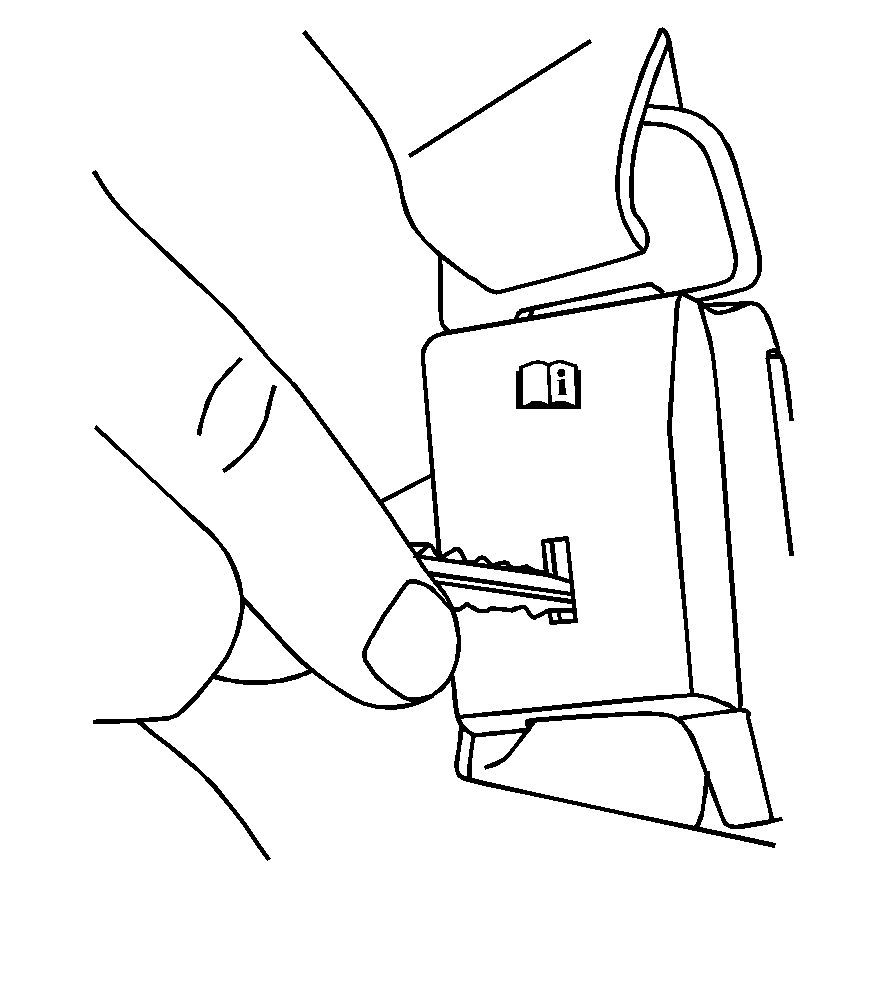
To do this, press the tip of a key into the release hole of the safety belt buckle while pulling up on the safety belt.
- Locate the pins.
- The driver side pin has a gray cap with a black "L" marked on it.
- The passenger side pin has a black cap with a white "R" marked on it.
- Pull the pin handle up to disengage the pin from the retaining clip, then pull the pin out.
- Repeat this procedure for the other pins.
- Pull the seat rearward about 2 inches (5 cm) and then lift the seat from the floor rails.
- Remove the seat from the vehicle.
- For the remaining rear seats, stow the safety belt latch plate on the clip at the window trim.
On a three passenger seat there are two pins located on the inboard sides of the rear seats.
Three Passenger Seat Shown
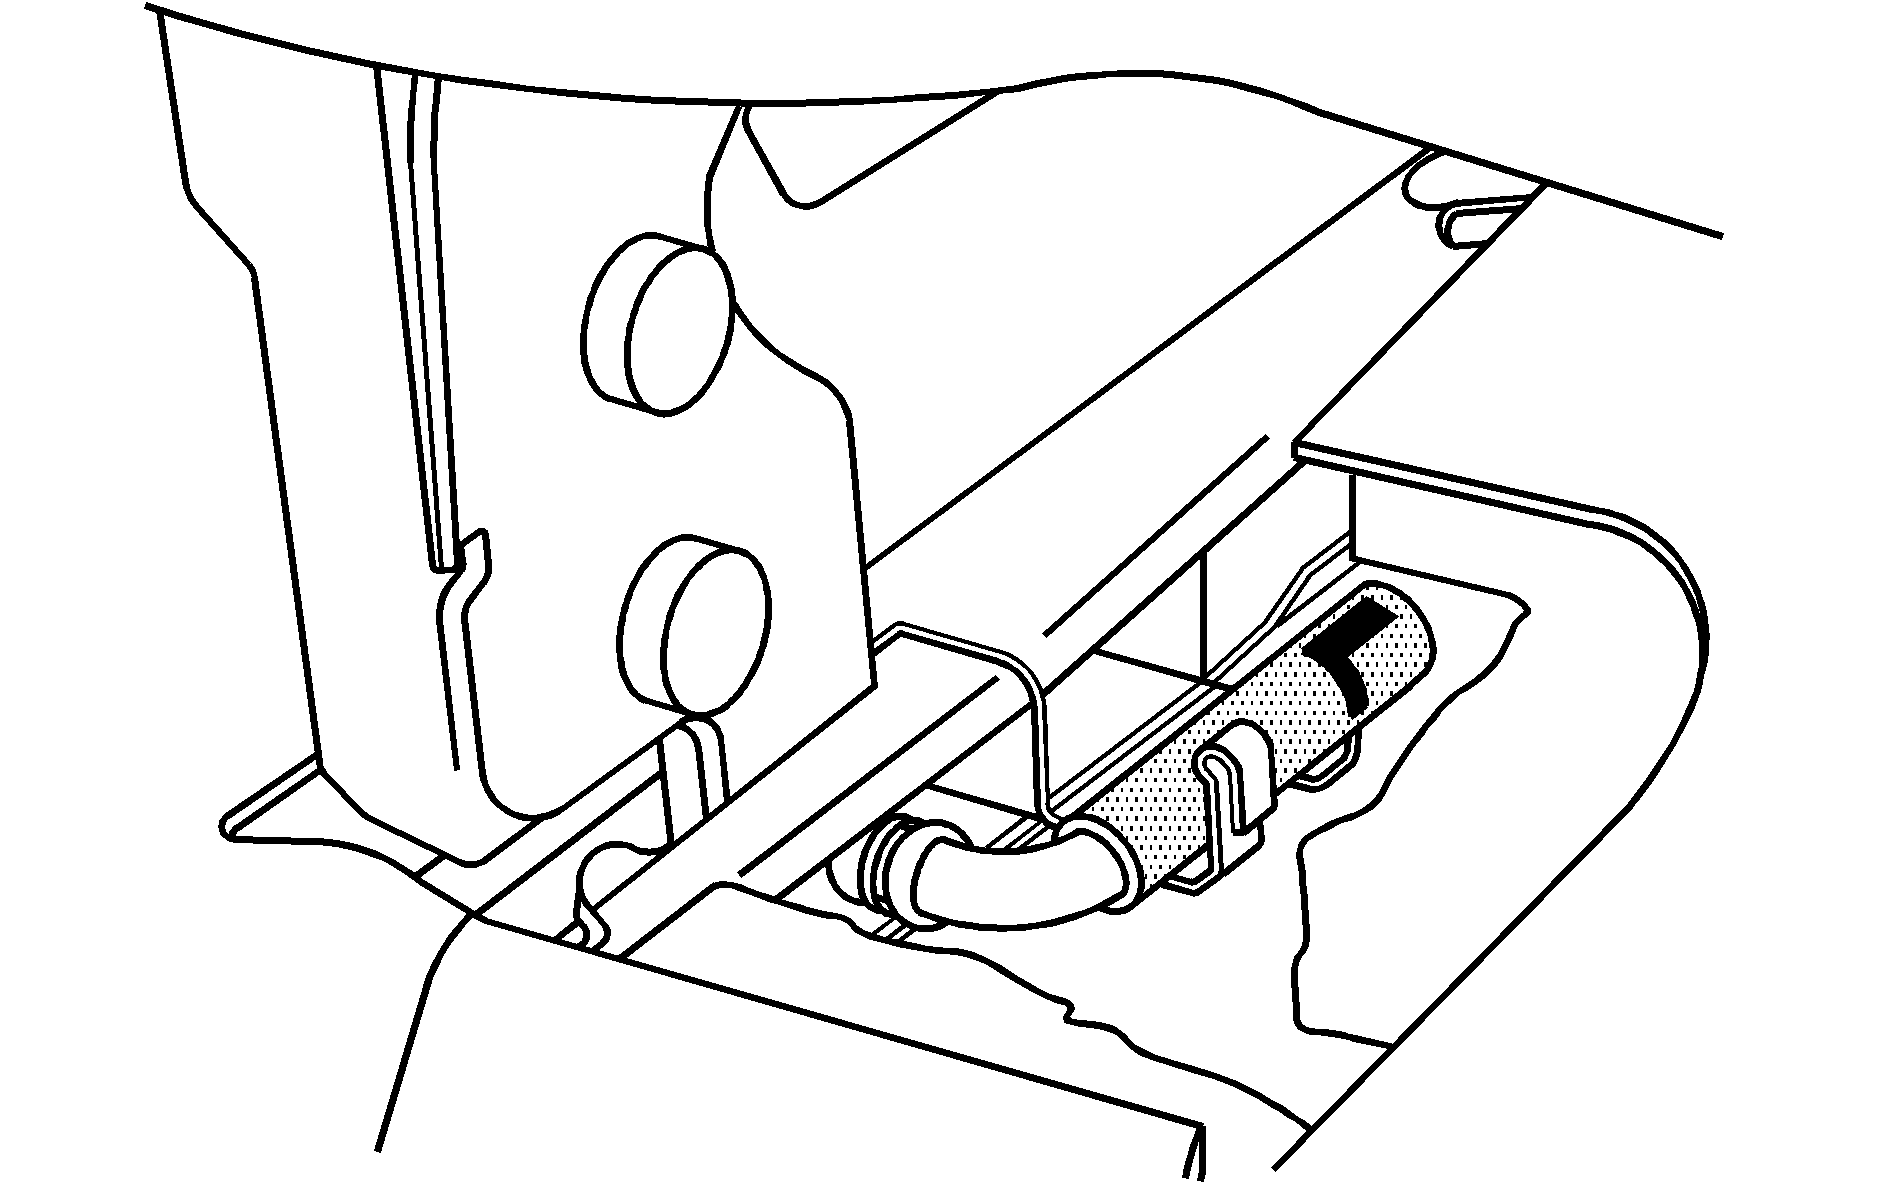
Three Passenger Seat Shown
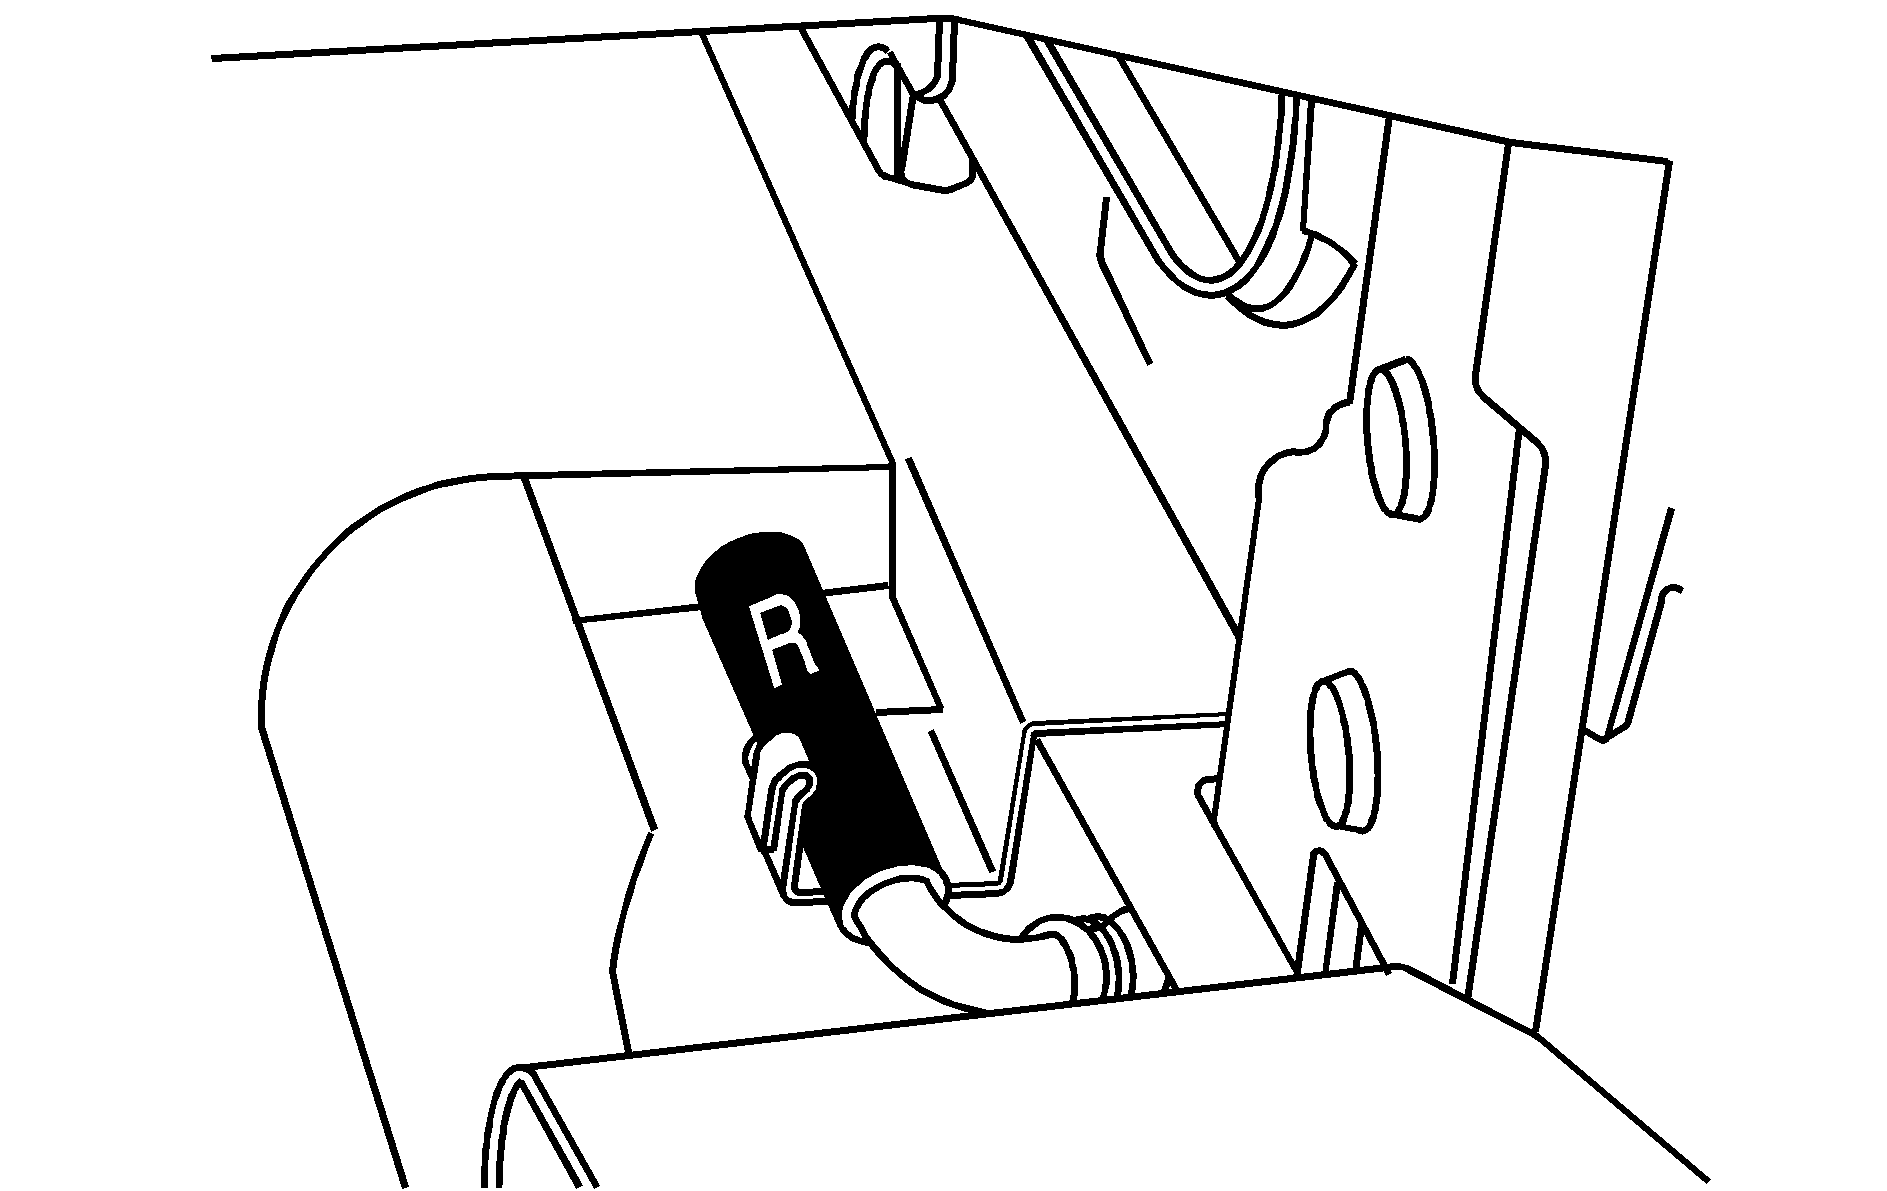
On a four passenger seat, each half of the seat has a set of pins. The driver side has a set marked "L", and the passenger side has a set marked "R".
If the vehicle has floor mats, the pins will be located under a flap that has been cut into the mat.
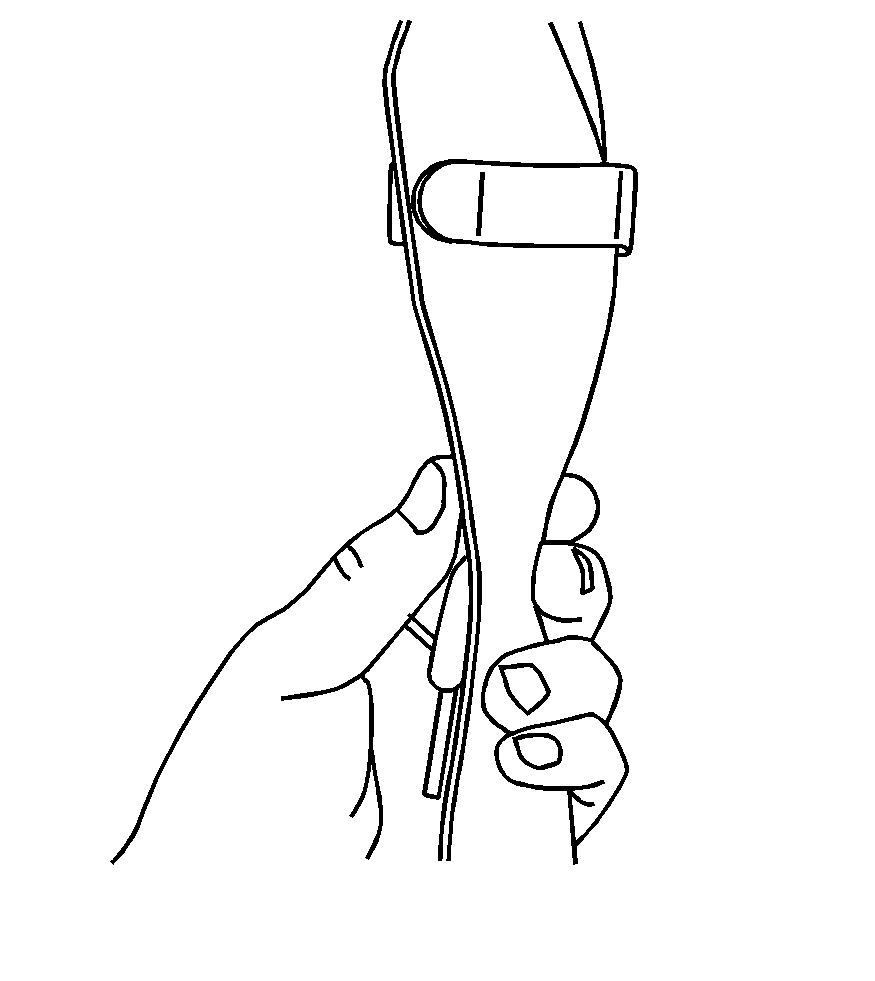
For the first row rear seat, stow the safety belt latch by attaching the clip on the safety belt latch to the trim just inside the side door.
Replacing the Rear Seats
Caution: A seat that is not locked into place properly can move around in a collision or sudden stop. People in the vehicle could be injured. Be sure to lock the seat into place properly when installing it.
Caution: A safety belt that is improperly routed, not properly attached, or twisted will not provide the protection needed in a crash. The person wearing the belt could be seriously injured. After raising the rear seatback, always check to be sure that the safety belts are properly routed and attached, and are not twisted.
- Position the seat into the open slots in both rails. Push the seat forward in the rail, hooking both seat bases onto the pins inside of the rails.
- Locate the hole in the rail to install the locking pins at the rear of the seat base. If the vehicle has floor mats, pull the flap that has been cut into the mat.
- Insert the locking pins into the seat base and push the seat to line up the pins with the base.
- Push the pin(s) marked "R" down until they are in the retaining clip.
- Push the pin(s) marked "L" down until they are in the retaining clip.
- If the vehicle has a floor mat, put the flap back to its original position.
- Repeat this procedure for the other seat base.
- Connect the quick-release latch plates for the lap-shoulder belts by inserting the latch plates into the buckles attached at the outboard positions of the bench seat. Do not twist the belt.
- Check that all locking pins are locked into place before operating the vehicle.
On a three passenger seat, the pin with the black cap marked "R" must be installed on the passenger side and the pin with the gray cap marked "L" on the driver side.
On a four passenger seat, the pins marked "R" must be installed on the half of the seat on the passenger side. The pins marked "L" must be installed on the half of the seat on the driver side.
Three Passenger Seat Shown
Three Passenger Seat Shown
