Starter Replacement 4.8L /5.3L /6.0L
Removal Procedure
Caution: Unless directed otherwise, the ignition and start switch must be in the OFF or LOCK position, and all electrical loads must be OFF before servicing any electrical component. Disconnect the negative battery cable to prevent an electrical spark should a tool or equipment come in contact with an exposed electrical terminal. Failure to follow these precautions may result in personal injury and/or damage to the vehicle or its components.
- Disconnect the negative battery cable. Refer to Battery Negative Cable Disconnection and Connection .
- Raise and suitably support the vehicle. Refer to Lifting and Jacking the Vehicle .
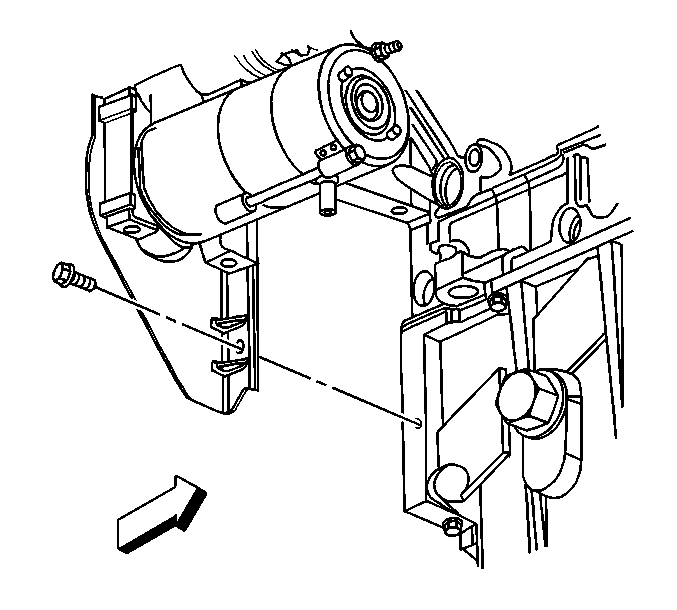
- Remove the right transmission cover bolt, if equipped.
- Disconnect the oil level sensor electrical connector.
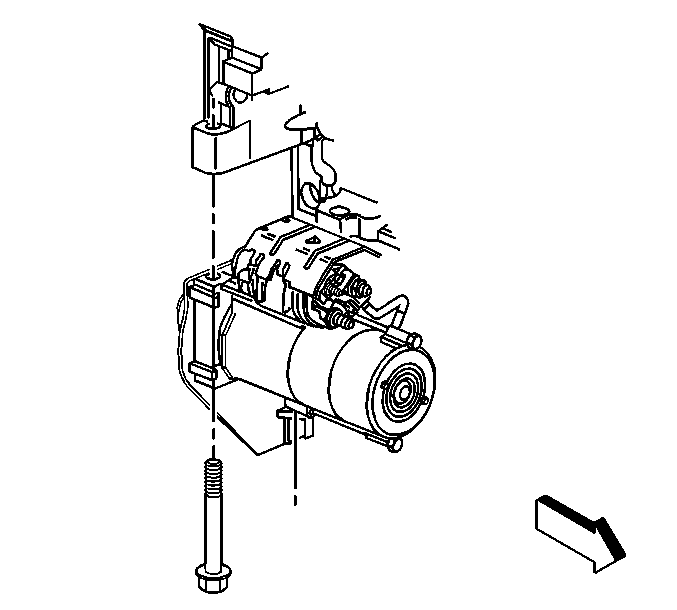
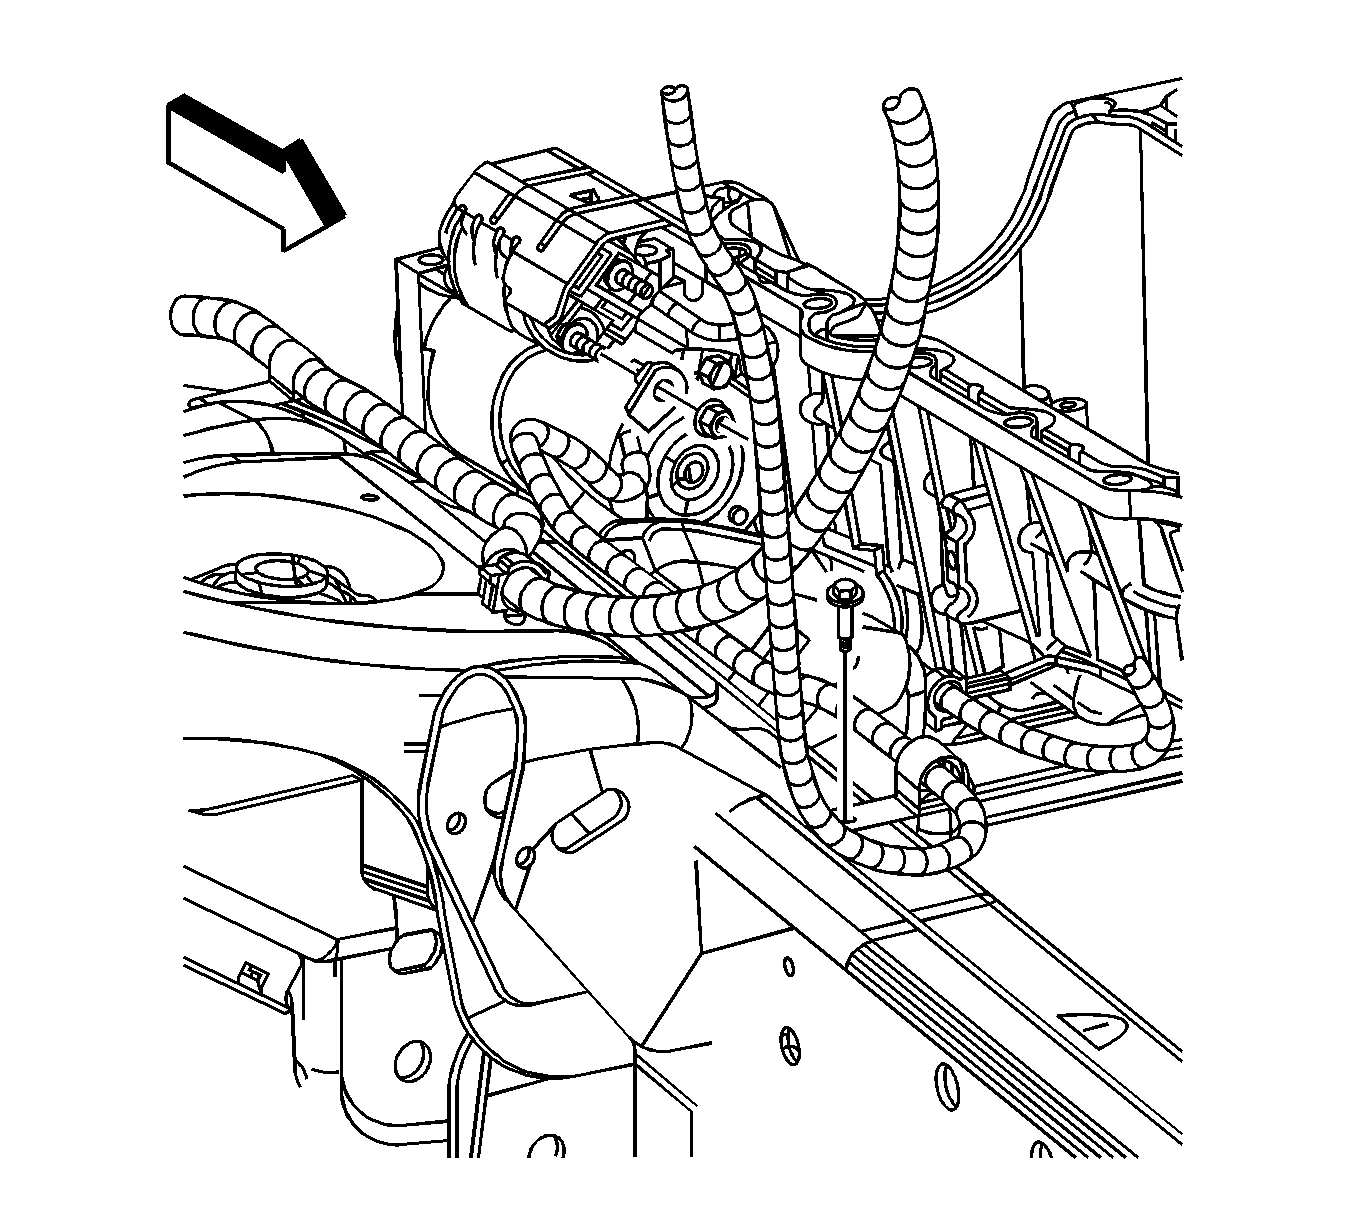
- Remove the starter bolts.
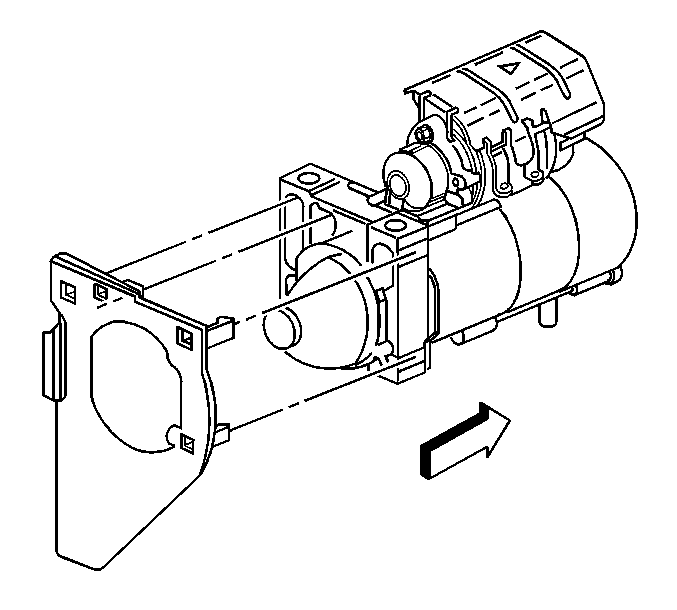
- Slide the starter forward until the starter clears the transmission.
- Remove the starter solenoid nut.
- Remove the starter lead from the solenoid stud.
- Remove the starter lead nut.
- Remove the positive cable from the starter stud.
- Place the starter on a workbench.
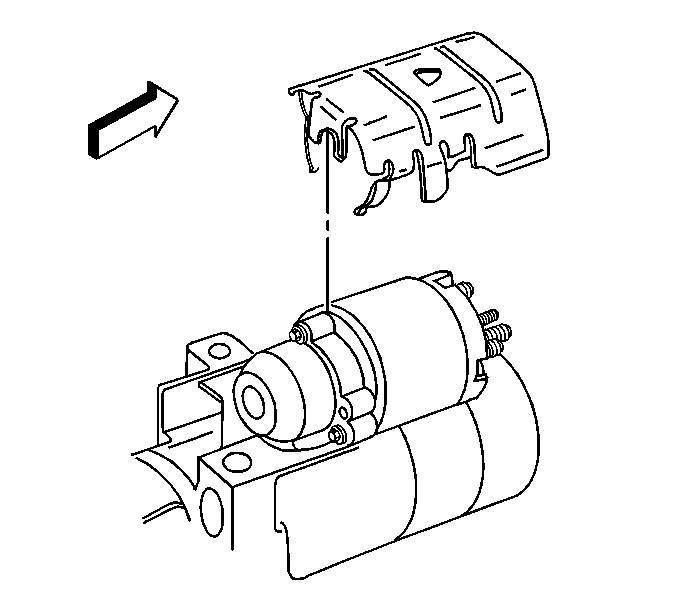
- Unsnap the transmission cover from the starter, if equipped.
- If necessary, remove the starter shield.
Installation Procedure
- If necessary, install the starter shield.
- Snap the transmission cover to the starter, if equipped.
- Install the positive cable to the starter stud.
- Install the starter lead nut.
- Install the starter solenoid lead to the solenoid stud.
- Install the starter solenoid nut.
- Slide the starter rearward.
- Install the starter bolts.
- Install the right transmission cover bolt, if equipped.
- Connect the oil level sensor electrical connector.
- Lower the vehicle.
- Connect the negative battery cable. Refer to Battery Negative Cable Disconnection and Connection .
Notice: Refer to Fastener Notice in the Preface section.
Tighten
Tighten the starter lead nut to 10 N·m (89 lb in).
Tighten
Tighten the starter solenoid nut to 3.4 N·m (30 lb in).
Tighten
Tighten the starter bolts to 50 N·m (37 lb ft).
Tighten
Tighten the transmission cover bolt to 9 N·m (80 lb in).
Starter Replacement 6.6L
Removal Procedure
Caution: Refer to Battery Disconnect Caution in the Preface section.
- Disconnect the negative battery cable. Refer to Battery Negative Cable Disconnection and Connection .
- Raise and suitably support the vehicle. Refer to Lifting and Jacking the Vehicle .
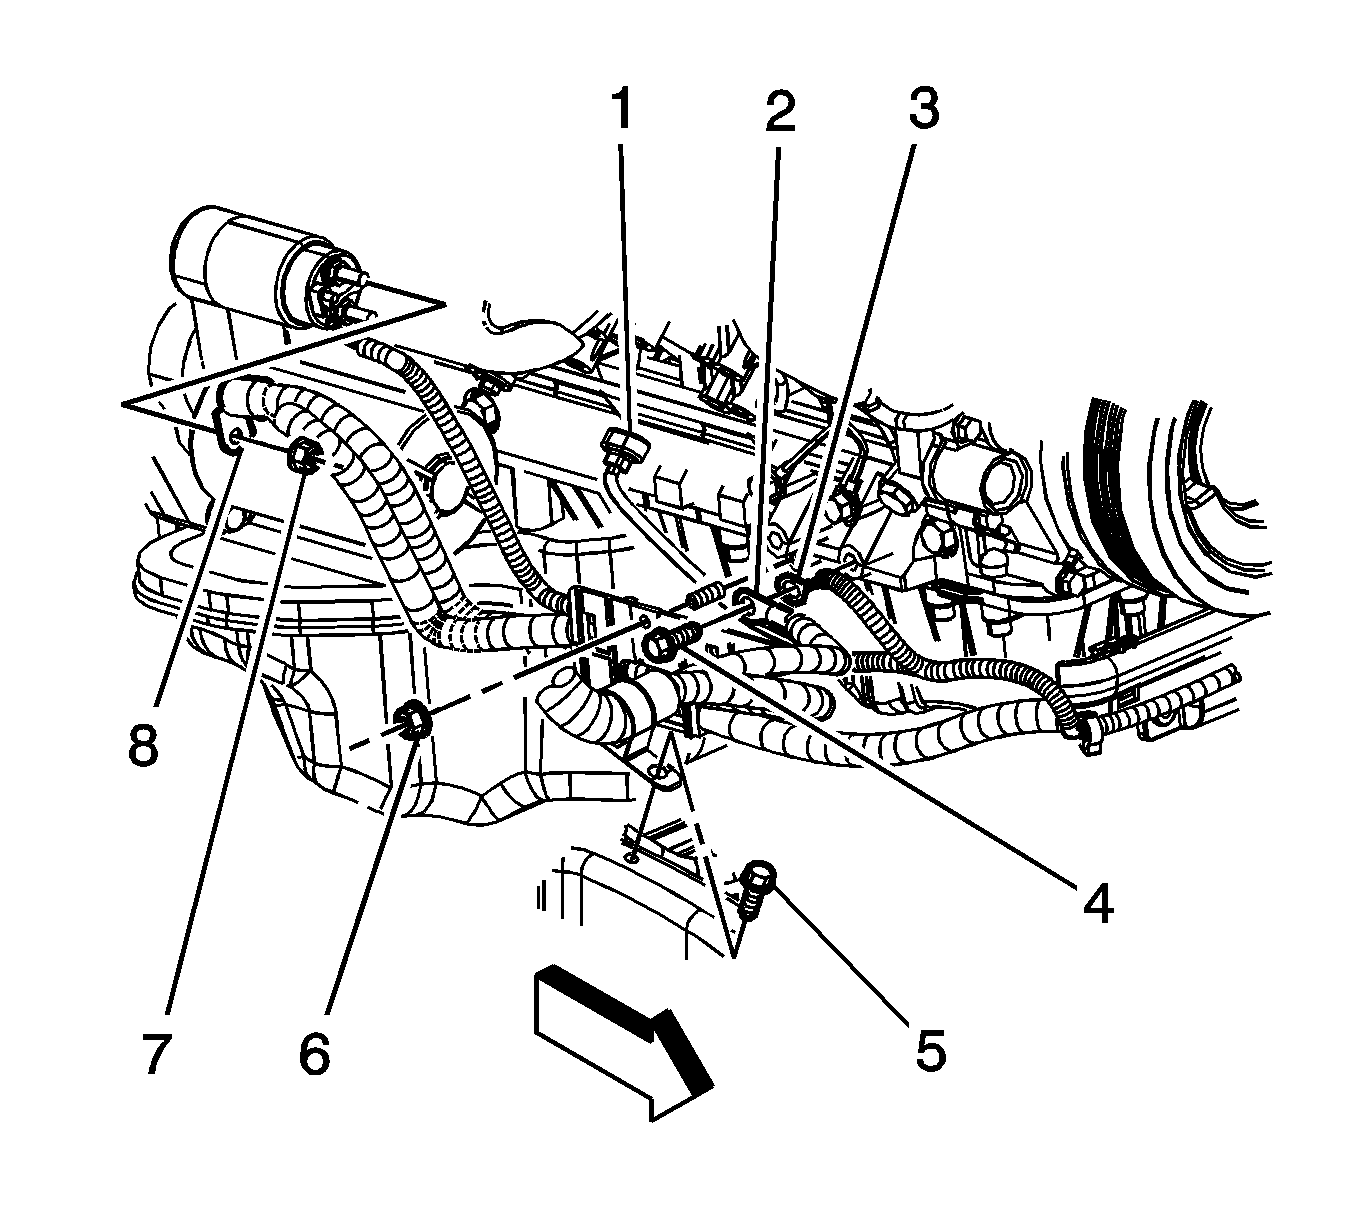
- Remove the engine wiring harness nut (4).
- Remove the engine wiring harness lead (1) from the starter.
- Remove the positive battery cable nut (7).
- Remove the positive battery cable lead (8) from the starter.
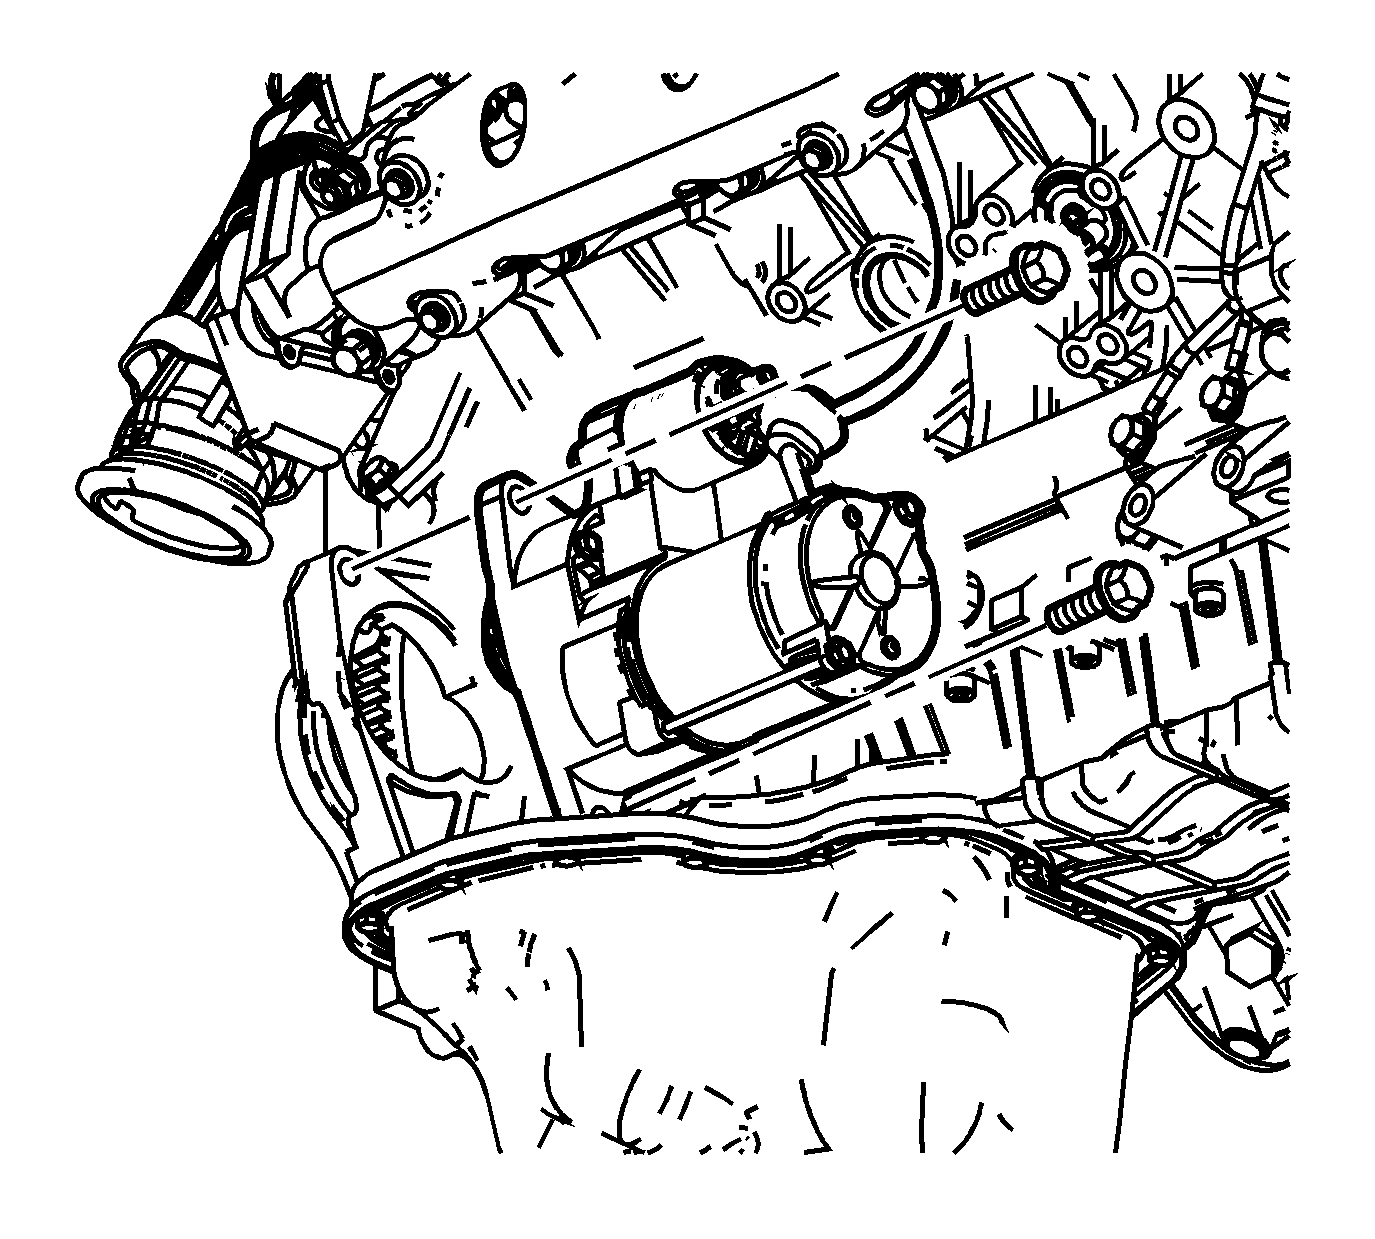
- Remove the starter motor bolts.
- Remove the starter motor.

Installation Procedure
- Install the starter motor.
- Install the starter motor bolts.
- Install the positive battery cable lead (8) to the starter.
- Install the positive battery cable nut (7).
- Install the engine wiring harness lead (1) to the starter.
- Install the engine wiring harness nut (4).
- Lower the vehicle.
- Connect the negative battery cable. Refer to Battery Negative Cable Disconnection and Connection .
Notice: Refer to Fastener Notice in the Preface section.
Tighten
Tighten the bolts to 78 N·m (58 lb ft).
Tighten
Tighten the nut to 9 N·m (80 lb in).
Tighten
Tighten the nut to 3.4 N·m (30 lb in).
Starter Replacement V6
Callout | Component Name | ||||||||||
|---|---|---|---|---|---|---|---|---|---|---|---|
Preliminary Procedures
| |||||||||||
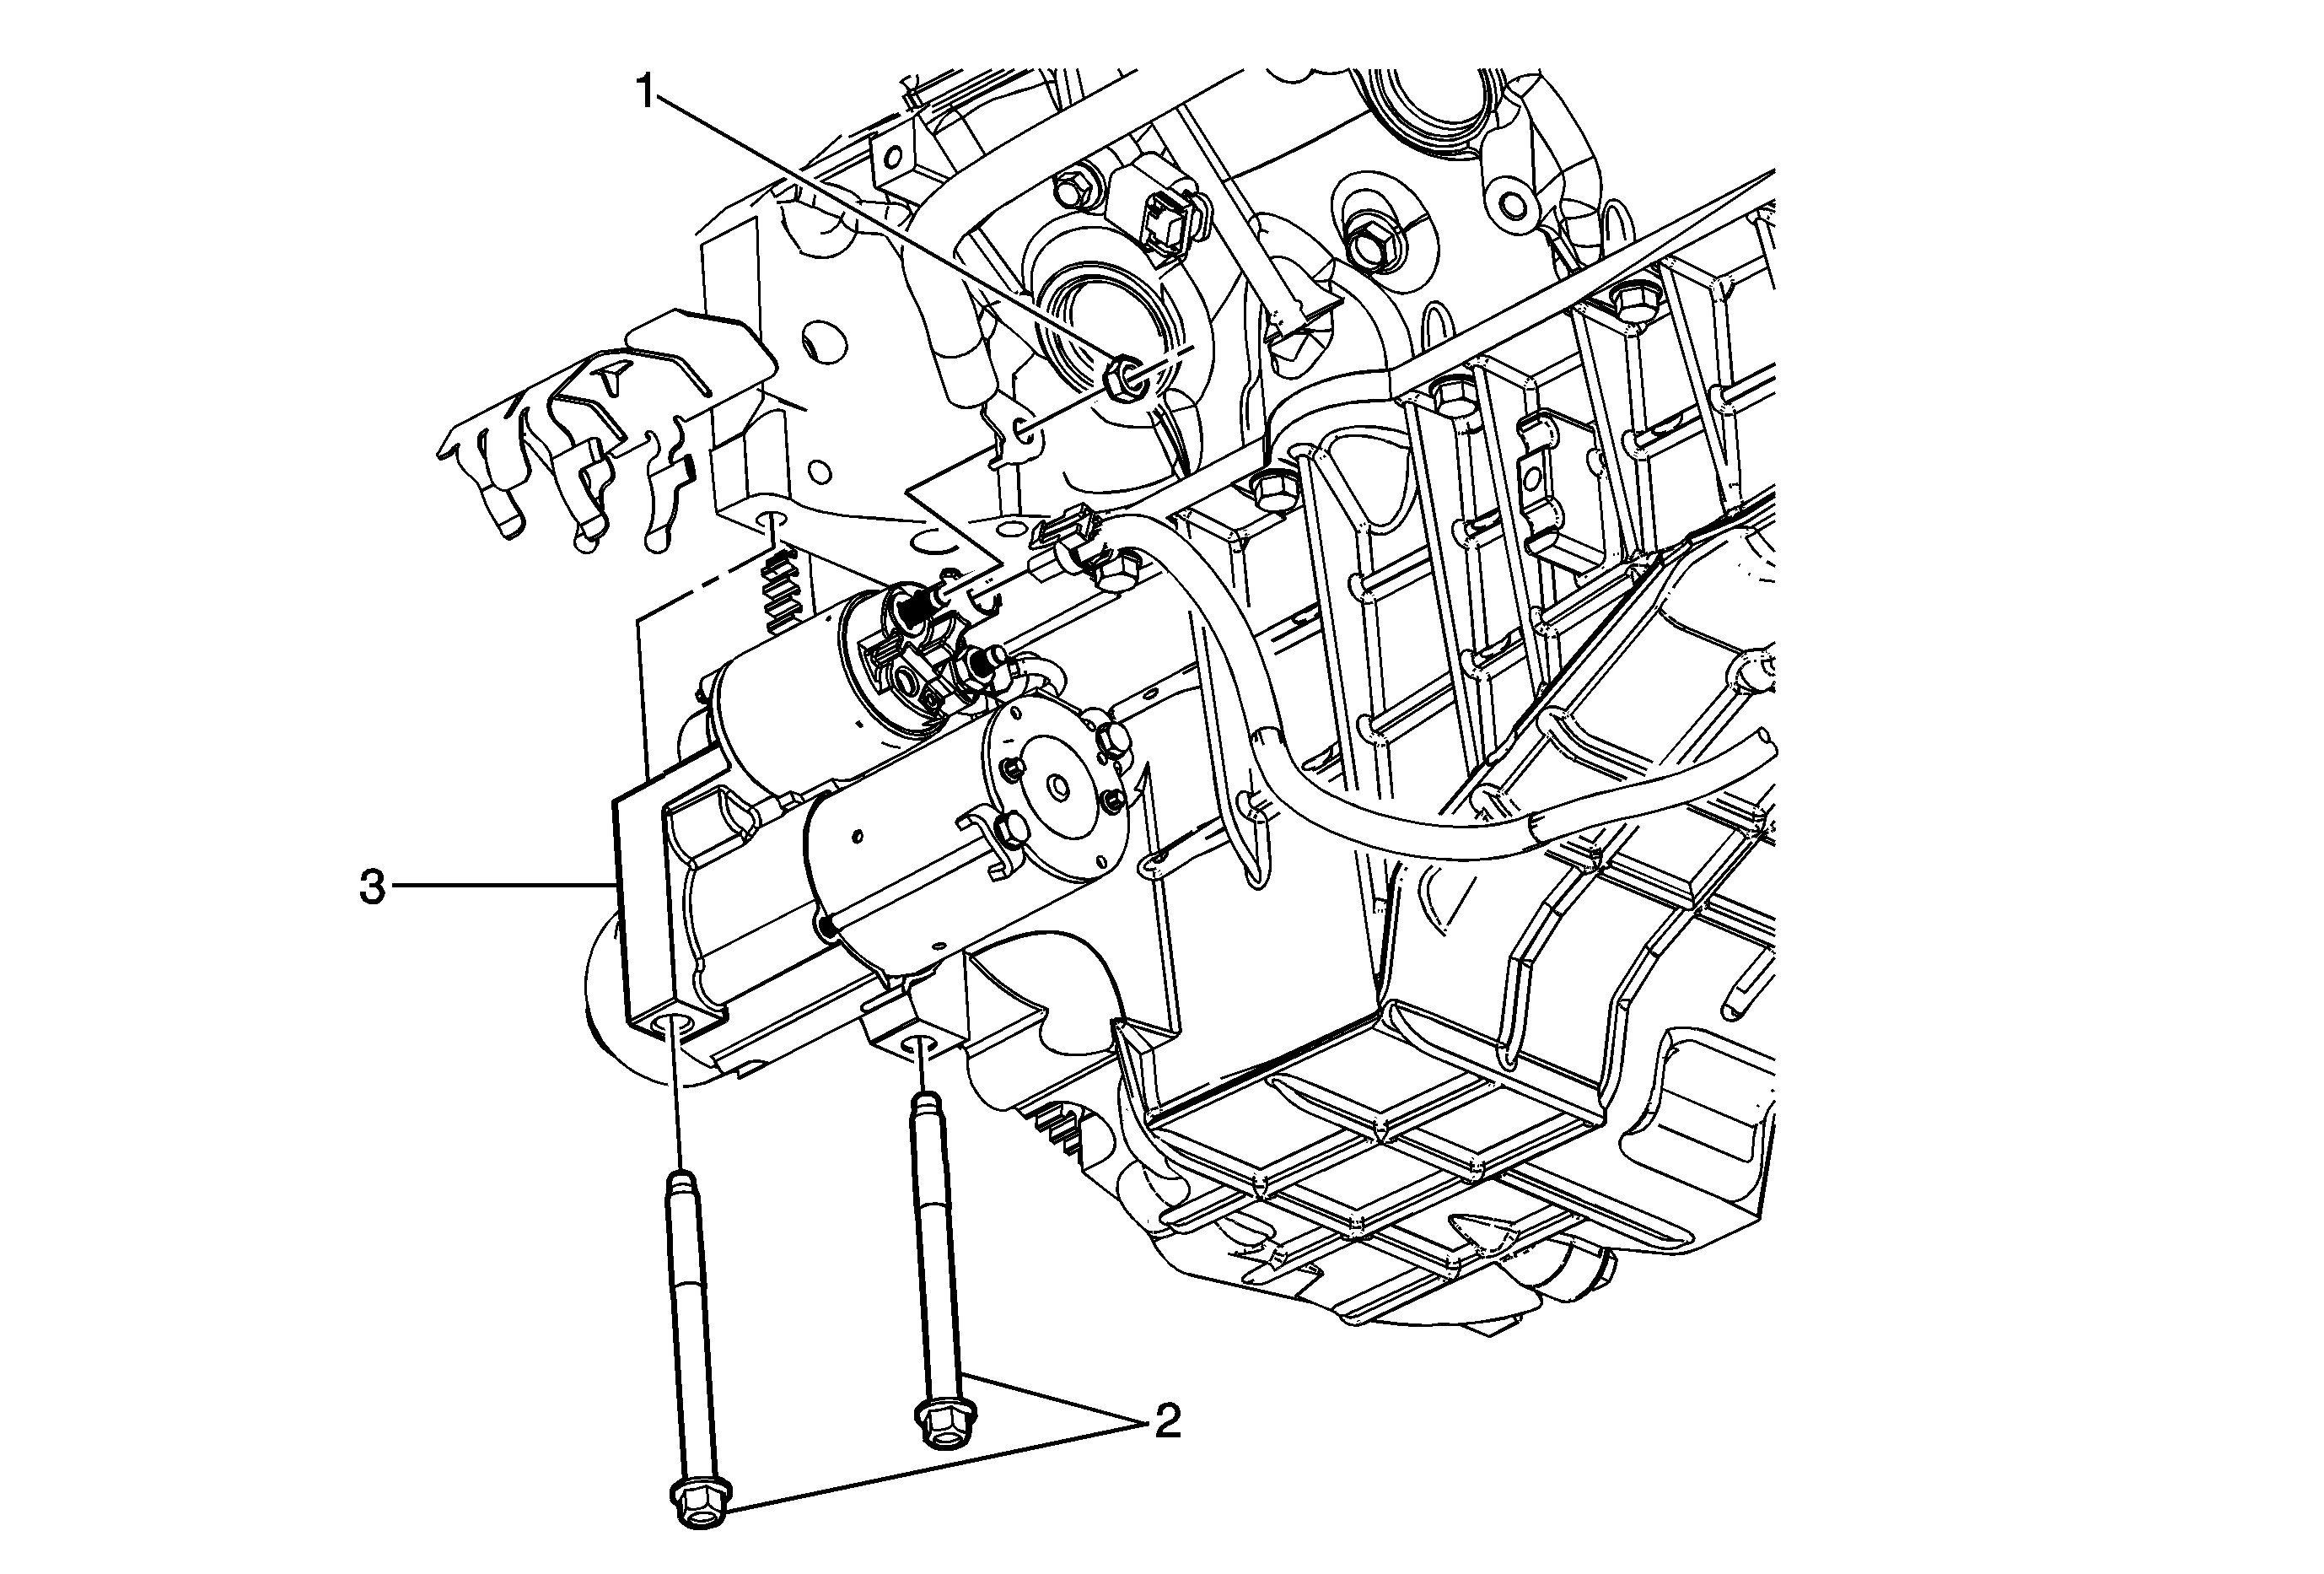
1 | Battery Terminal Nut Notice: Refer to Fastener Notice in the Preface section. Tighten | ||||||||||
2 | Starter Bolt (Qty: 2) Tighten | ||||||||||
3 | Starter Procedure
| ||||||||||
